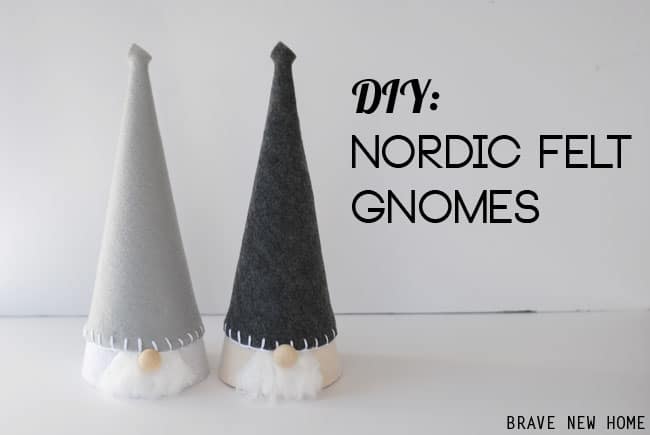
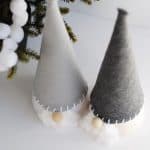
How to Make a Gnome for Decorating (Nordic Inspired!)
Learn how to make a gnome for Christmas! These felt gnomes are very easy to make with paper cones, felt, and simple supplies.
Skills Required: Beginner. If you can use a hot glue gun, you can do this project. There is some simple stitching as well, but a blanket stitch is very easy to learn.
Hello again! Jennifer from Brave New Home here to share another festive holiday craft with you.
You’ve probably seen some of my other simple holiday projects, like felt mistletoe, my wooden nativity set, or the stacking dolls I repainted.
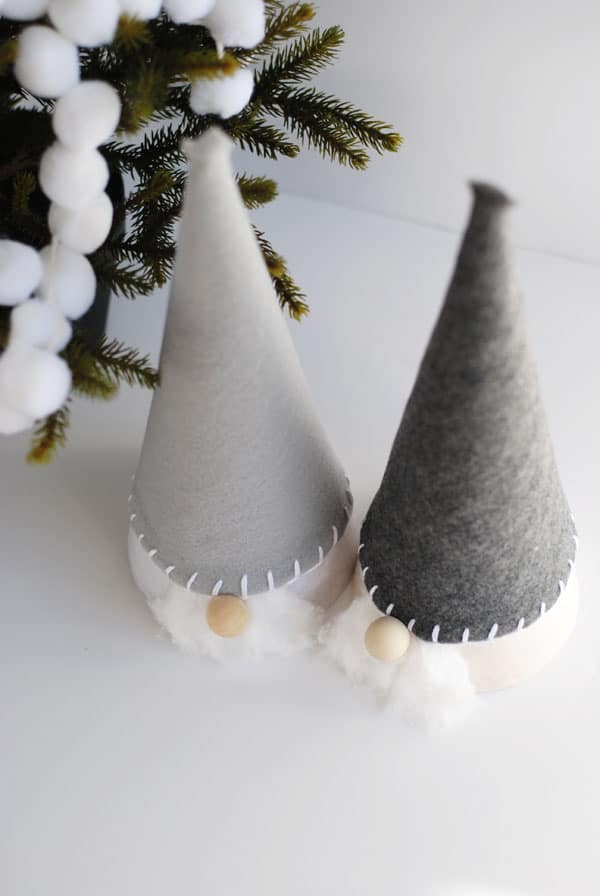
You’re going to love these fun Scandinavian inspired Christmas gnomes made with felt and paper cones! Adults can make these and kids will love them too. You can keep them up from Christmas through winter.

DIY Gnome for Christmas
Gather These Supplies
- Paper mache craft cones – size of your choice
- Felt – enough to cover the cones
- Embroidery floss
- Cotton balls
- Wood doll heads
- Hot glue gun
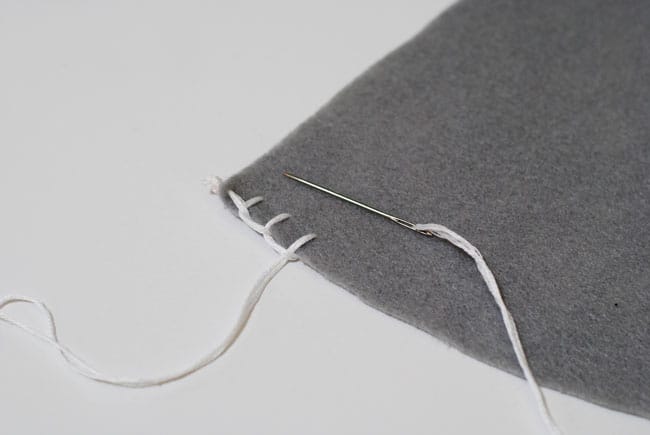
Cut your felt for the hat and the body. For this, I taped the felt around my cone and cut accordingly. Then take the embroidery floss and do a blanket stitch around the bottom.
Once you’ve stitched around the bottom of your hat glue the body piece of felt to the form first. Then hot glue the hat to the form.
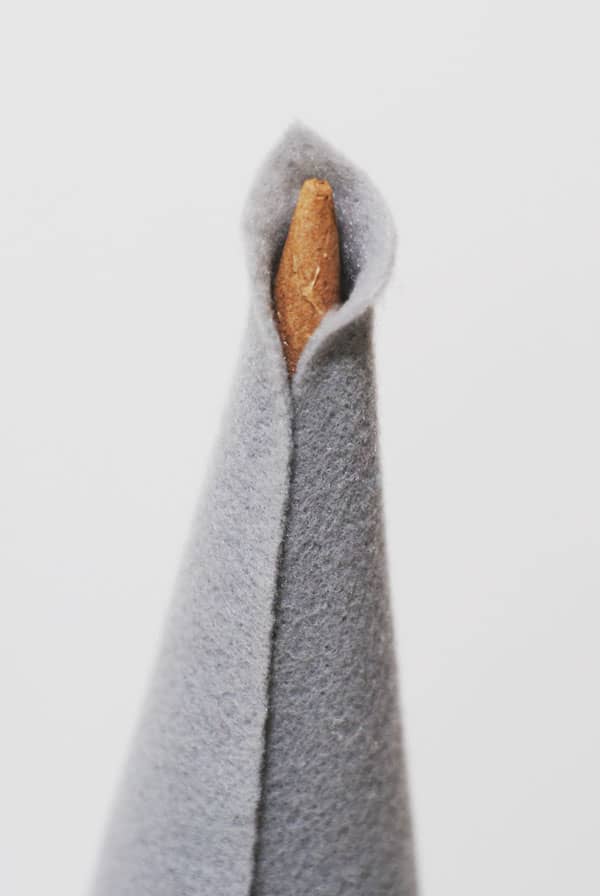
Use two strips of glue to glue your felt to your form at the point where the seams come together. Do not glue the bottom of the hat where the stitching is.
You will tuck the cotton beard under this part of the hat. Also, leave the top of the hat unglued so you can shape it with your fingers later.

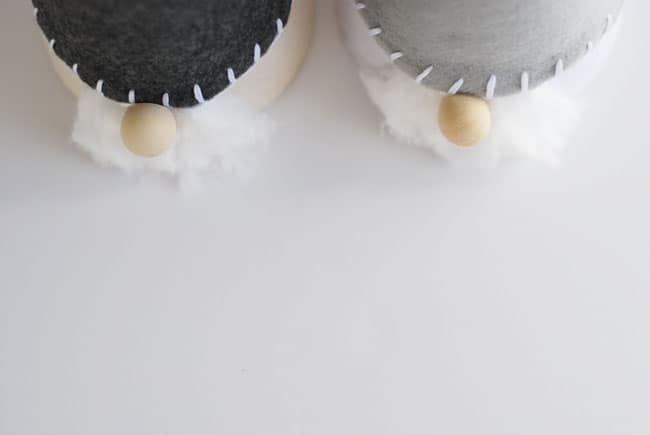
Unroll your cotton ball to create the beard. Then tuck it under the hat. You can add a little hot glue to the cotton to secure it in place if you like.

Hot glue the back of your wooden doll head and place it where the beard and the hat meet. Make sure the wood is glued to the felt hat at least partially. This will hold it better in place than gluing it to the cotton alone.
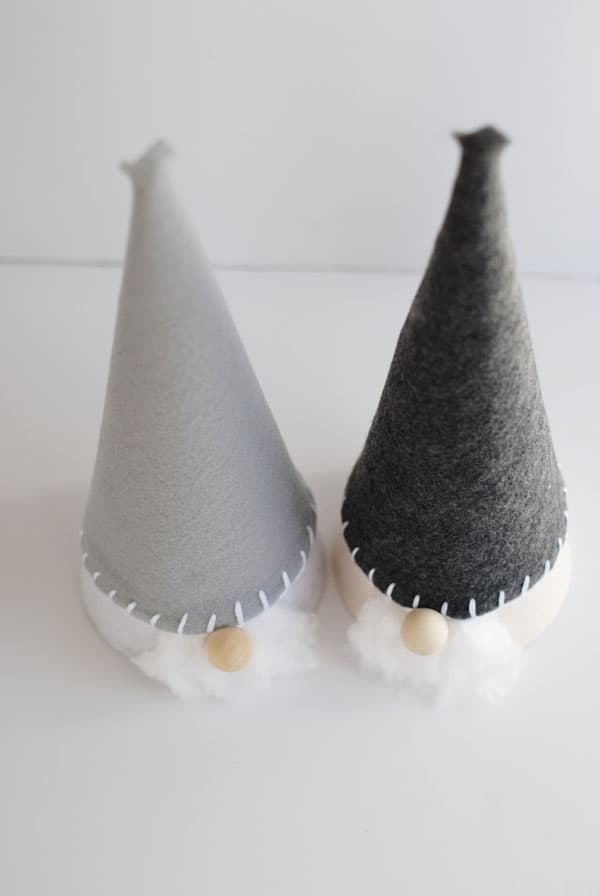
Repeat this process for as many Scandinavian-inspired gnomes that you desire. I chose to make two so I can prop them up to look like they’re talking to each other.
You could add glasses, pigtails for a female gnome version, etc. to alter the looks of your Christmas gnomes.
I think it would be fun to make gnomes of varying sizes for each member of your family.
If you don’t have cardboard cones on hand, you might want to try making some from leftover cardboard or alternatively you could use a styrofoam form (although hot glue doesn’t adhere as well).
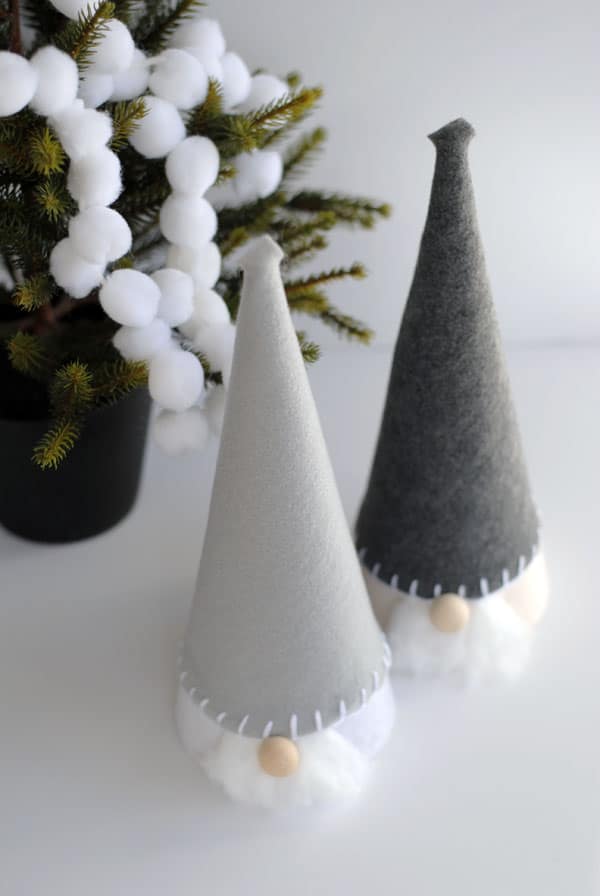
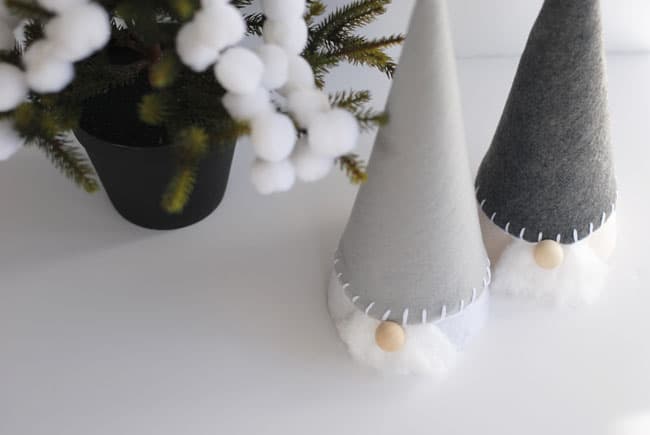
I hope you enjoy these playful Nordic felt gnomes. They would make a great addition to almost any holiday decor and the colors can be changed to match your own holiday palette.
How to Make a Gnome
Equipment
Materials
- 2 Paper mache cones size of your choice
- Felt sheet(s) enough to cover the cones
- Embroidery floss
- Cotton balls
- Wood doll heads
Video
Instructions
- Cut felt for the hat and the body. Tape the felt around the cone and cut accordingly.
- Use the embroidery floss and needle to do a blanket stitch around the bottom.
- Glue the body piece of felt to the cardboard form. Then glue the hat down. Use two lines of glue to attach the felt to the form at the point where the seams come together. Do not glue the bottom of the hat where the stitching is.
- Tuck the cotton beard under this part of the hat. Leave the top of the hat unglued so you can shape it with your fingers later.
- Unroll your cotton ball to create the beard, then tuck it under the hat.
- Hot glue the back of your wooden doll head and place it where the beard and the hat meet.
- Repeat this process for as many Scandinavian-inspired gnomes that you desire.
We love making gnomes around here! Here are some other projects we’ve done:


These are just TOO cute! Thankx for the tutorial!
I think this is pretty sweet. I can never figure out how to draw a pattern to wrap a cone with felt.
Very cute idea. You didn’t address the “face” of the gnome, did you paint the cardboard white or leave it natural? It appears to be white.
We used a white piece of felt for the face! I’ll edit the instructions. 😀
Love,Love, Love, Love it!! Did I say, Love?LOL!