DIY Sweater Clips for Your Vintage Holiday Finest
Use vintage or new holiday minis to create these unique DIY sweater clips! Perfect for embellishing your cardigans and other fashion items during the holidays (or any time of year!).
Skills Required: Beginner. You don’t need to make a jewelry maker, but you should have an idea how to use the basic jewelry tools listed in the materials. If you’ve been crafting for years you can probably jump right in.
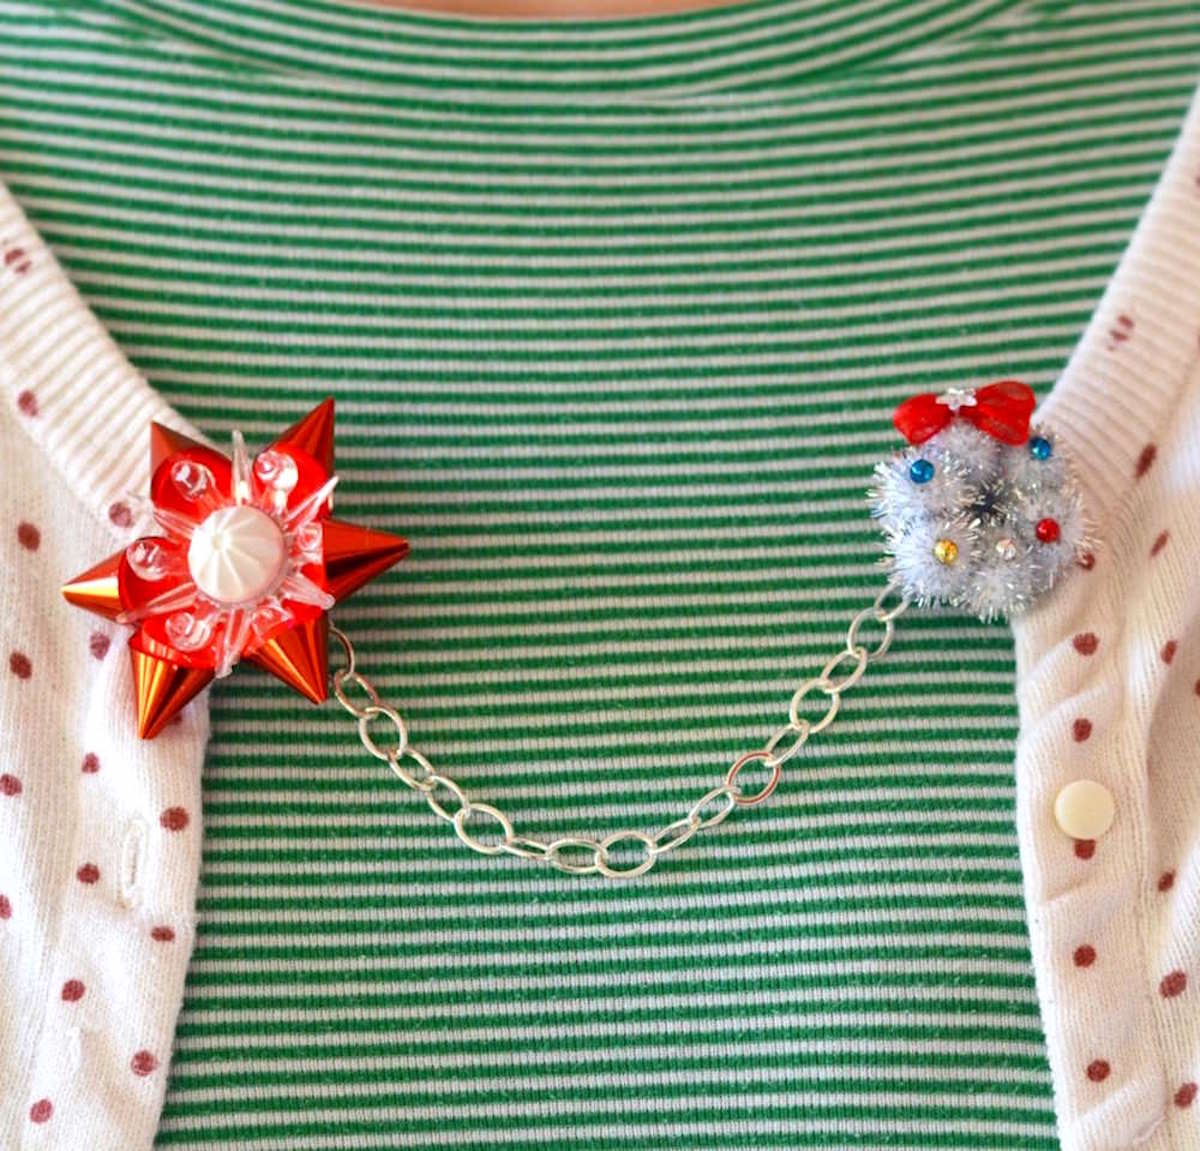
Hi guys! It’s Ashlee from My So Called Crafty Life, and I am back today to share a fun retro Christmas DIY accessory with you all.
Anyone who knows me knows that I am a total nut for Christmas, especially anything vintage and Christmas! I also love fashion crafts, so this was a perfect way to combine the two.
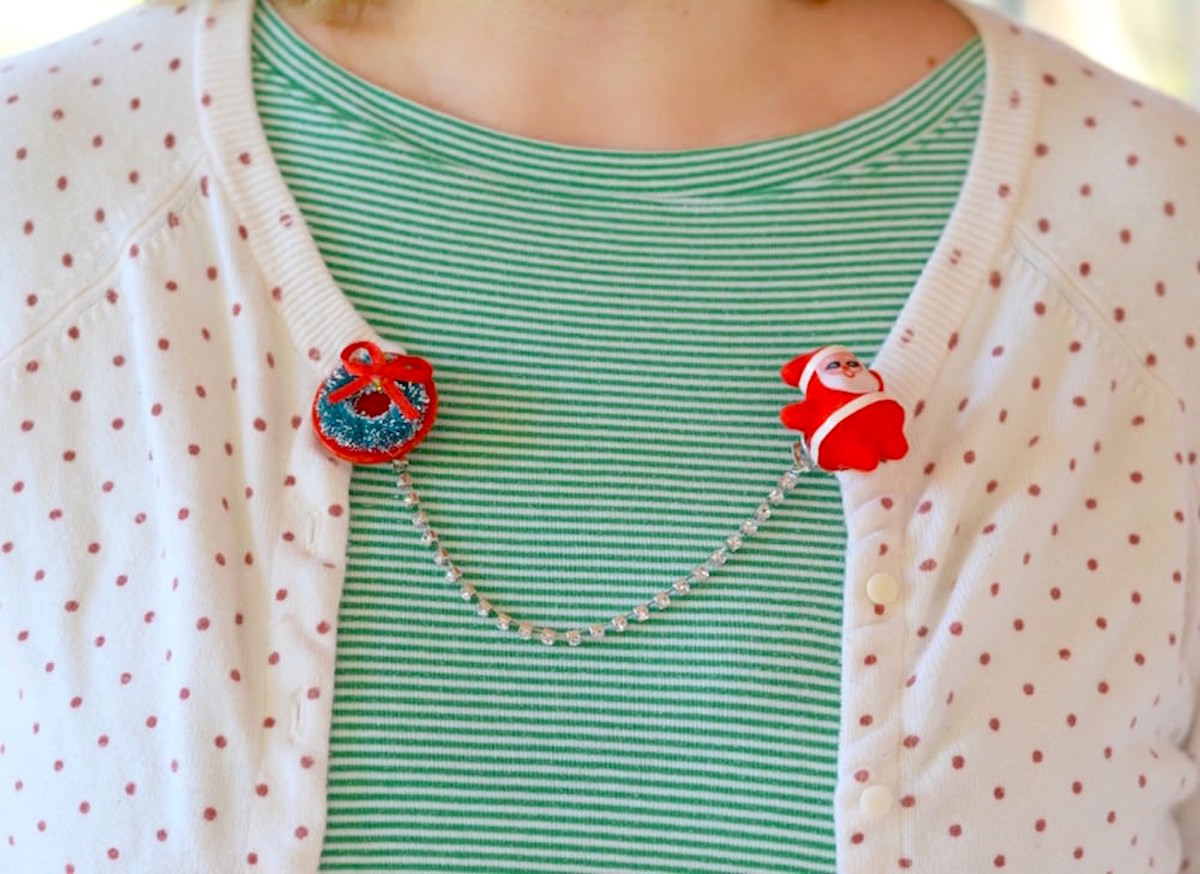
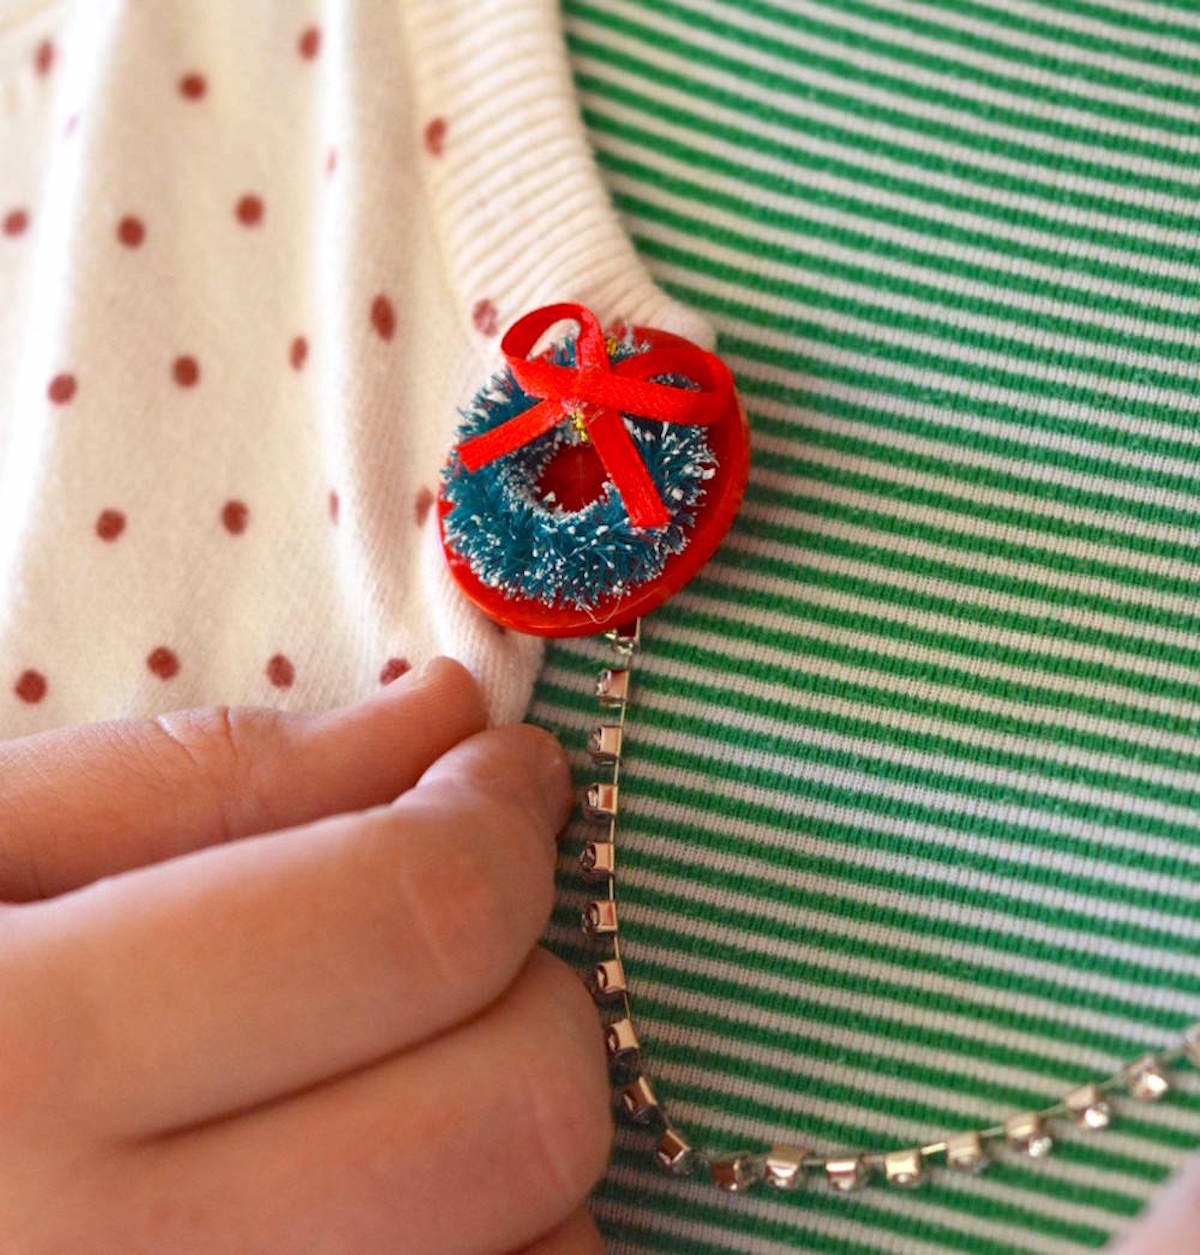
I love little holiday minis and have a bunch of vintage and new little treasures that I love to craft with. At this time of year I wear a lot of sweaters, and I thought it would be fun to make a couple of vintage style Christmas DIY cardigan clips to embellish my sweaters for the holidays.
Gather These Supplies
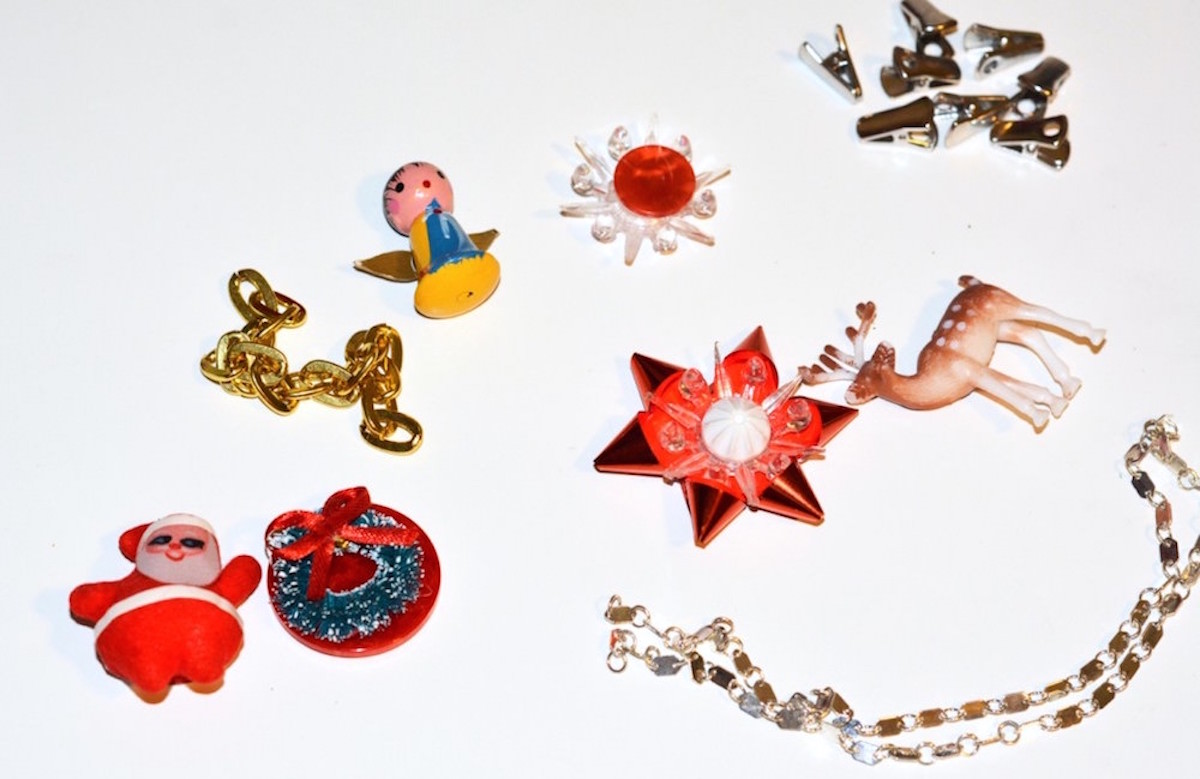
- Sweater/alligator clips (I bought mine at Jo-Ann)
- Vintage or new minis like deer, Santas, wooden ornaments, mini sisal wreaths
- Chain – length of your choice
- Jump rings – 2 for each clip
- Jewelry pliers
- Jewelry cutters
- Jewelry glue
Instructions
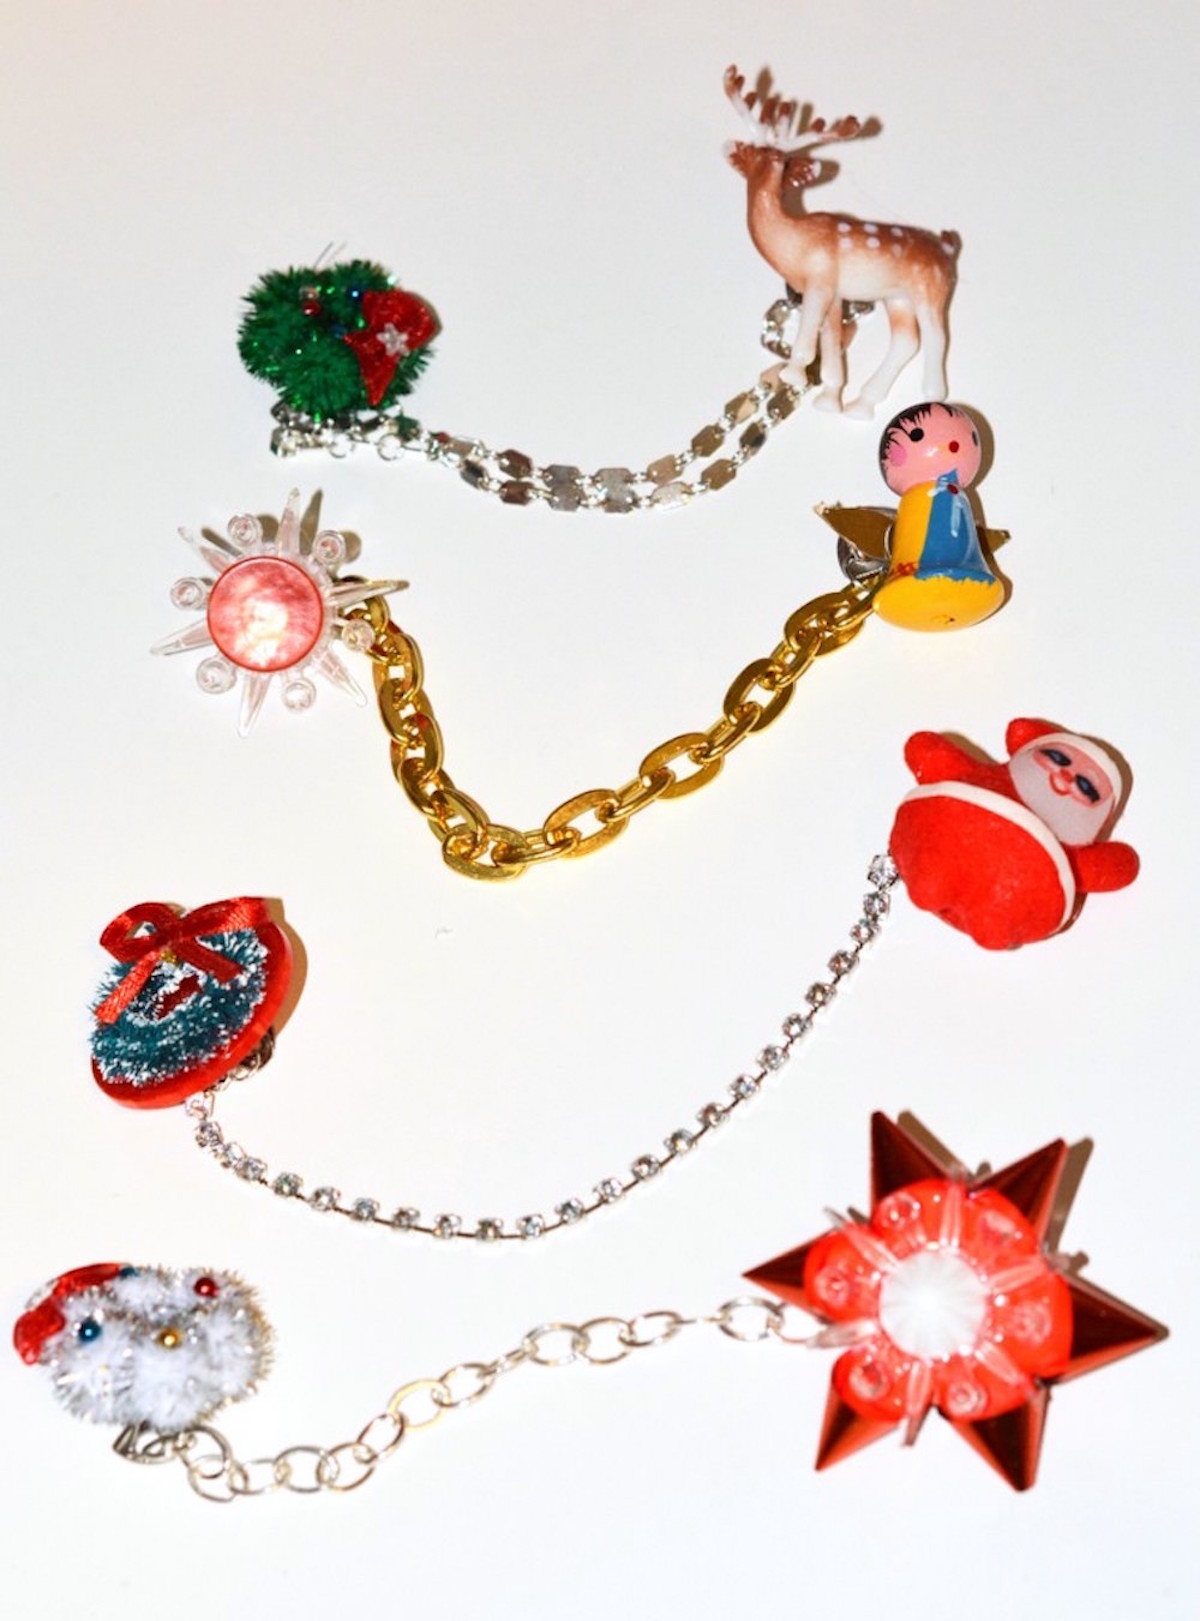
I LOVE my sweater clips! They are so kitschy, they fit my personality perfectly. You can easily style them to your own taste just by using your favorite minis, flowers, buttons, etc.
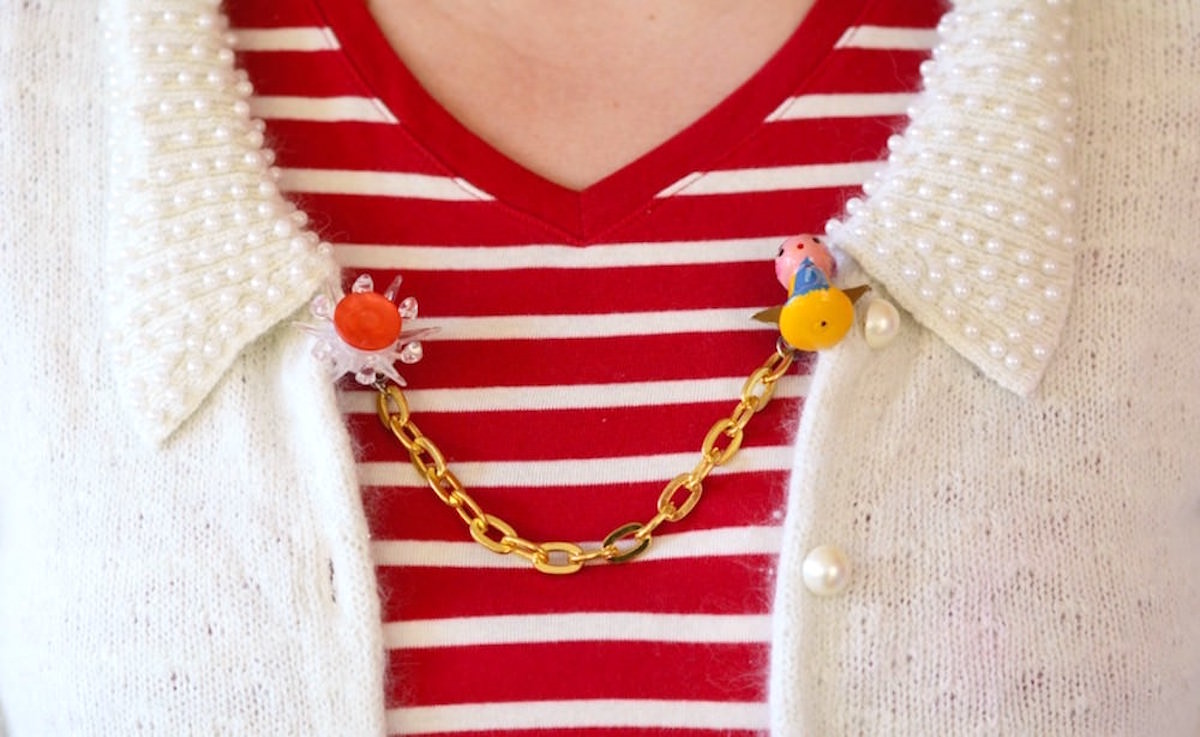
I hope you all will make a set of sweater chain clips of your own. They are a fabulous accessory to embellish an outfit, as well as bringing some always needed cheer to your holiday style!
DIY Cardigan Clip
Equipment
- Jewelry pliers
- Jewelry cutters
Materials
- 2 Alligator clips
- Plastic minis Deer, Santas, wooden ornaments, mini sisal wreaths
- Chain
- Jump rings
- Jewelry glue
Instructions
- Decide on the minis you are going to use for your project; you'll need one for each side. You'll also need chain for each as well. Match up your minis and chain.
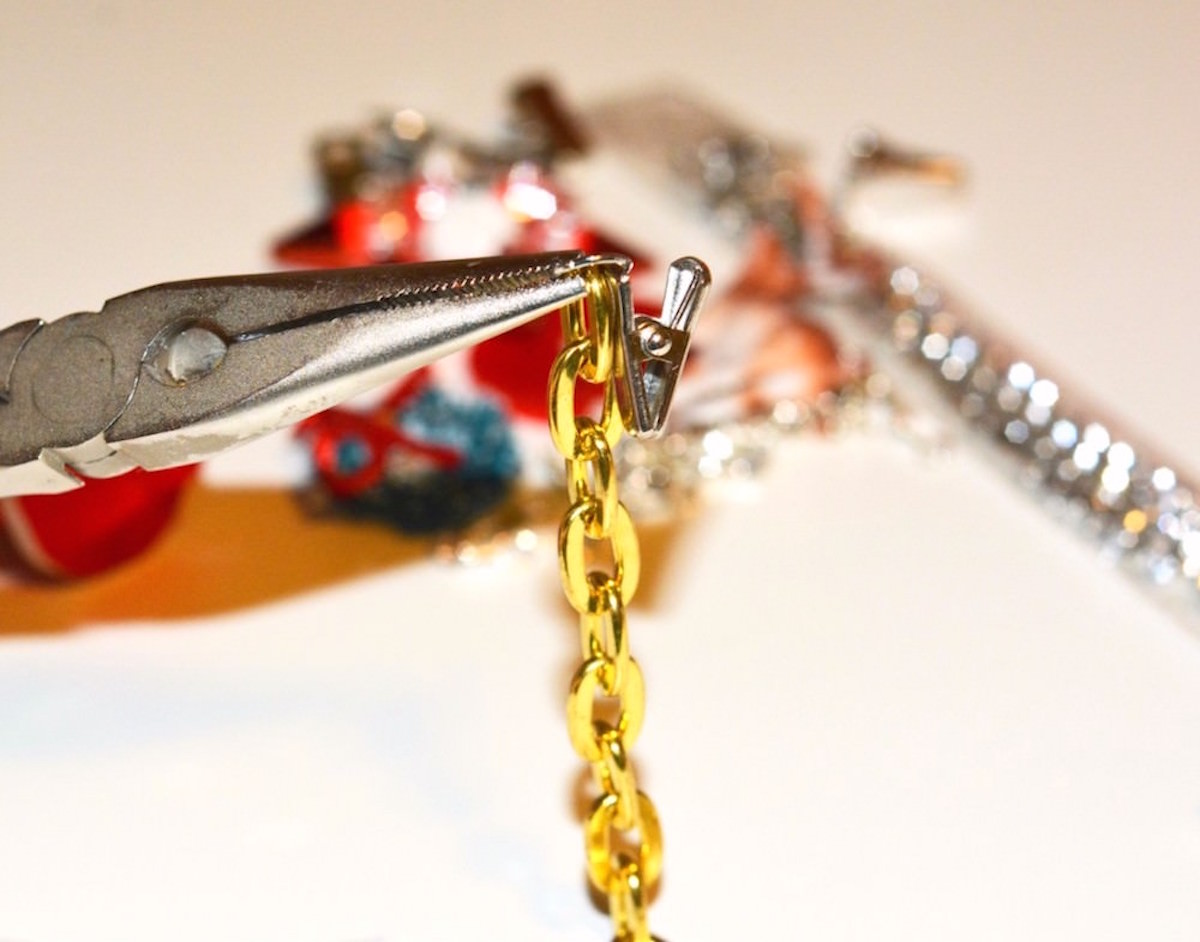
- Cut a length of chain about three to five inches with the jewelry cutters. Attach each end of your chain to the hole in a clip using a jump ring and jewelry pliers.
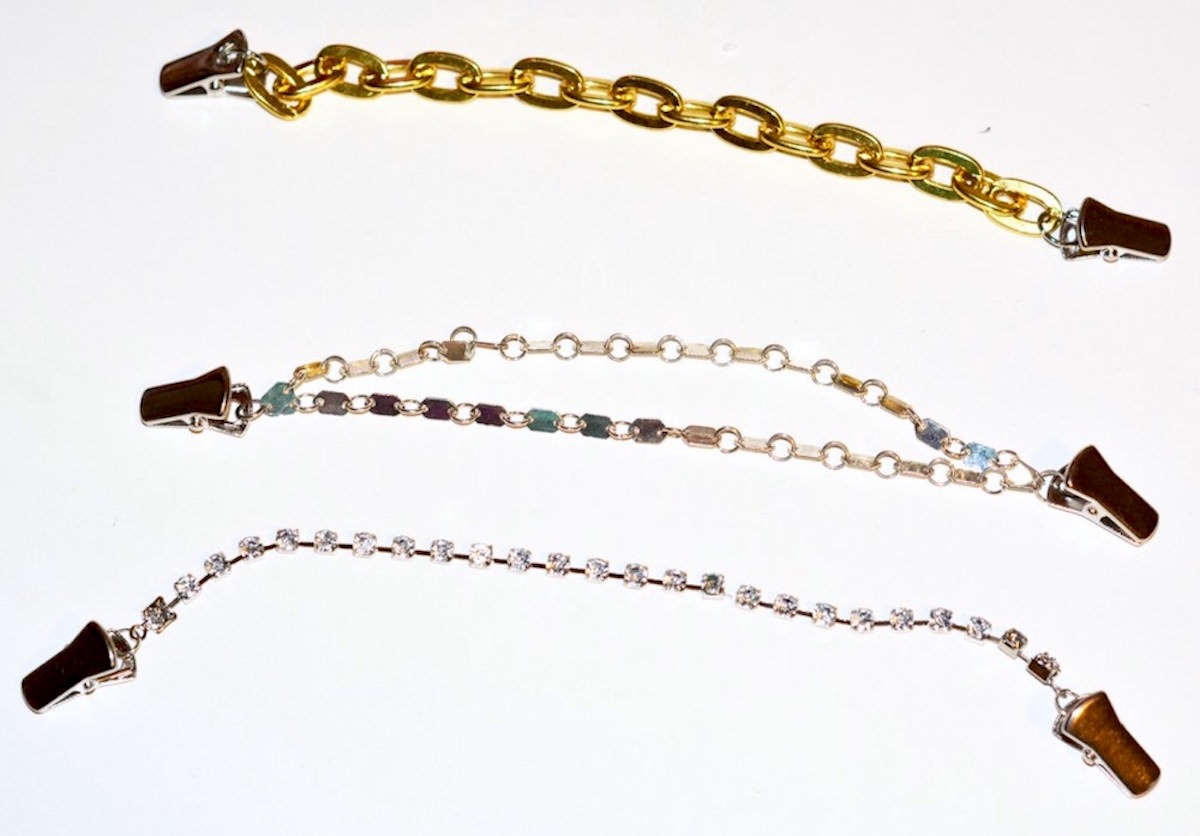
- You can also make a double chain. Cut two pieces of chain, one longer than the other, to make a chain that hangs at different lengths.
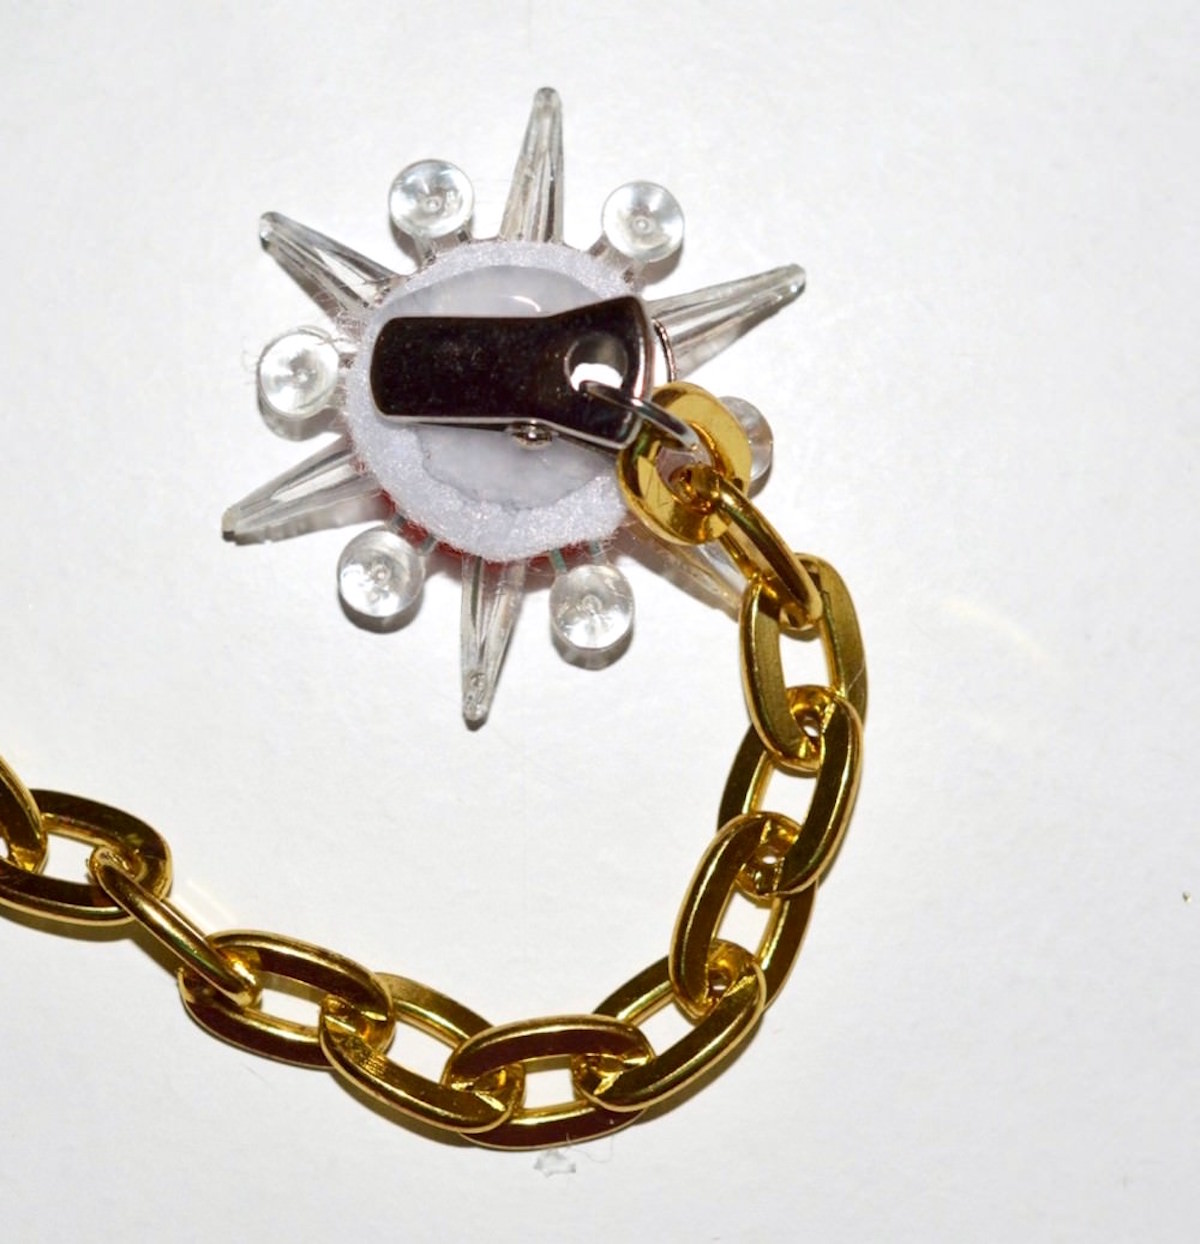
- Place a good amount of jewelry glue onto the clip and attach to your mini. Do the same with the other side. If you need to, add a piece of felt to the back of the mini to make a larger gluing area.
- Prop up your clips if you need to keep them level while the glue dries on little bits of wood or folded paper, etc. Let dry completely before wearing.
Notes
If you all would like to see more of my work you can find me on my blog, My So Called Crafty Life, here. I’d also love for you to check out these other Christmas crafts:
Christmas Magnets • Christmas Shadow Box • DIY Upcycled Stocking • Felt Mistletoe • Gift Card Holders • Gnome Decor • Magazine Christmas Tree • Pom Pom Garland • Santa Hat Topiary • Santa Mason Jar • String Art


