DIY Fabric Covered Pumpkins for Stylish Autumn Decor
Learn how to cover pumpkins with fabric in this easy step-by-step guide! Create beautiful, unique fall decorations for your home with just a few materials.
Skills Required: Beginner. You’ll cut strips of fabric and apply them to the pumpkin with decoupage medium. You can do this project even if you’ve never worked with Mod Podge before.
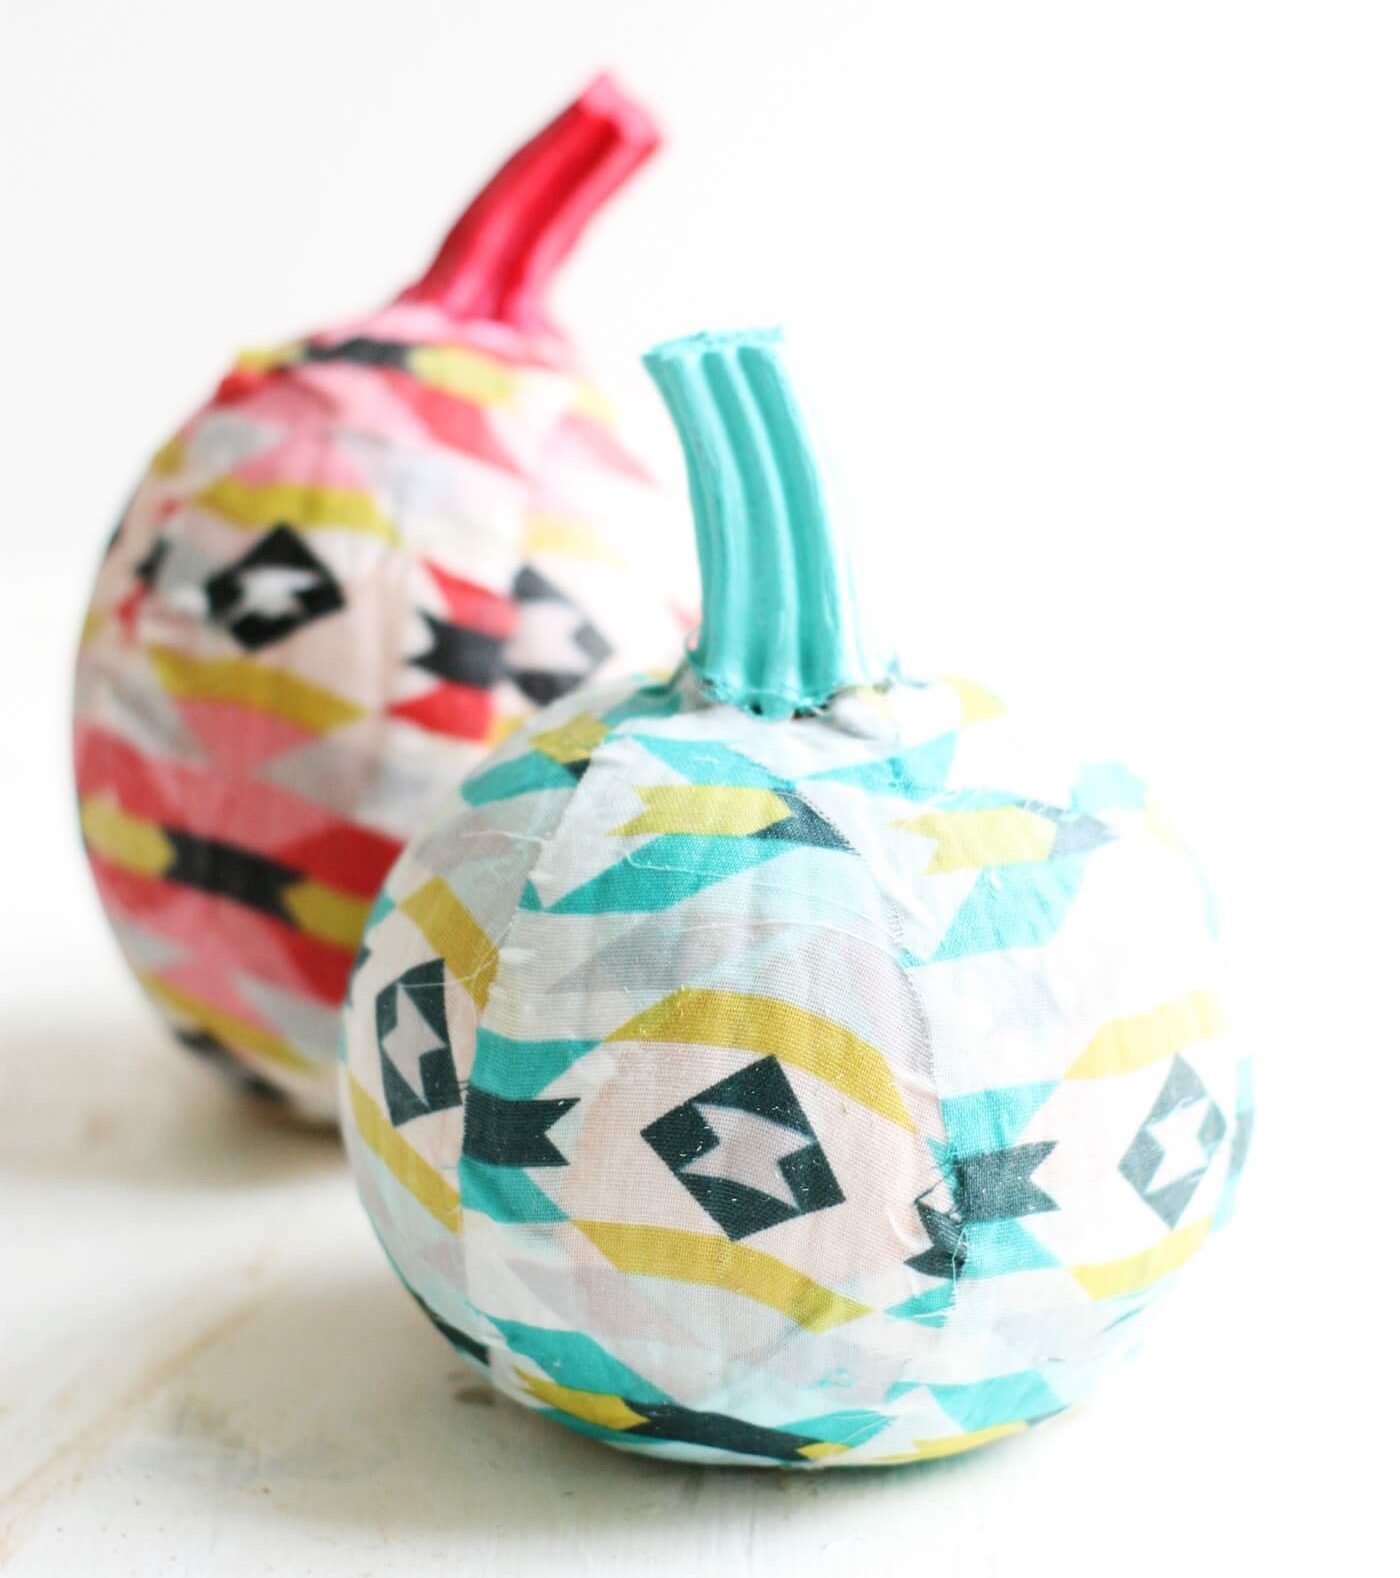
Decorating pumpkins without the mess of carving has become one of my favorite DIY trends in recent years.
From thumb tacks to paint and even using old tights, I’ve seen so many creative ways to add a personal touch to pumpkins—all without having to dig into them.
Today, I’m sharing one of my go-to methods: covering pumpkins with fabric. This technique is simple, stylish, and keeps the mess to a minimum. It’s perfect for anyone who loves crafting without the cleanup.
For this project, I used the most reliable craft product in my arsenal, Mod Podge, along with some fabric and a little bit of paint, to create a super fun Pendleton-inspired design.
The results totally brightened up my home! Whether you’re a beginner or a seasoned DIYer, fabric-covered pumpkins are an easy way to elevate your fall decor.
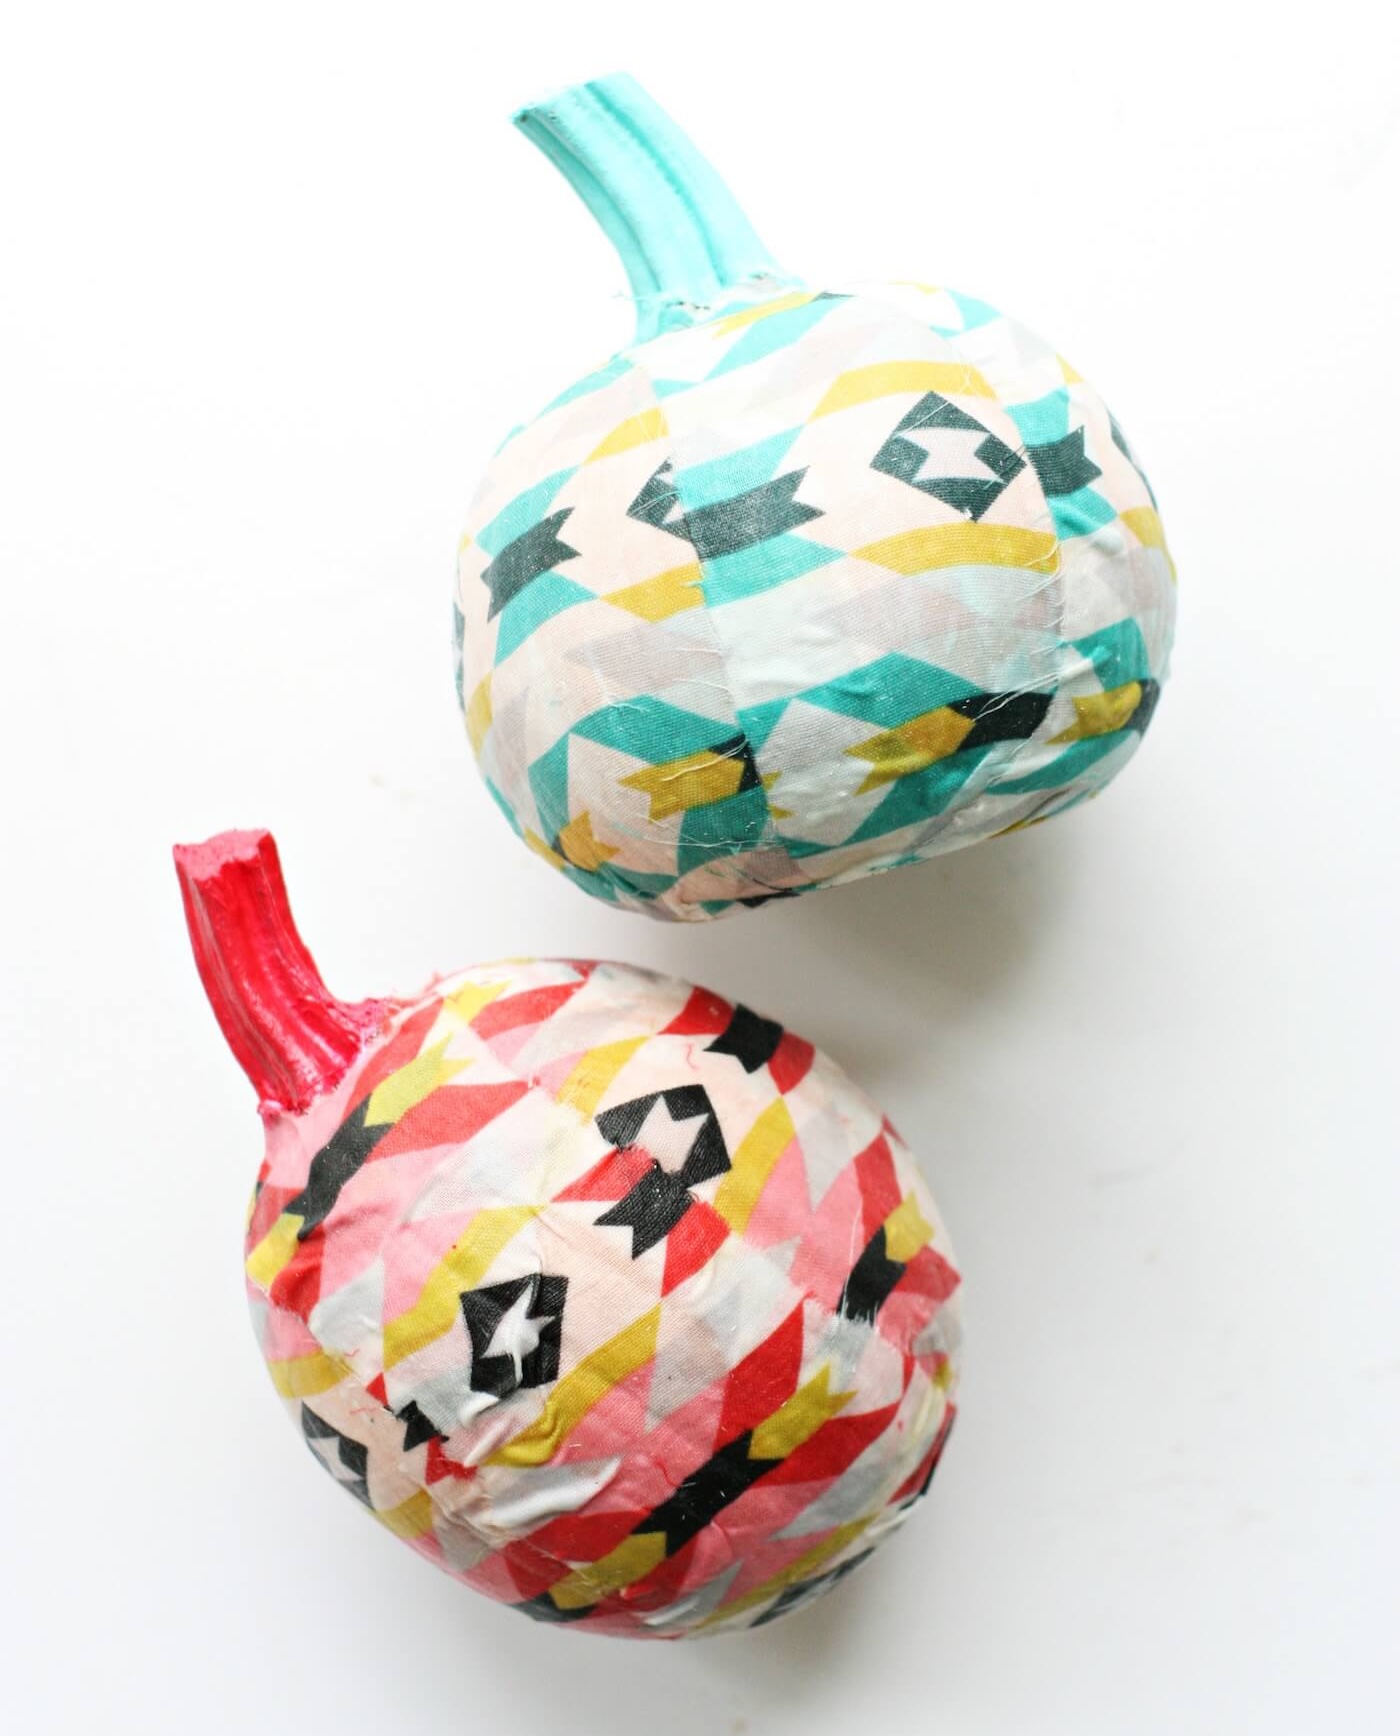
You can choose any fabric – floral, plaid, polka dots, or even bold geometric patterns – and mix it with complementary paint colors to create a design that perfectly matches your autumn vibe.
Not only is this craft a great way to personalize your fall decorations, but it’s also a fun family activity. Kids will love picking out fabrics and paints, and since there’s no carving involved, it’s safe and easy for them to help.
And if you want to get extra creative, you could even use seasonal fabrics like Halloween-themed prints or elegant gold and silver for Thanksgiving.
I hope this inspires you to try something new this fall! I’d love to see your creations, so feel free to share your links in the comments or tag me on social media.
Let’s make this autumn full of fun, creative decor – no pumpkin goo required!
How to Cover Pumpkins with Fabric
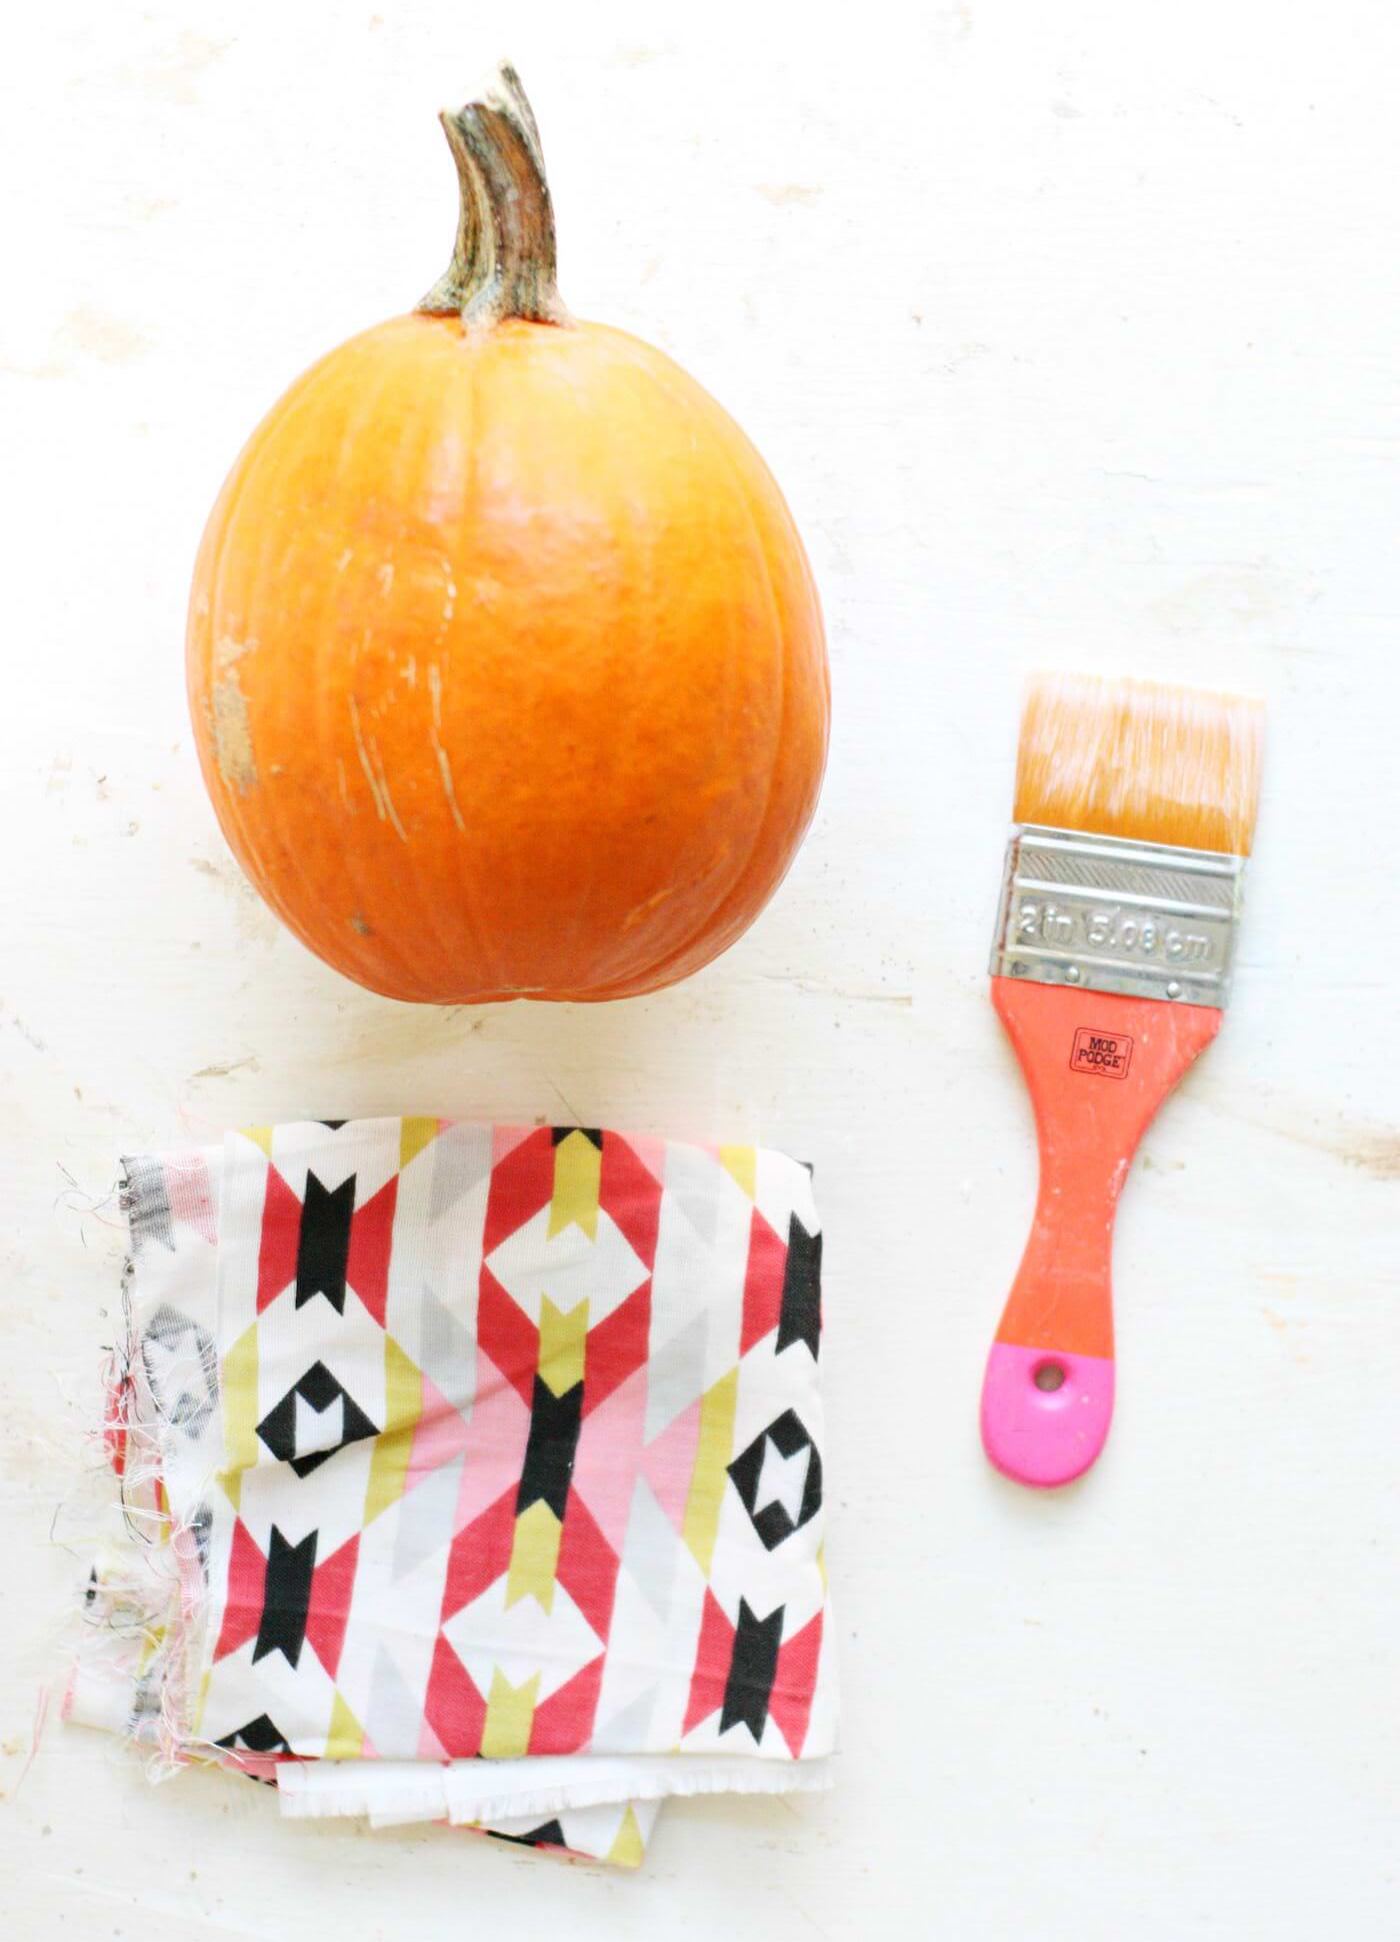
Gather These Supplies
- Small pumpkin(s) – you can use real or foam pumpkins
- Acrylic paint – to coordinate with fabric
- Mod Podge (Gloss or Matte is fine)
- Brush
- Fabric (a light cotton fabric goes on super easy!)
- Scissors, craft knife or rotary cutter
Cut Fabric Into Strips
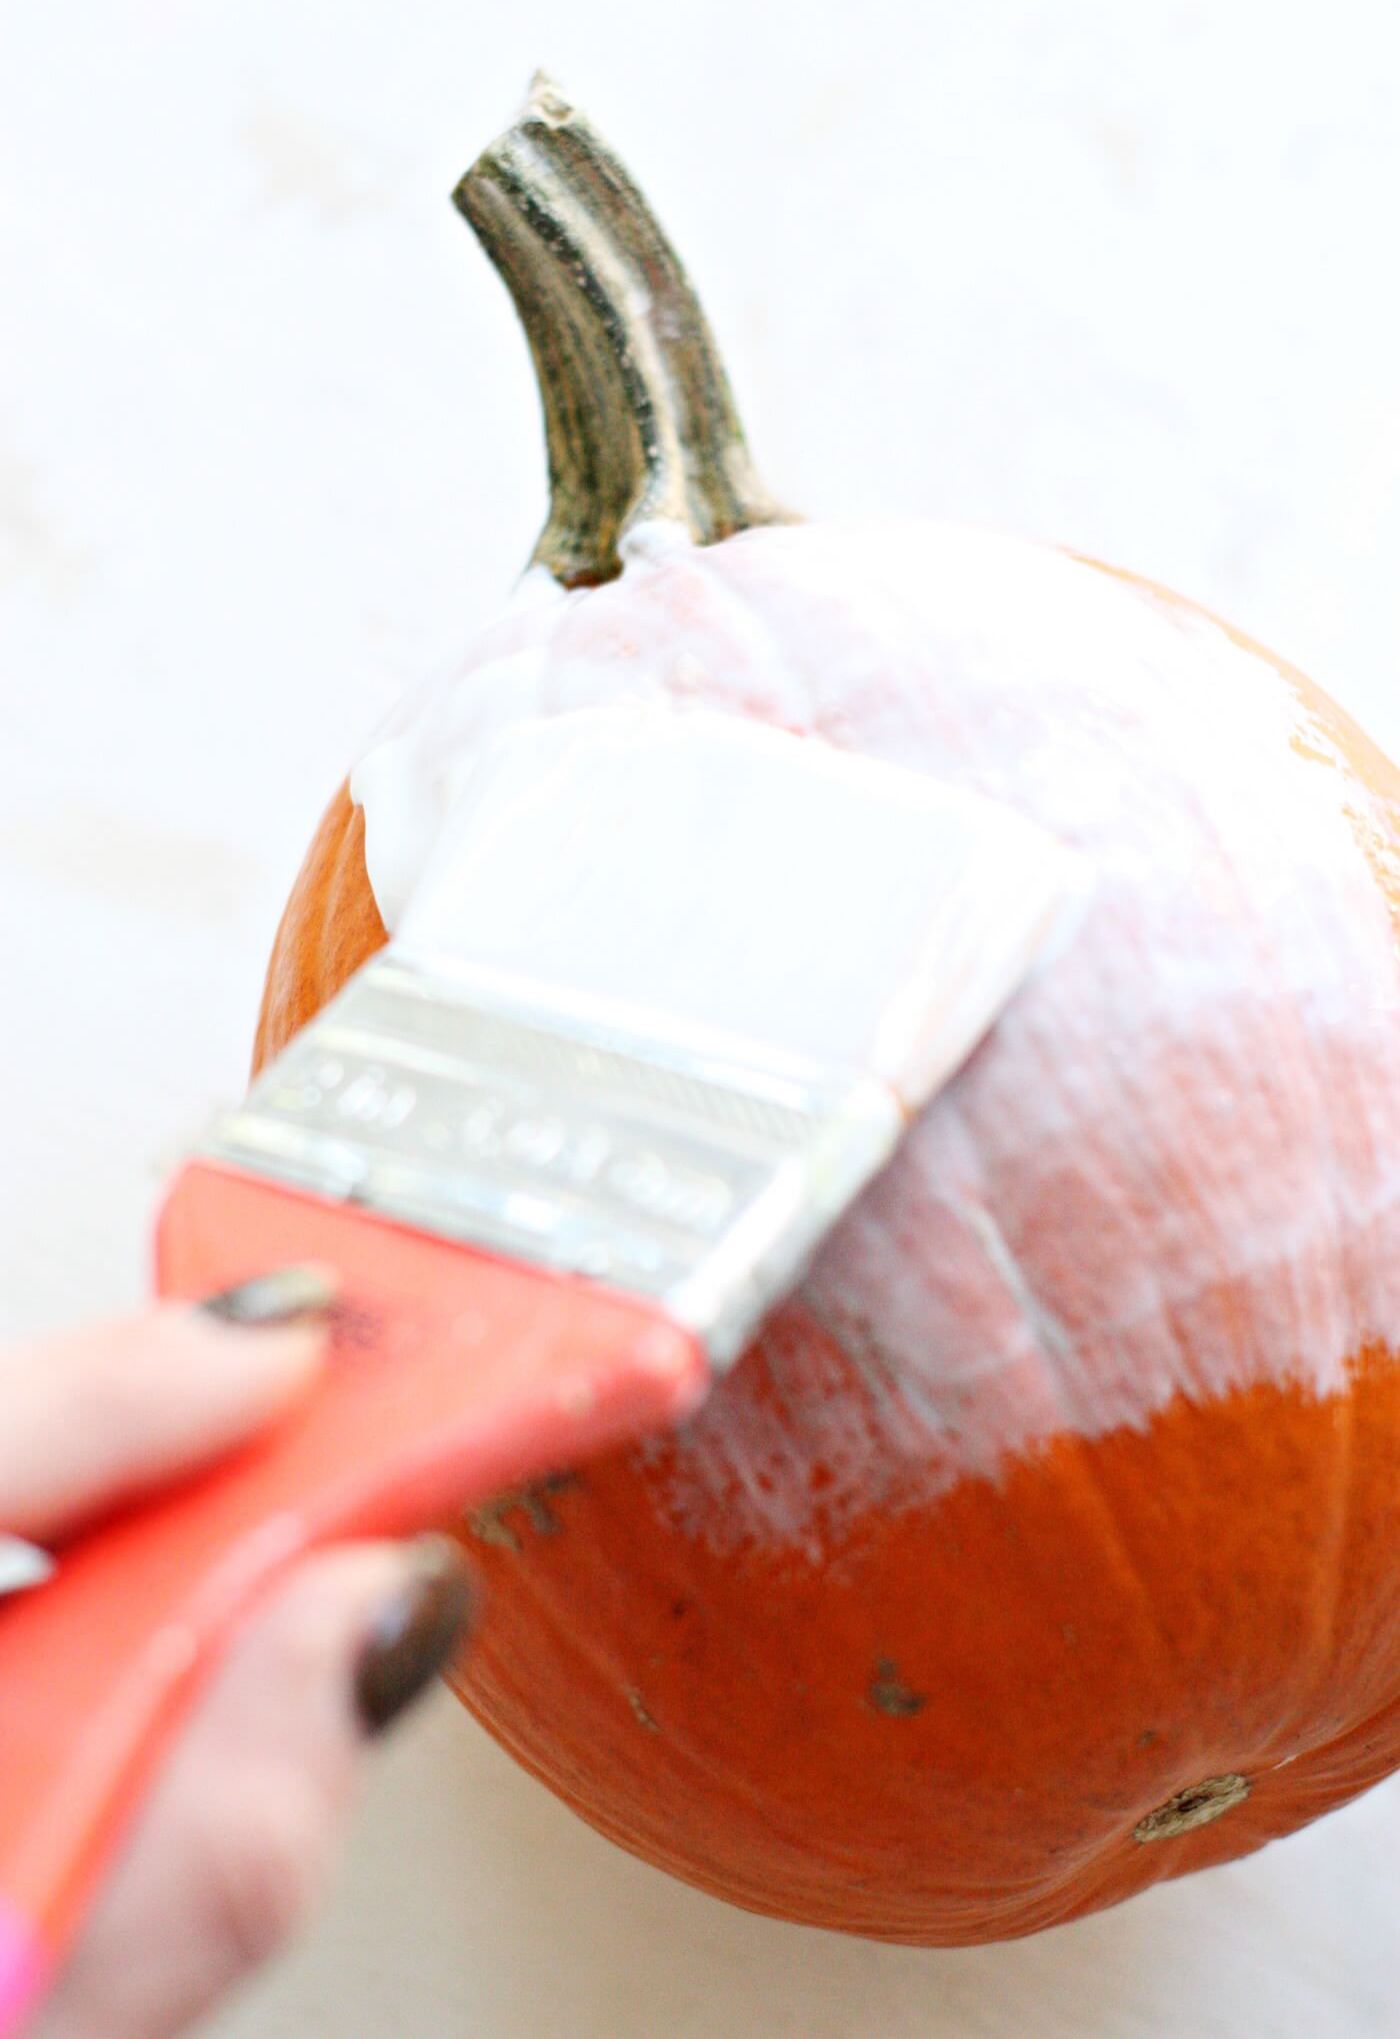
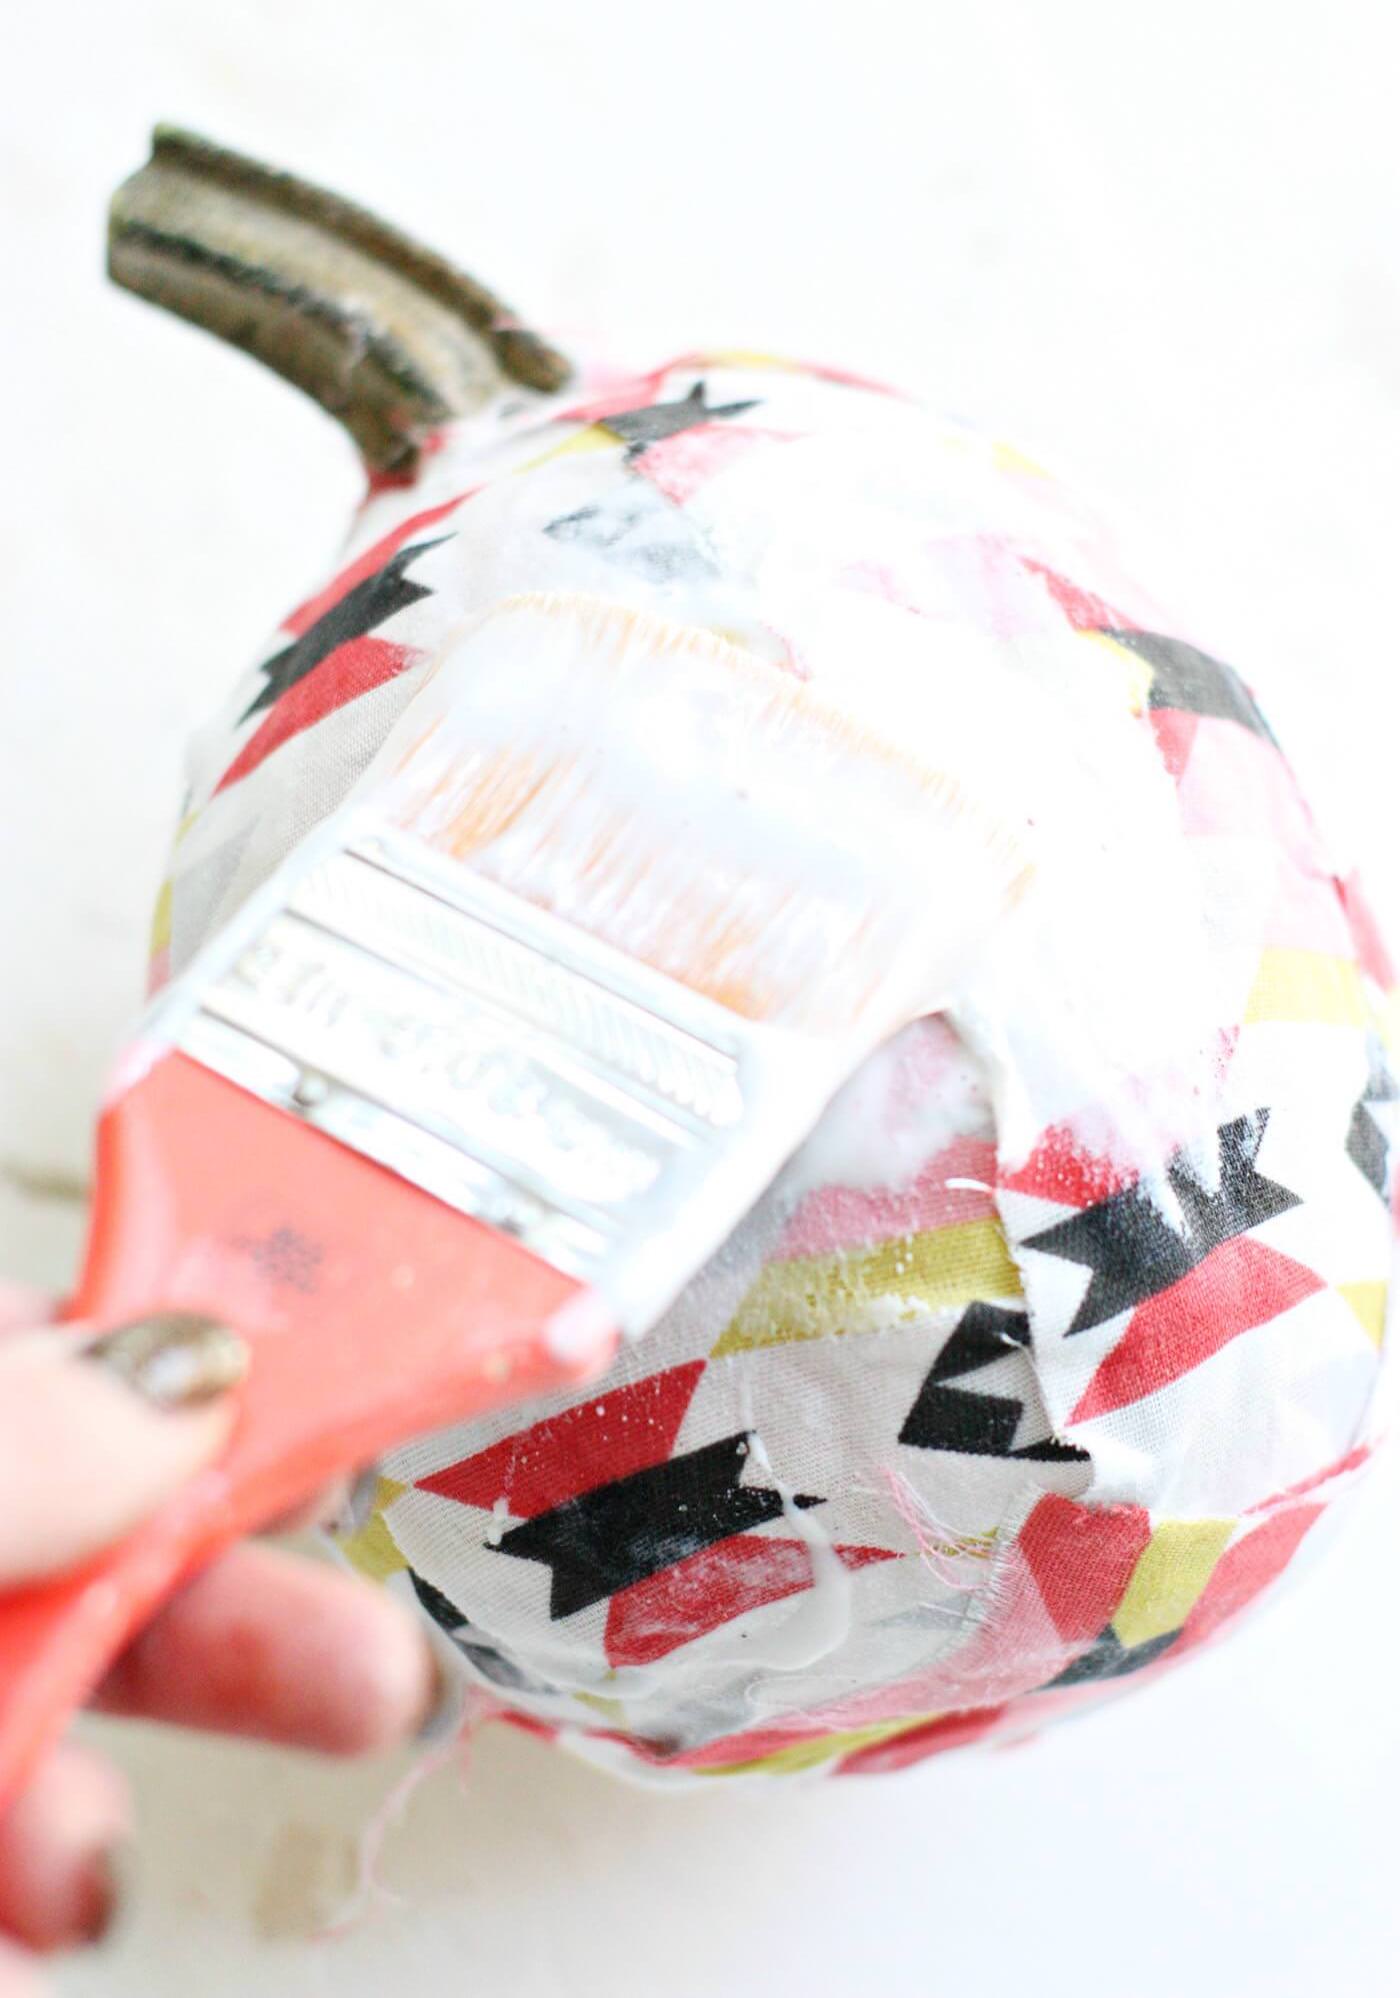
Cut fabric into 3 – 4 inch strips using scissors. Working one area at a time, apply a medium layer of Mod Podge to the pumpkin.
Apply the Fabric
Immediately after applying the Mod Podge, press a strip of fabric into the pumpkin. Work from the stem to the base and smoothing out any bubbles as you go
Cut off any excess fabric that may remain on the base to avoid too much bulk at the bottom of the pumpkin.
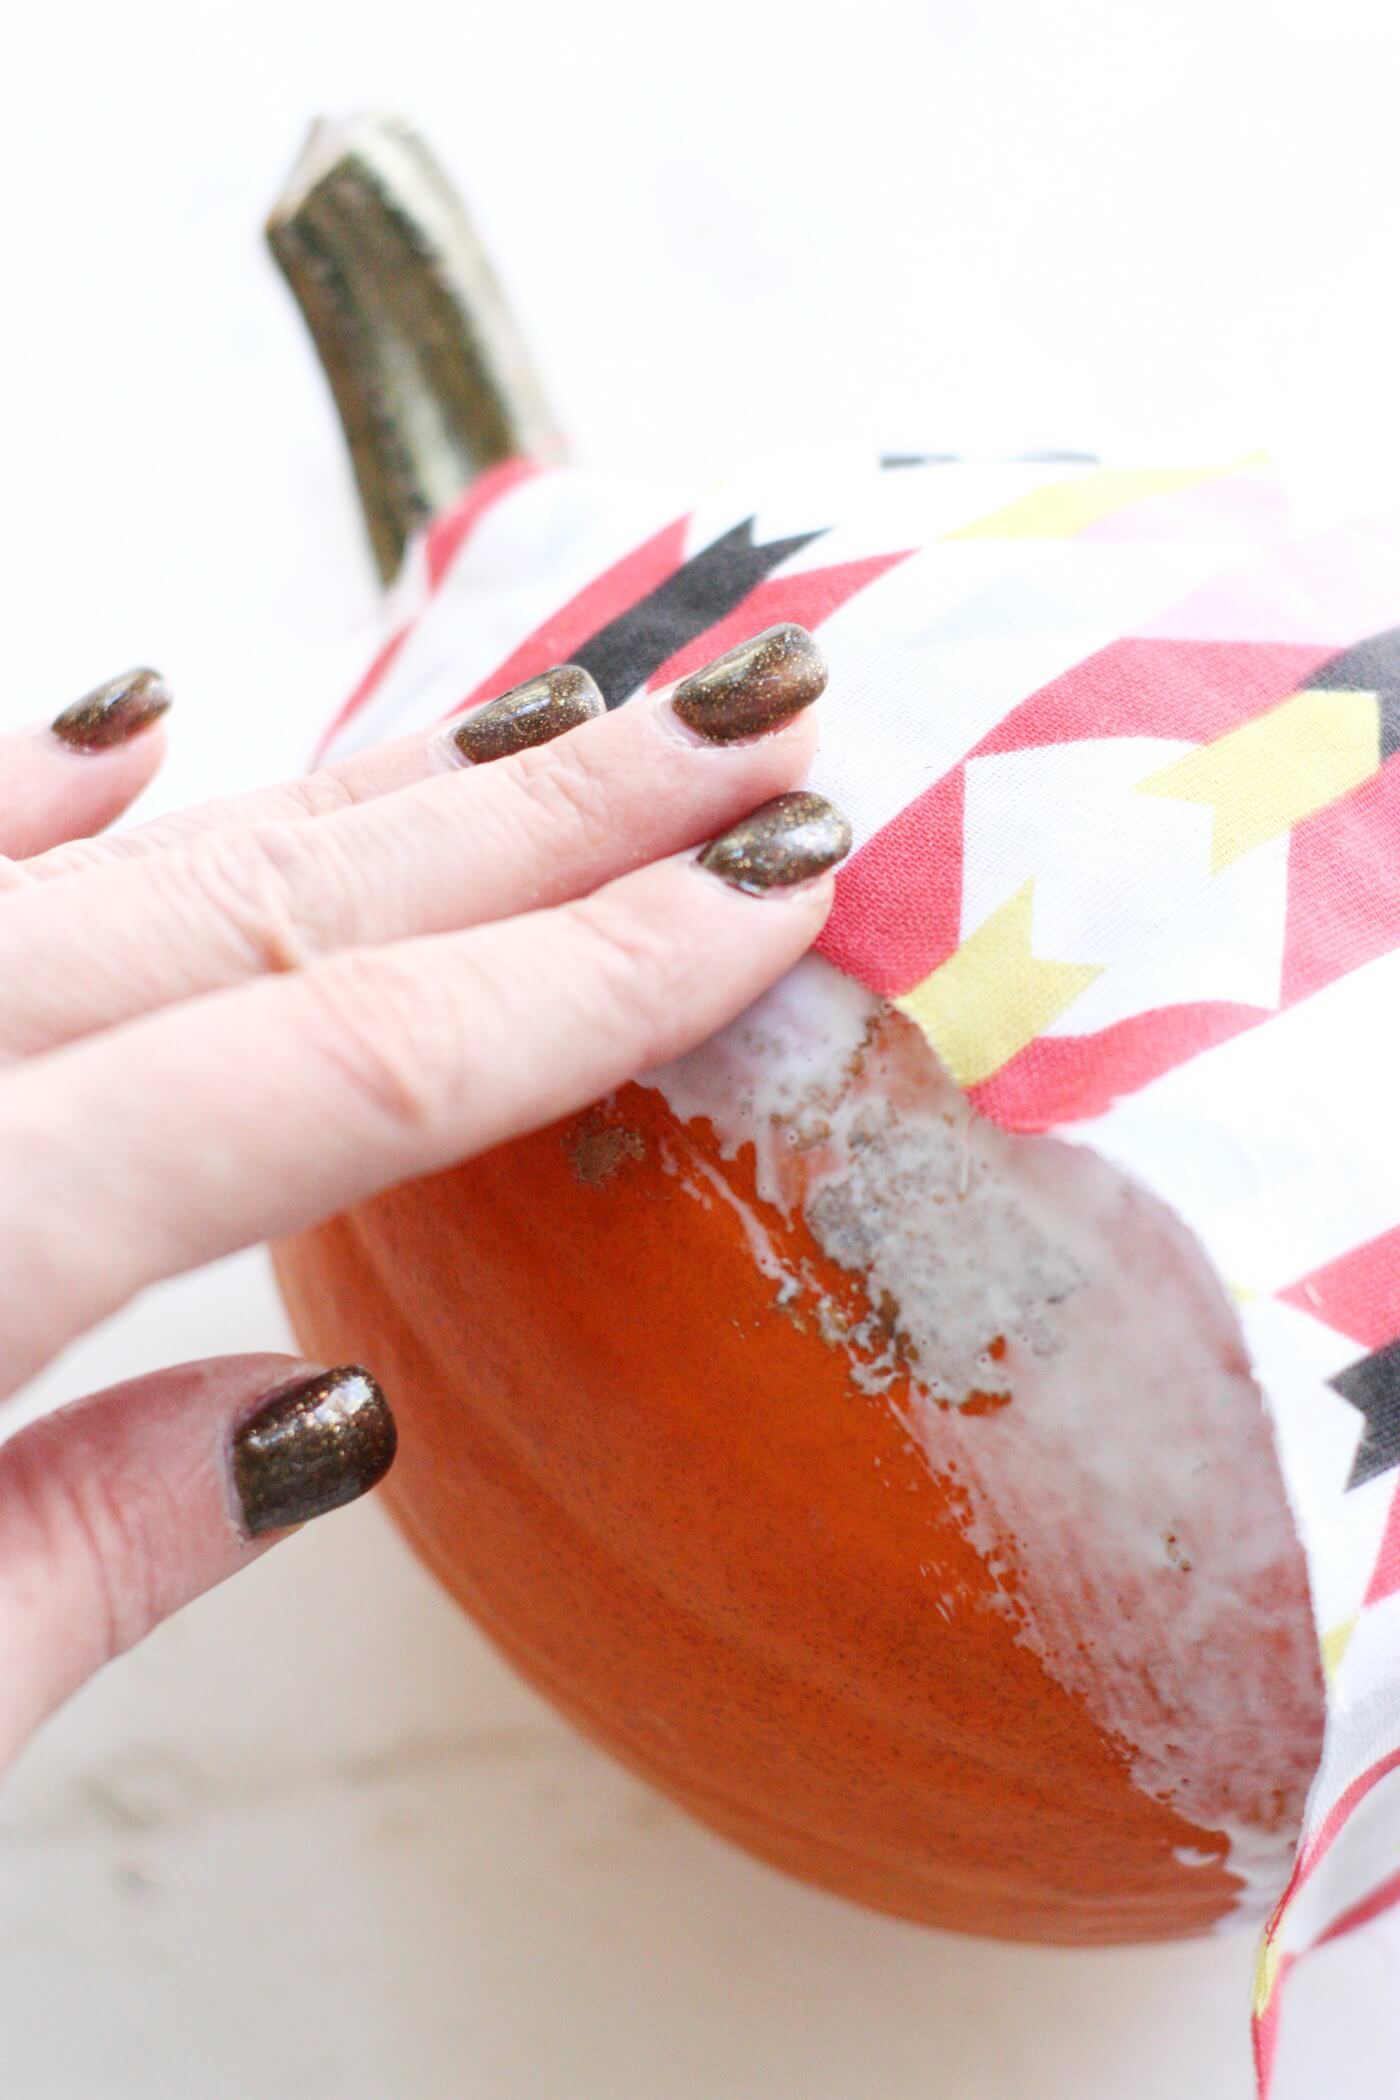
Continue working around the surface, applying fabric and Mod Podge until the entire gourd is covered and the fabric is smooth. Allow to dry for 20 minutes.
Seal the Pumpkin
Once pumpkin has dried, apply another generous layer of Mod Podge over the entire surface, continuing to smooth any bubbly places that might pop up. Let dry completely.
Paint the Stems
Paint the stem with an accent color using craft paint for a fun bit of added interest!
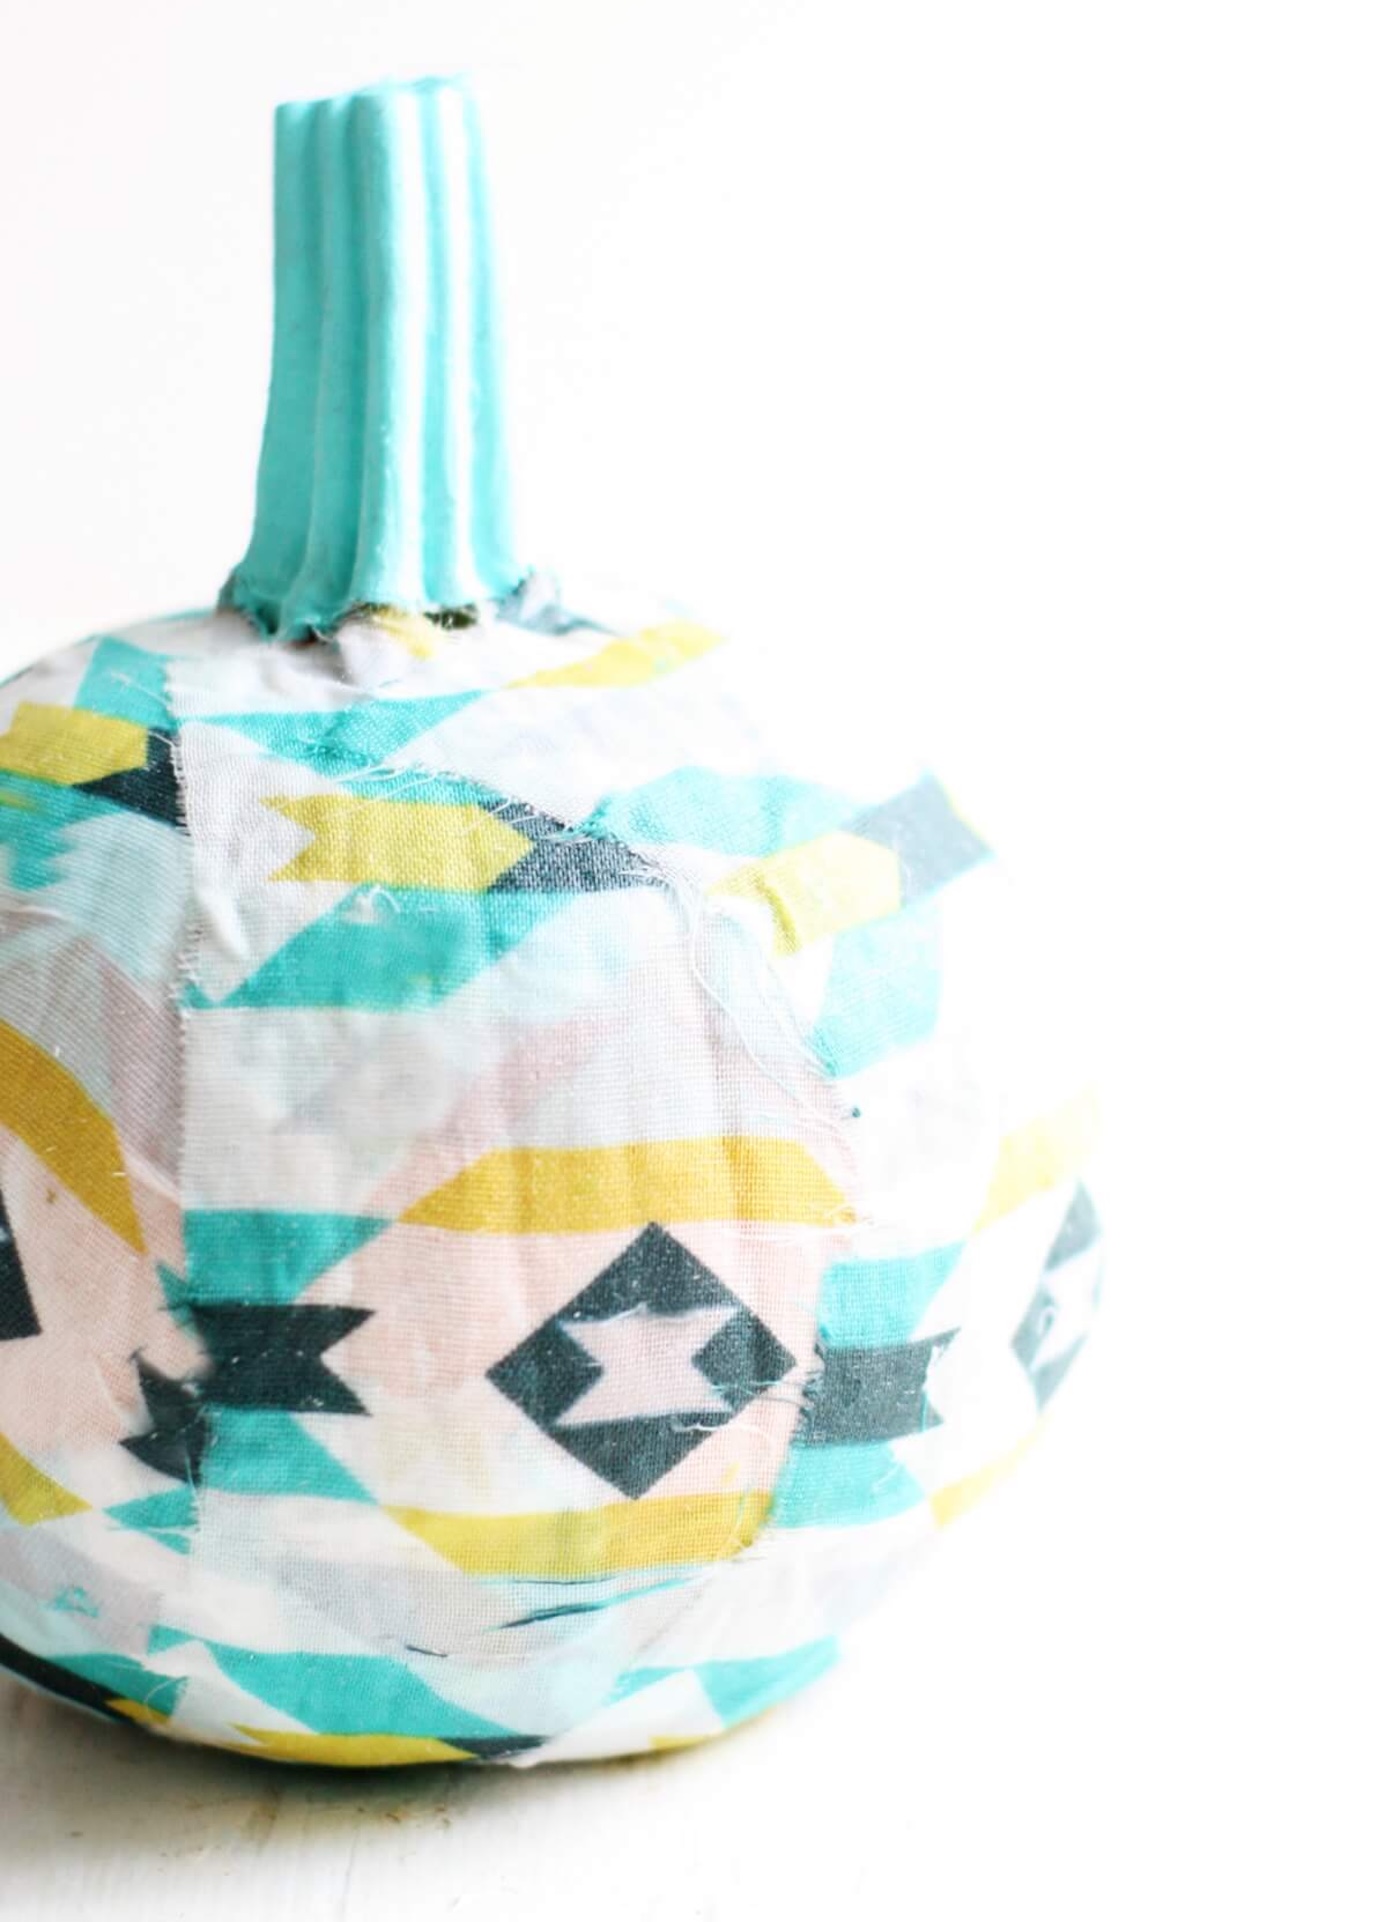
So fun, right? I love the texture of the fabric, and especially love the pop of color at the stems. They are the happiest little cuties to see when I walk into my kitchen and they have given me a major itch to cover every gourd in site with the cutest fabrics I can find!
So friends, never stick your hand in a goo-filled pumpkin again or risk losing fingers by carving that jack ‘o lantern! Hallelujah.
What is your favorite way to decorate pumpkins without carving them? How would you customize these and which fabric would you choose? Give me all the ideas! I’d also love for you to check out the following autumn projects:
Book Page Pumpkin • DIY Pumpkin Garland • DIY Pumpkin Stand • Fall Gnomes • Leaf Cork Trivets • Mini Fall Banners • Mini Pumpkin Vases • Mini Pumpkin Wreath • Pumpkin Carving Ideas • Scrapbook Paper Leaf Art • Toilet Paper Pumpkins • Wine Cork Pumpkins


