DIY Outdoor Table for a Charming Backyard Oasis
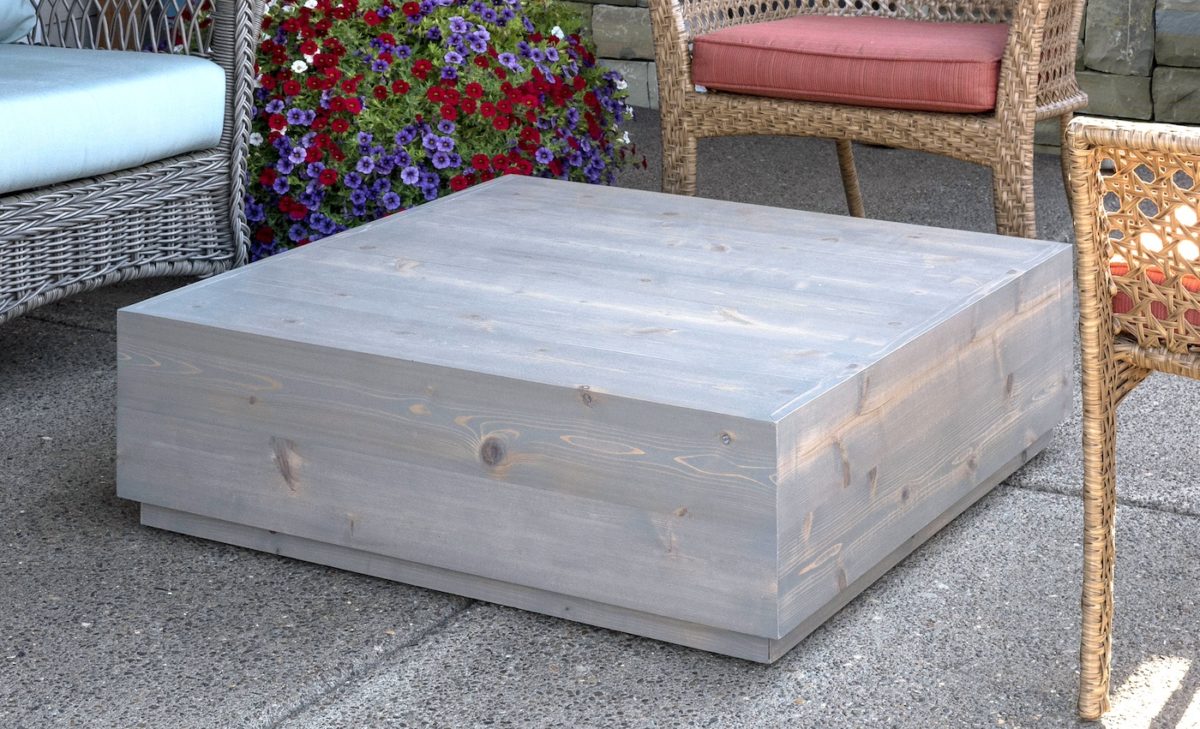
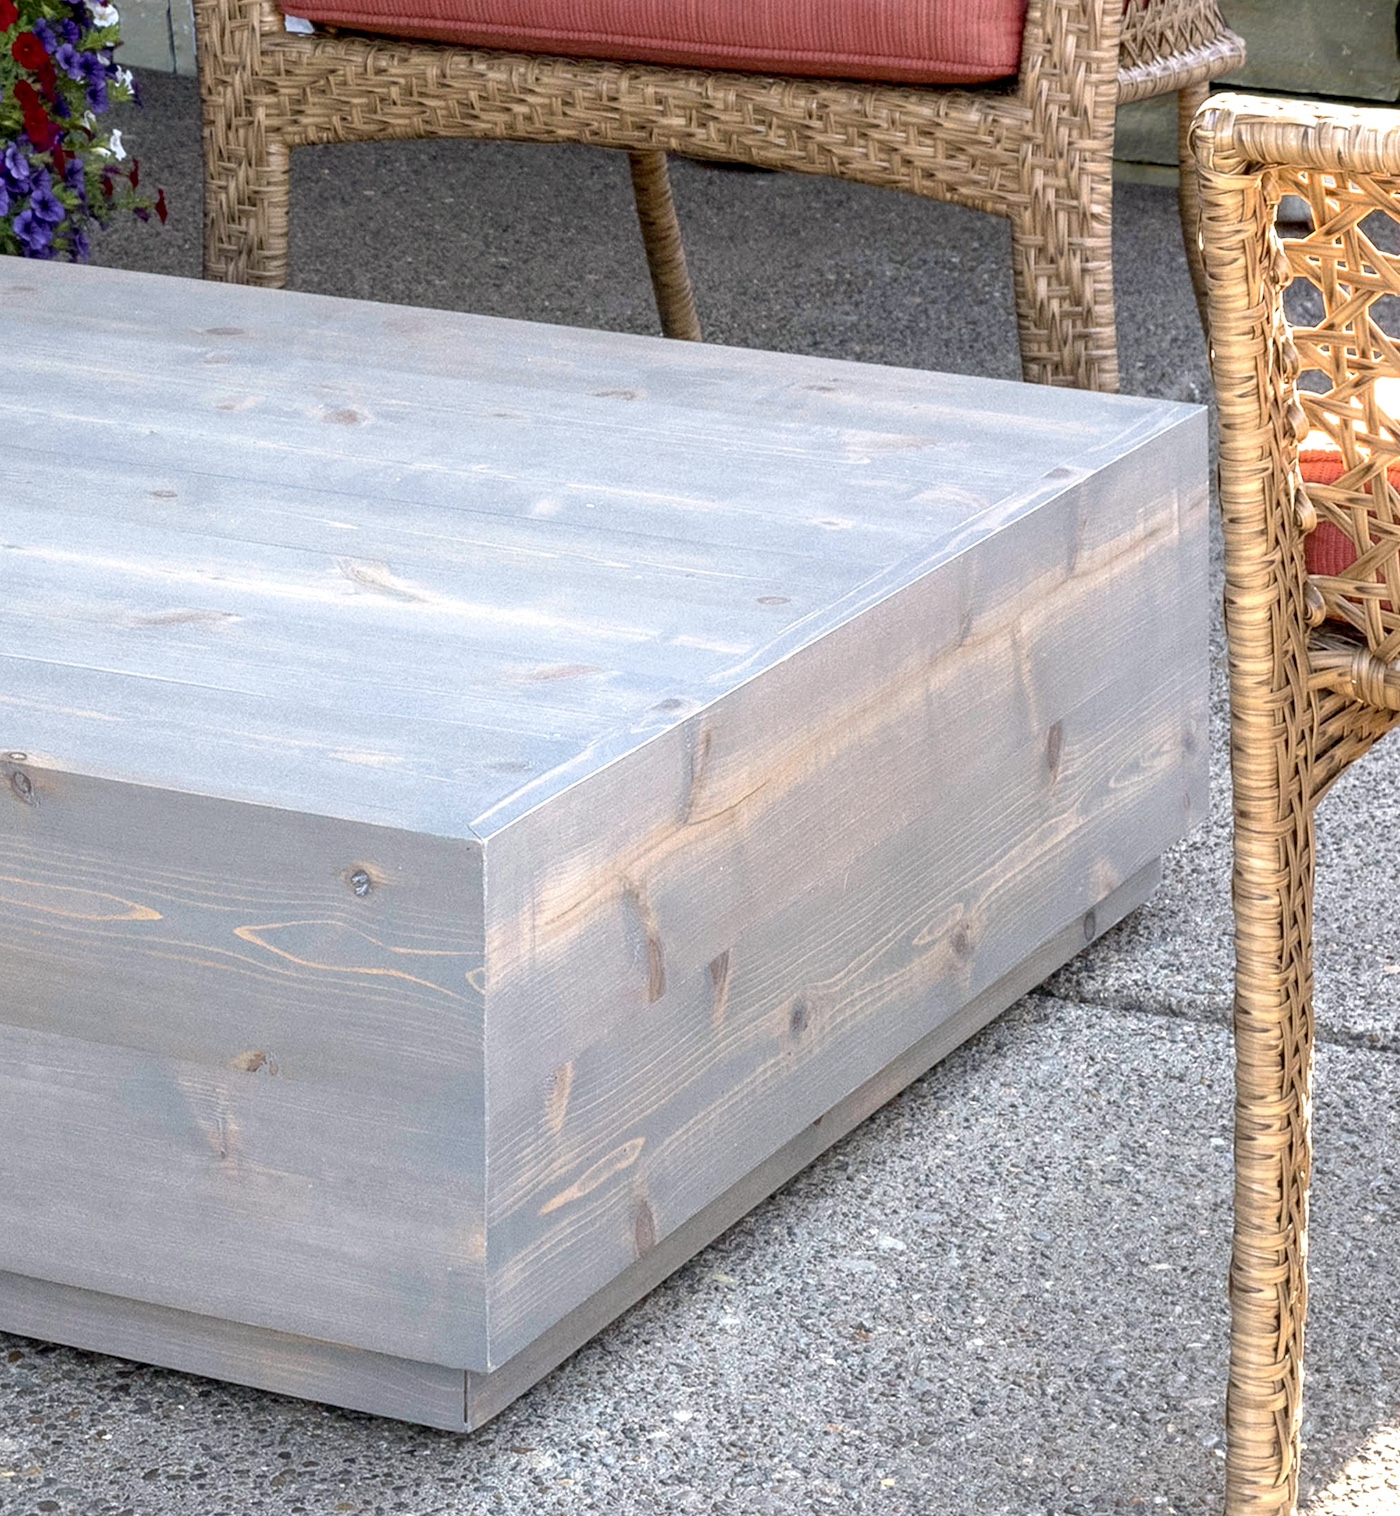
Build a DIY outdoor table using these simple plans! This DIY patio table is low with clean lines and works with a variety of outdoor decor. If you like patio furniture that is modern with a rustic feel, this will meet your needs.
Skills Required: Intermediate Beginner. This is a great project for beginning woodworkers, but you should have some familiarity with the tools and have built at least a few basic items.
We have a favorite pastime around here, and involves catalogs and table saws. It also involves quite a bit of money savings. I know, we have a weird definition of “fun”.
But seriously, Steve and I like to look through catalogs or magazines and find our favorite items at (in our opinion) totally outrageous prices. Then we try to DIY these items, creating our own interpretation to fit our style and space.
If you’ve seen our modern entry bench, pallet wood coffee table, or outdoor bench then you’ve seen some of those interpretations I’m talking about.
In this case, the creation process was initiated by my mother. She brought Steve and I a Restoration Hardware catalog and asked us to make a DIY outdoor table “inspired by” the Marbella teak side table:
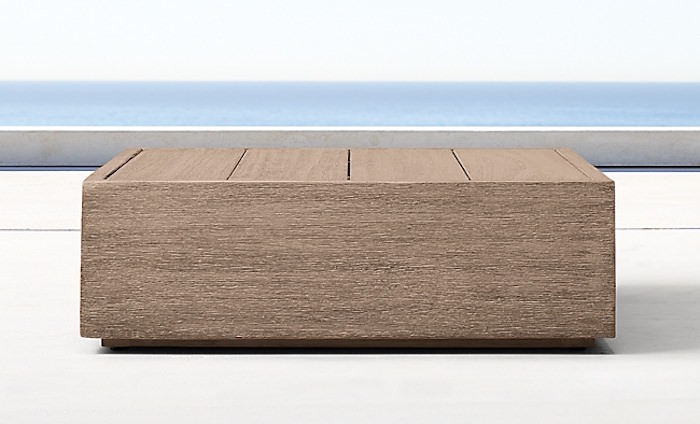
You’ll notice the price tag is $700, though I should note that the product is teak. Regardless of the material, no one in my family wants to spend that much on patio furniture, so we decided to make our own version. And that’s how this DIY outdoor table came about.
She didn’t really have any criteria for her DIY patio table, just a general size. The plan for the table was to sit in a partially covered area, and act as a coffee table for some outdoor chairs. We live in the Pacific Northwest, so significant rain is a consideration.
Tips for Making This Table
I’m excited to dive in and show you how it’s made, but before I give you the skinny on how to make this outdoor furniture piece, I want to address a few topics of interest for those who might have specific questions. If you want to dive right into the tutorial – scroll down.
Wood to Use
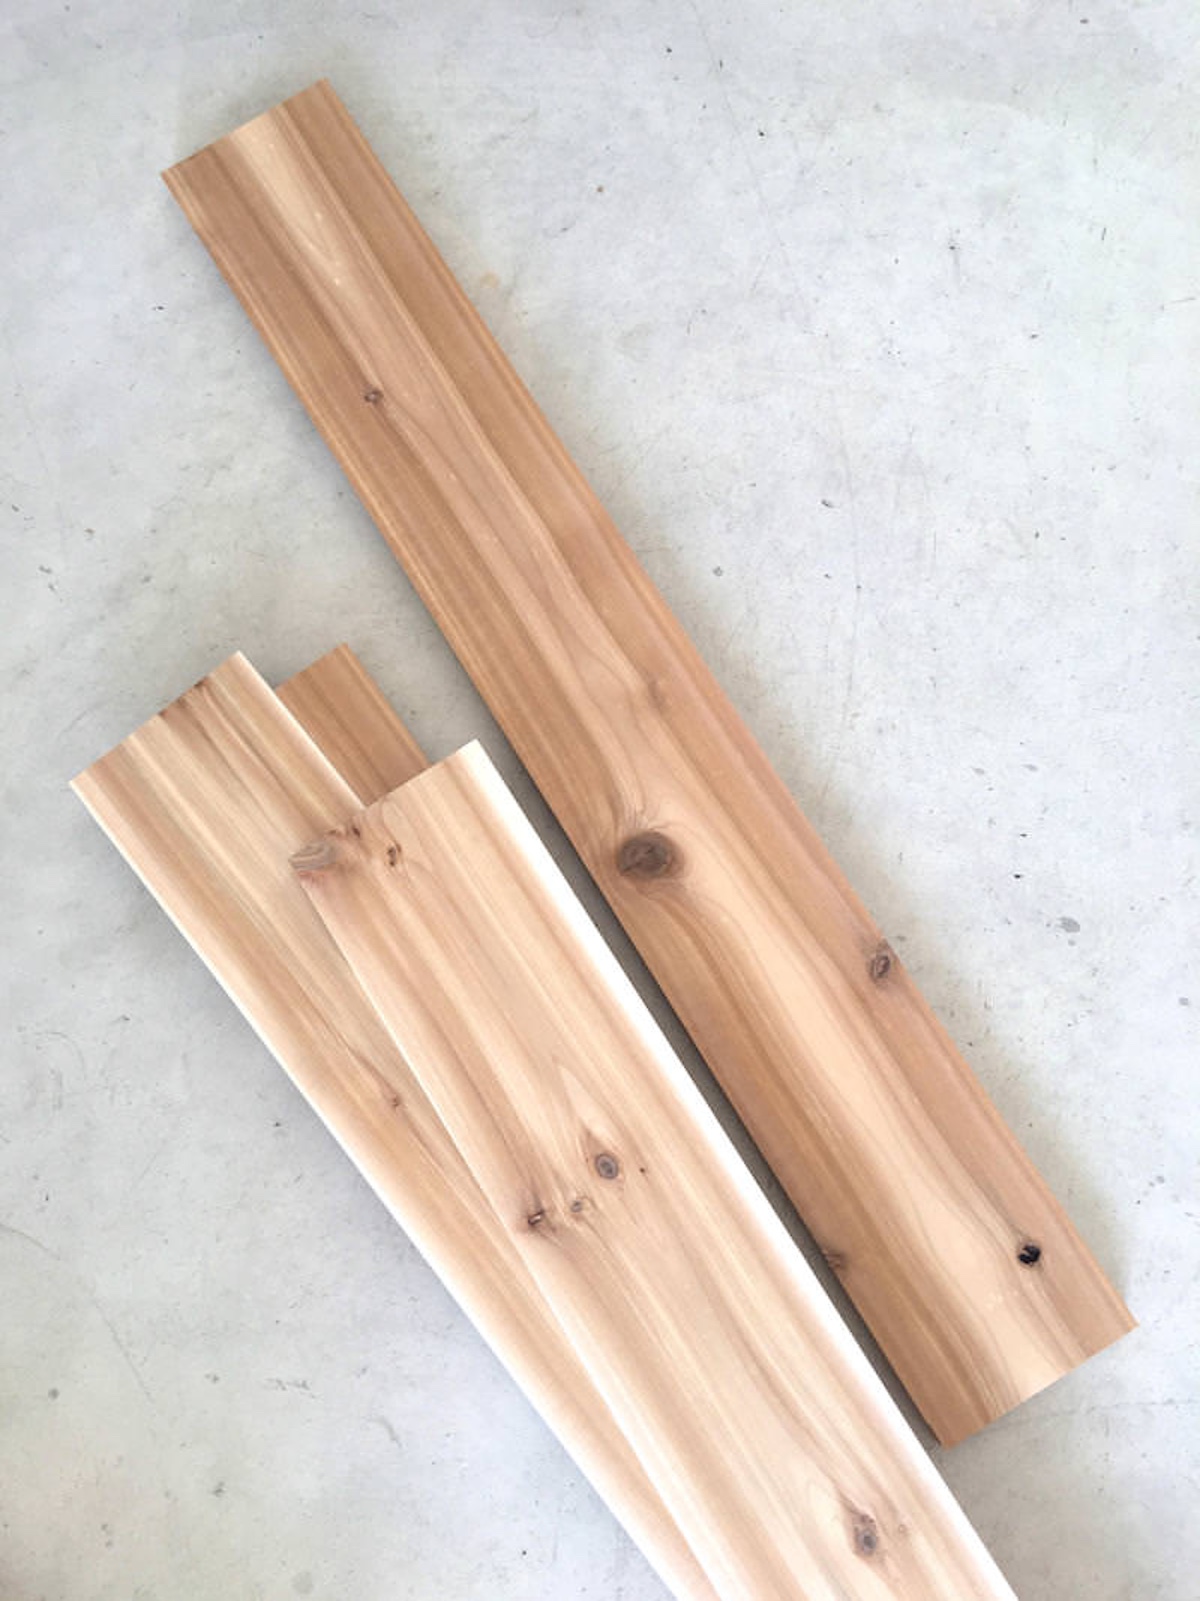
For DIY patio furniture, we like to use cedar. There are a few reasons, the most important being the natural resistance to water. This table sits outdoors (partially covered) and we live in the Pacific Northwest. So lots of rain.
I also love the stability of cedar. It’s not prone to warping or sagging. It’s very resistant to bugs and mold doing any damage. We feel cedar gives our DIY outdoor table the best chance of retaining its original look over the next several decades.
Staining or Painting
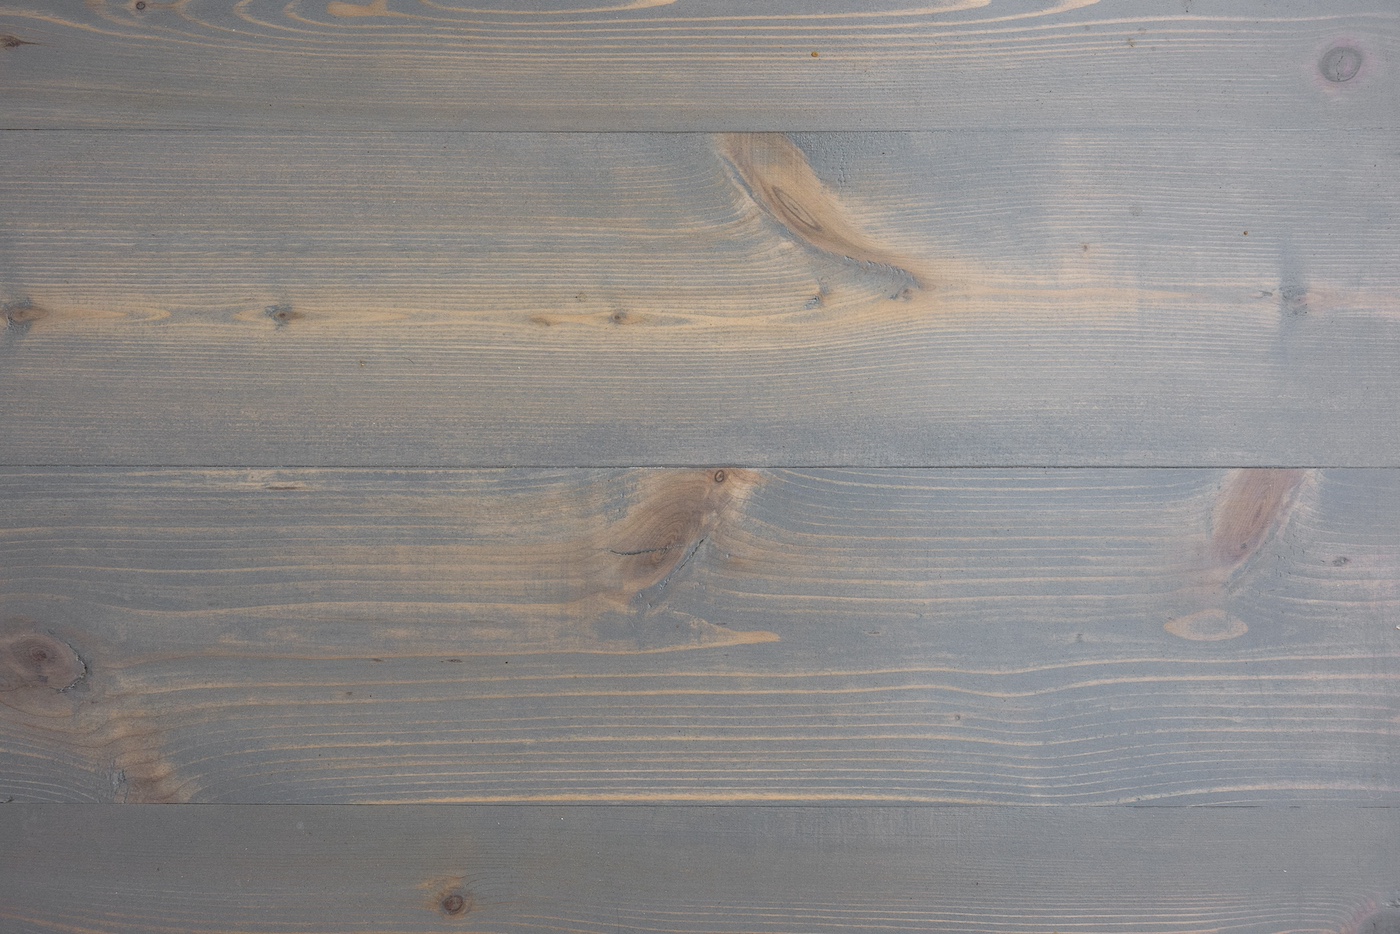
Cedar weathers very well, and goes into a gray or silvery shade with age. This is true even for the reddest cedar trees. You can either stain or paint this table, but I recommend staining. This will let the natural beauty and aging of the wood show through.
My mom ended up finishing the table after Steve built it, with a nice Behr outdoor stain. She finished it with an outdoor polycrylic for extra protection.
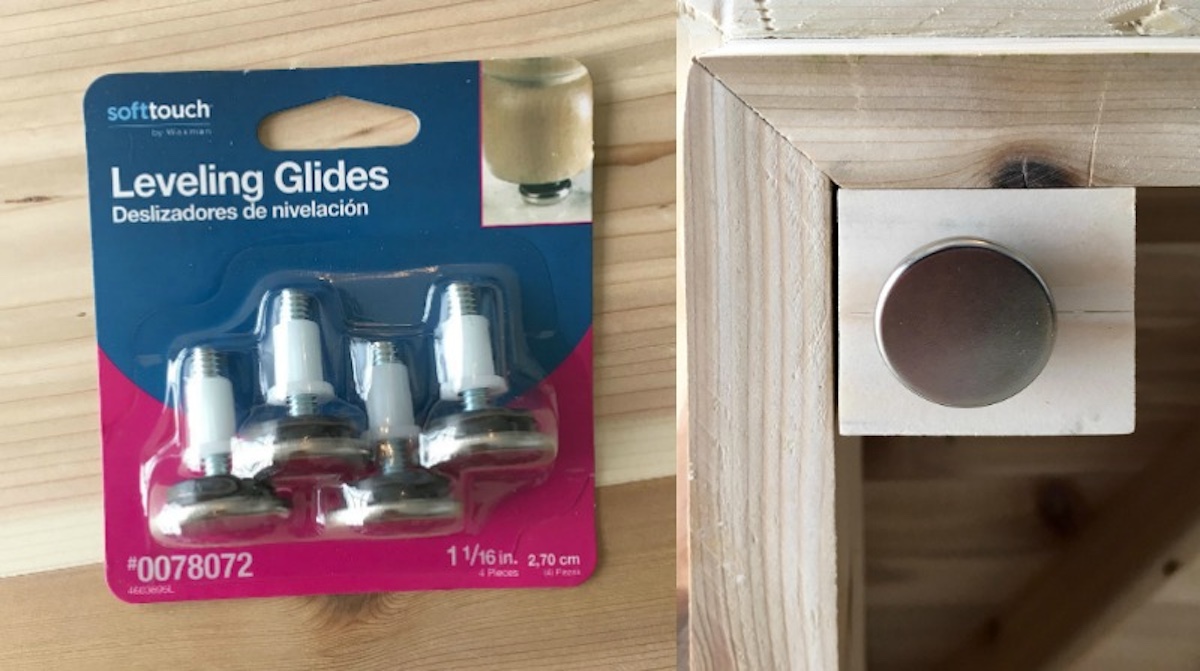
Leveling on Your Patio
One thing you have to keep in mind for any DIY patio table is that the surface it’s going to go on might not be even. In fact, it’s likely not to be even.
For those sort of situations where your handmade furniture piece might not be level, add leveling guides. You can adjust them if the floor isn’t level, making the piece even.
I’m going to be honest – we use them on nearly everything, even when the floor is level.
Are you ready to dive into the project? Keep reading to learn how to make it. Please read the whole tutorial before beginning!
Gather These Supplies
- Cedar decking planks
- 1”x 6”x 8’ (eight)
- 1”x 4”x 8’ (three)
- Wood screws, 1 1/4″ and 2″ – we used over 100 of the shorter and 50 of the longer
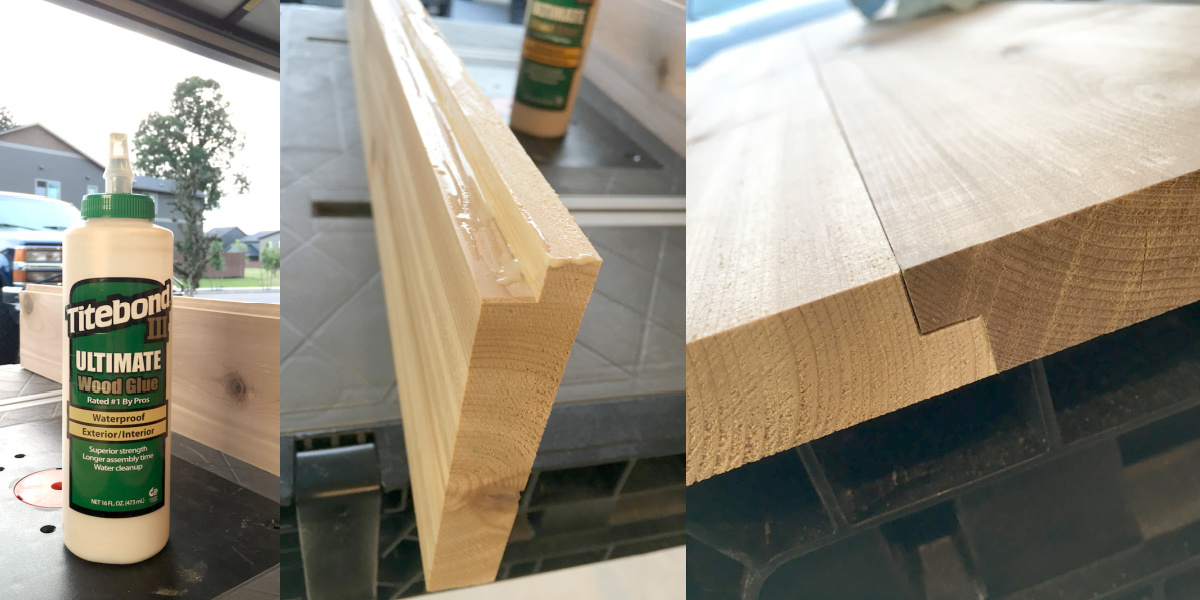
- Exterior wood glue like Titebond III Ultimate
- Leveling glides
- Stain of your choice
Tools
- Ryobi table saw
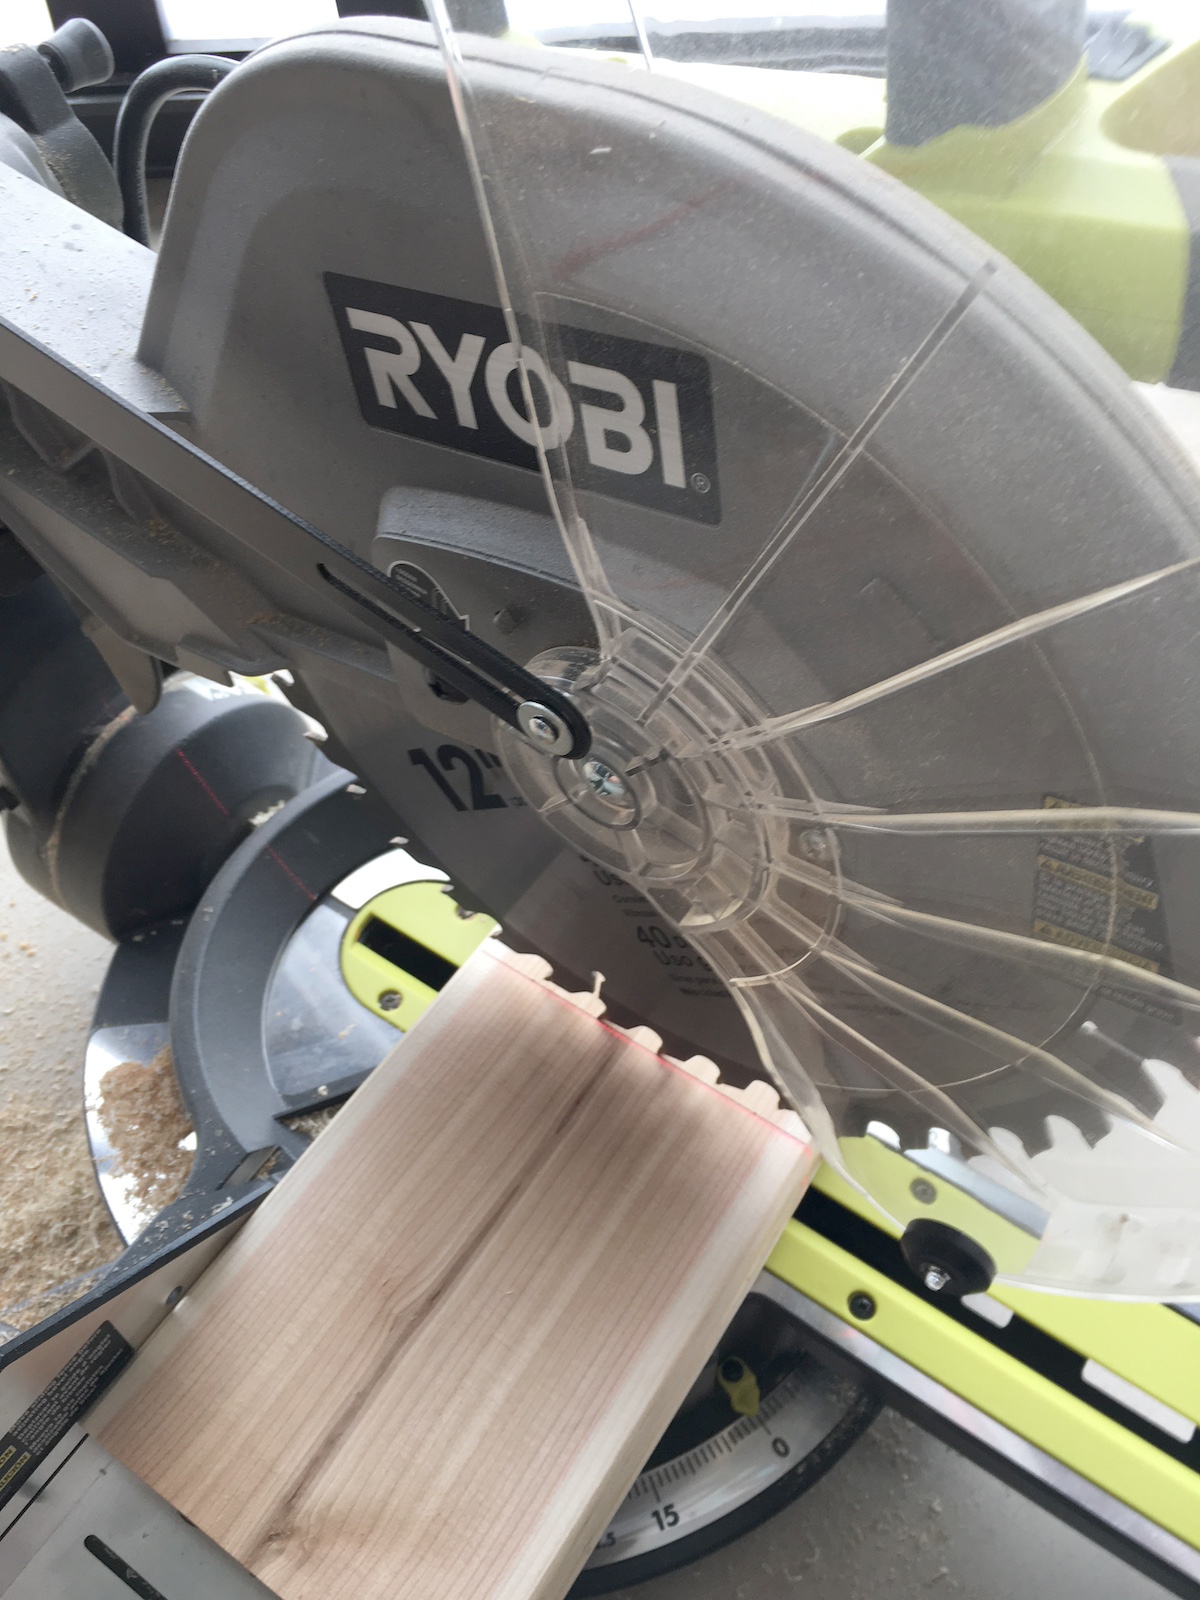
- Ryobi miter saw
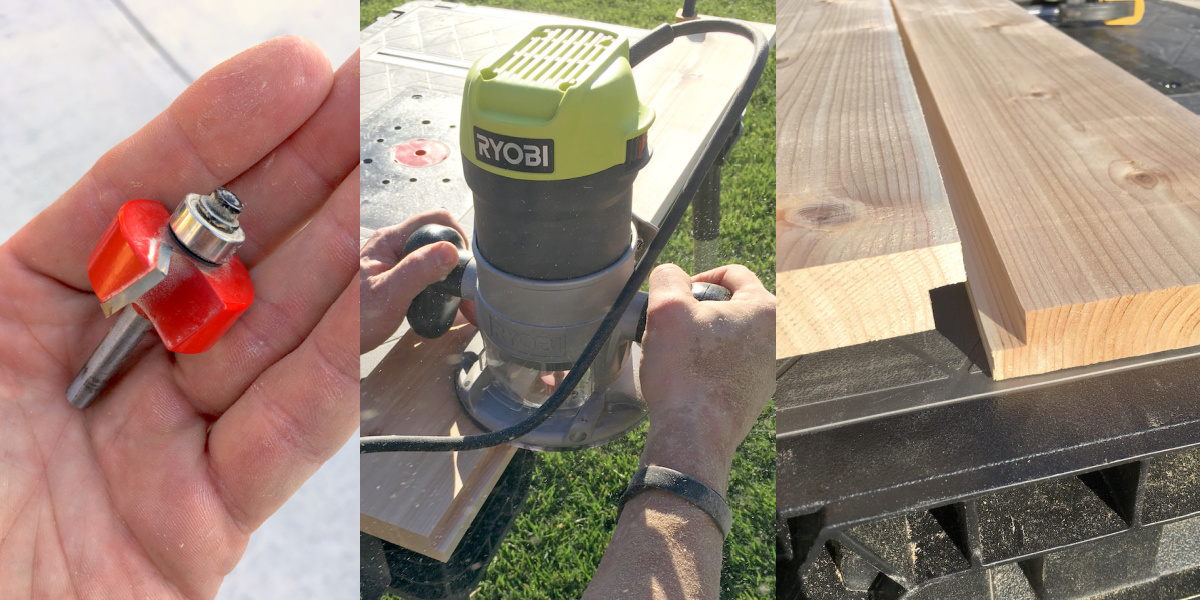
- Ryobi router with 1/2″ rabbeting router bit
- Drill with 7/64″ drill bit and a 3/8″ countersink drill bit
- Kreg Jig
- Bar clamps
Get the printable how to card for this project below:
DIY Outdoor Table
Equipment
- 1 Miter saw
- 1 Ryobi router with 1/2" rabbeting router bit
- 1 Drill with drill bits including a 7/64" drill bit and a 3/8" countersink drill bit
- 1 Kreg Jig
- Bar clamps
Materials
- Wood screws 1 1/4″ and 2″ – we used over 100 of the shorter and 50 of the longer
- Leveling glides
- Exterior wood glue like Titebond III Ultimate
Cedar Decking Planks
- 8 1”x 6”x 8’
- 3 1”x 4”x 8’
Instructions
Building the Sides
- Start with four (4) 1” x 6” x 8’ cedar decking planks. Use a miter saw to cut them into eight pieces 1” x 4” x 36”.
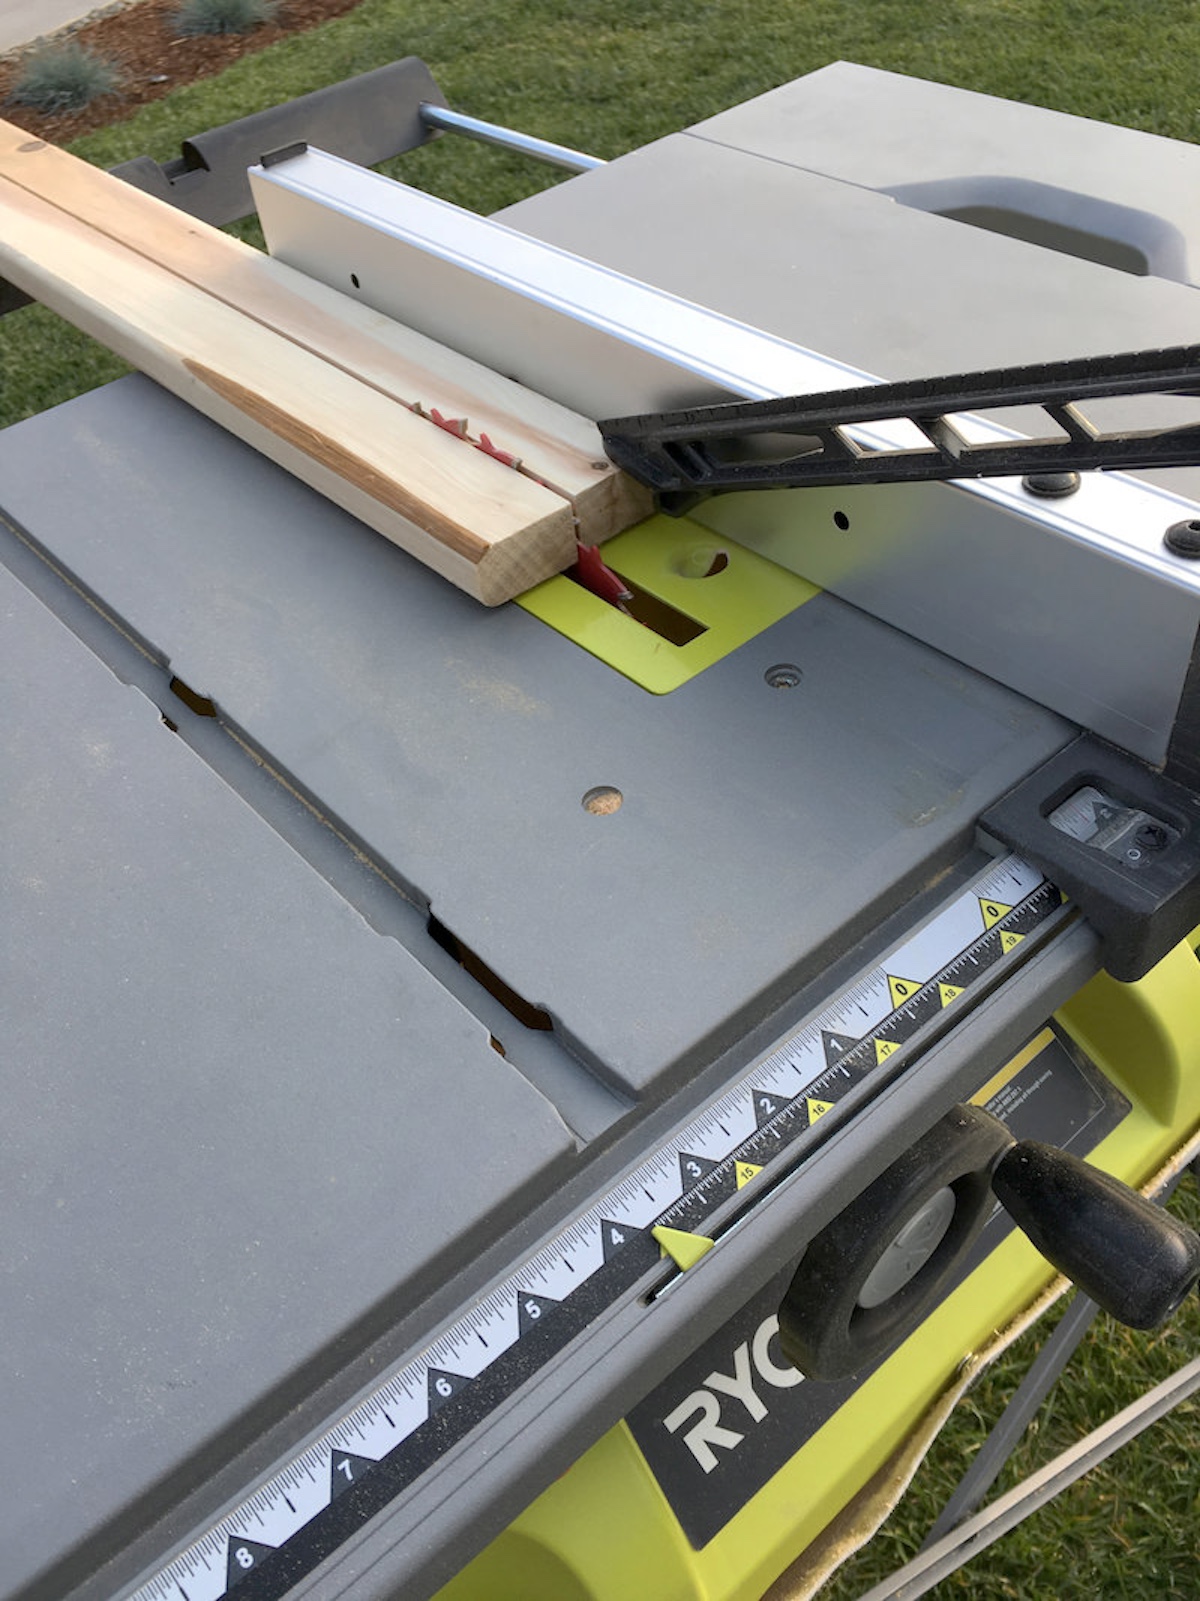
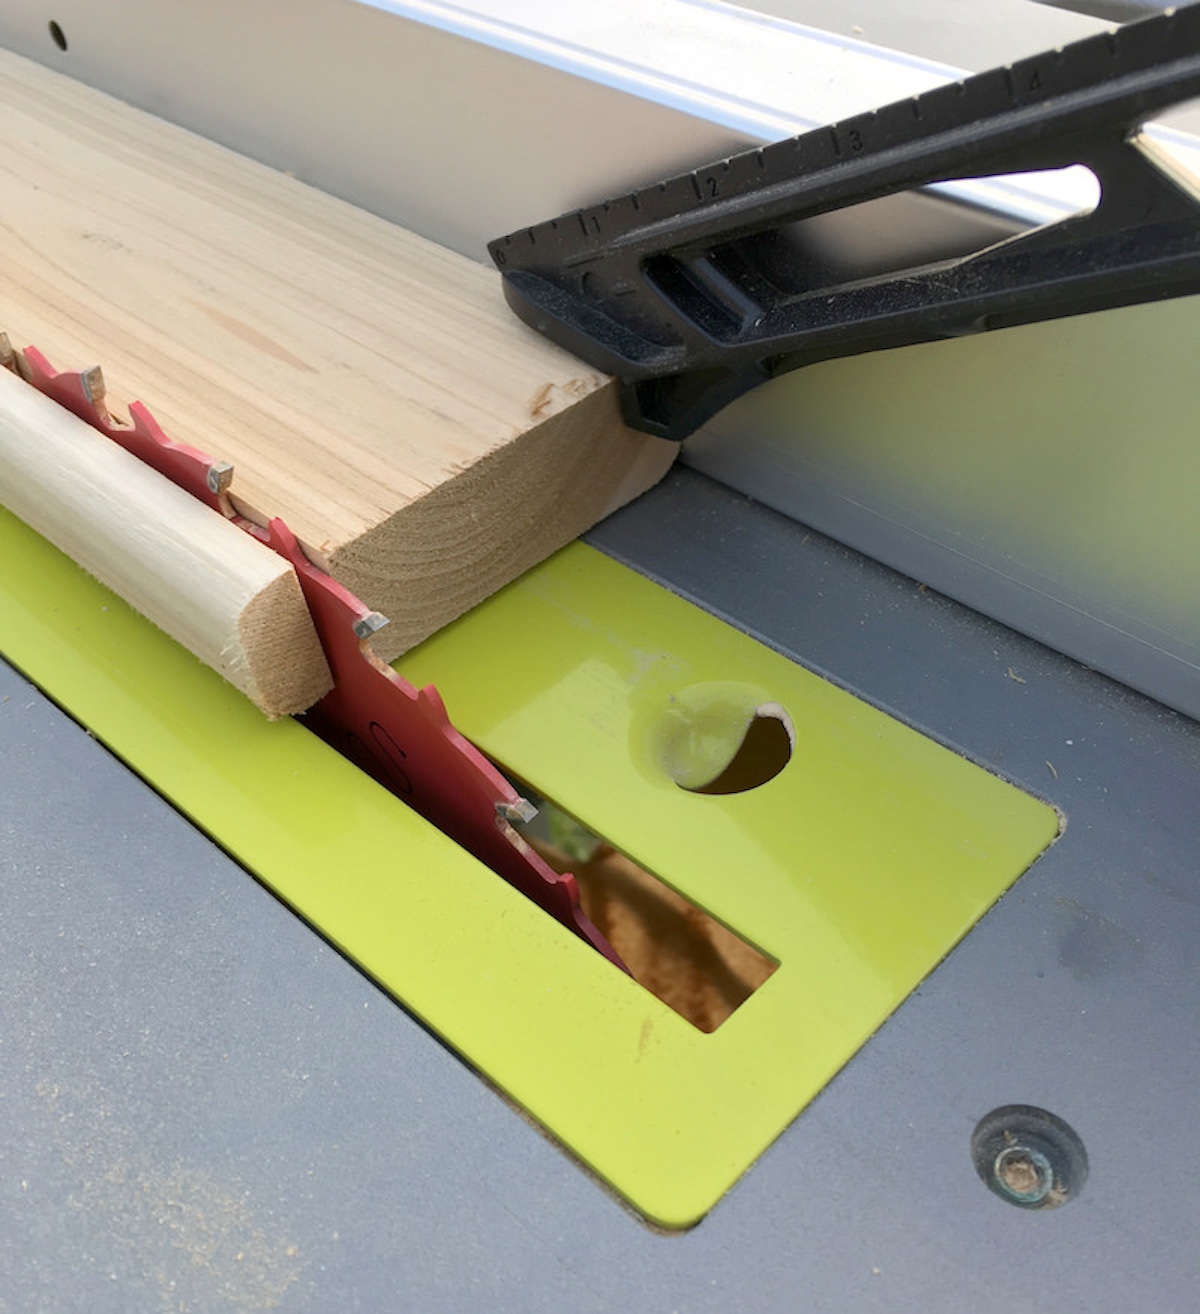
- Use a table saw to rip 1/4″ off of both edges on those eight pieces. This removes the rounded edges, and leaves you with a nice square edge on each piece. They will also be 5″ wide.
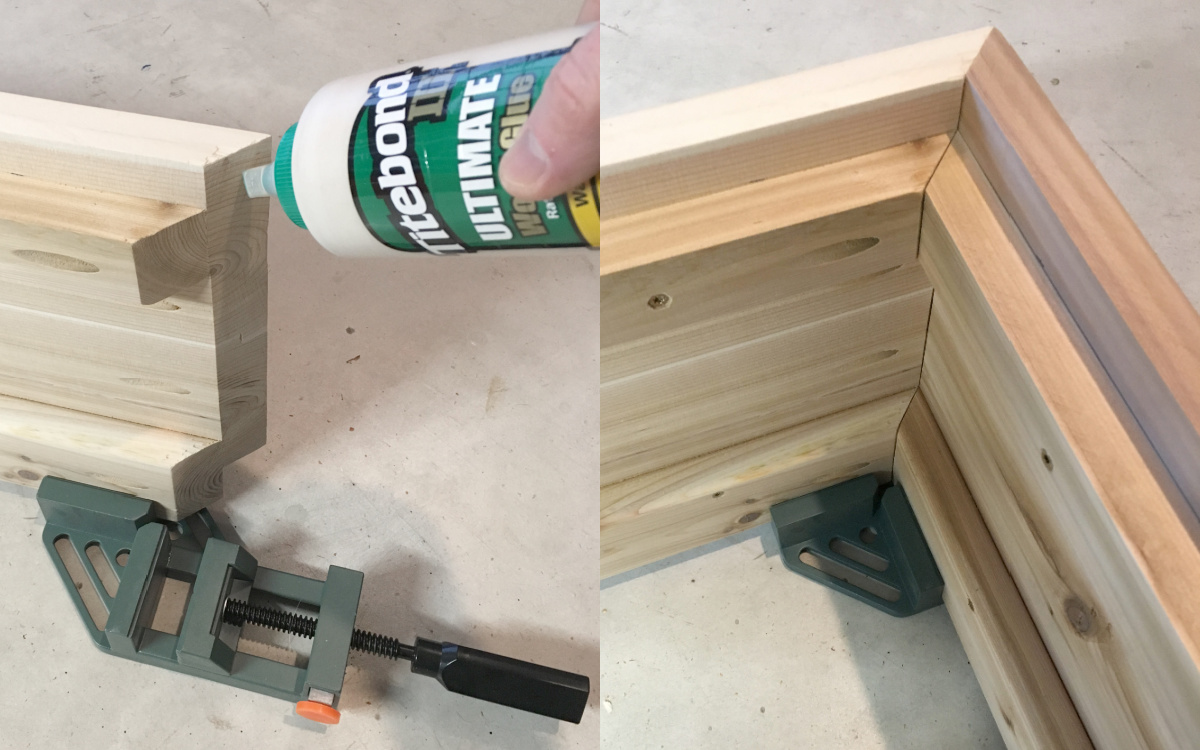
- Use a router and a 1/2” rabbeting router bit to remove half of the thickness on one long edge of each plank.
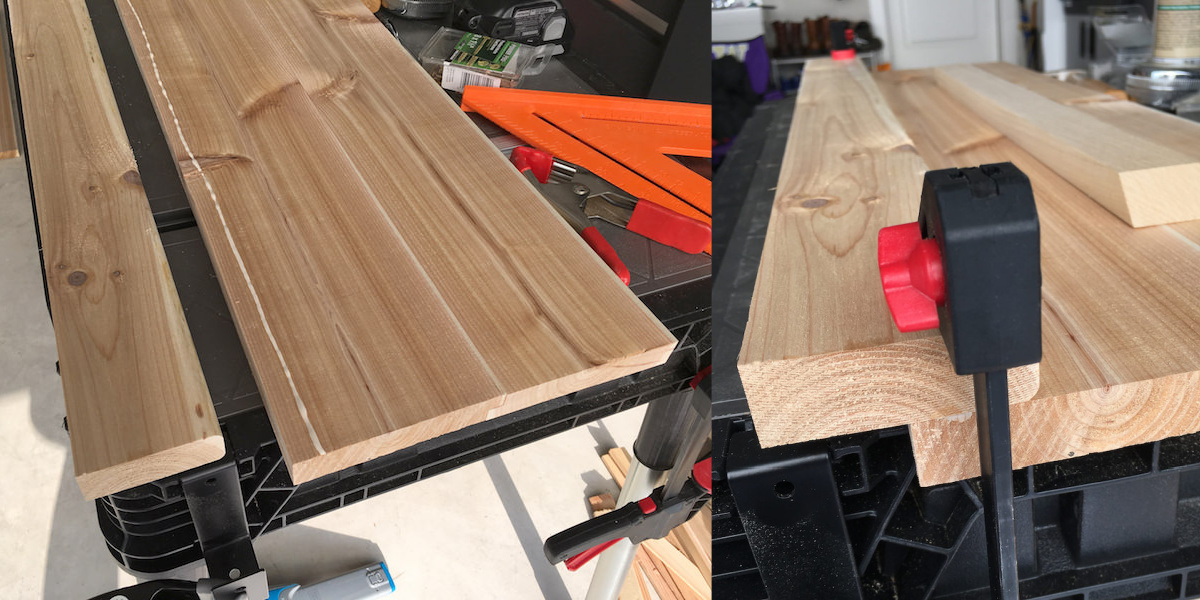
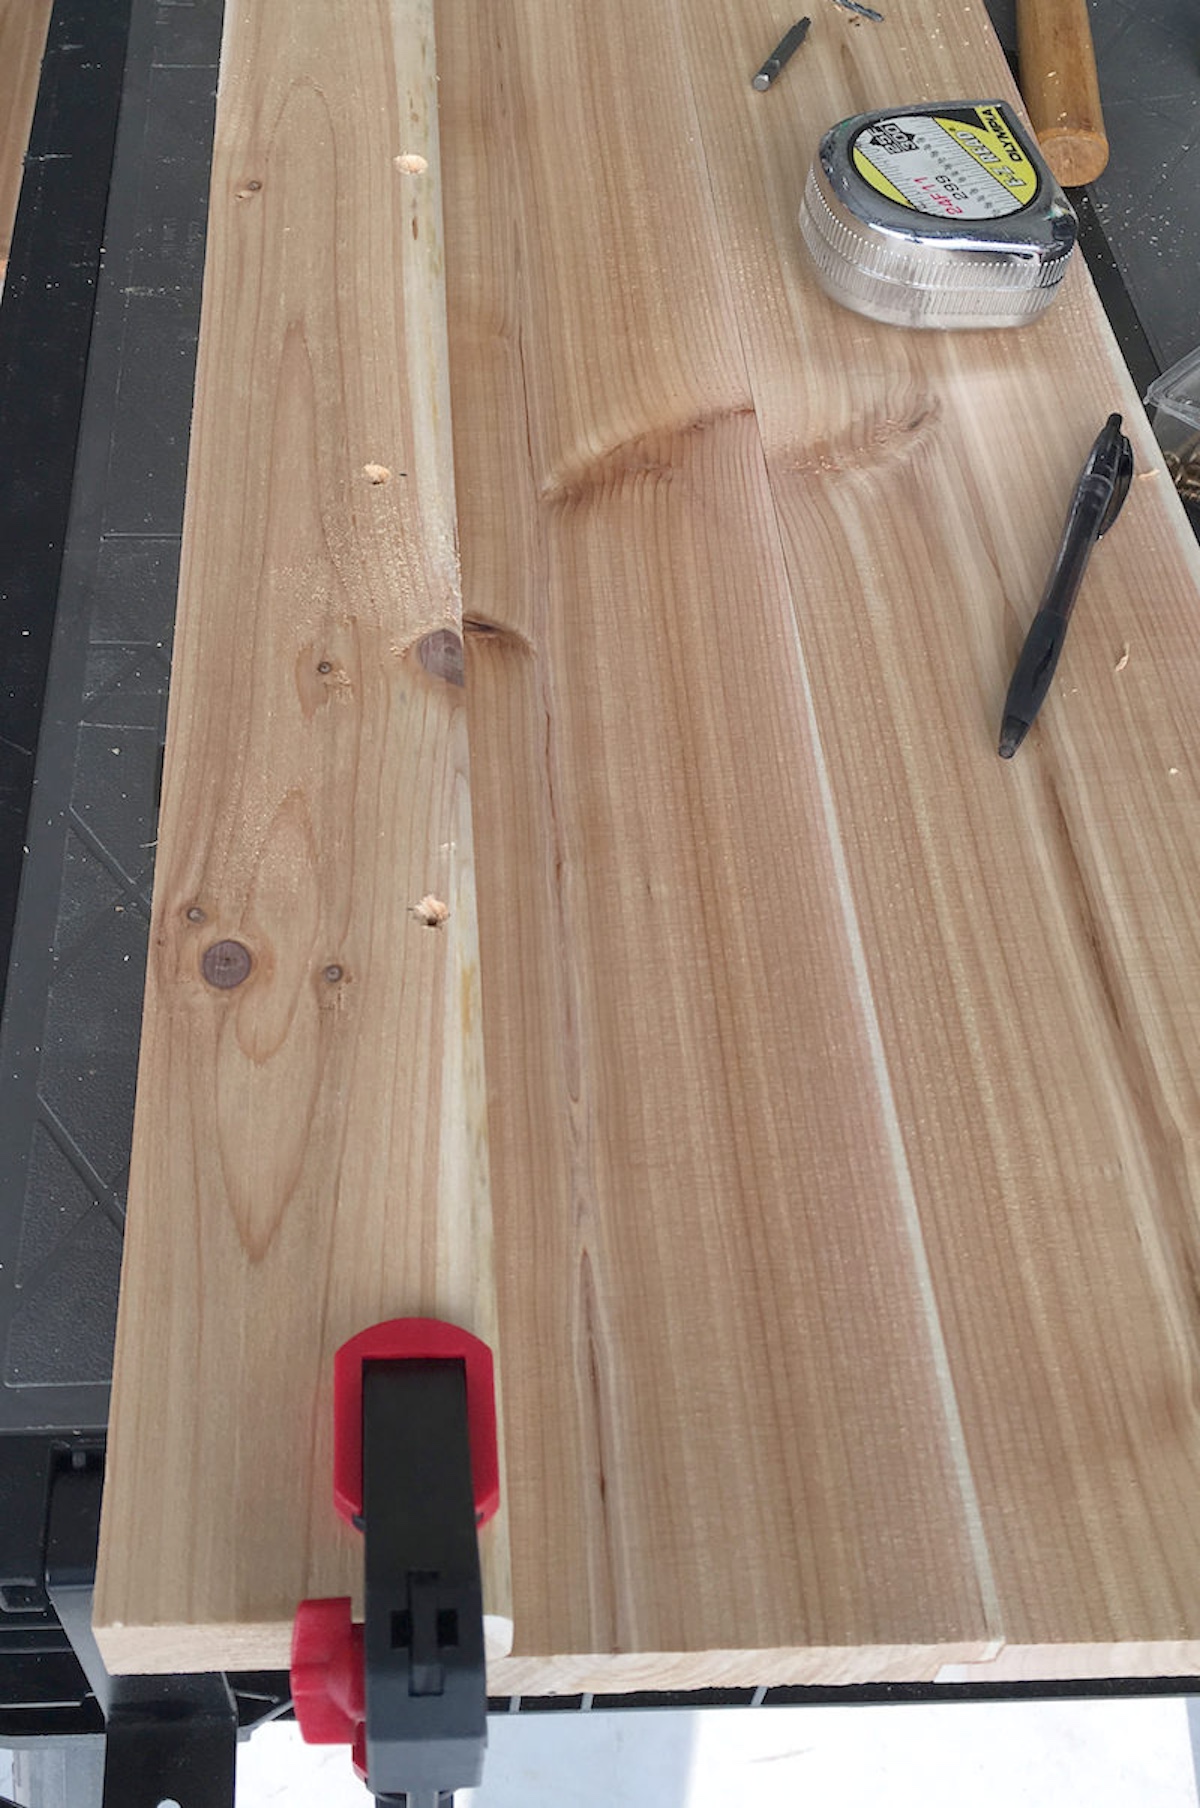
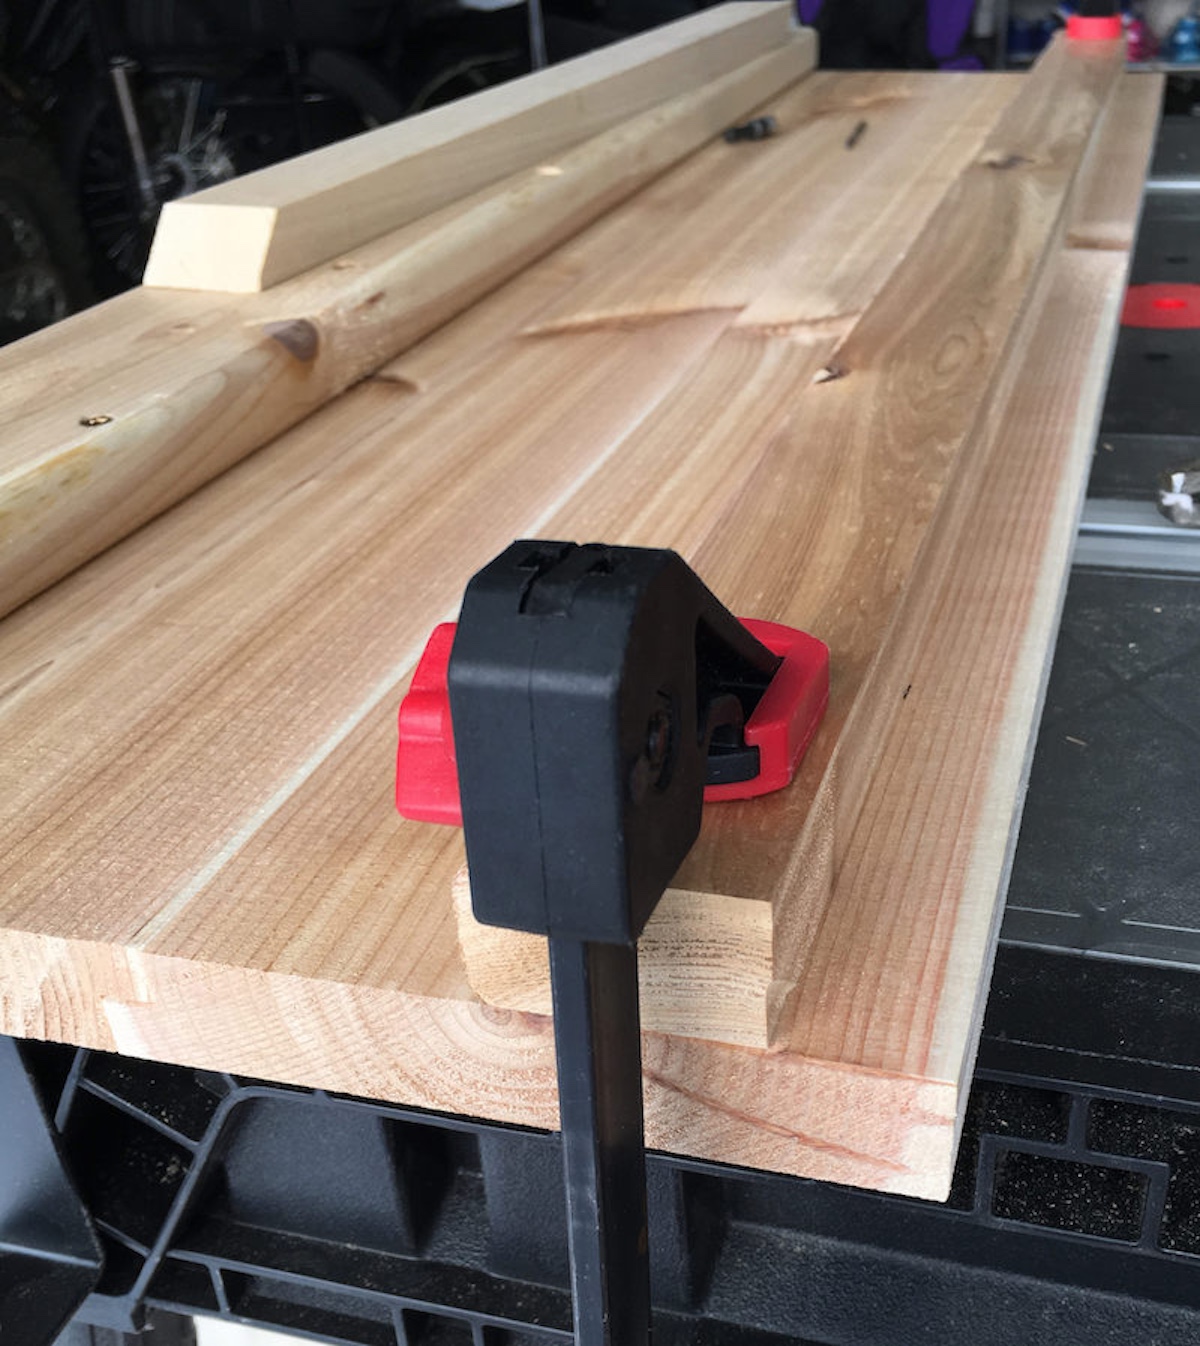
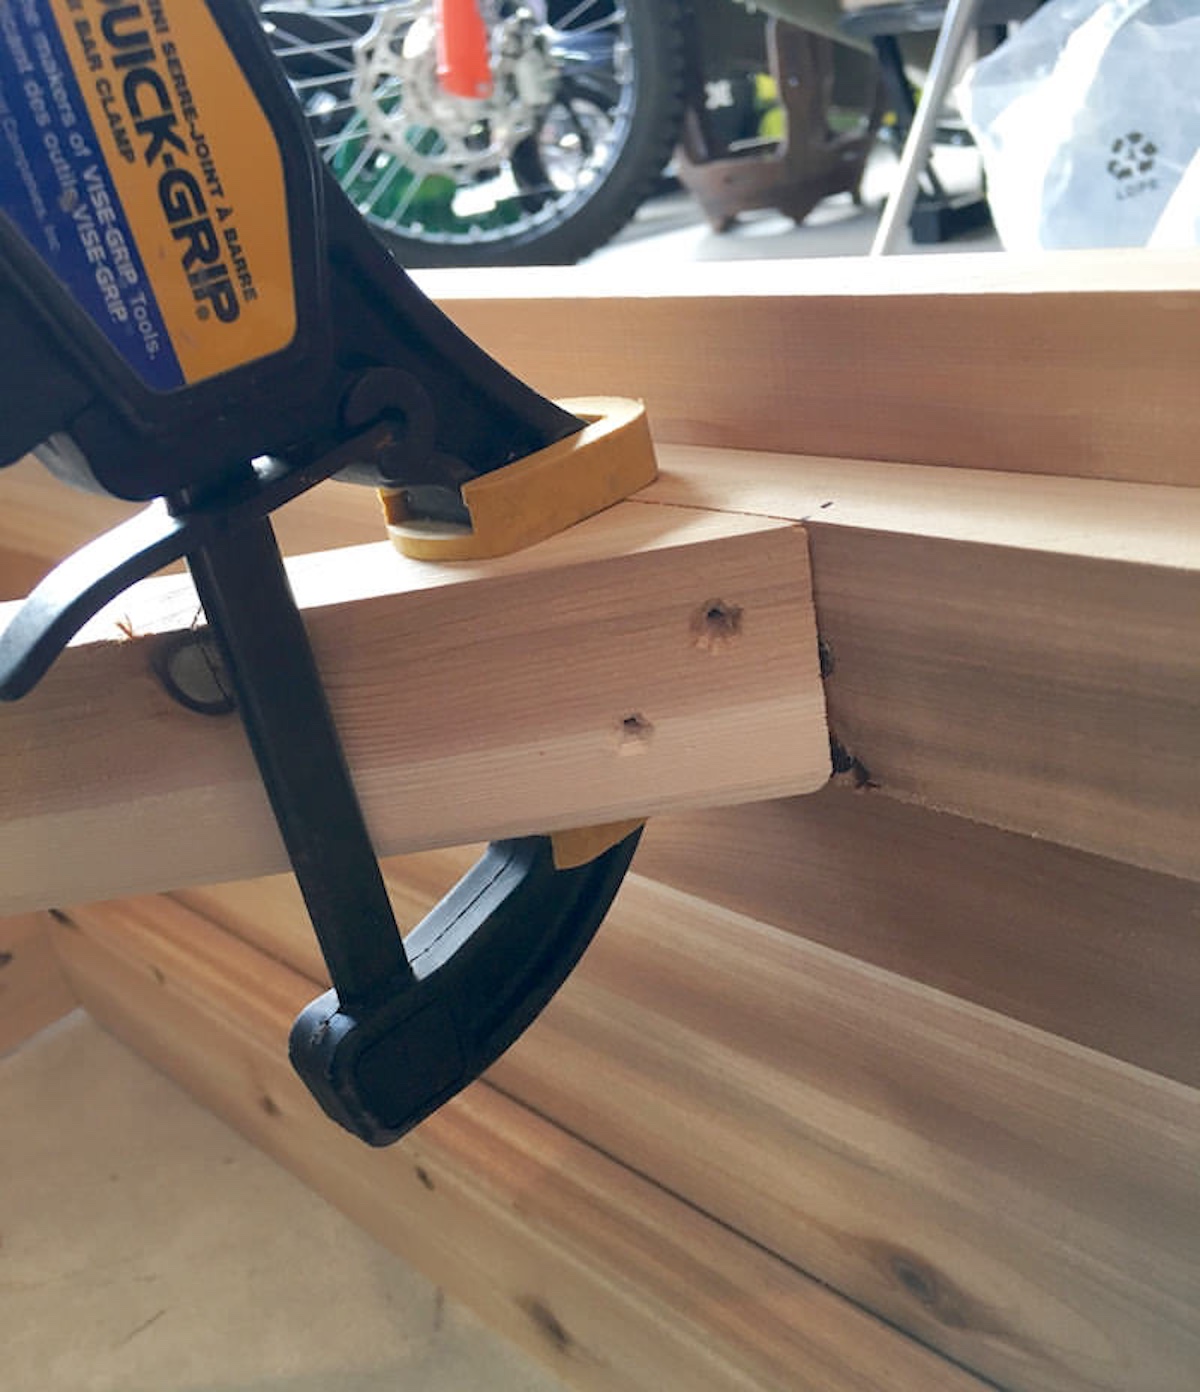
- Use an exterior wood glue to glue two of the planks together – creating a rabbet joint. You’ll do this four times, gluing two boards each time. These will be your side planks.
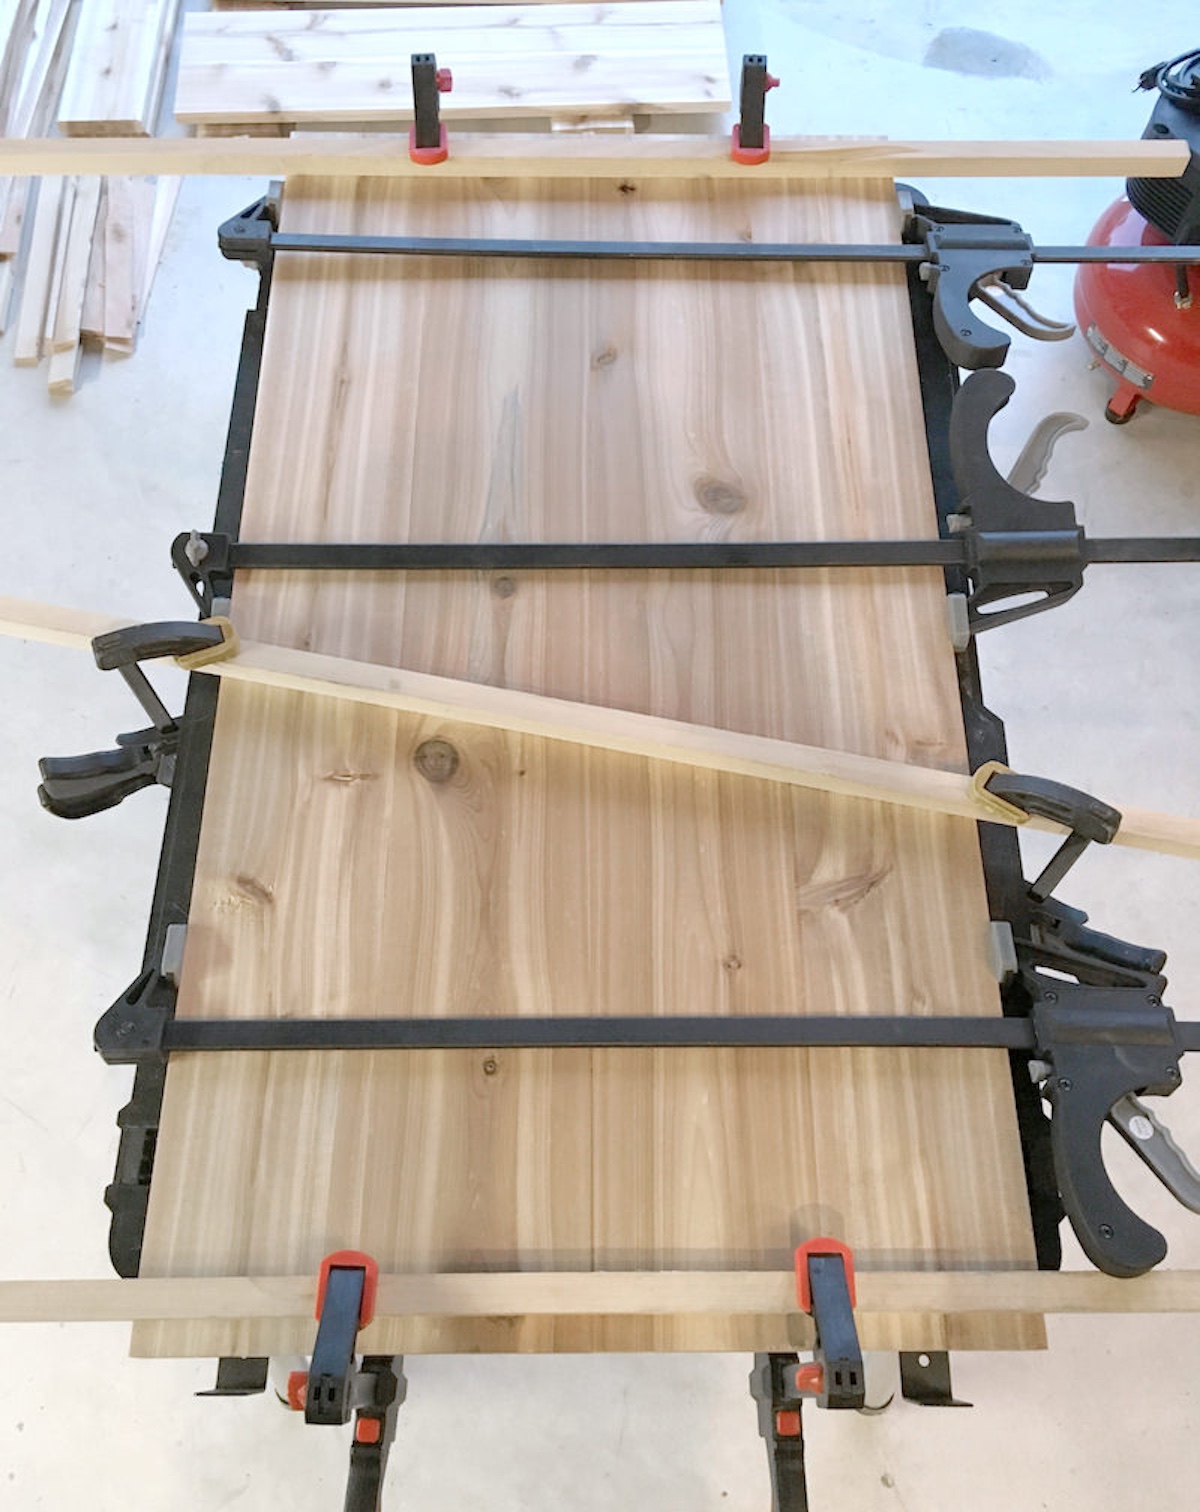
- After you glue each side, use the bar clamps to keep them together. Let them dry overnight.
- You’ll now be working with the three 1” x 4” x 8’ cedar decking planks. Use a miter saw to cut six (6) 1” x 4” x 36” planks (you’ll have wood leftover).
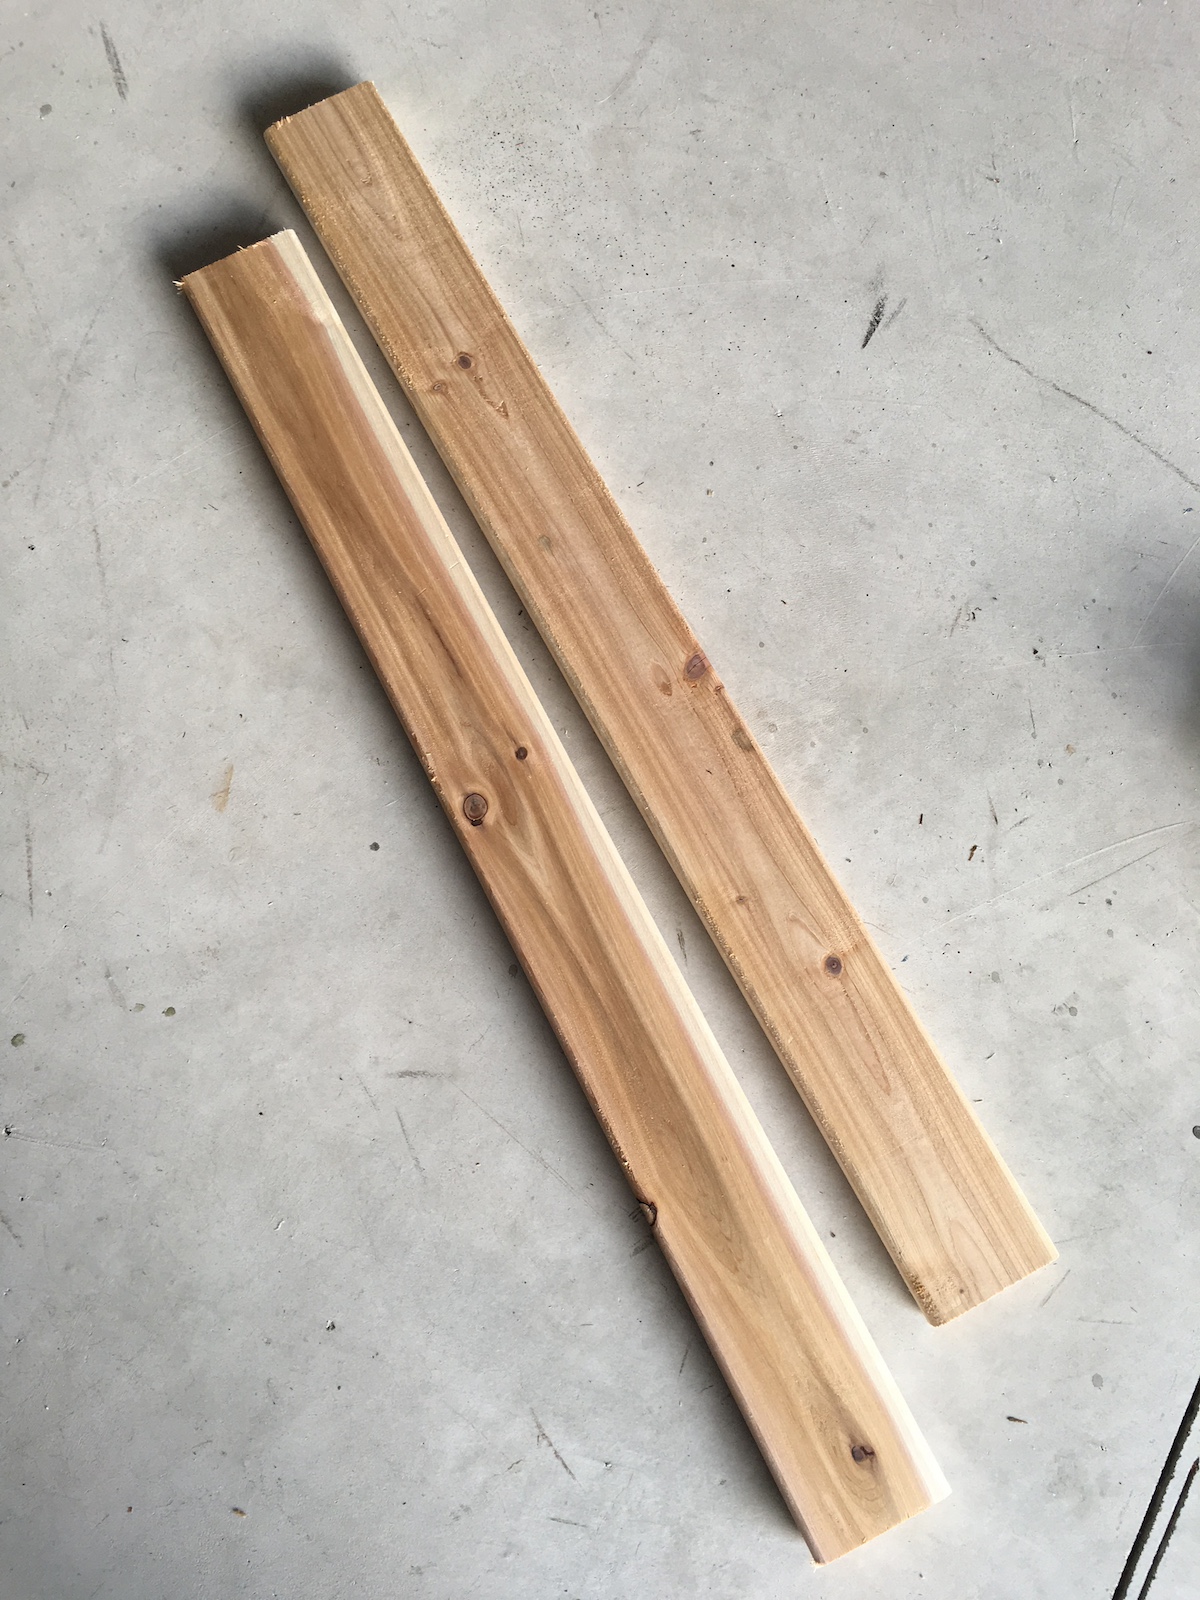
- Use a table saw to cut two of those six pieces in half lengthwise. Set those aside.
- On the remaining four (4) 1” x 4” x 36” planks, use a table saw to take 1/2” off of one edge. At this point they will be around 1″ x 3″ x 36″, with the removal of 1/2″ of material as well as shrinkage.
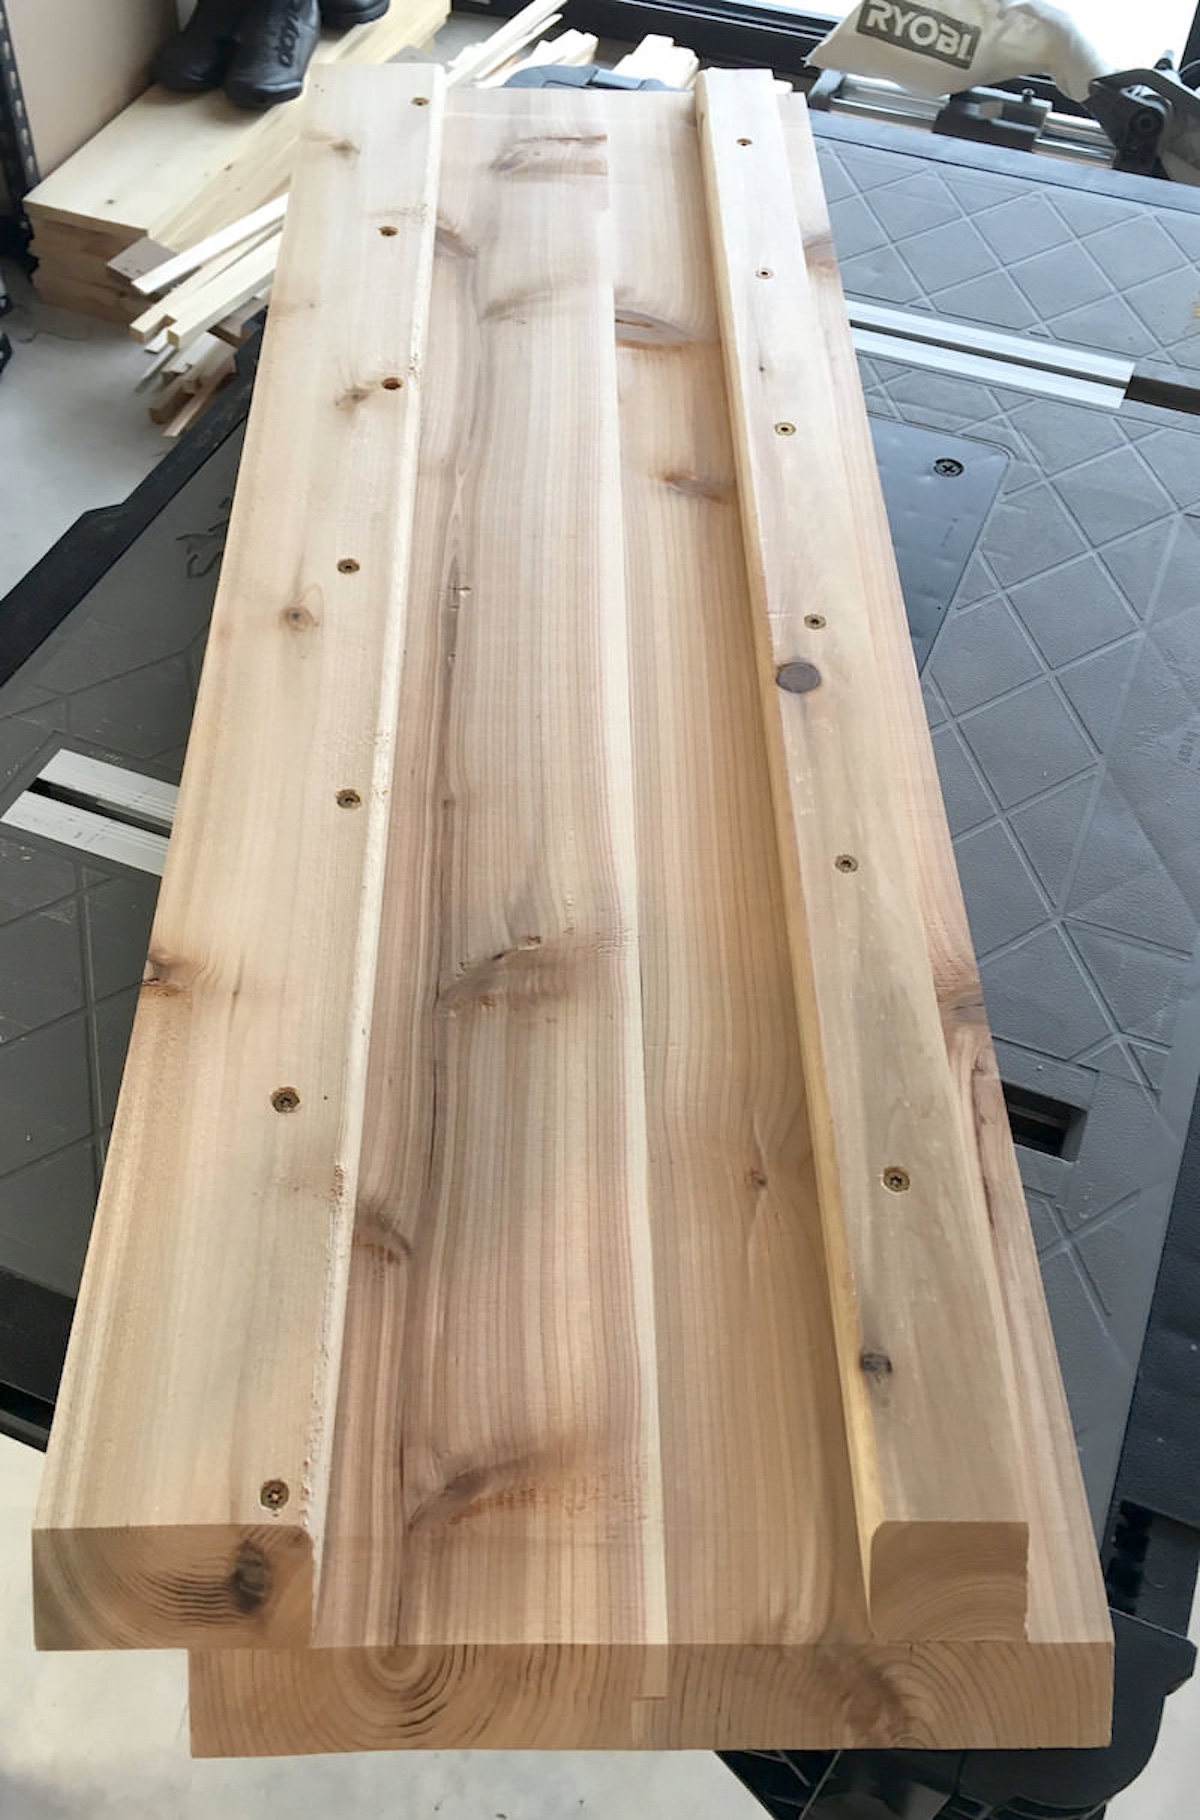
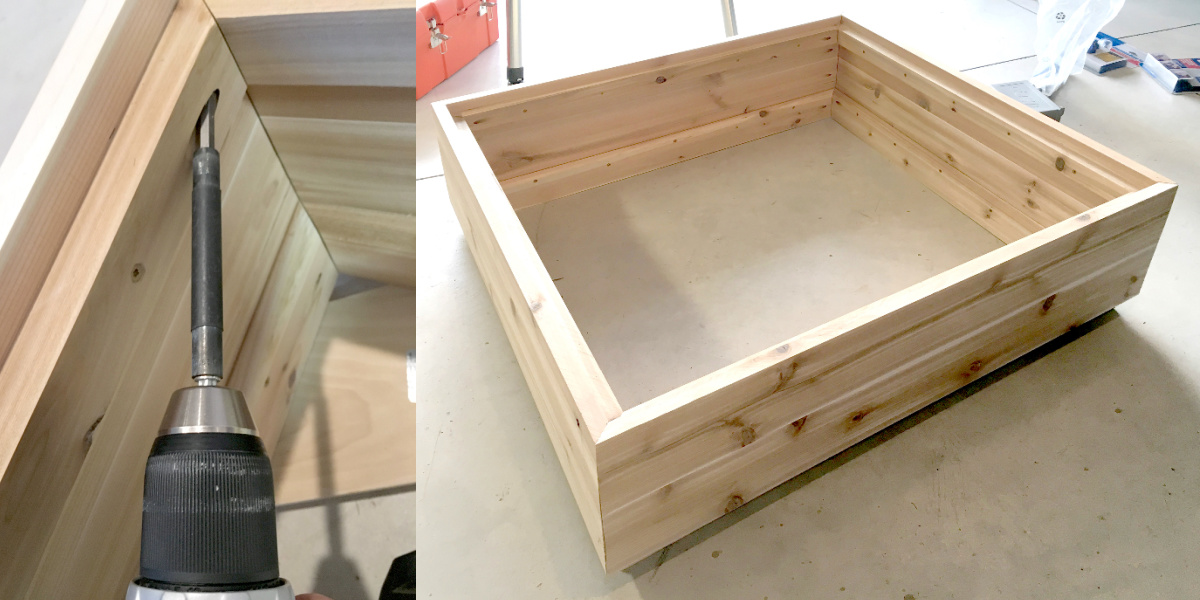
- Grab the four side planks from the first part of the project. Place one side plank face down. Next, place a bead of glue a 1/2” up from what will be the bottom edge of the side plank. Place one of the 1” x 3” x 36” planks onto the bead of glue squared edge down. Place it 1 1/2” lower than the bottom edge of the side plank and clamp.
- Drill pilot holes. You’ll use a drill and a 7/64” drill bit along with a 3/8″ countersink drill bit to countersink each pilot hole. Place the pilot holes every 6”. Alternate the pilot holes 3/8” and 7/8” from the top edge of the foot plank. Using 1 1/2” long wood screws, screw down. Repeat steps 9 and 10 with the other three side pieces.
- Grab your four 1″ x 2″ x 36″ planks for this step. Add a thin bead of wood glue 1 7/8” from the top edge of the side plank. Place one of your 1”x 2”x 36” planks on the bead of wood glue with the squared edge 7/8” from the upper edge of the side plank. Clamp into place.
- Do as you did before and drill pilot holes every 6” down the center of the plank (countersink if you choose to). Use 1 ½” wood screws to attach the plank. This will be your upper support plank. Repeat with the other three side pieces.
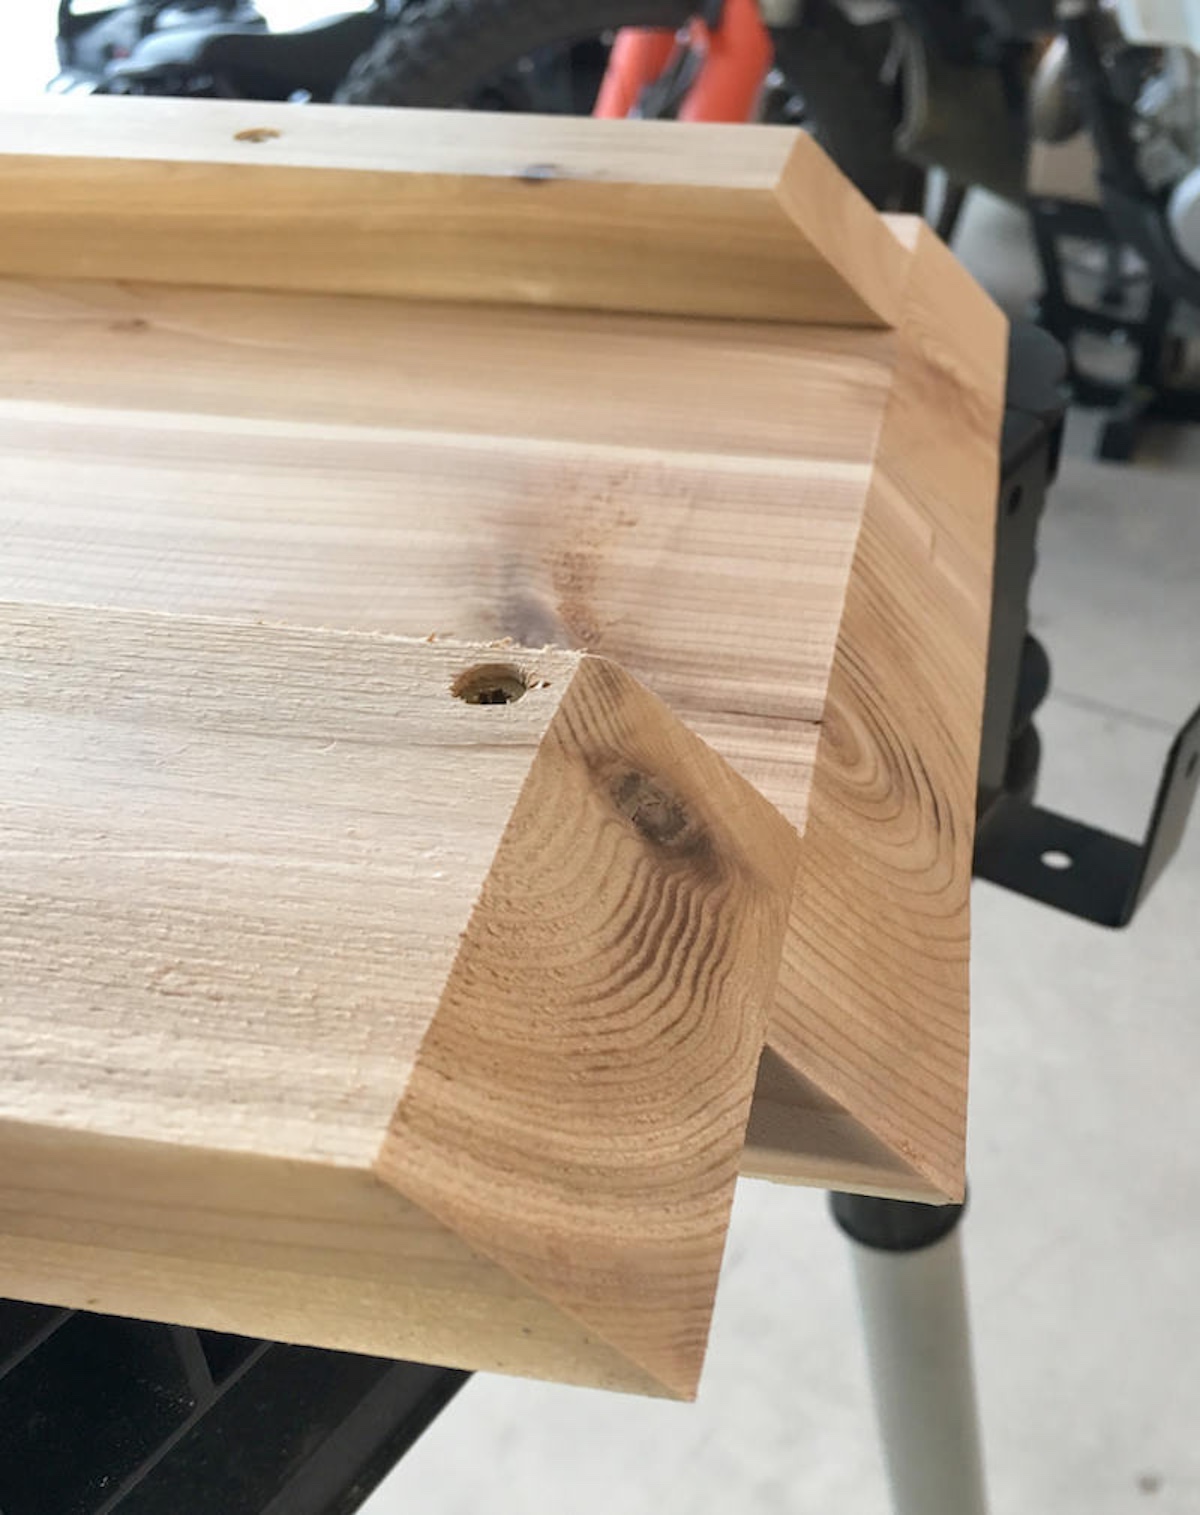
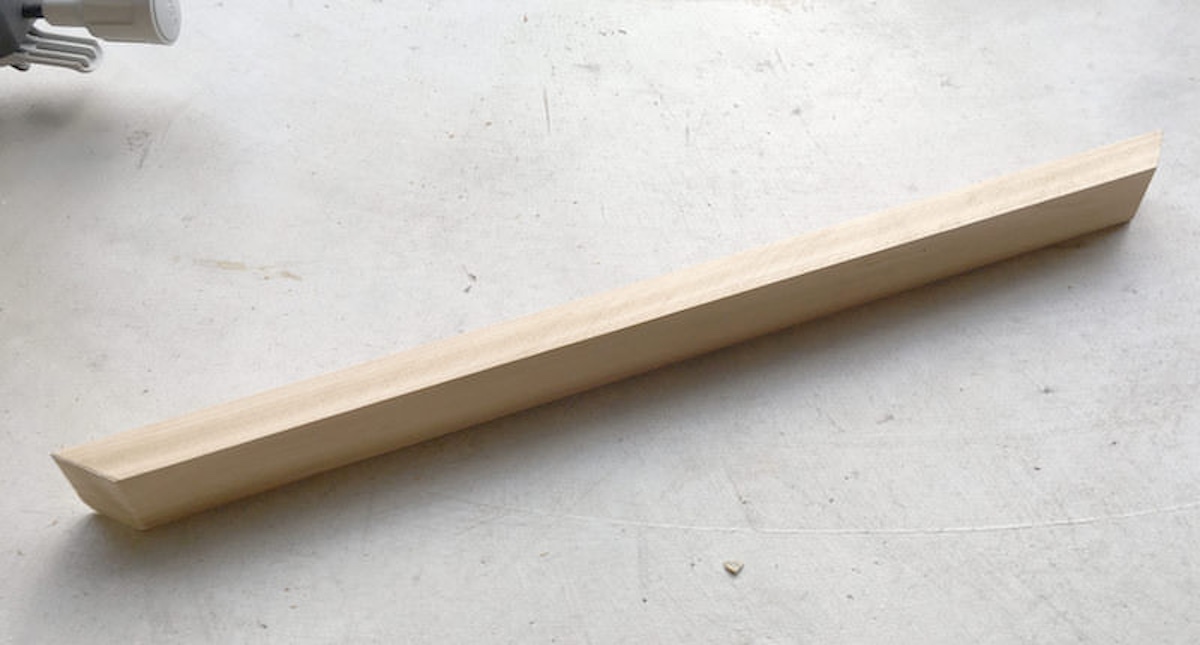
- Use a table saw or a miter saw with a pivoting head to cut 45 degree edges on both ends of each of the four side pieces.
Creating the Frame
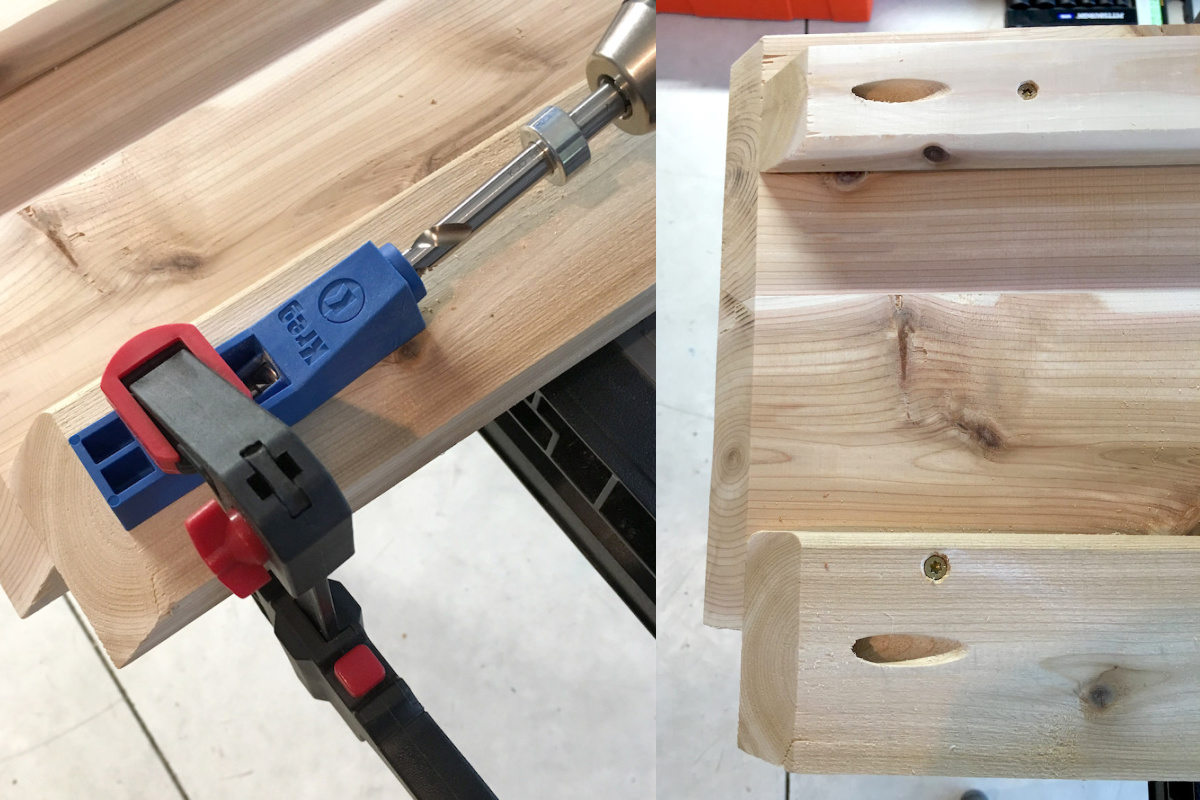
- Use a Kreg Jig to drill joining screw holes on both ends of two of the four side pieces: one hole on leg plank and one hole on the upper support plank.
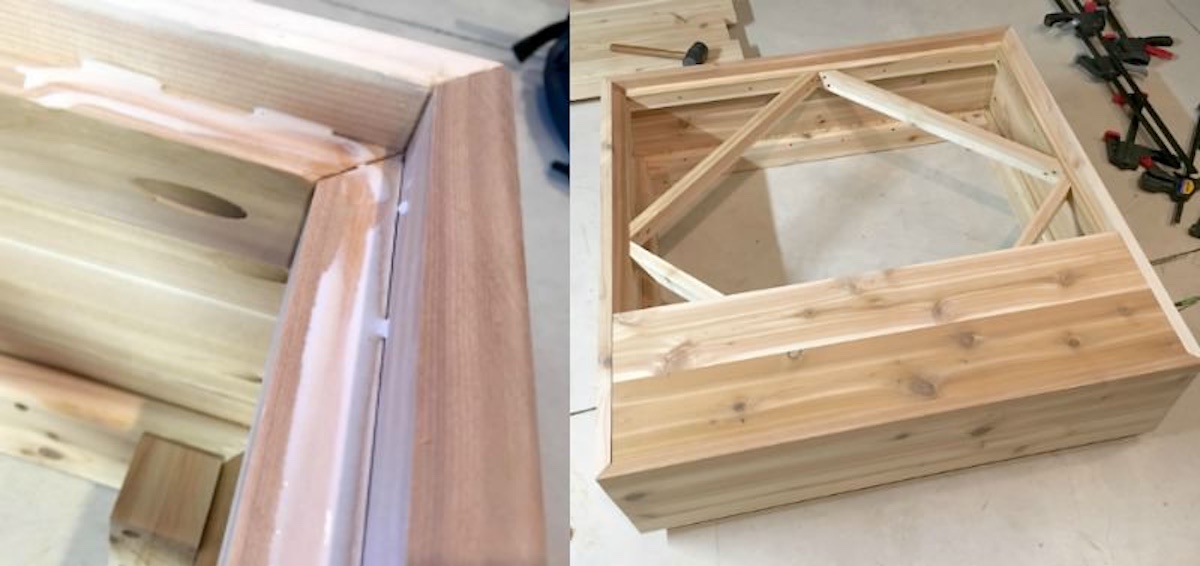
- Start attaching the corners. Place a bead of glue on the end of the side pieces on the 45 degree angle edge. Place the edges together.
- Use the proper length wood screws (specified by your Kreg Jig guide) and screw them into the Kreg Jig pocket holes to finish joining the side piece corners.
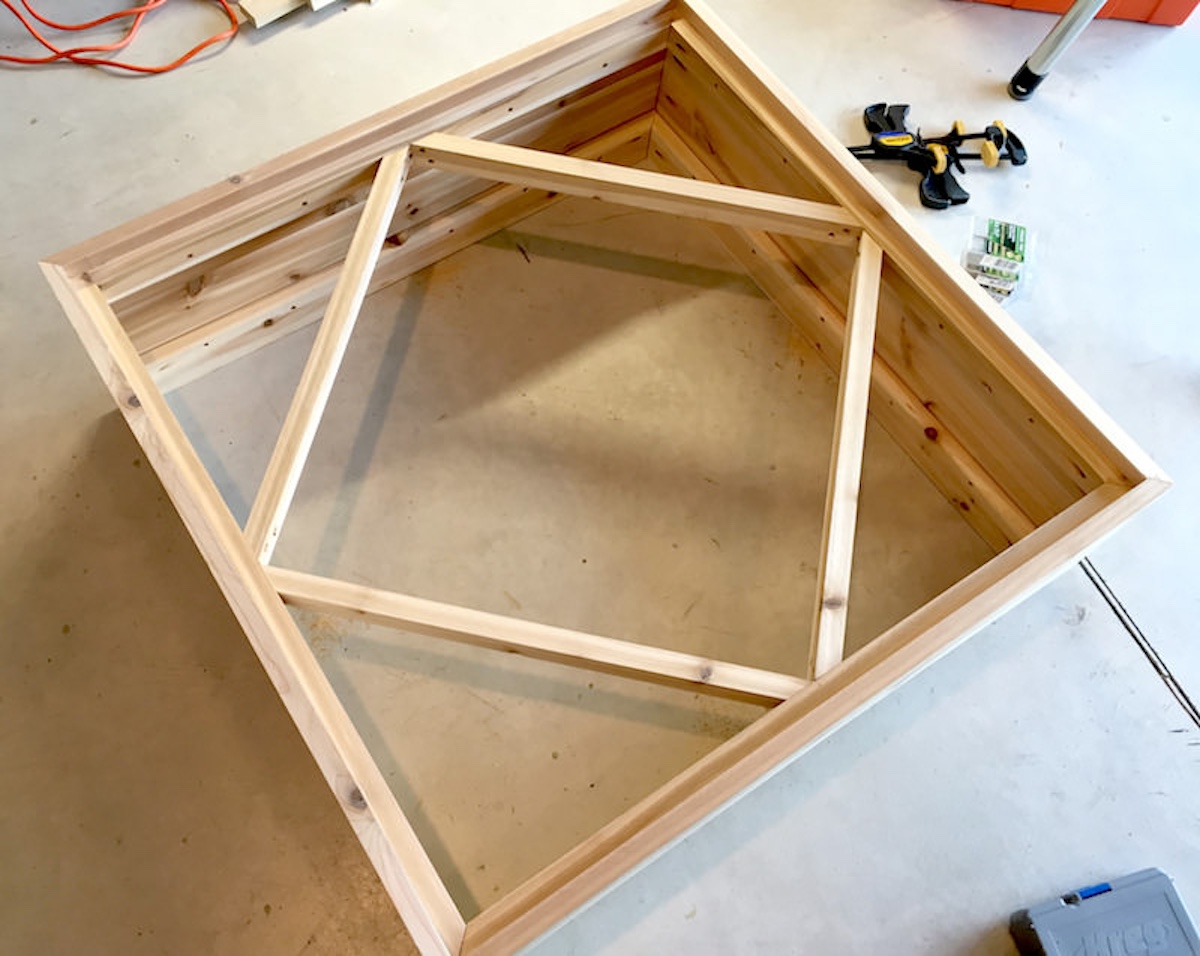
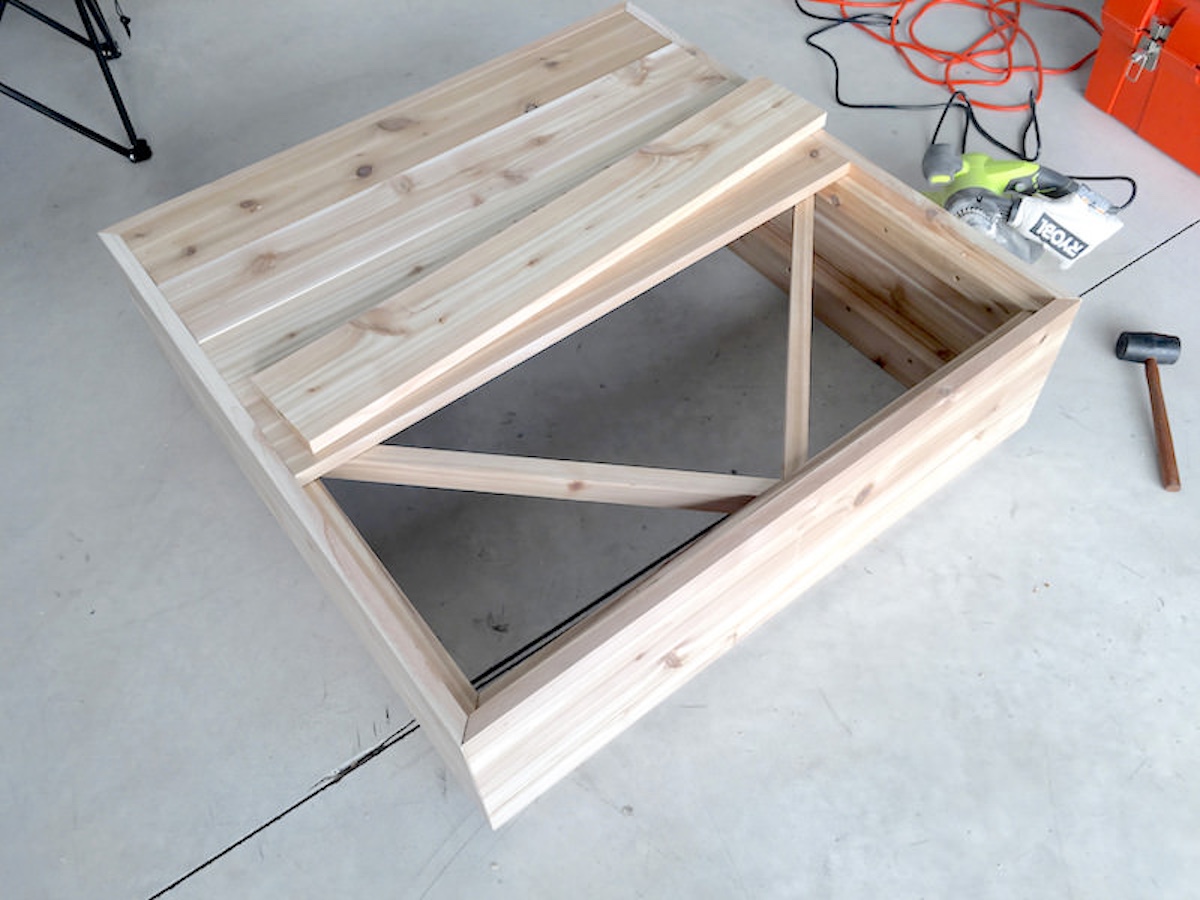
- Using pieces of wood left over, cut four (4) pieces of wood the same width as the top support side pieces. Cut them to a 22 3/4” length. Then, using a miter saw, cut 45 degree angles on both ends of each of the four pieces of wood.
- Clamp these pieces into each corner of the table frame using bar clamps. You want each end of the support piece to be equidistant from the corner.
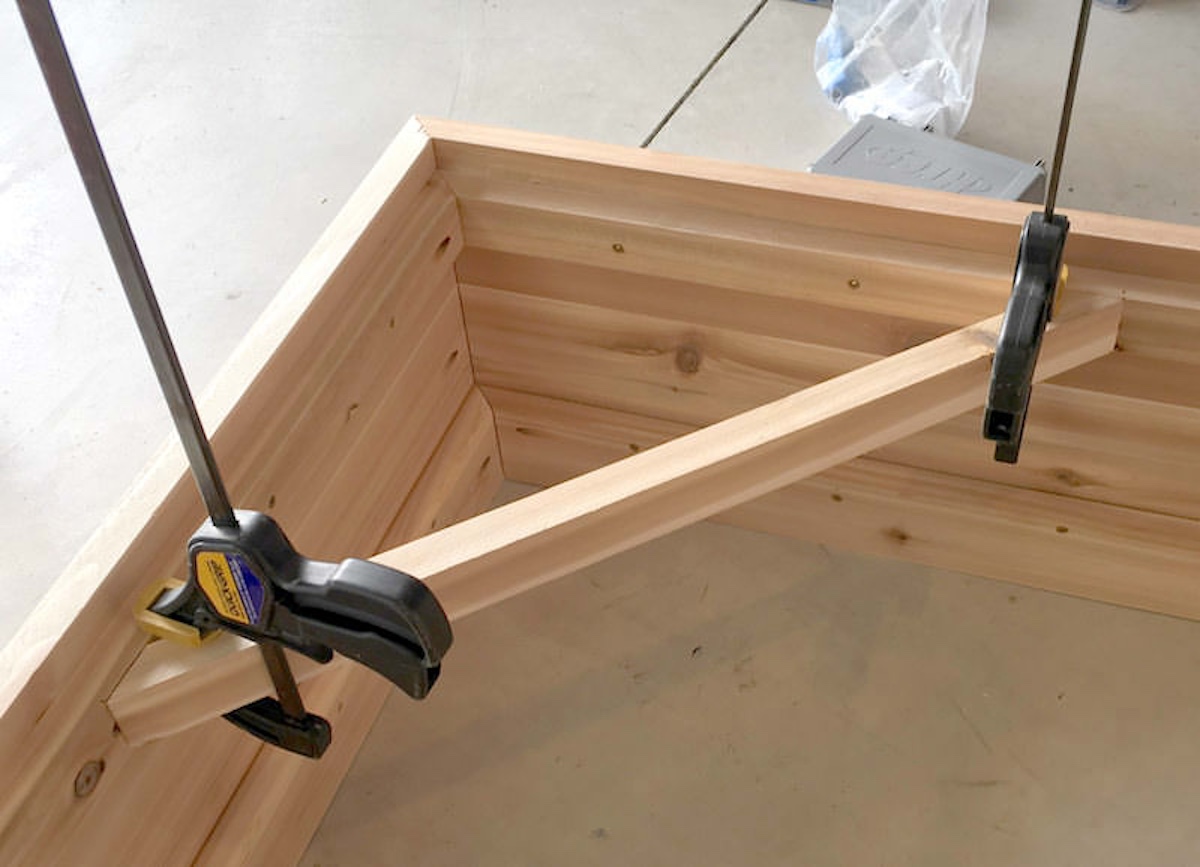
- Drill two pilot holes on each end of these corner pieces. Countersink them if you like.
- Join the corner pieces using 1 1/4” wood screws. These are going to reinforce each of the corner joints, as well as become the attachment points for the table top planks.
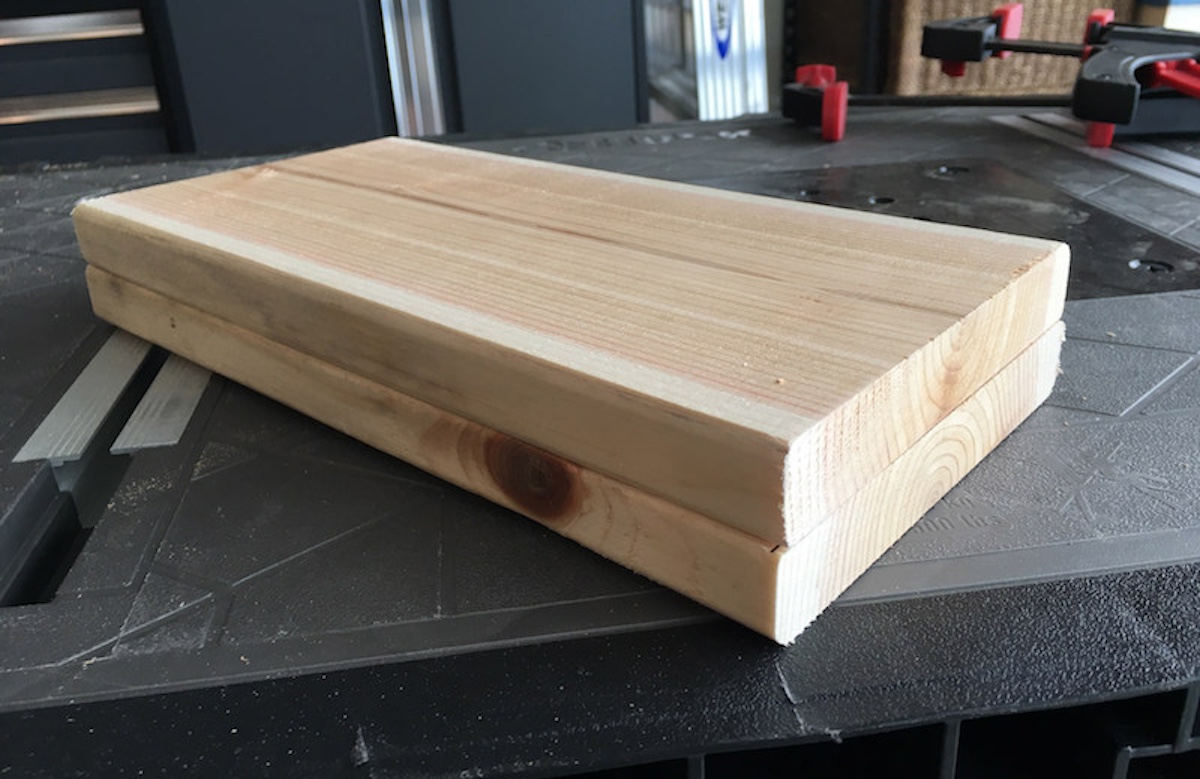
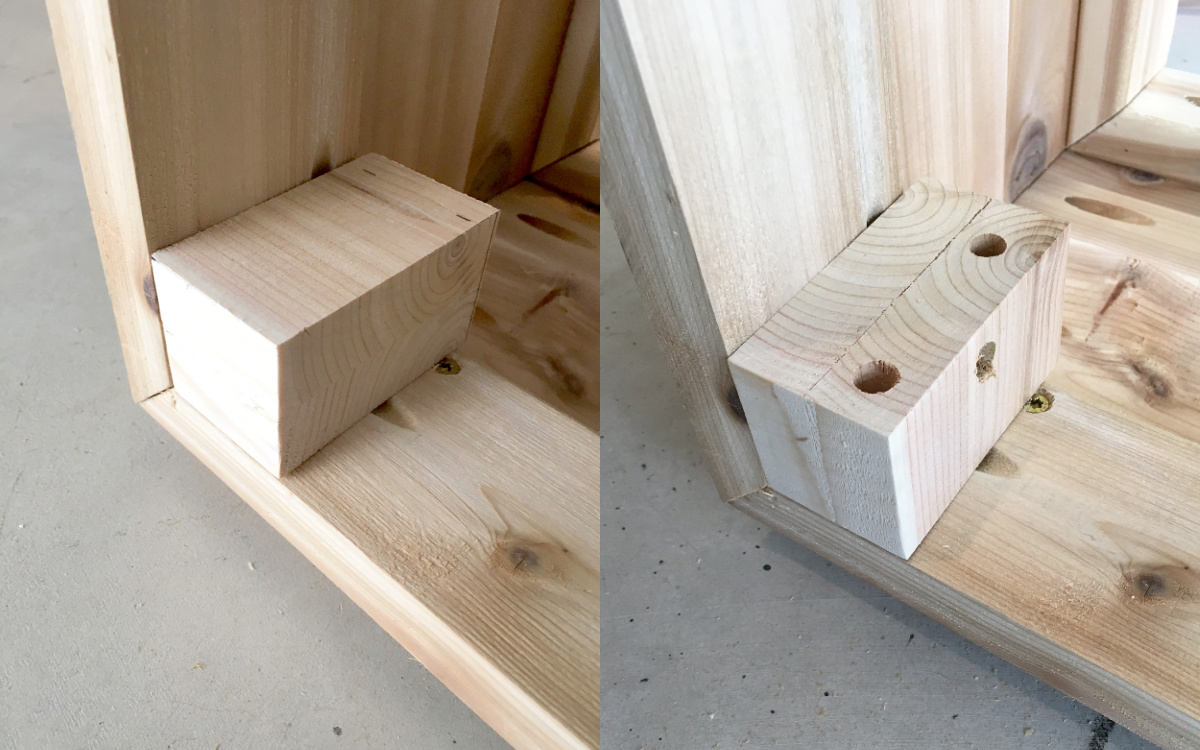
- Make the table feet. I took two (2) pieces of leftover 1”x 6” and glued them together.
- Using a miter saw, cut four pieces 1 3/4” in width. Then cut all pieces to a 3” length. Your four DIY patio table feet are 1 3/4” x 1 3/4” x 3”.
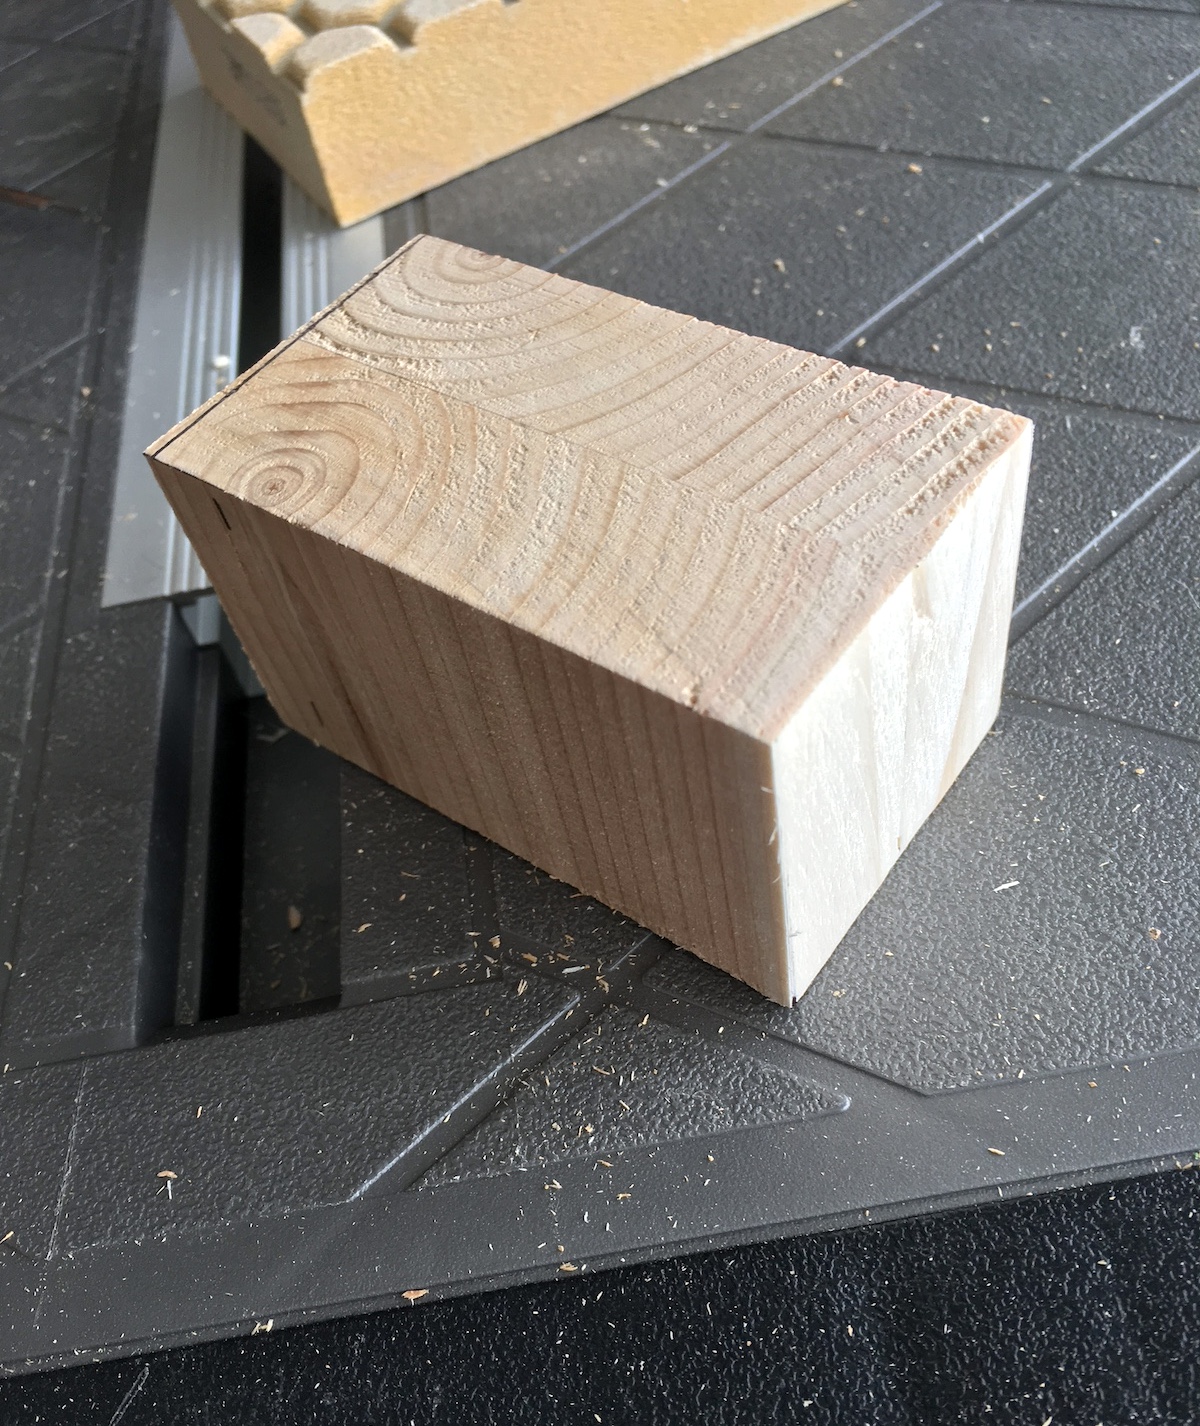
- Glue the wood blocks in the lower corners of the table and secure them further with 2” wood screws.
Making the Table Top
- Take four (4) 1”x 6” x 8’ planks and, using a miter saw, cut (7) 34 1/4” planks. Using a table saw, rip some width off of each side of the planks to ensure a square edges. You can vary the width of these planks, or you can rip them to the same width. However you choose, you have to cover a 34 1/4” span. Test fit the planks before attaching them.
- Now start securing the planks in place. This is done by placing wood glue on the top of the upper support pieces and corner braces. Then you’ll bar clamp the planks in place.
- Flip the table on its side and secure the planks into place using 2” wood screws. Attach one plank at a time. Remember to drill pilot holes when screwing in the planks from the bottom.
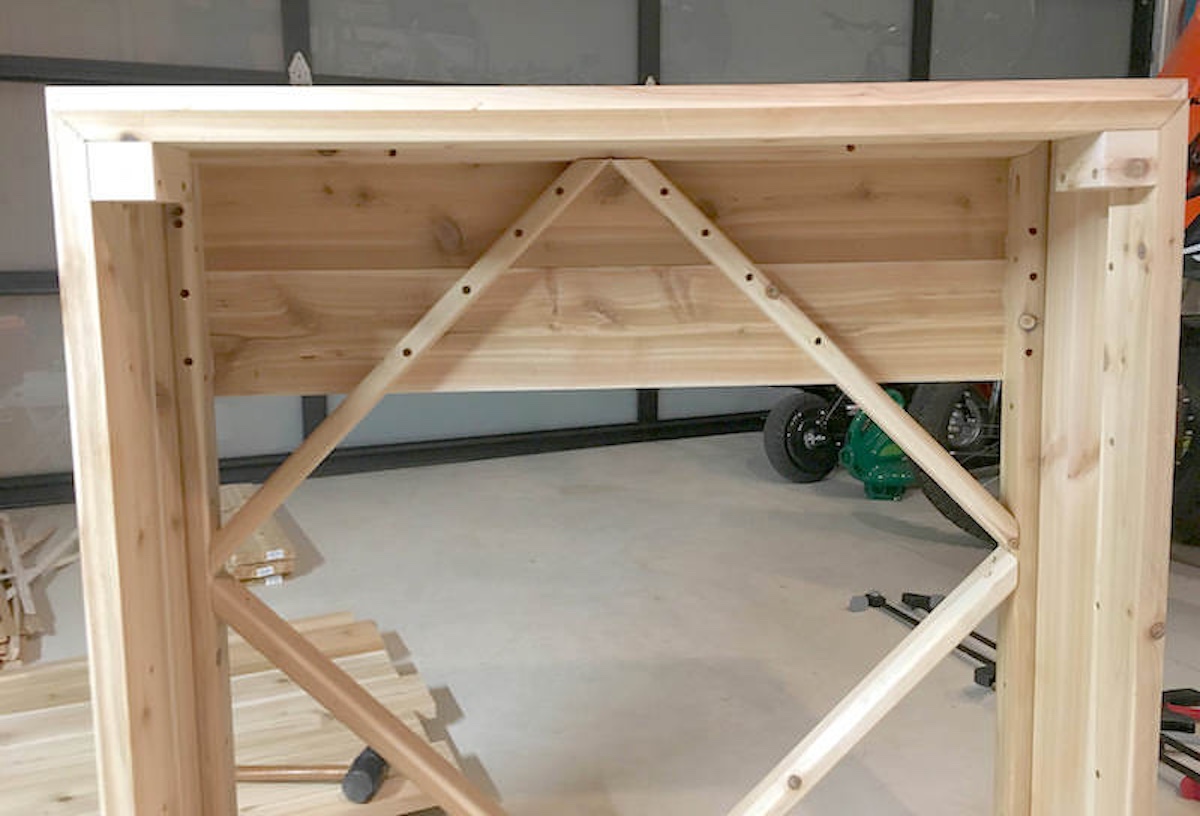
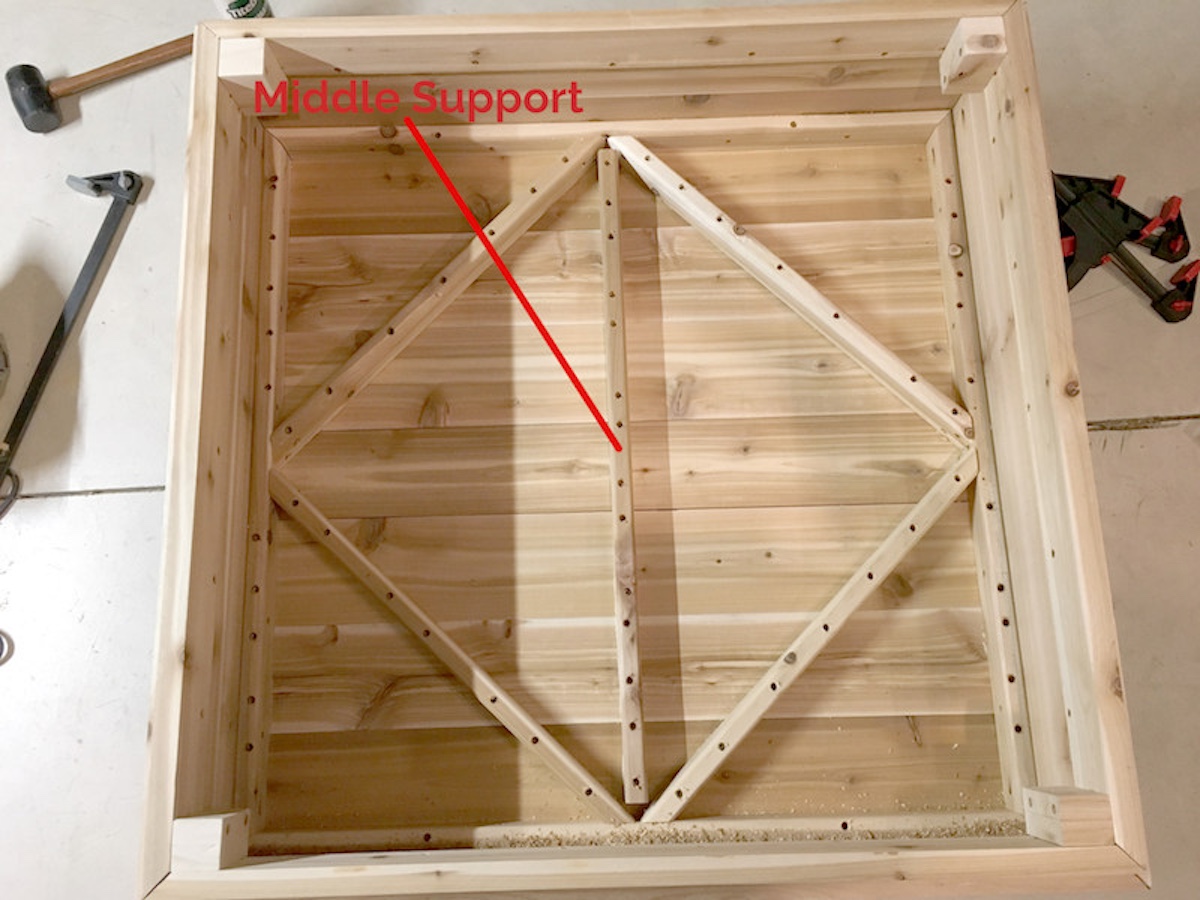
- After all the tabletop planks are placed, take a piece of leftover and wood cut a piece identical to the upper corner support pieces – except to a 31” length. Glue this piece into place on the underside of the tabletop in the center. Screw into place. This piece will help further stabilize the table top and keep the planks in place.
- Add leveling glides to the table feet to finish. Flip the patio table back over, and adjust the feet to fit the surface.
- Stain in whatever color you like to match your outdoor decor. Let dry completely before using.
Notes
What do you think of this DIY outdoor table? I’d love to hear in the comments! I’d also love for you to check out these other woodworking projects:
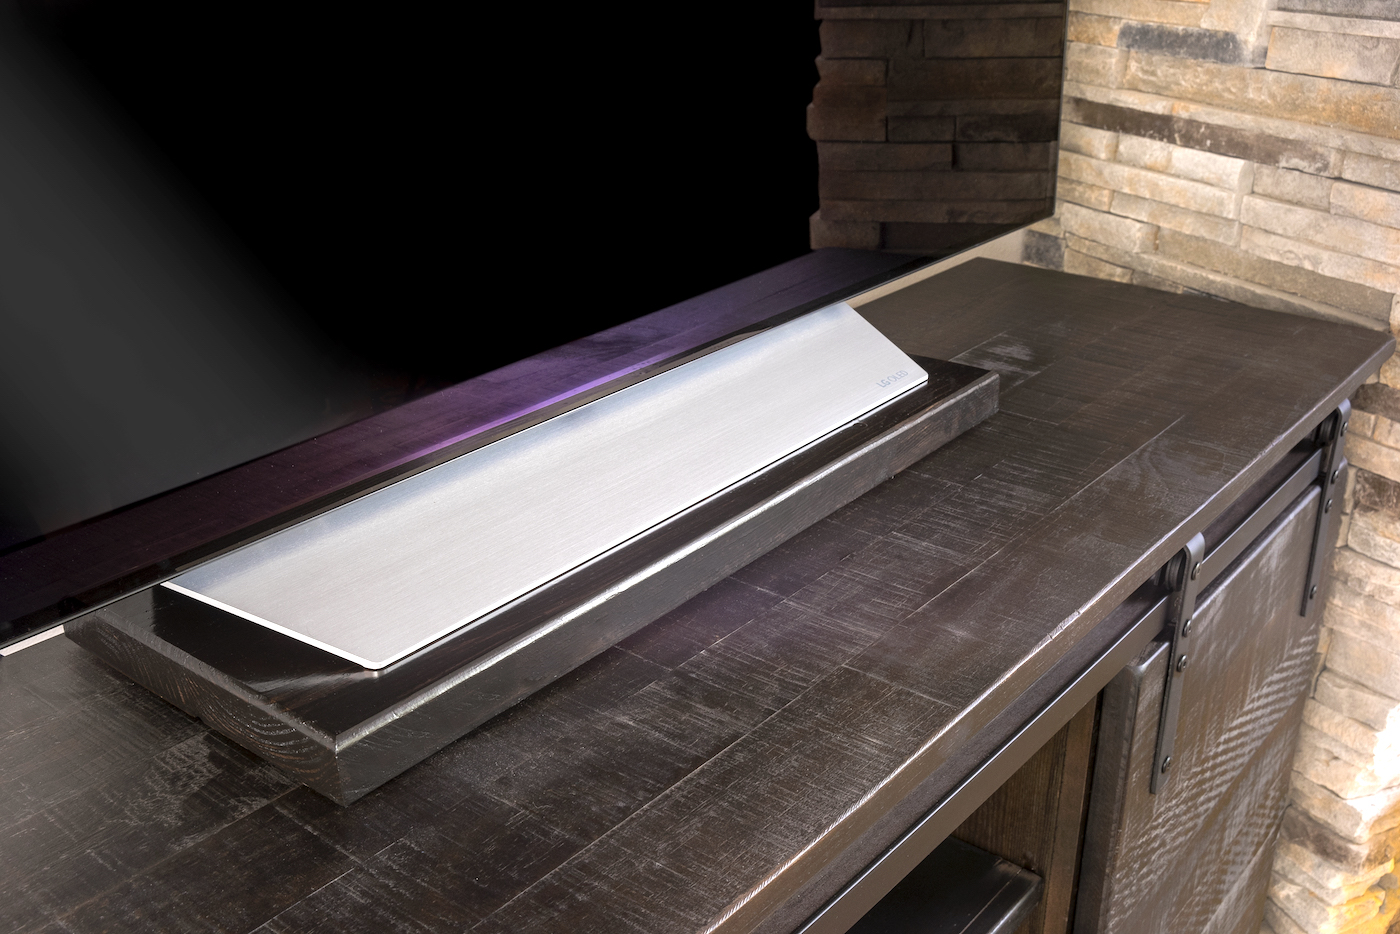
Camper Pallet Art • Coffee Table with Storage • Hose Holder and Planter • House Number Plaque • Lack Endtable Hack • Nolmyra Chair Hack • Pallet Shelf • Paver Planter • DIY Laminate Table Top • TV Riser • Wood Slat Doormat • Wood Sign • Wood Step Stool Chair