Easy DIY Yarn Wall Art (With a Rainbow Twist!)
Turn cardboard and yarn into something magical! This DIY yarn wall art features a fluffy white cloud and rainbow fringe—easy, colorful, and fun for any skill level. All you need is an X-Acto knife, tape, and two skeins of yarn to create a cheerful hanging perfect for nurseries, playrooms, or your craft corner.
Skills Required: None. Even if you’ve never crafted before, you can do this project. You’ll be cutting and wrapping yarn. So simple that kids can do it.
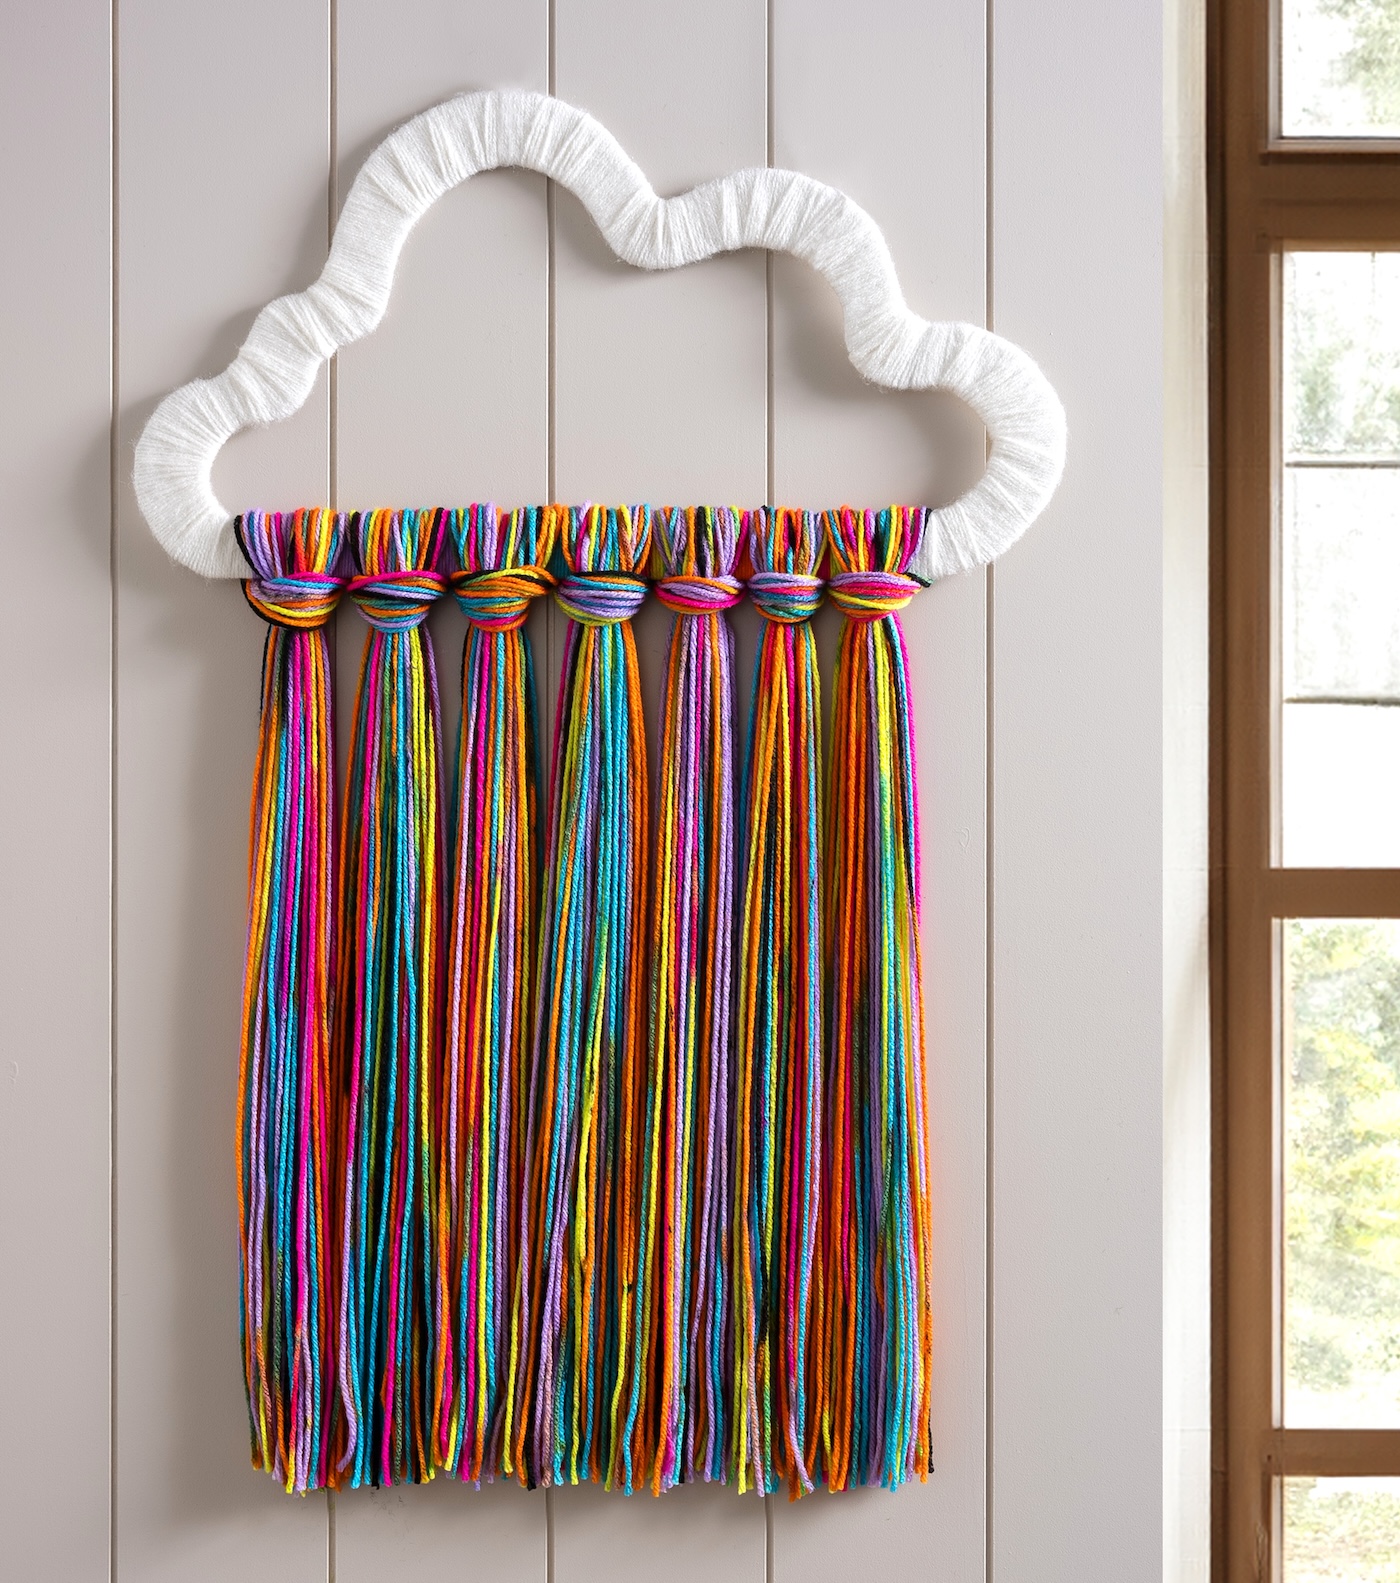
Let me tell you, if you’ve got two skeins of yarn and a piece of cardboard, you are this close to making the happiest little wall hanging on the planet. I’m talking about this yarn-wrapped cloud with rainbow fringe—and yes, it’s as cute as it sounds.
Imagine a fluffy white cloud made from yarn, with colorful strands raining joy down your wall. It’s like crafting meets sunshine meets your favorite box of crayons.
This project is ridiculously easy, even if you’ve never touched a skein of yarn in your life. All you need is some sturdy cardboard (at least 1/16” thick so it doesn’t flop over mid-wrap), an X-Acto knife, tape, and your two skeins—one white, one rainbow.
No glue guns, no sewing, no stress. Just some slicing, wrapping, and a little bit of “wow, I’m actually doing this!”
What I love about this yarn wall art—besides the fact that it’s budget-friendly and beginner-approved—is that it’s totally customizable. Want a neon cloud? Go for it. Feeling pastel? Do your thing.
Plus, this is one of those recycled crafts you can totally zone out to while catching up on your latest binge-watch. The hardest part? Stopping at just one.
Ready to turn some cardboard into cloud-core magic? Let’s do this.
Get the printable how to card below:
DIY Yarn Art
Equipment
- Pencil(s) or marker
- Scissors optional
Materials
- 1 piece Cardboard Mine was about 13" x 19"
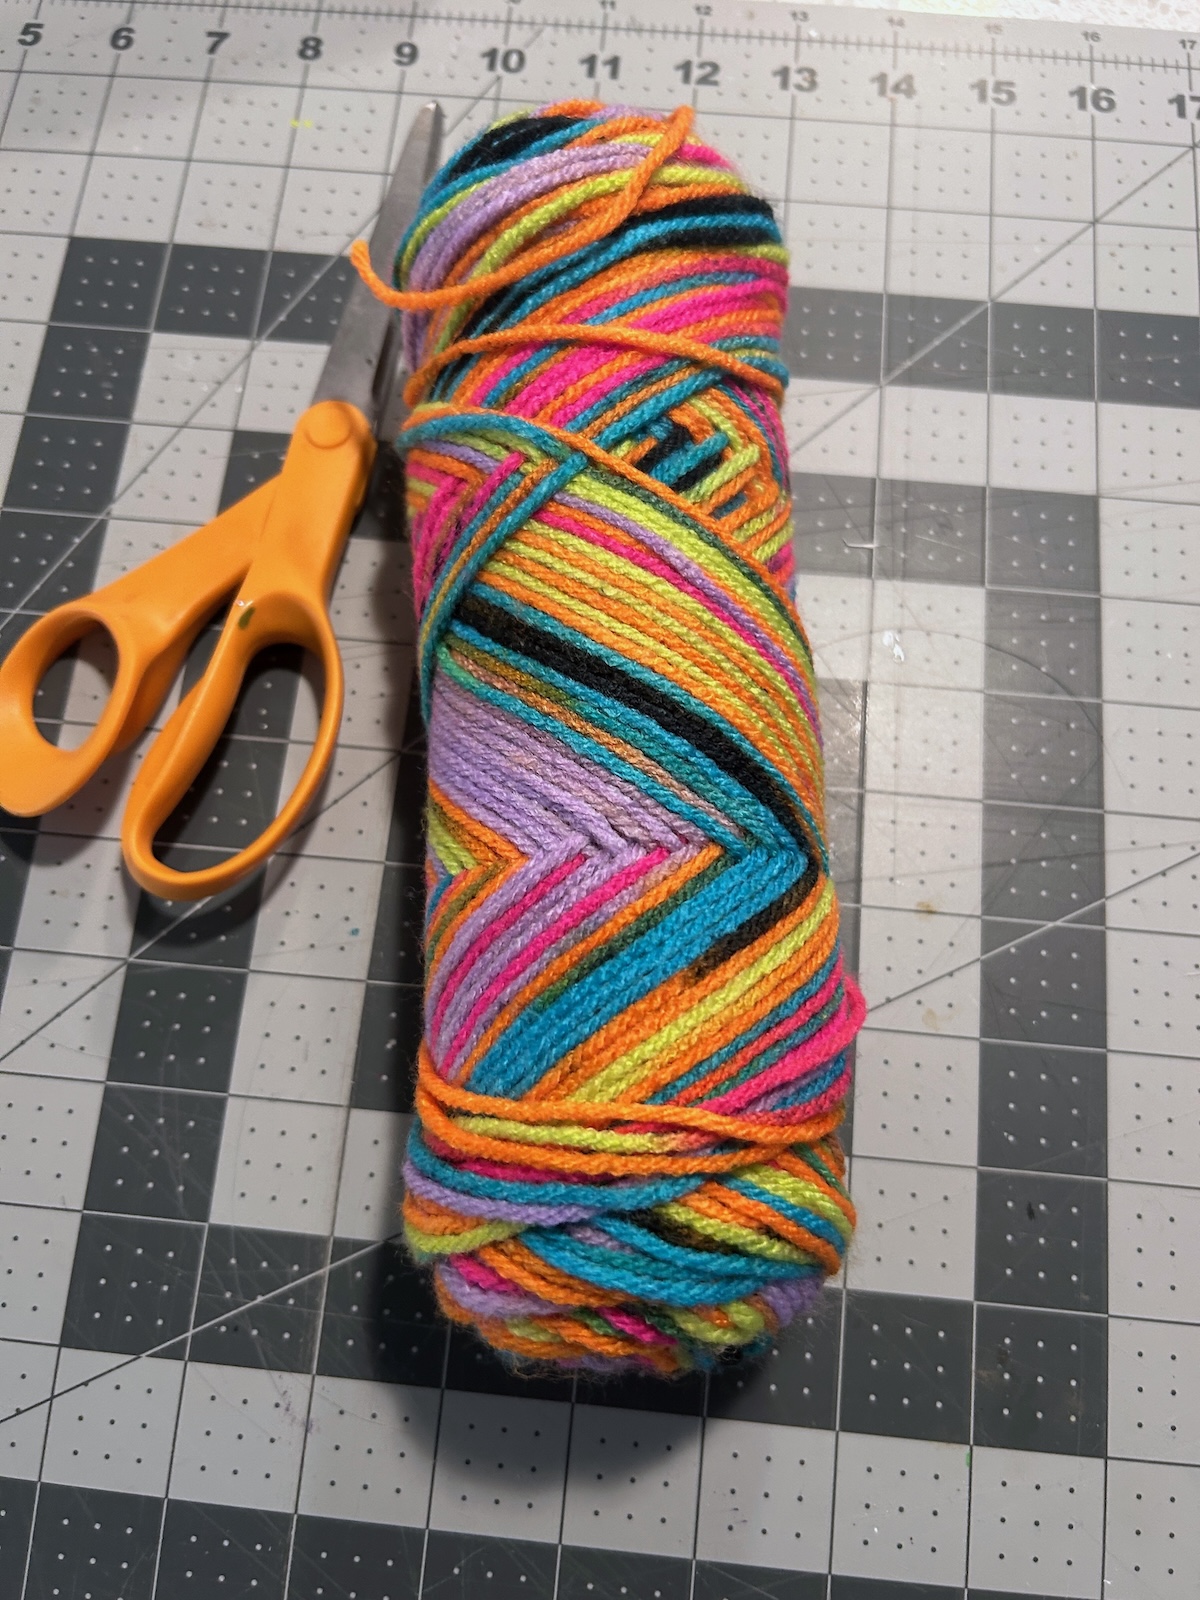
- 2 skeins Yarn 1 white (large), 1 rainbow
- Tape
- Pattern click here to use my cloud
Instructions
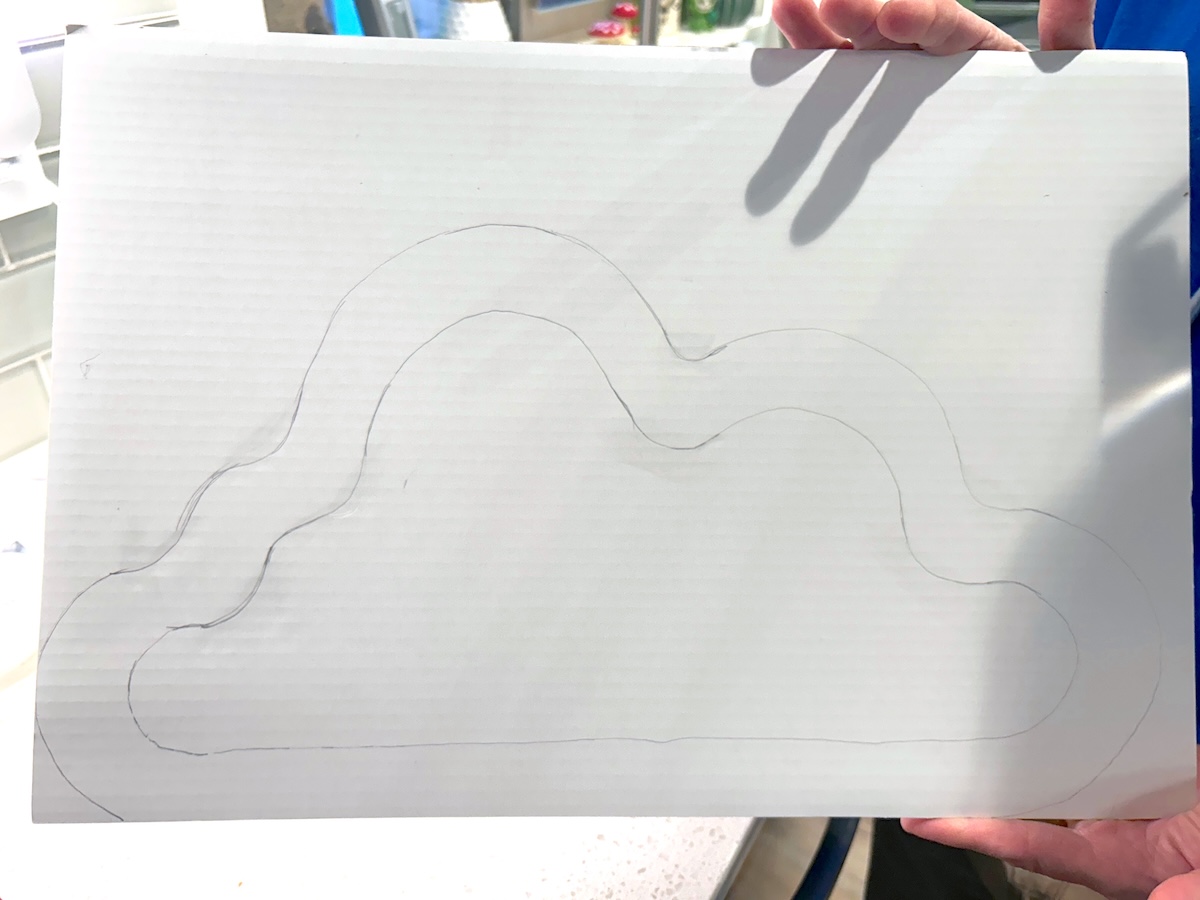
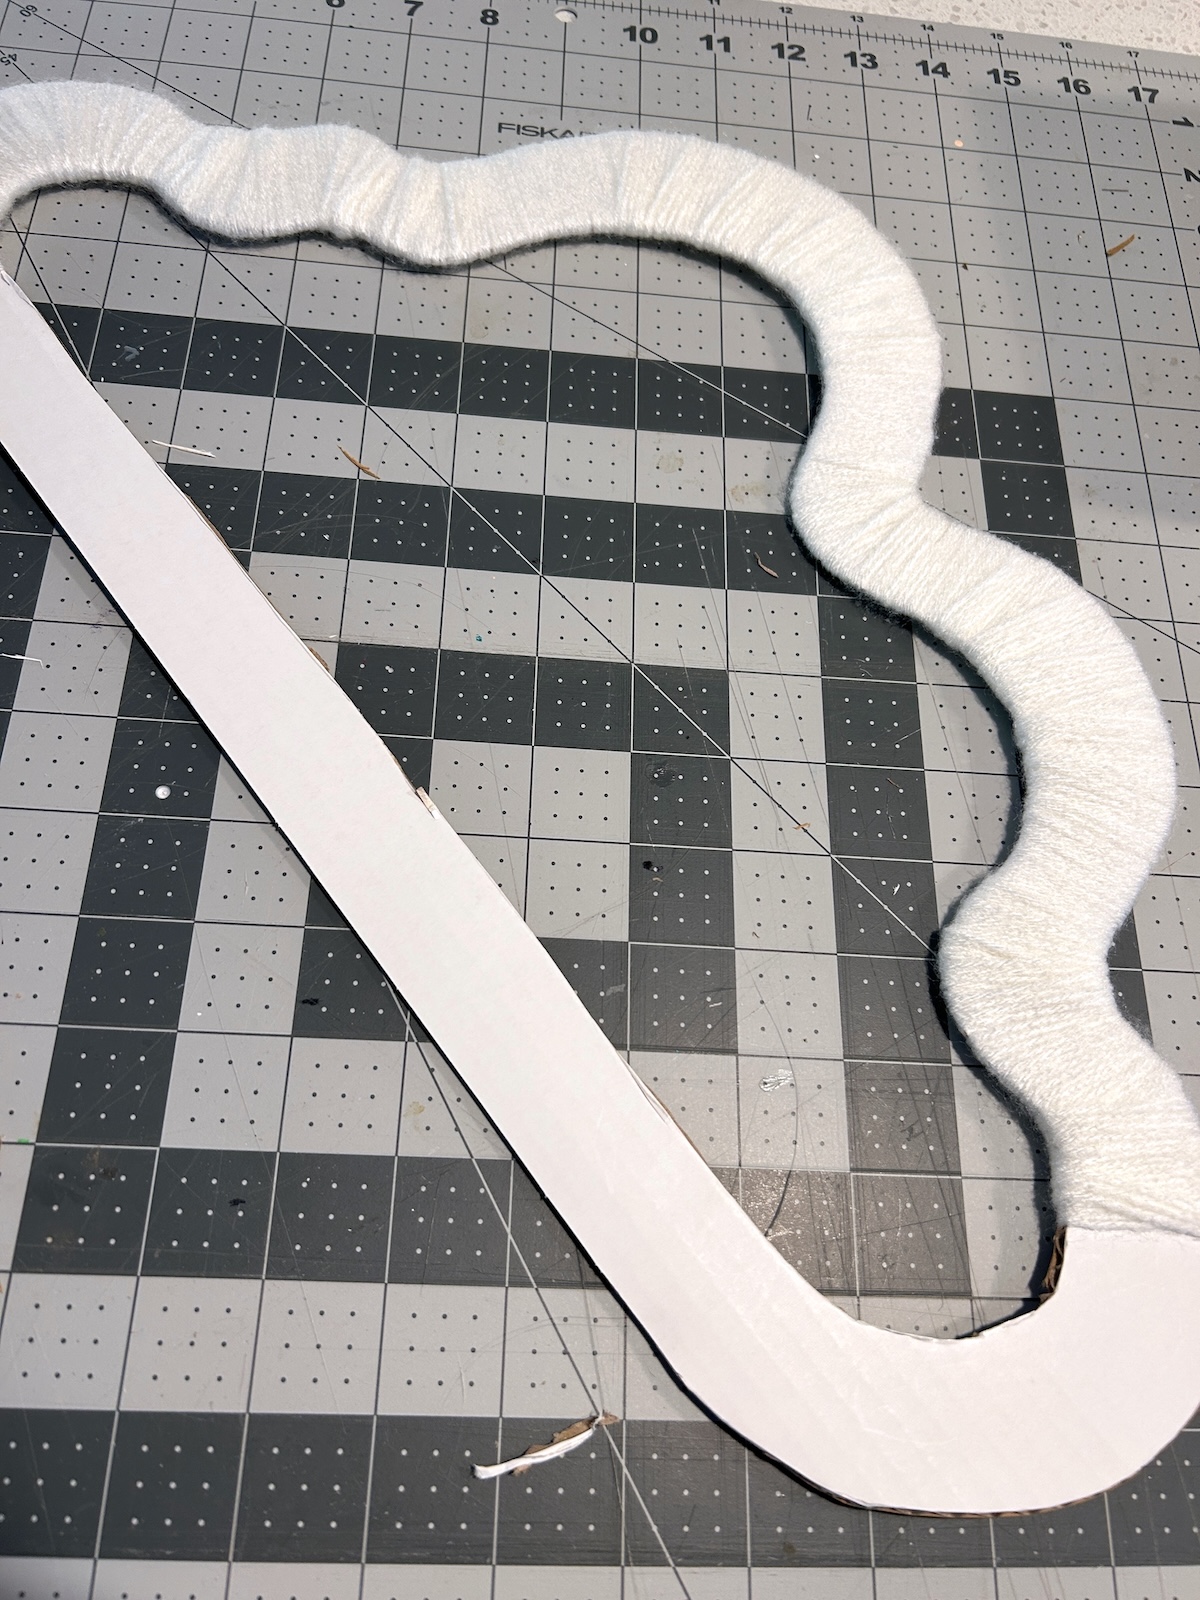
- Use a pencil to draw out the design of your choice on a piece of cardboard. You can use my pattern, but you'll want to round out the points with your pencil as I did.Tip: the key to a design that works well for wrapping is smooth, round (not sharp) curves!
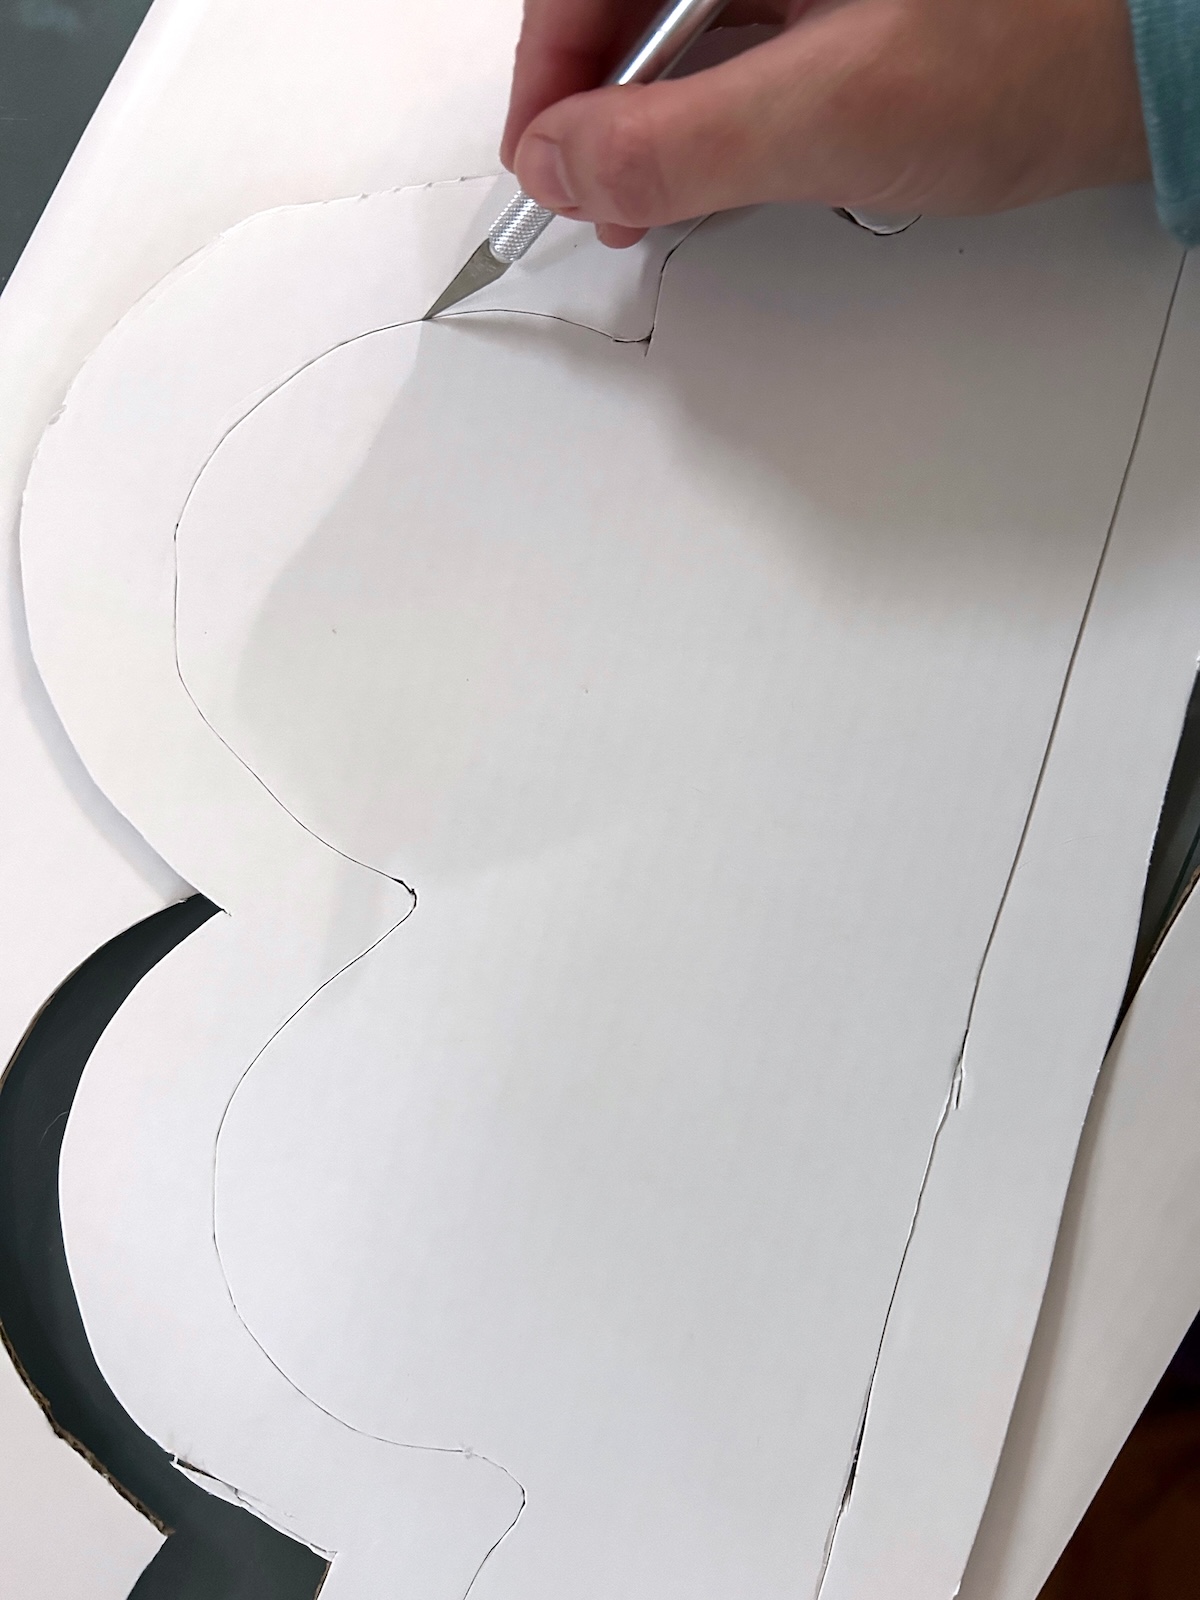
- Cut out the shape with a craft knife. Be careful not to bend the cardboard if possible. This will weaken your shape.
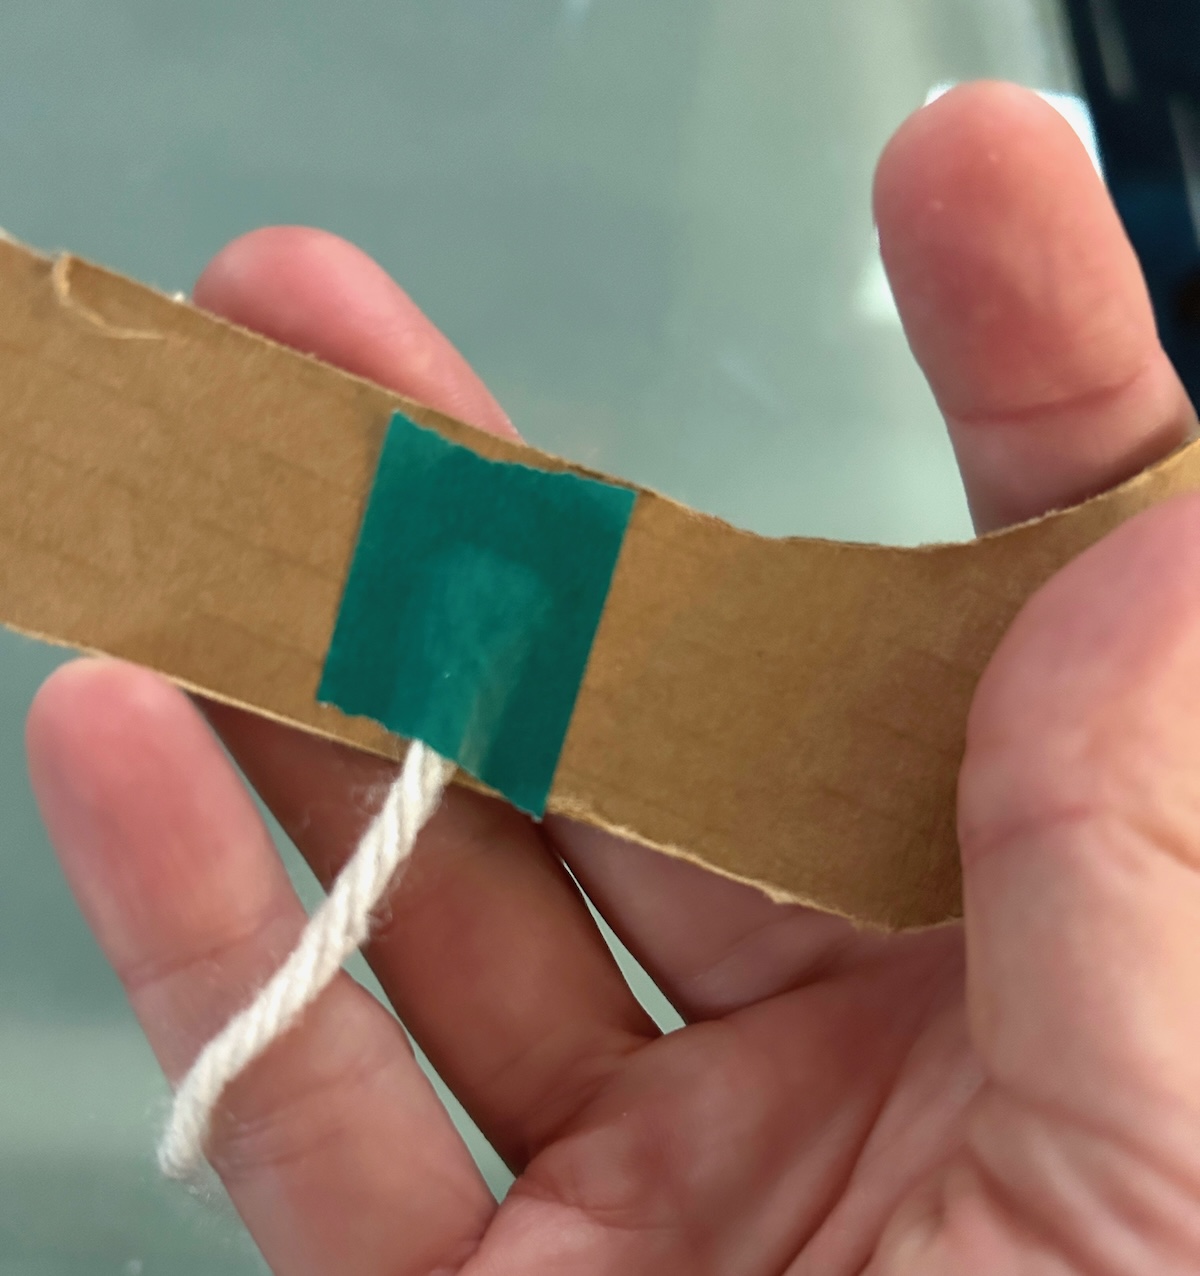
- Tape the white yarn to the back of the shape.
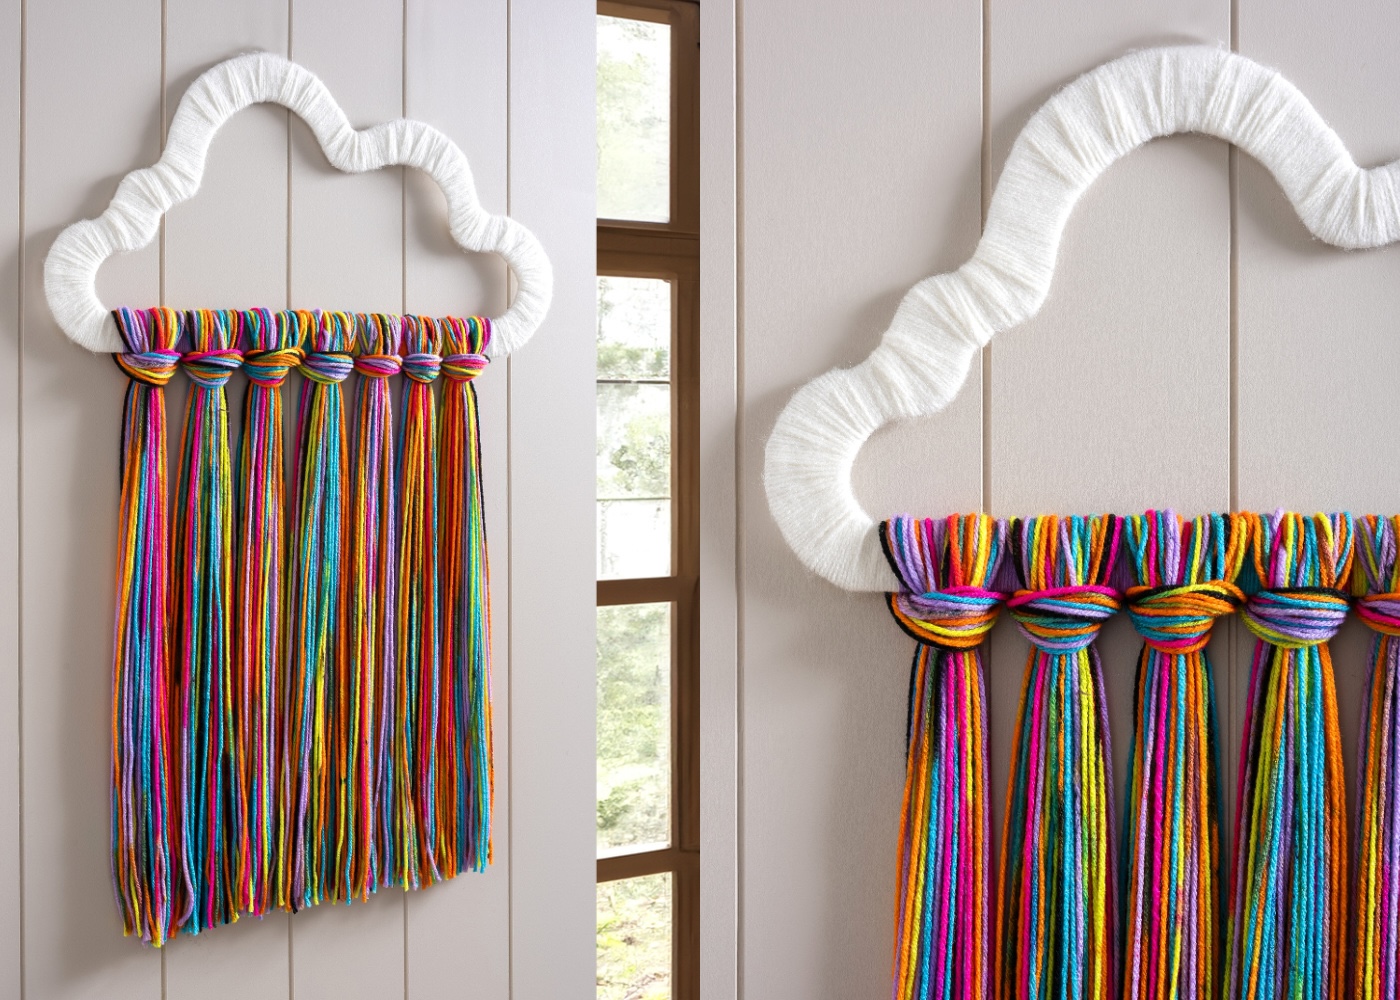
- Begin wrapping the yarn around the cloud shape. You're going to stick the skein through the shape and back around, pulling somewhat snugly and pushing the yarn together to cover the shape.Alternatively, you can cut multiple lengths of yarn, taping and wrapping as you go.At the corners you will need to wrap more layers of yarn to cover the area.
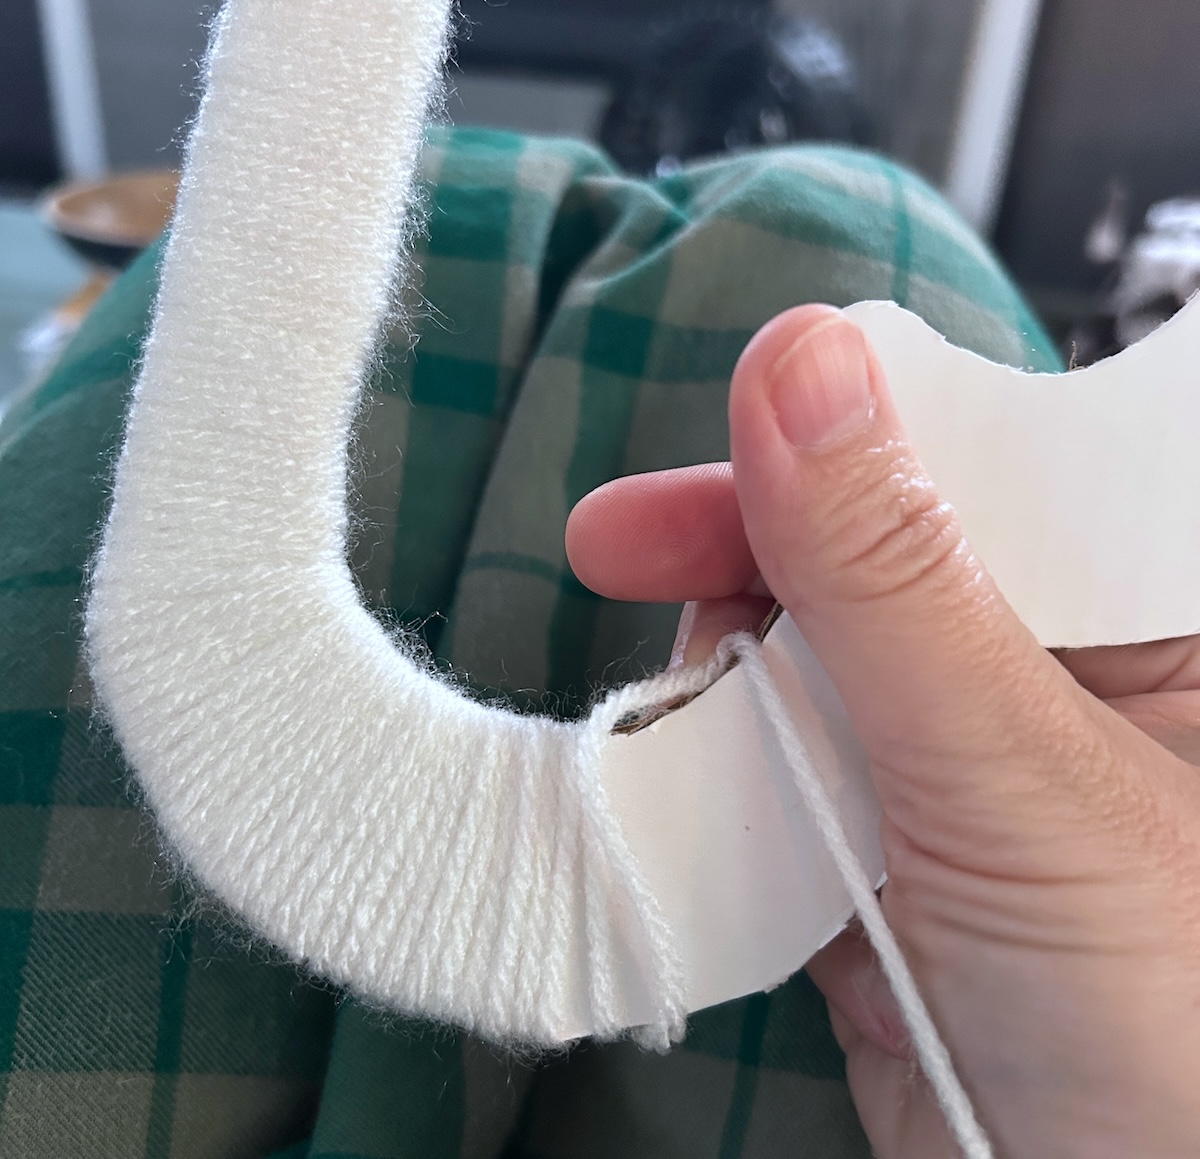
- Continue to wrap the entire shape until the top is completely covered with white yarn and no cardboard is showing through.
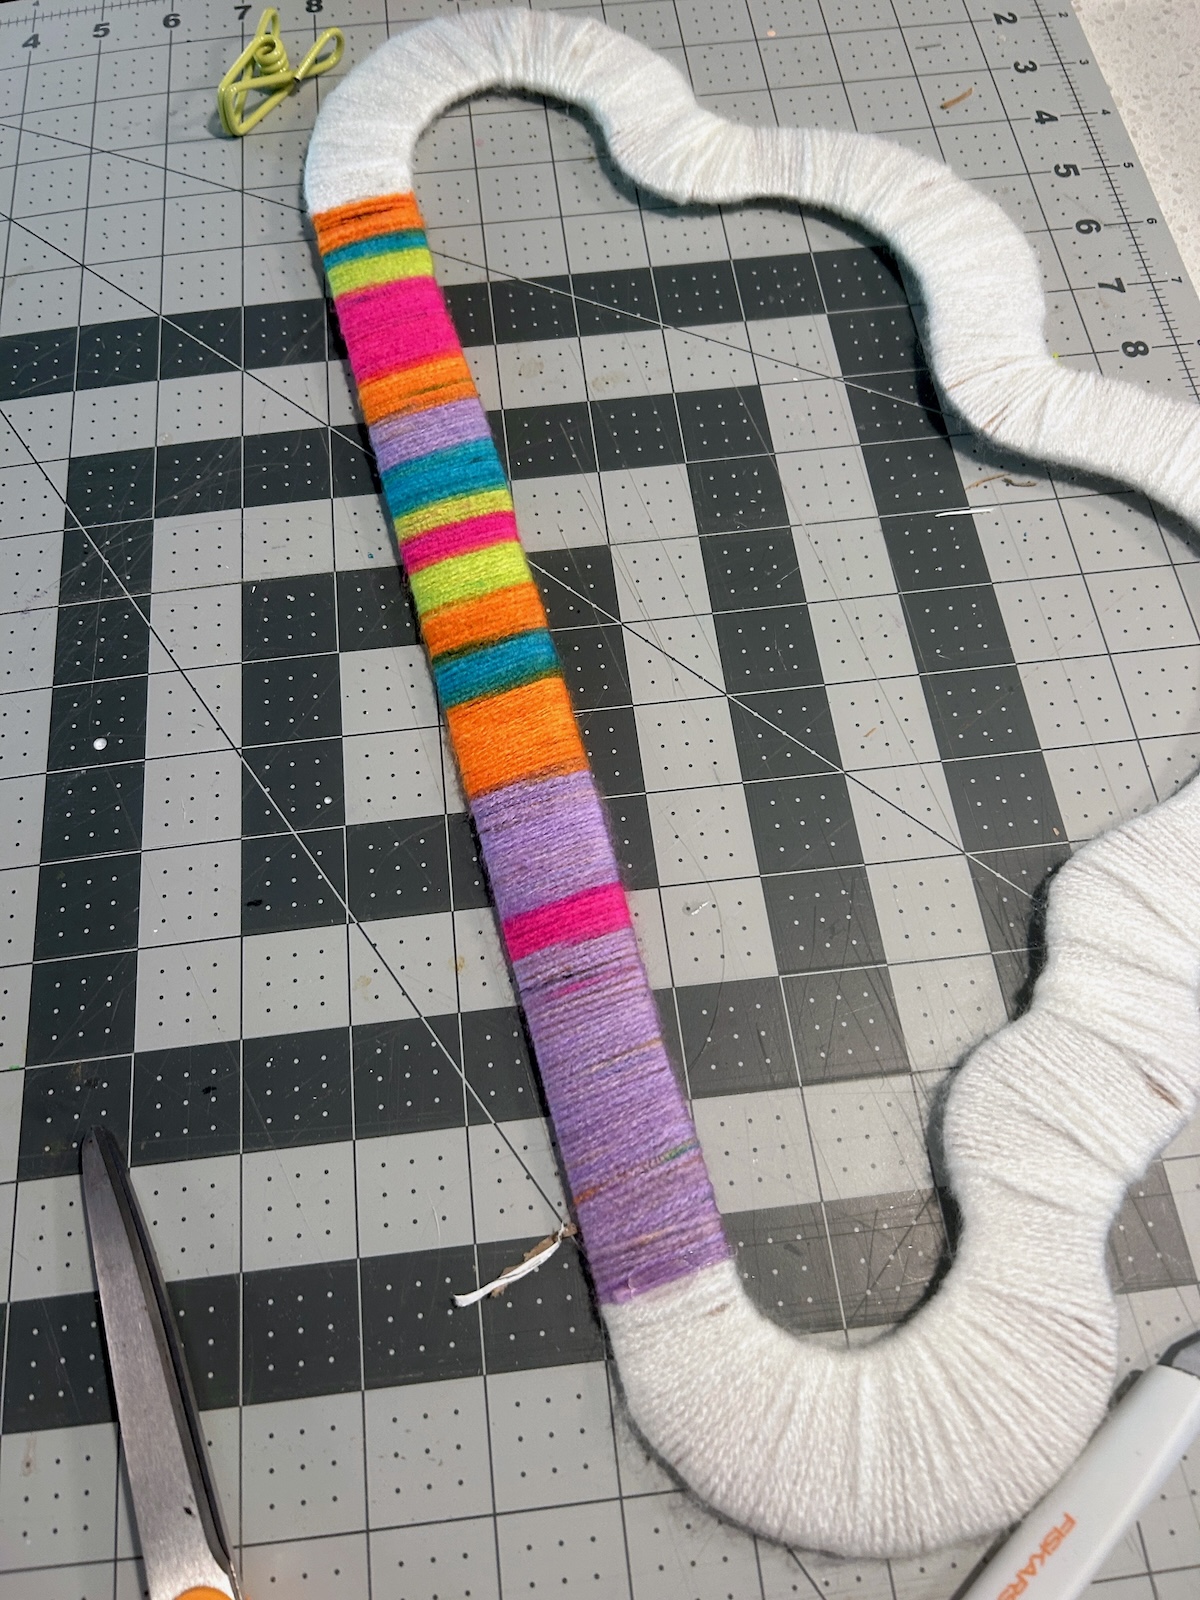
- Now you're going to switch to the rainbow yarn. Cover the bottom part of the cloud shape with the yarn as you did before.
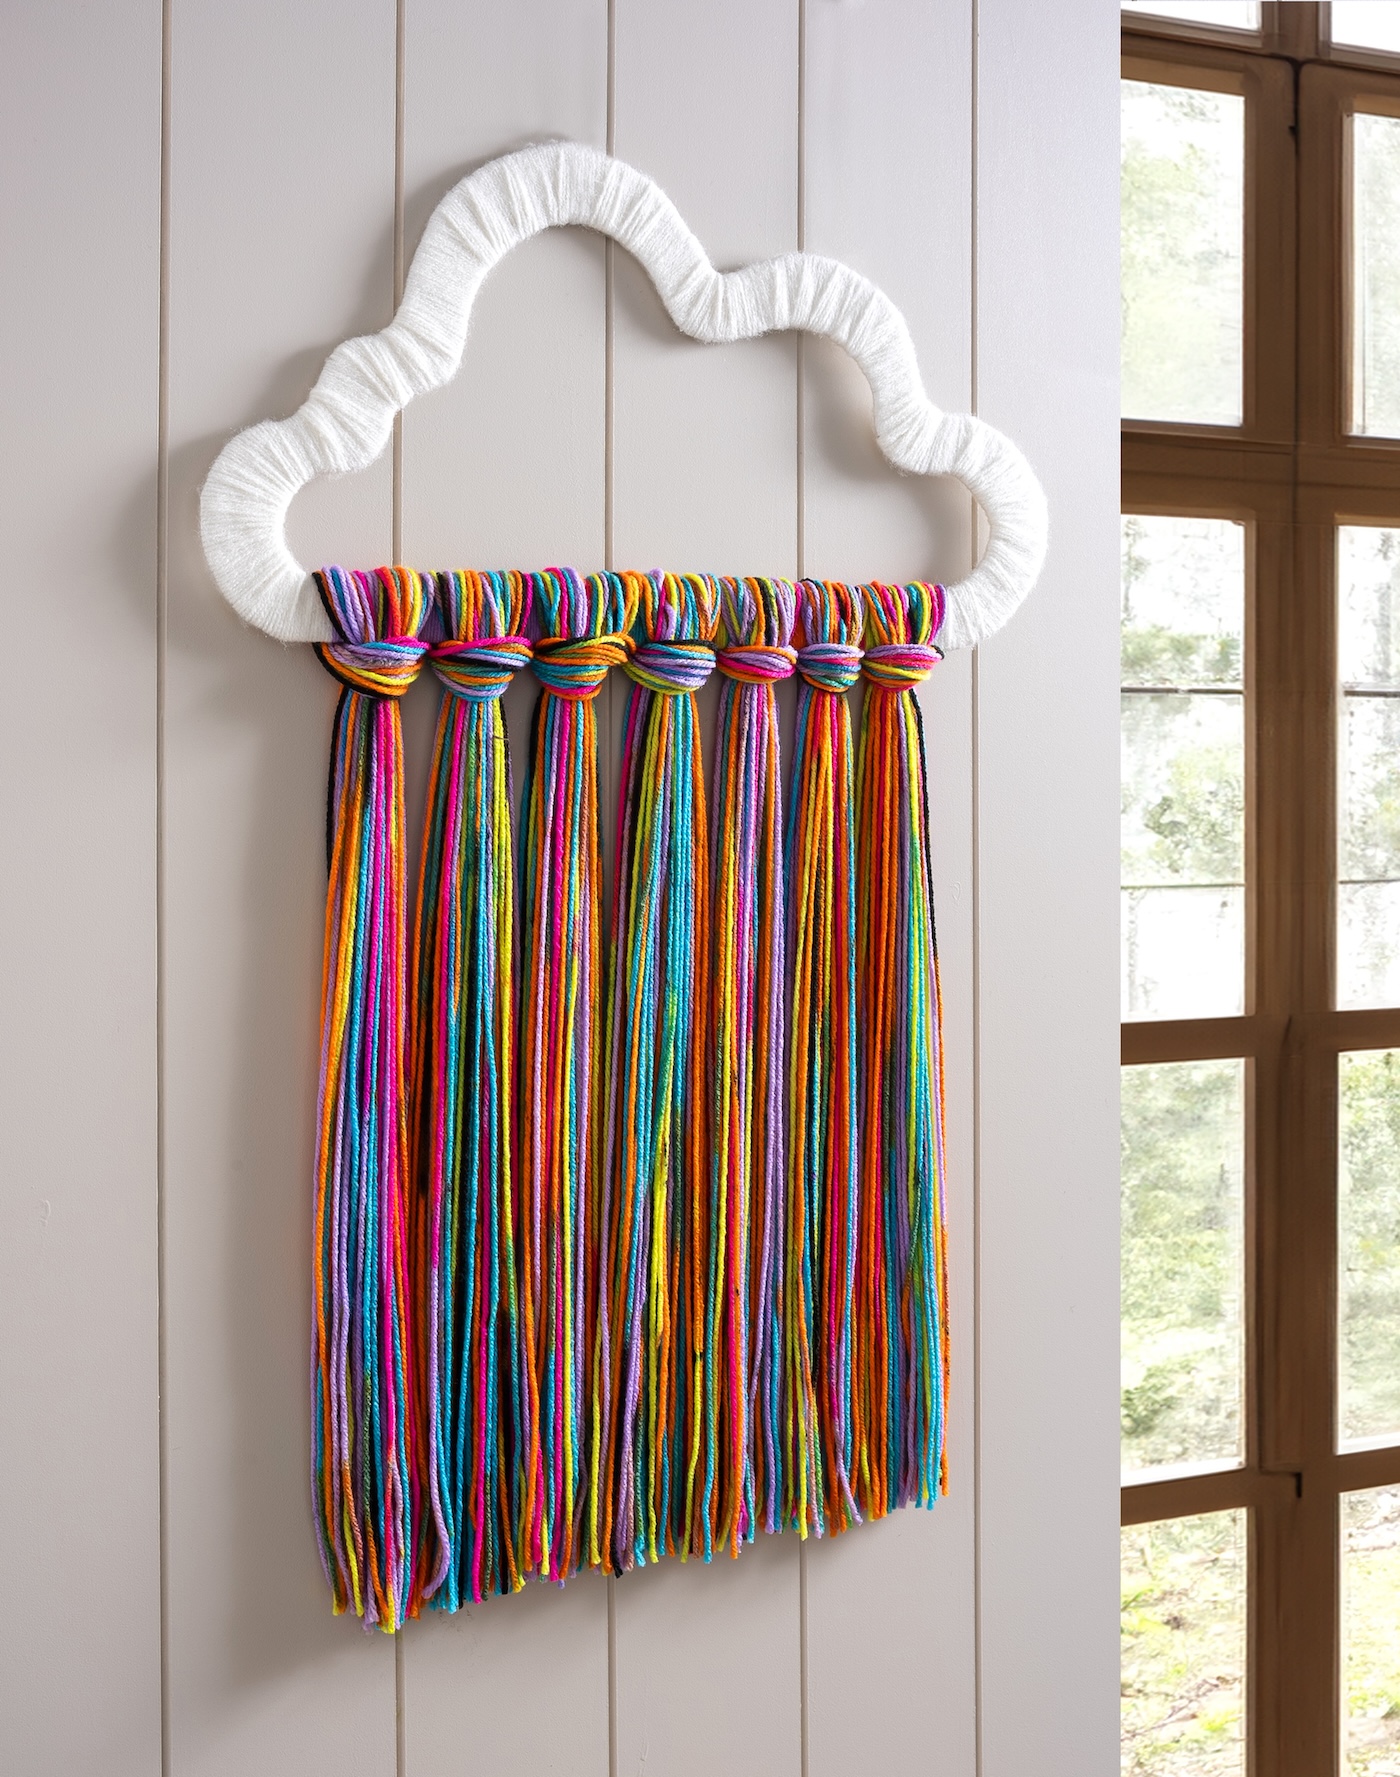
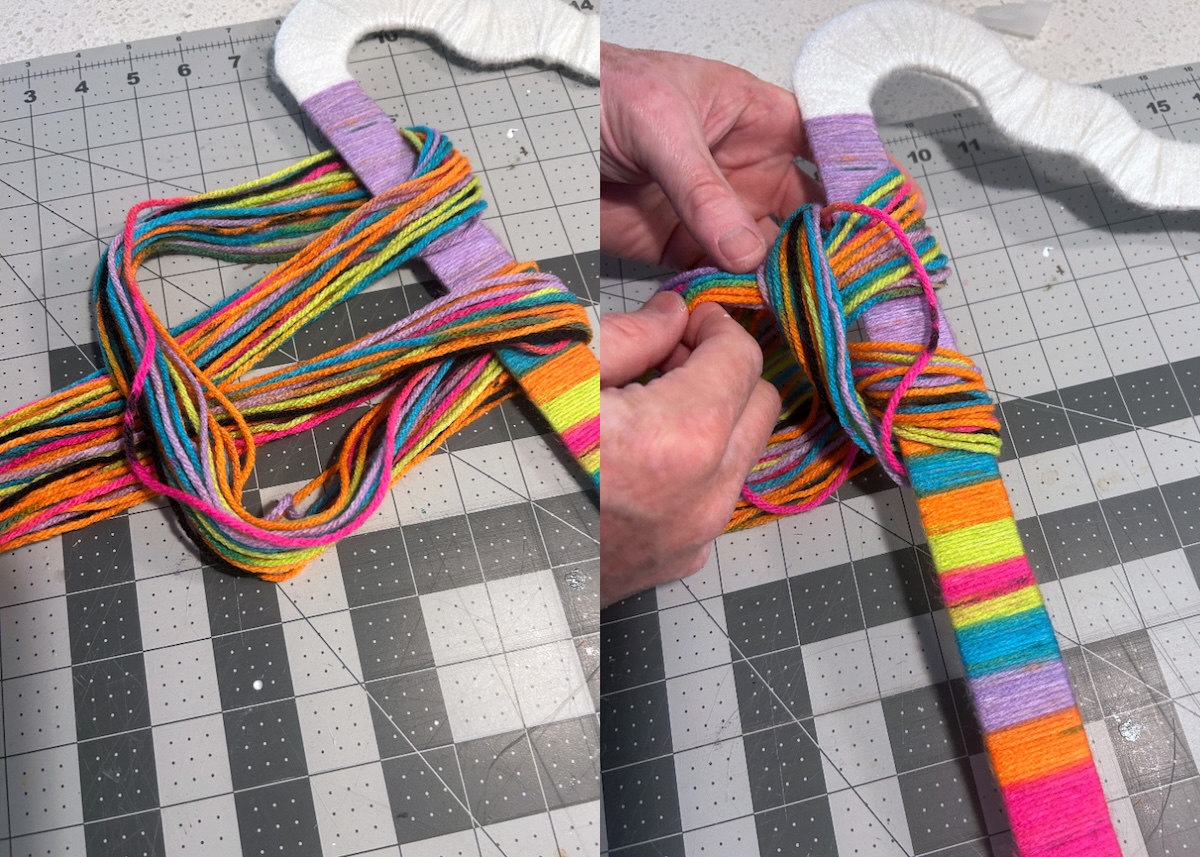
- Once done, you're going to make large tassels using the rainbow yarn. Cut about twenty (20) 36" lengths of yarn to make one tassel. I cut enough for seven of them.
- To attach each tassel, place each bundle of lengths of yarn down in half on the work surface. Place the cloud on top.
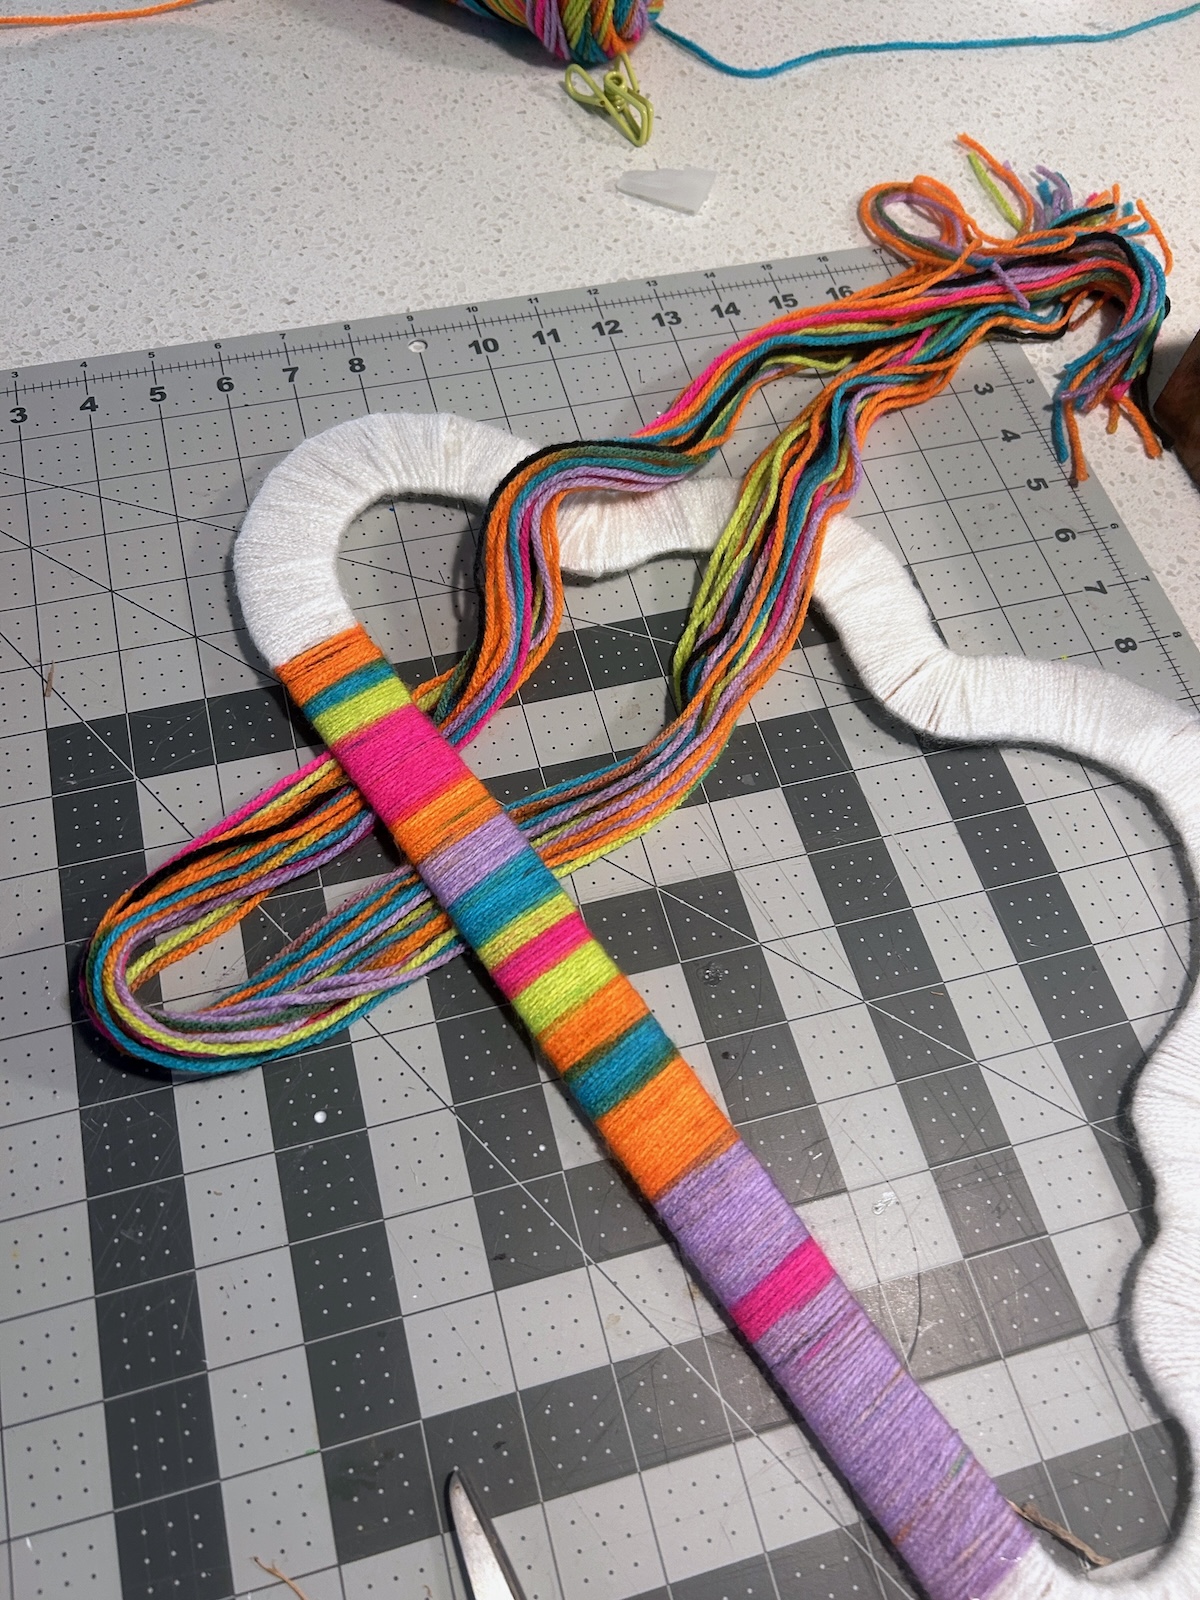
- Bring the ends around through the loop, even out, and tighten to create a tassel. Repeat across the bottom. Your cloud is ready to hang.
Notes
How to Hang Your Yarn Art
All you’ll need are some thumbtacks or finishing nails. Just spread the yarn apart in one area and hammer into the wall! You’ll only need 2 – 3, so there will only be a few small holes in the wall. Of course if you don’t want holes in the wall, use Velcro Command strips. This art is so lightweight!And if you’re ready to try some additional easy and budget friendly wall art, learn to make canvas wall art with glue! Plus here are some other wall art ideas for you:
Magazine Collage Art • Mod Podge Canvas • Pom Pom Wall Hanging • Pom Pom Wreath • Poster Hanger • Song Lyric Art • Yarn Wall Art • Yarn Wall Hanging


This wrapped yarn wall art is great to crank up the comfort of your home. This beautiful wall art is perfect for even the most minimalist of decor. Thanks for sharing!