Flower Pot Painting Made Fun and Easy for Everyone
Painting flower pots is easy to do and perfect to make for gifts or decor. Get all the tips here including preparation to ensure success. Both children and adults alike will love this easy craft. So fun!
Skills Required: None. You don’t need any previous crafting experience to paint these terra cotta pots. The abstract method is easy for crafters of all levels and ages.
If you’re anything like me, you probably have a soft spot for plants and flowers. There’s just something about adding a touch of green to your living space that brightens up your day and brings a sense of serenity.
But I’ll confess, I’m no professional gardener. So when I came across two cute little yellow flower pots in the dollar bin at my favorite store, I couldn’t pass them up. However years of use turned the yellow a little bit dingy.
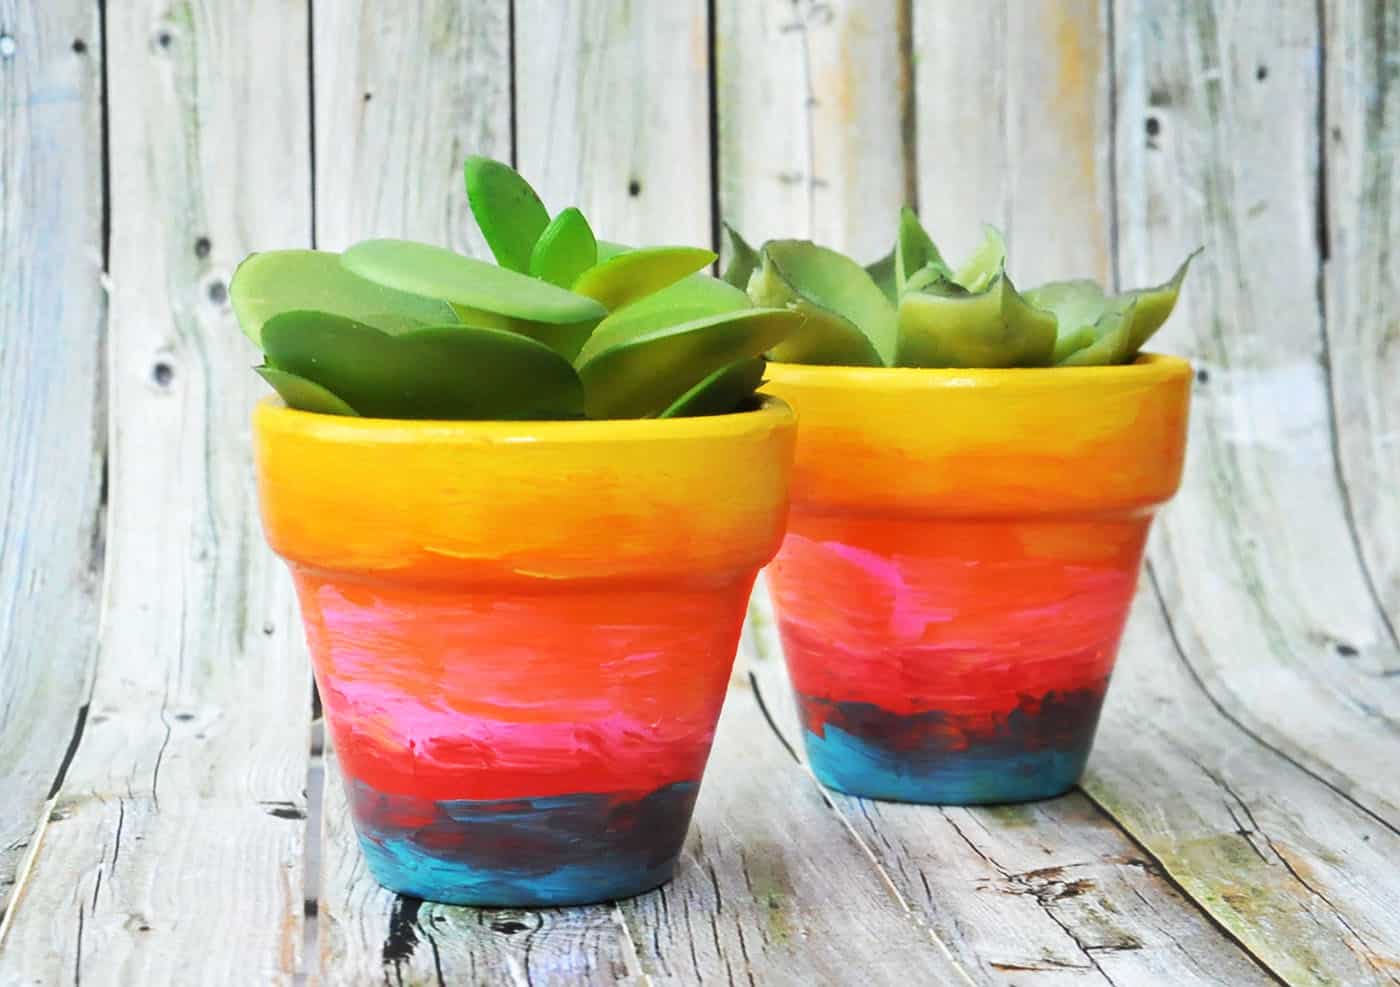
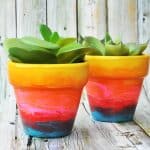
I set them aside for a long time, not sure how to spice them up. Then the idea hit me like a pot of gold at the end of a rainbow . . . ombre! Rainbow ombre, that is.
There are a lot of ways to paint flower pots, but this one brings a little something special: you don’t need any prior crafting skills. No detailed designs. They’re great Mother’s Day craft for kids . . . paint and add some flowers for the perfect gift for mom!
These clay pots are also a great summer craft or boredom buster for kids of all ages. Put the littles outside so you can spray them off after they’re done painting.
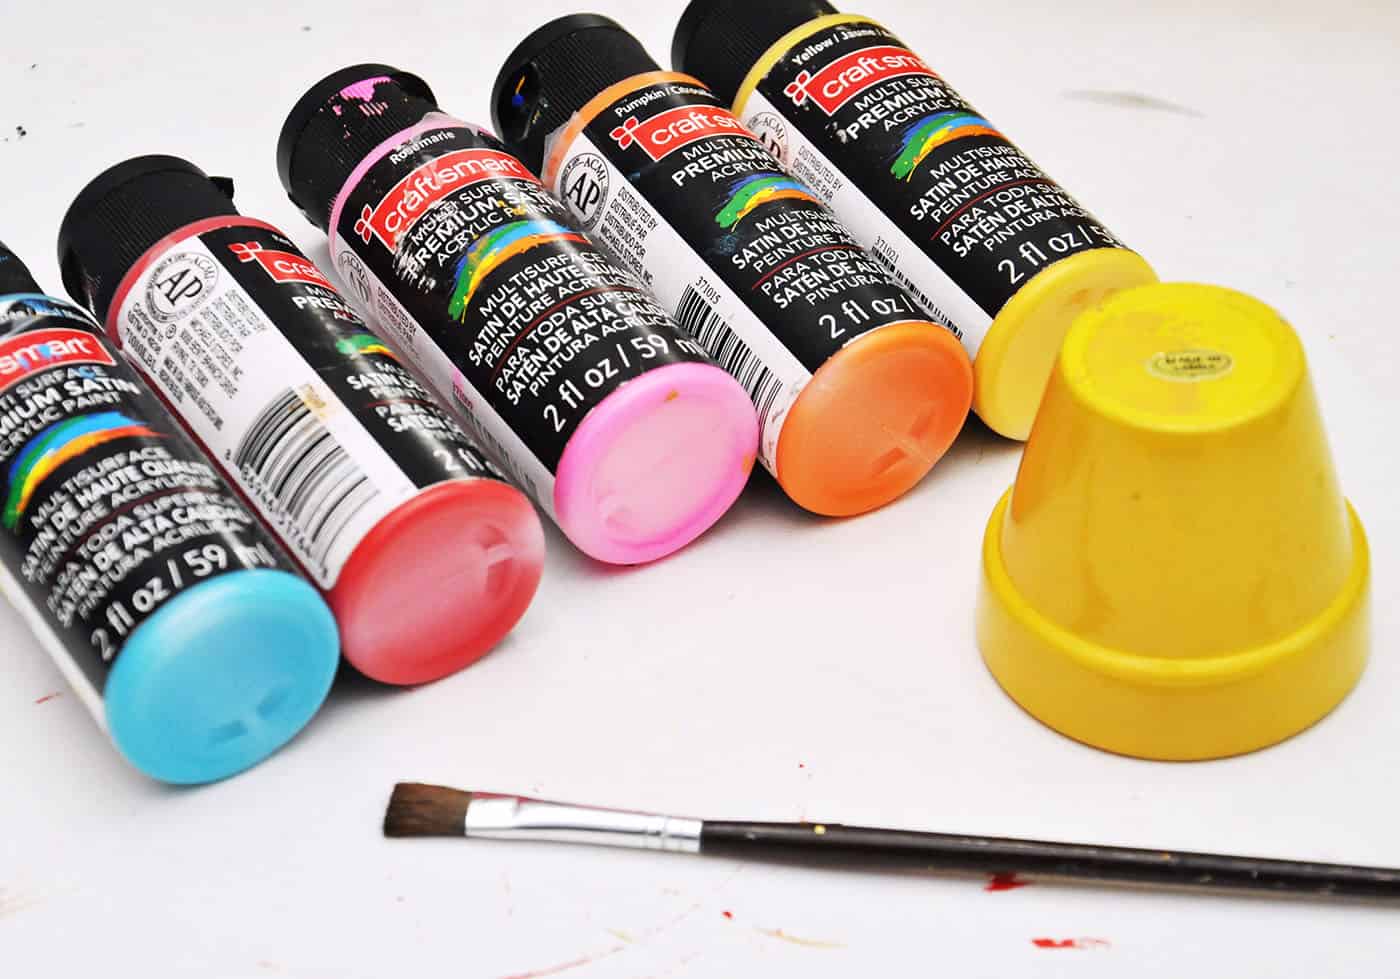
First, you’ll need to collect what you need to paint the pots.
Gather These Supplies
- Terracotta pots
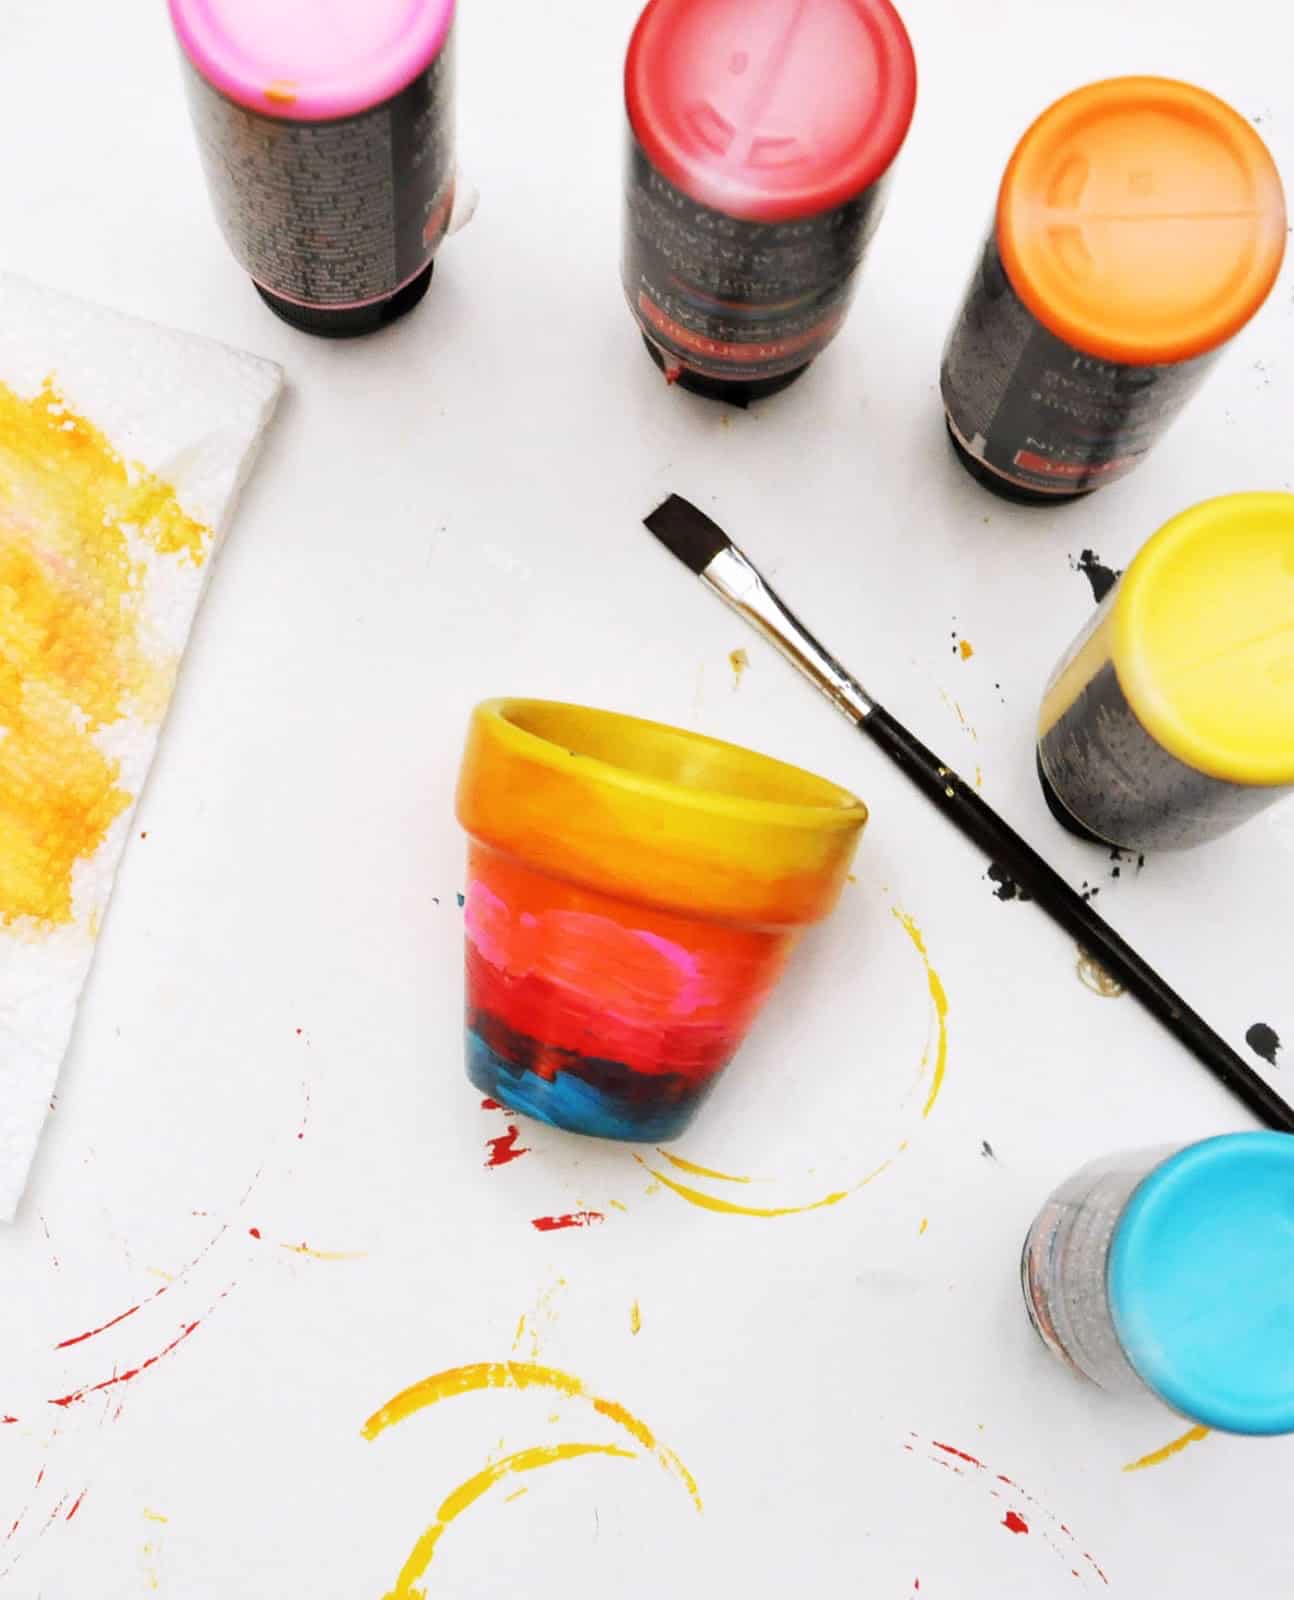
- Multi-surface or outdoor acrylic paints, assorted colors
- Soft bristled brushes
- Spray or brush on sealant
- Sandpaper
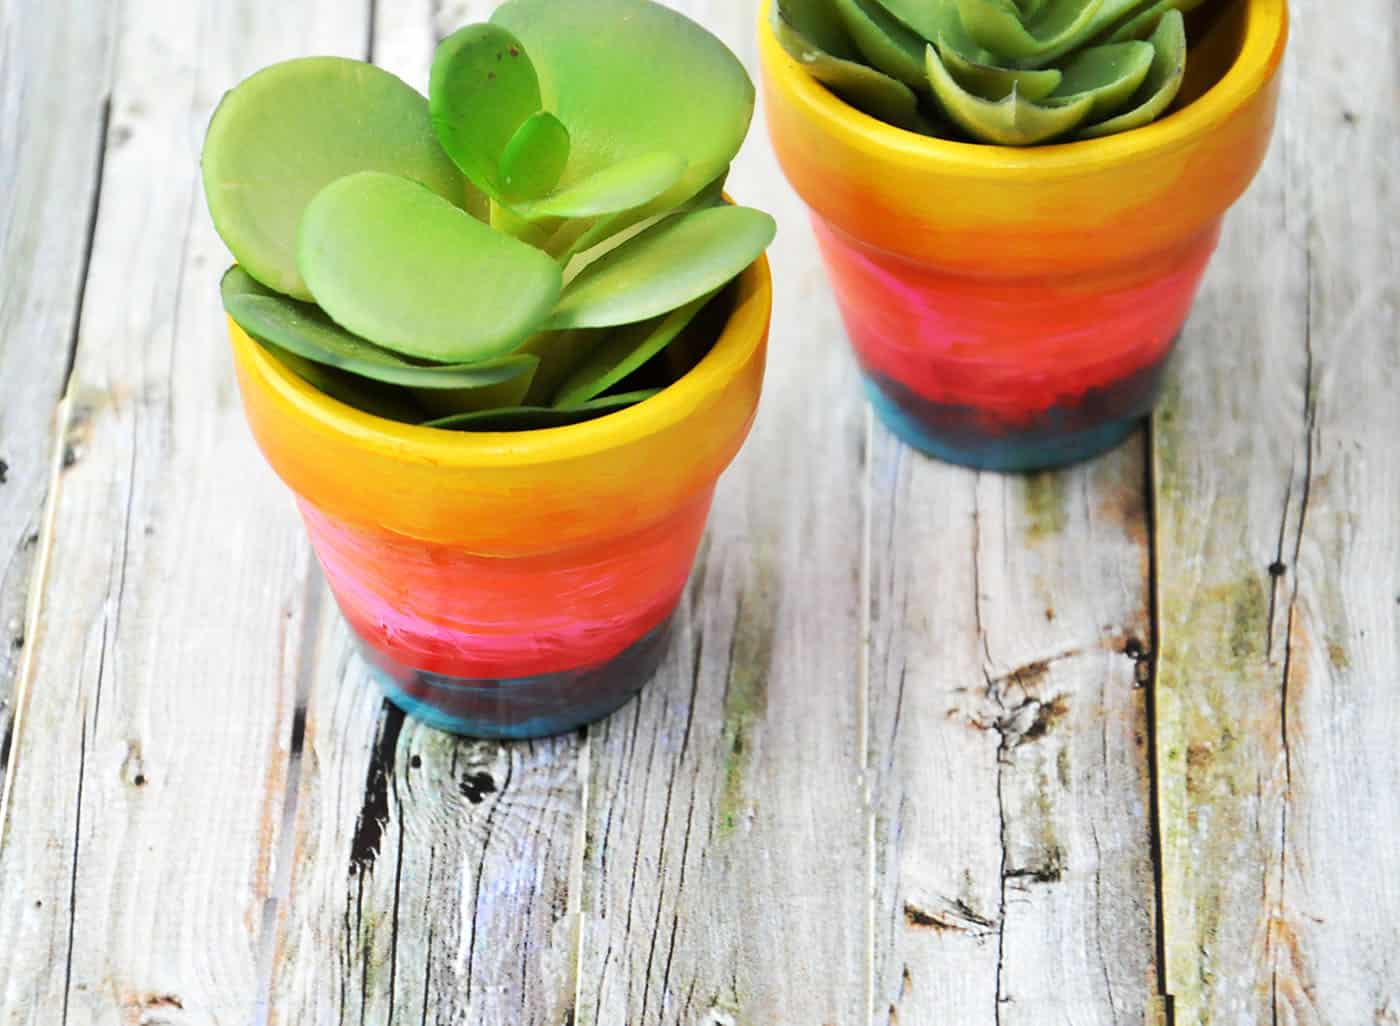
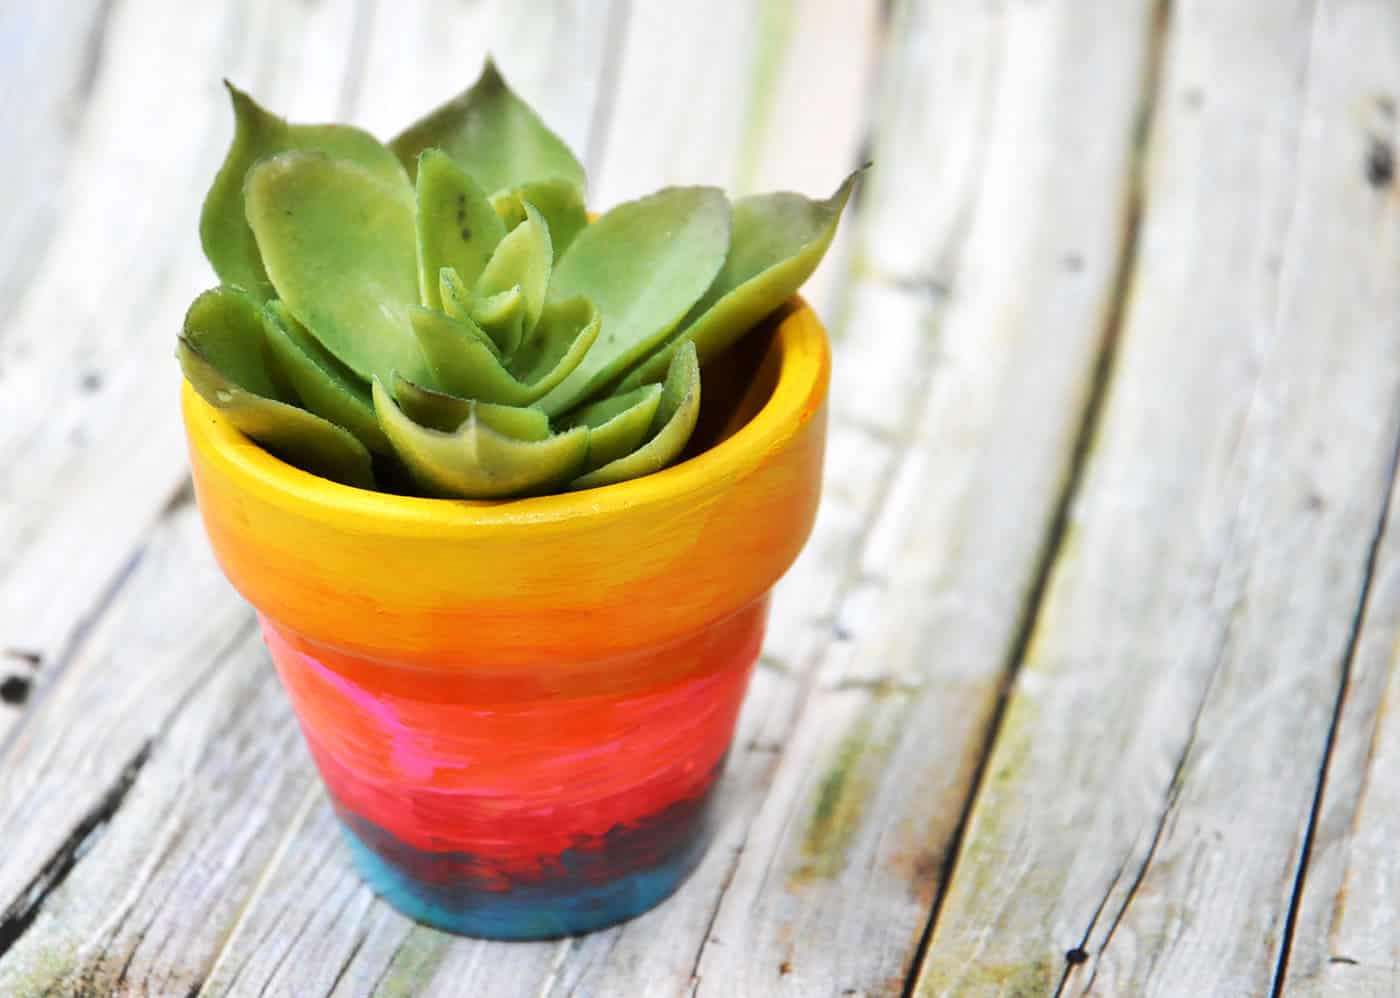
Once you’re done, fill the painted flower pots up with cute little succulent plants or fresh herbs. You should be able to water them just fine!
Get the printable how to card for this project below!
Painted Flower Pots
Equipment
- Sandpaper
Materials
- Terracotta pots
- Multi surface or outdoor acrylic paint various colors
- Clear acrylic sealer
Instructions
- If the clay pots have been used, clean them with mild soap and warm water to remove all dirt and debris. Let dry.
- Apply 2 – 3 coats of a clear, water-based sealer to the inside of all the pots, letting dry between coats. Let dry completely before painting.
- Basecoat your pot with a single color and let dry. If you aren't sure which color to use, choose white. It's a great blank "canvas" for your painting.

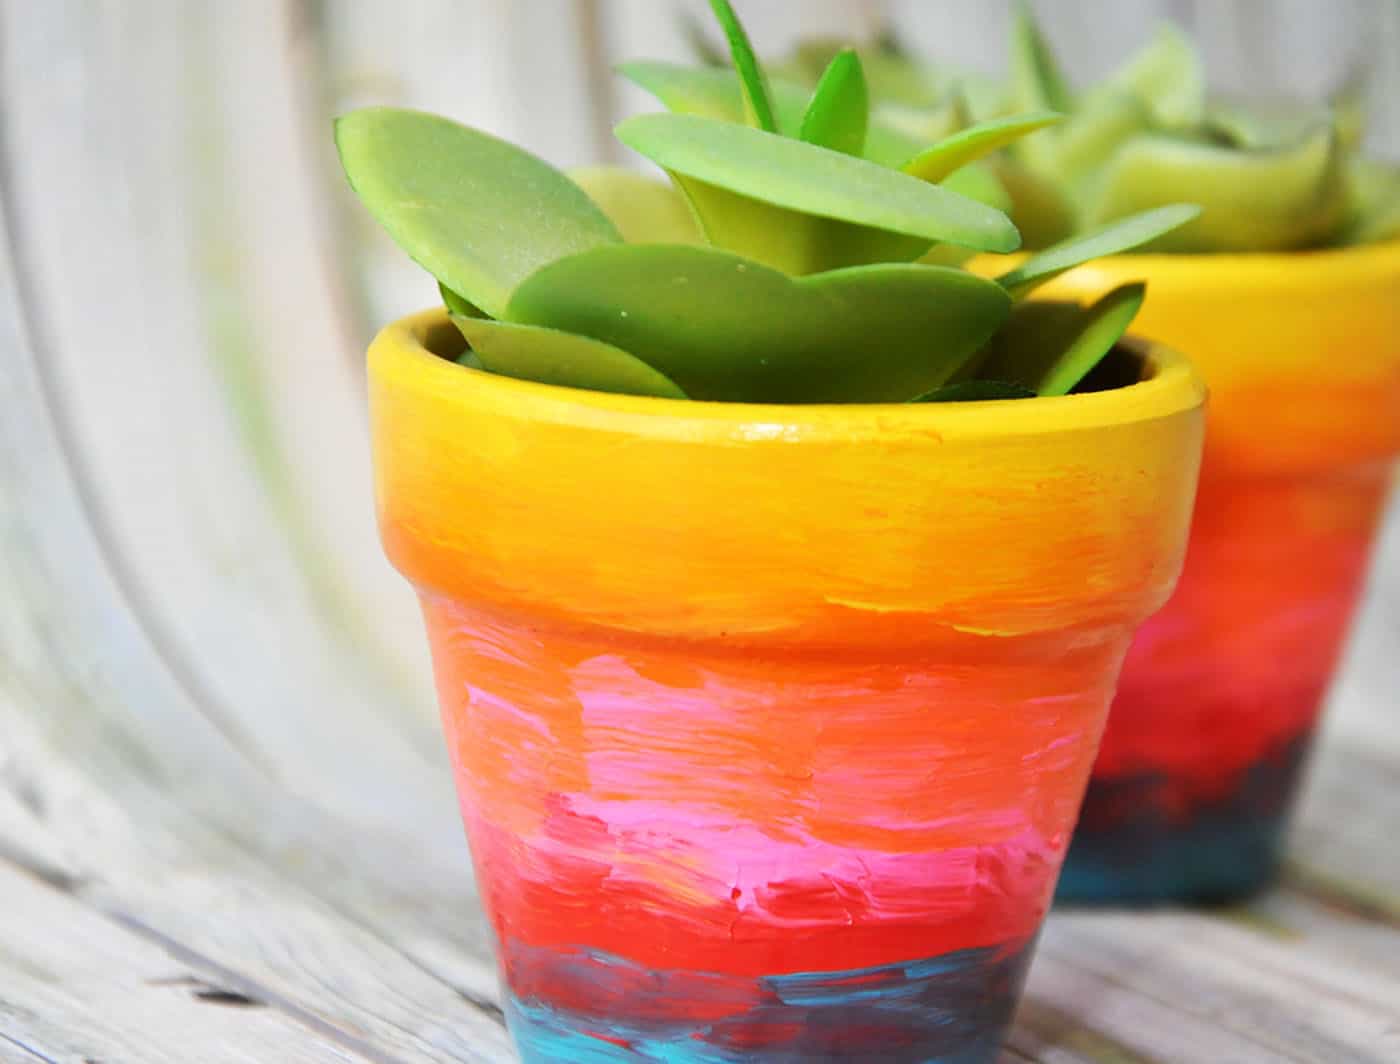
- Use your brush to add a very thick layer of painted stripes to the pot, one right on top of the other.

- Clean your brush and then make sure the paint is still wet. Use the brush to go over the line where both colors meet, lightly stroking each color within the other to soften the line.
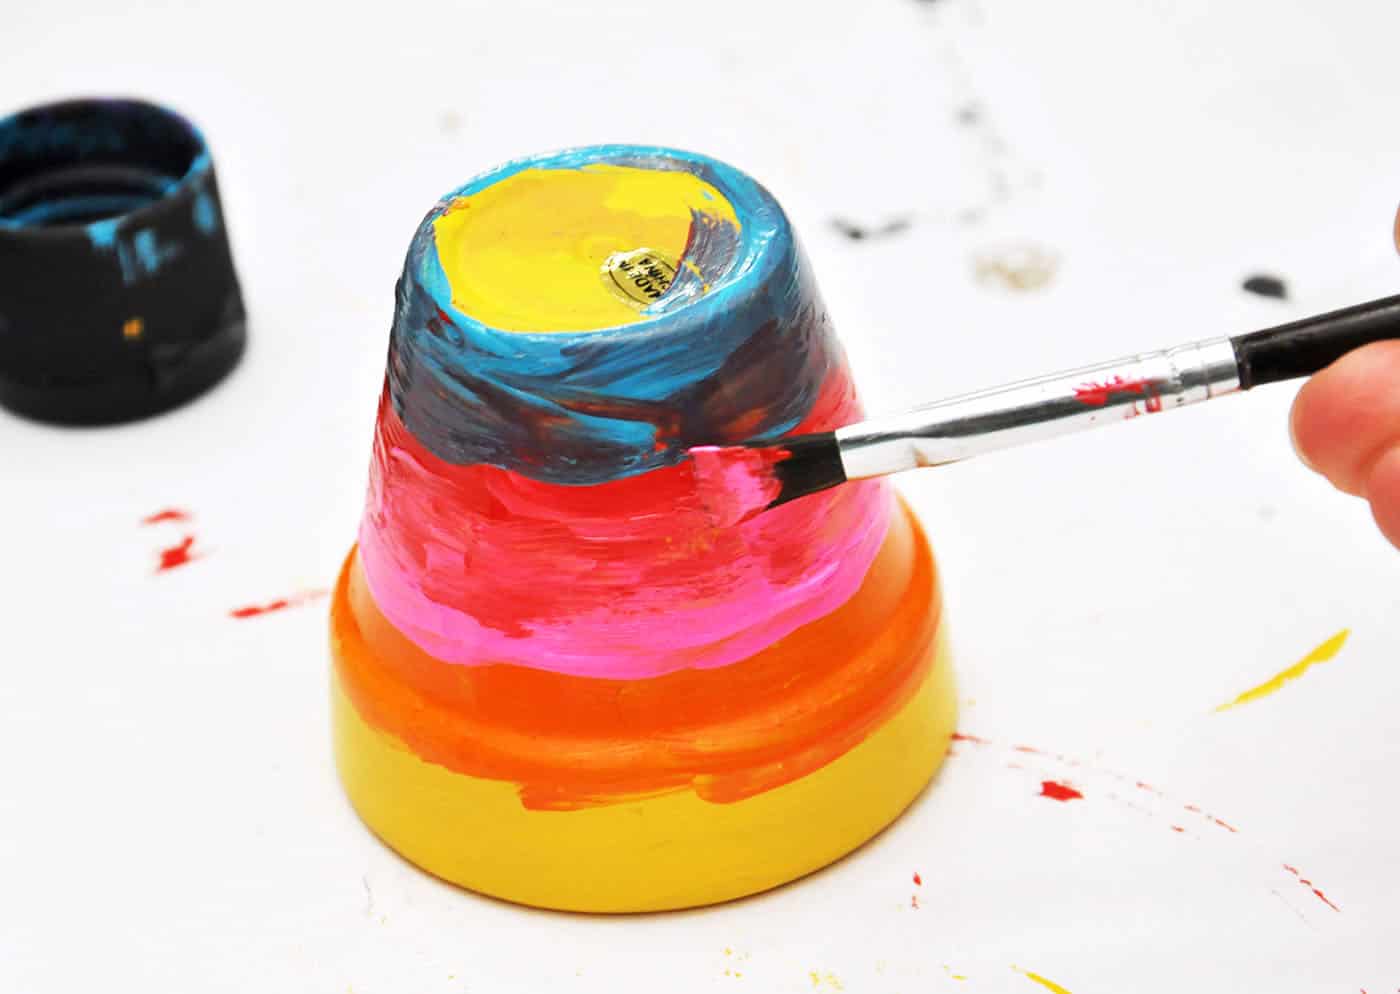
- Continue painting stripes (or the design of your choice). Once you're finished, allow the pot to dry for several hours.
- Apply 2 – 3 coats of a final sealer to the outside. Let dry for at least 24 hours before planting.
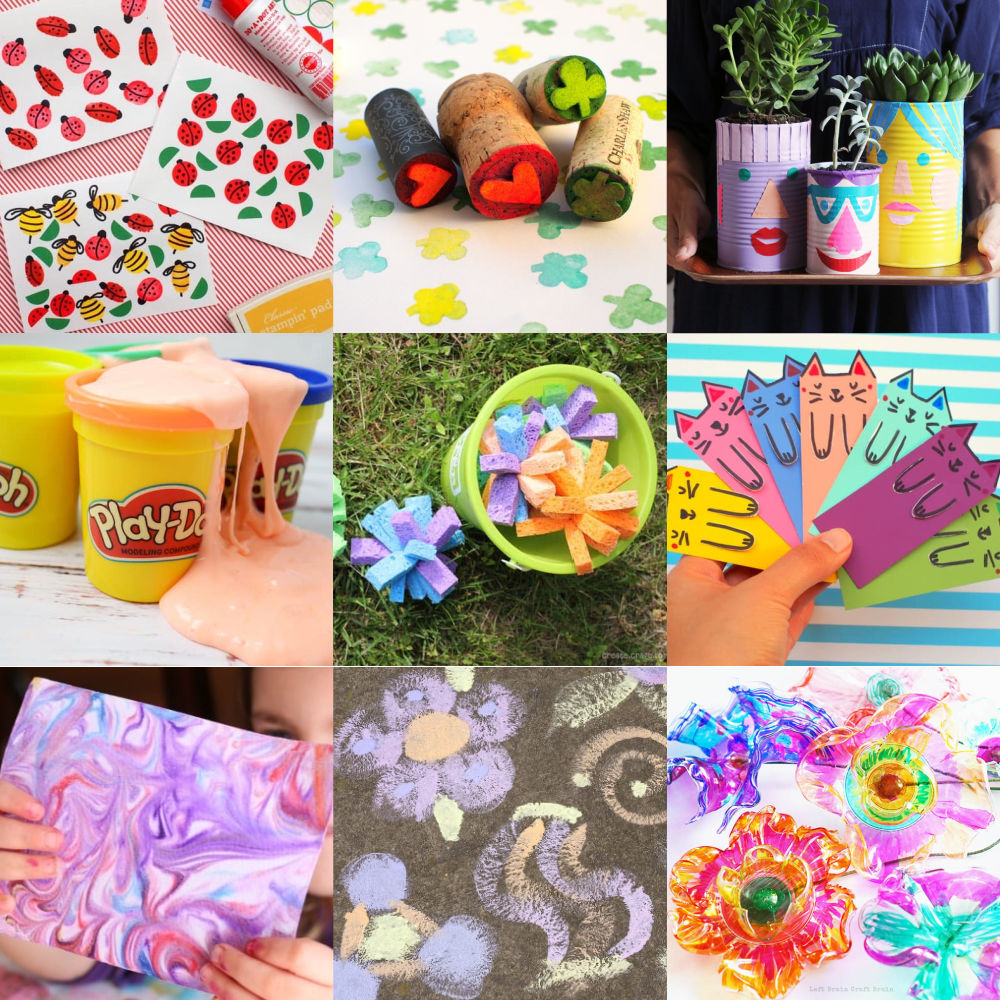
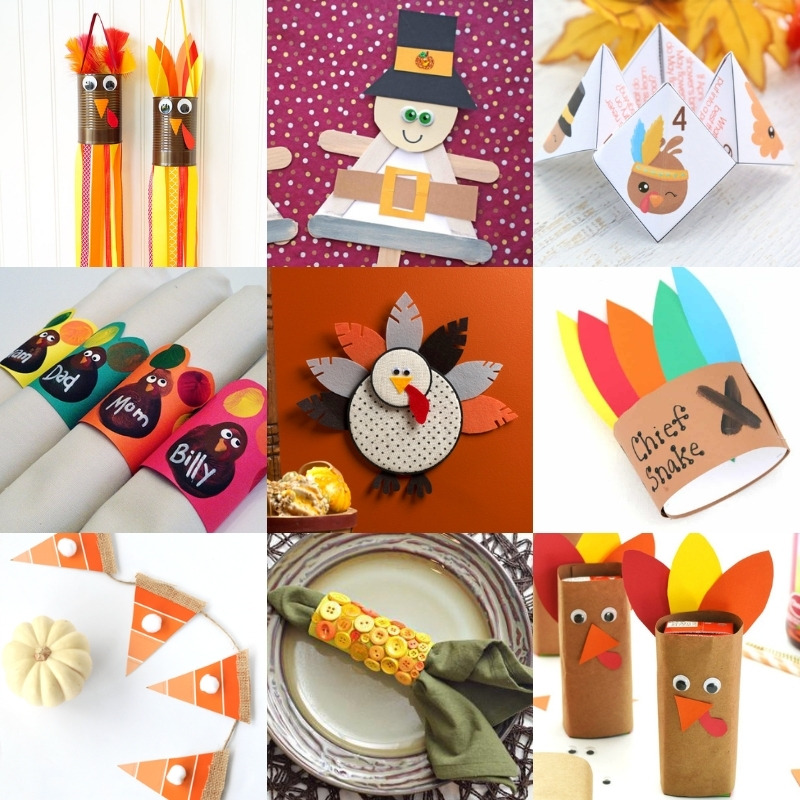
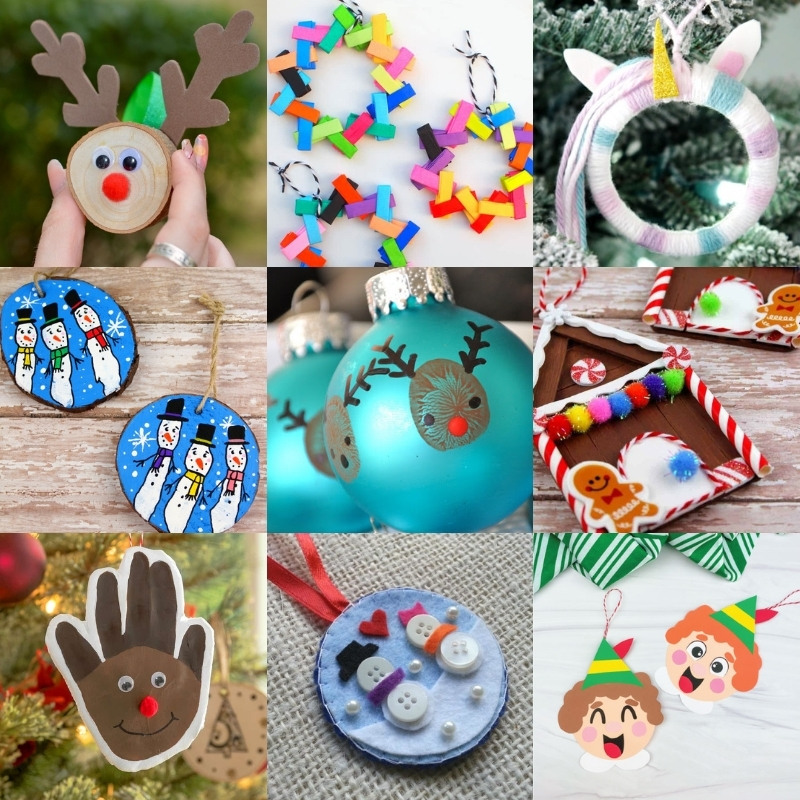
If you’re looking for other craft ideas that kids are going to love, check out these projects:
Beaded Suncatchers • Bean Art Mosaics • Blow Painting • Borax Crystals • Bubble Wrap Painting • Cloud Dough • Coffee Filter Flowers • Food Coloring Art • Homemade Playdough • Jello Play Dough • Kinetic Sand • Moon Sand • Paper Chain • Pencil Toppers • Perler Beads • Sidewalk Chalk Paint • Spin Art • Weaving for Kids • Wine Cork Stamps


I really loved this amazingly painted flower pot. Also, the idea of having a rainbow theme is quite inspiring.
Thank you Shreya!
Great idea! Will have to try this!