Pom Pom Wall Hanging (Super Easy DIY!)
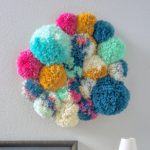
Make a colorful DIY pom pom wall hanging using simple craft materials! This idea can be customized and is sure to brighten your day!
Skills Required: None. Even if you’ve never crafted before, you can easily make this wall art. You’ll be making pom poms with a pom pom maker – making this a very simple project for beginners.
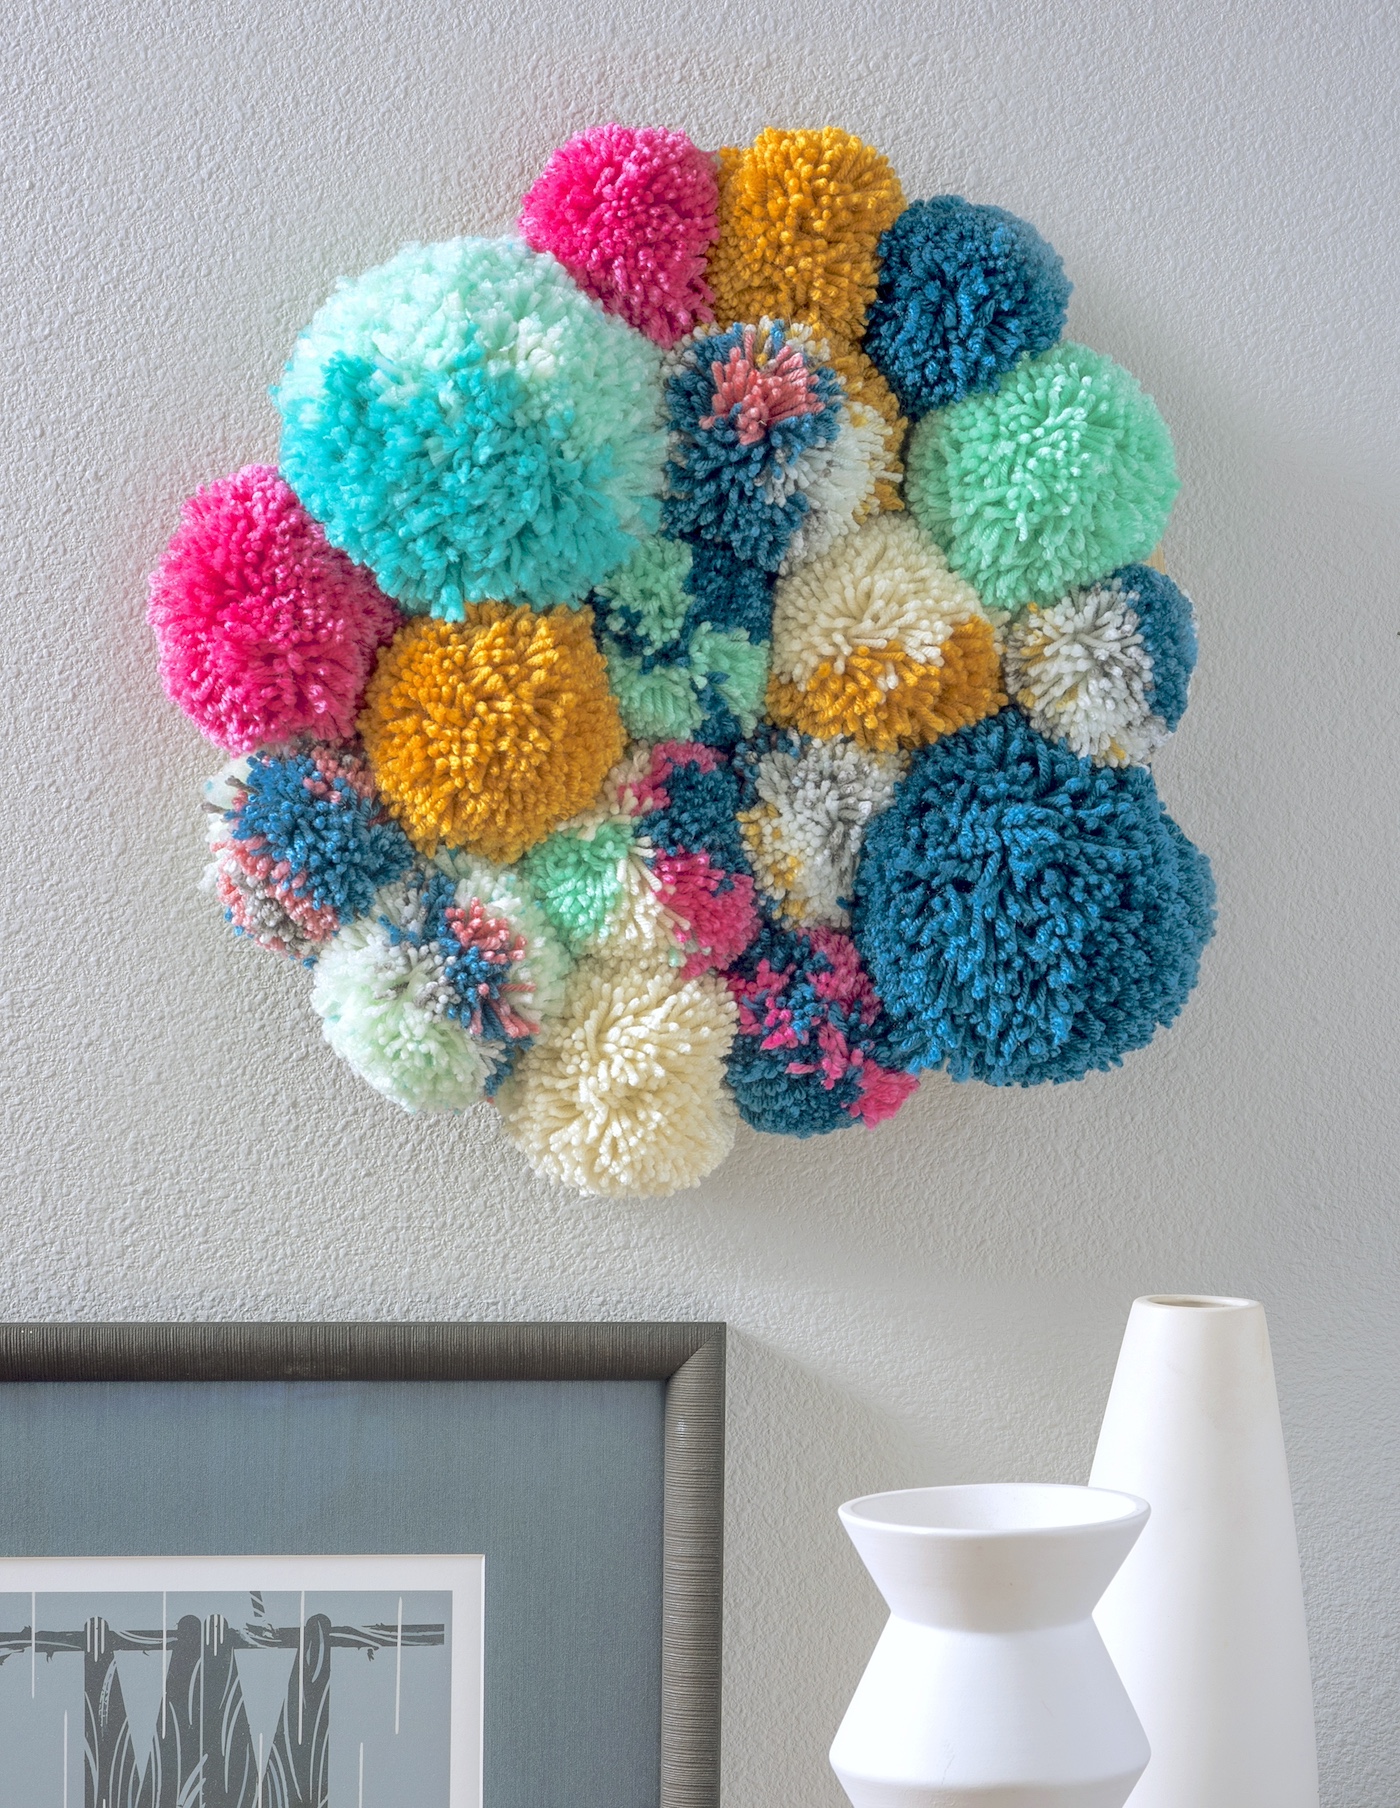
After a cold winter, I always find myself decorating with bright colors around my home. It really cheers me up and puts me in a great mood.
One of my favorite pieces is a pom pom wall hanging I made using a wood plaque I found at Michaels. It’s super duper colorful!
I love making pom poms (who doesn’t), and making a collection of them and turning it into wall decor is such a fun way to use them. I’ve made a pom pom wreath too. Once you get started with this yarn craft, you can’t stop!
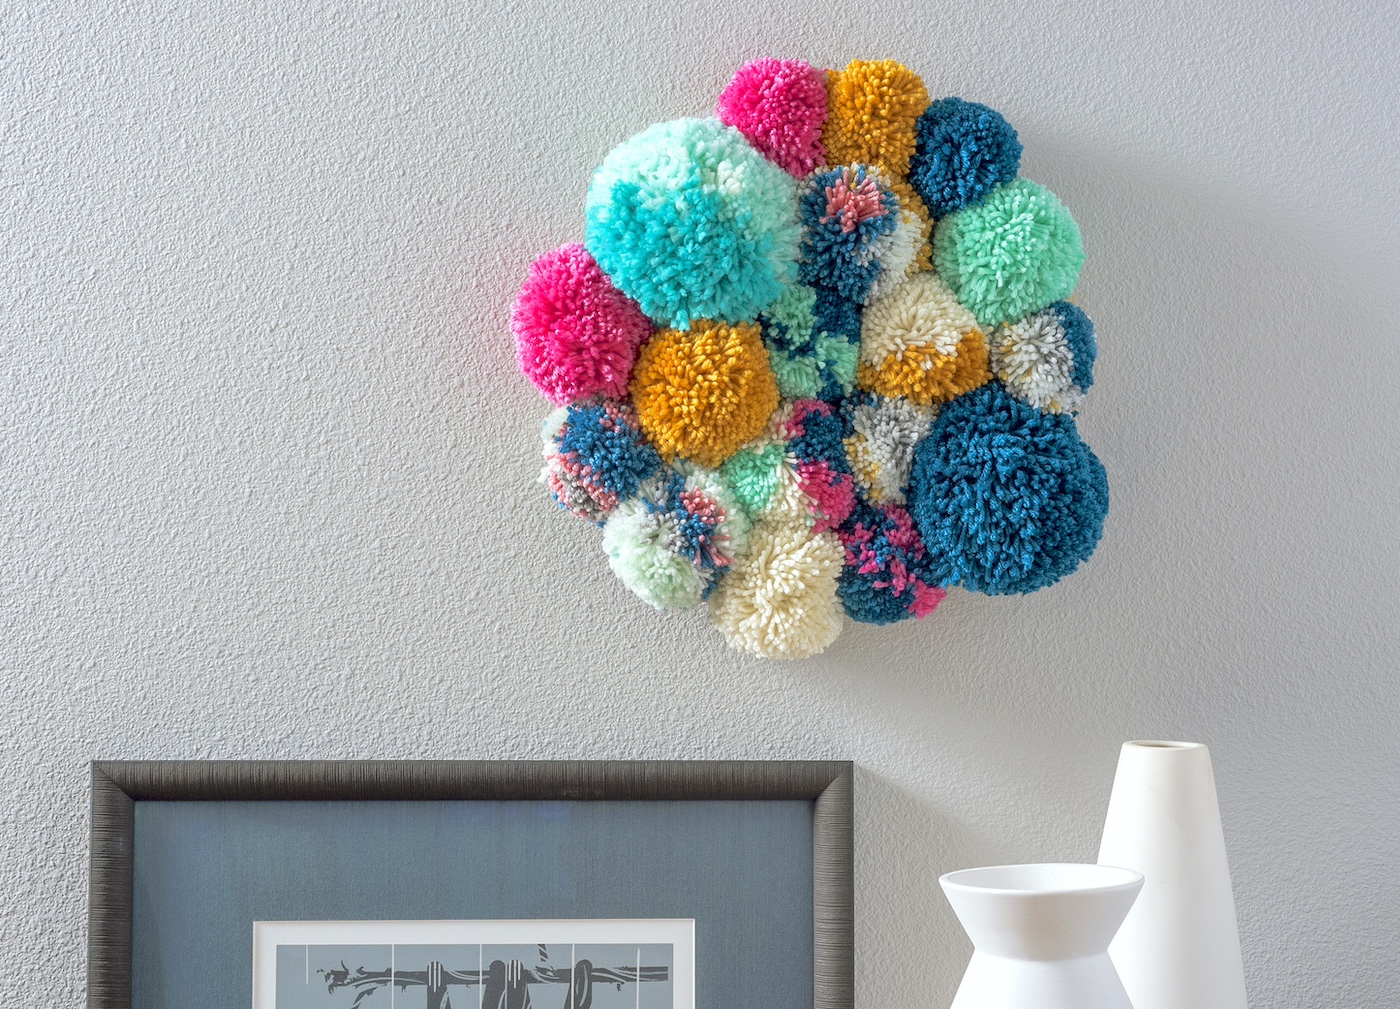
This wall decor is SO easy to make. When I say you’ll pretty much be wrapping yarn, I mean it. There are a few questions that I get regularly that I’d like to answer before you get started. Otherwise scroll down for the full tutorial.
How did I get the multicolored poms? You can make those with patterned, multi-color yarn OR by using multiple colors of yarn. The way you use multiple colors is simply to wind them on top of each other (you’ll see in the instructions below).
Why did my pom pom fall apart? Pom poms are tied together with yarn around the center. Basically one tight circle that keeps all the threads together. If you don’t tie that loop tight enough, the yarn will fall apart.
Are you ready to dive into the project? Let’s do this!
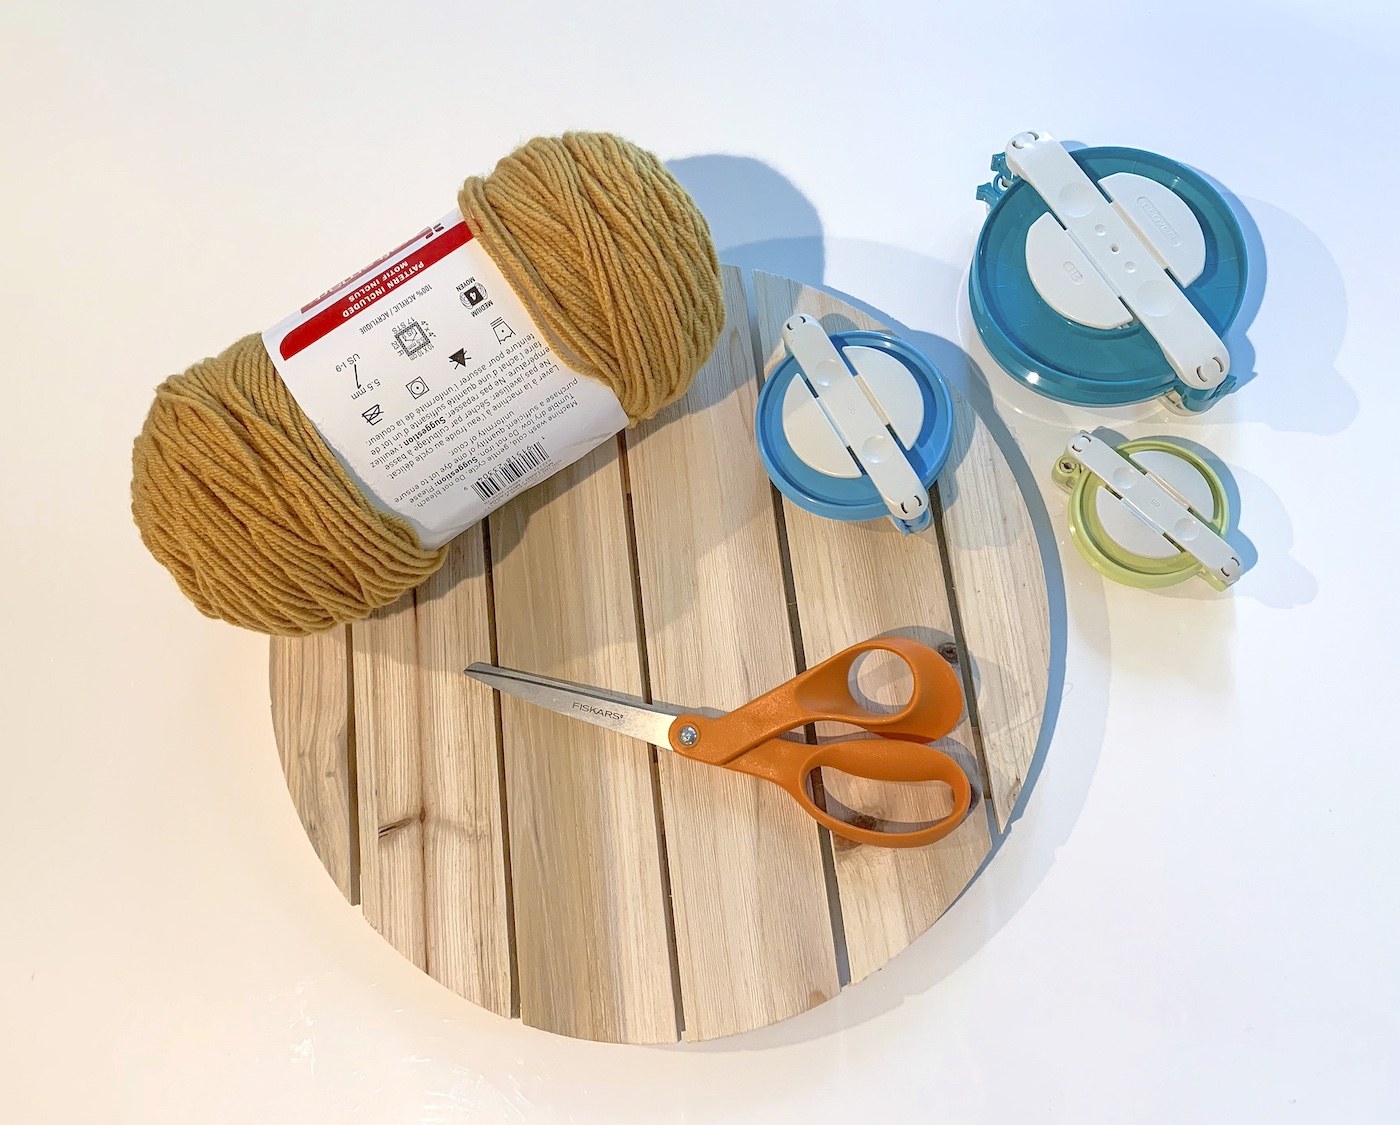
Gather These Supplies
- Wood plaque
- Yarn – skeins of multiple colors
- Pom pom makers
- Hot glue gun
- Scissors
Tips and Thoughts for This Project
The number you make really depends on the size of wall decor you’d like to make. For this project, 18 pom poms were made of various sizes. A few of them were extra large. Just lay your poms out on the plaque as you go, until it’s full. You can switch up the size of the pom poms for more interest.
Pom pom makers make assembly very easy. I used the Clover brand makers in large and extra large. They make perfectly puffy and full poms unlike the DIY versions.
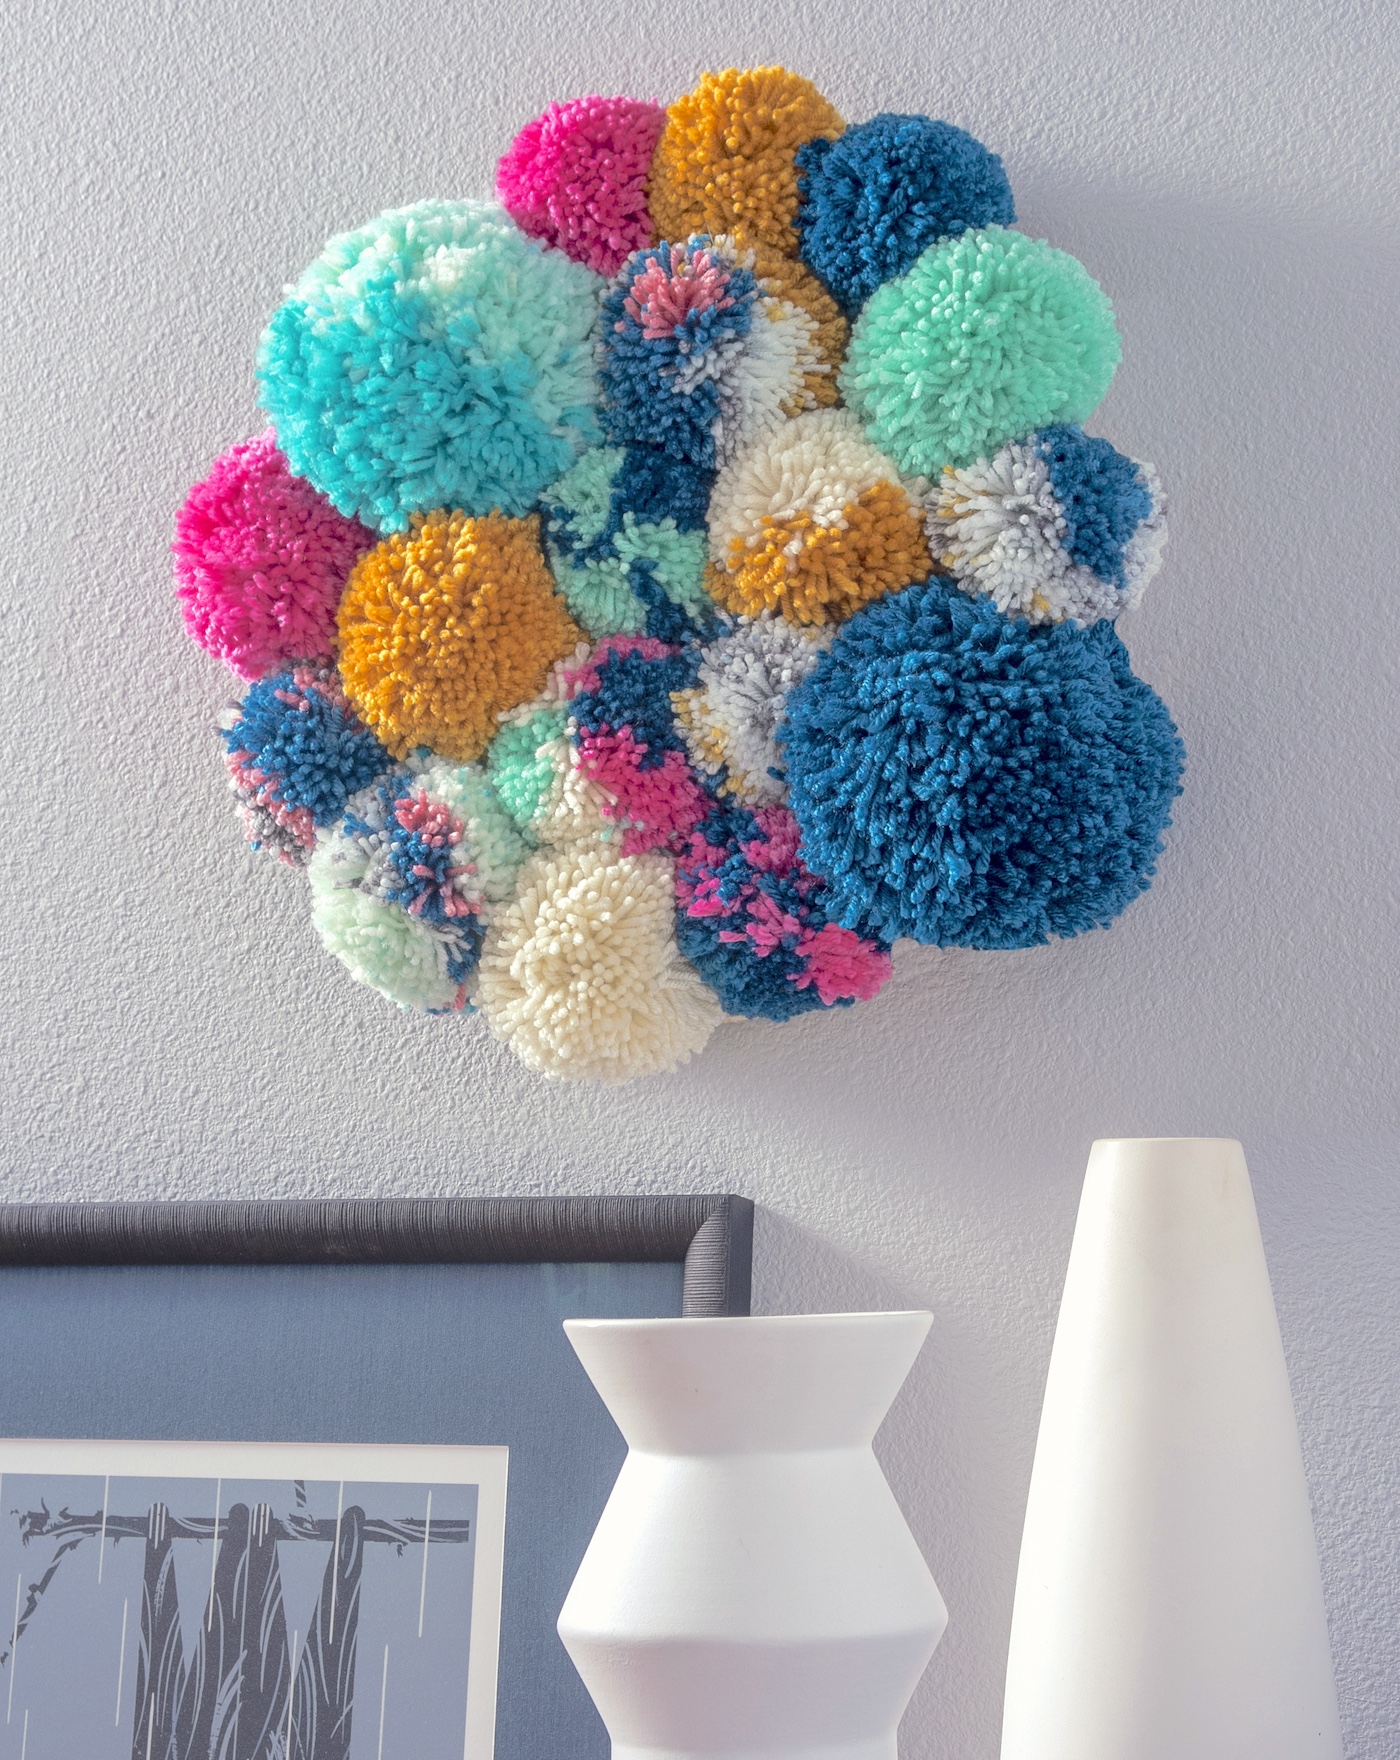
Get the printable how to card for this project below:
Pom Pom Wall Hanging
Equipment
- Pom pom maker(s) one size or various sizes!
Materials
- Wood plaque
- Yarn skeins of multiple colors
Video
Instructions
- Begin by open the two U-shaped arches of your pom pom tool together. Start by wrapping around the arches. You can leave one end of the yard loose (and trim later). You'll want the yarn to not only be wrapped around the arch, but to fill the "U" portion of the arch fully. This will give you a thick arch.
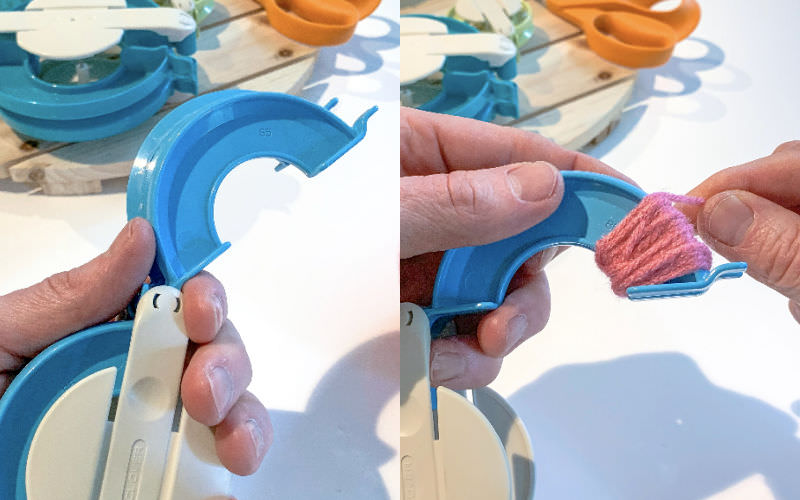
- When you are finished wrapping one side, close it and feed the yarn over to the other side .Follow the same steps with the other side of the tool. Close both arches as shown.
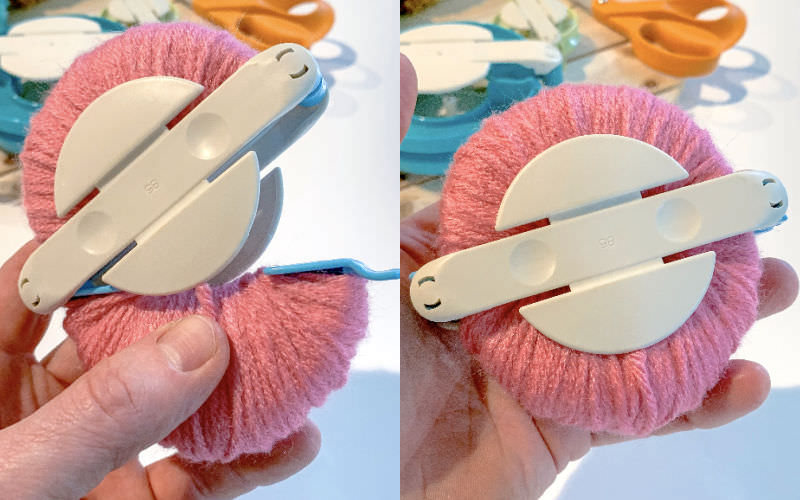
- Use the scissors to cut the yarn on each side of the pom pom maker, while still keeping it closed.
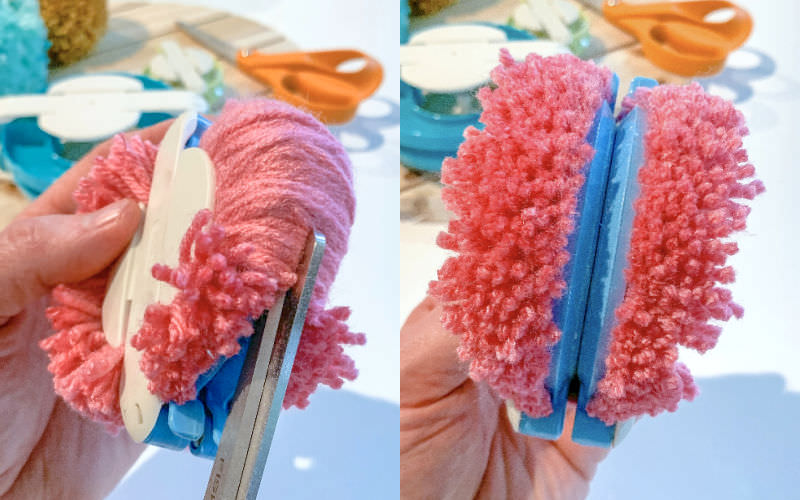
- Take a length of yarn, slide it through that same crack in which you cut the yarn, tie a knot, and pull it as tight as you can. Tie once, then pull again and tie a knot. Your pom pom is now secure and, if you tied tight enough, you won't have any threads fall out.
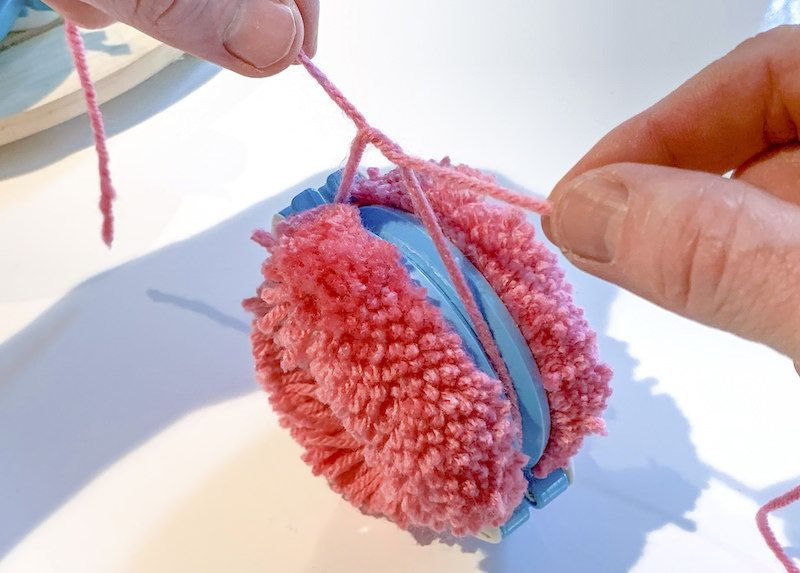
- Open both ends of the tool and pull apart to remove the pom pom.
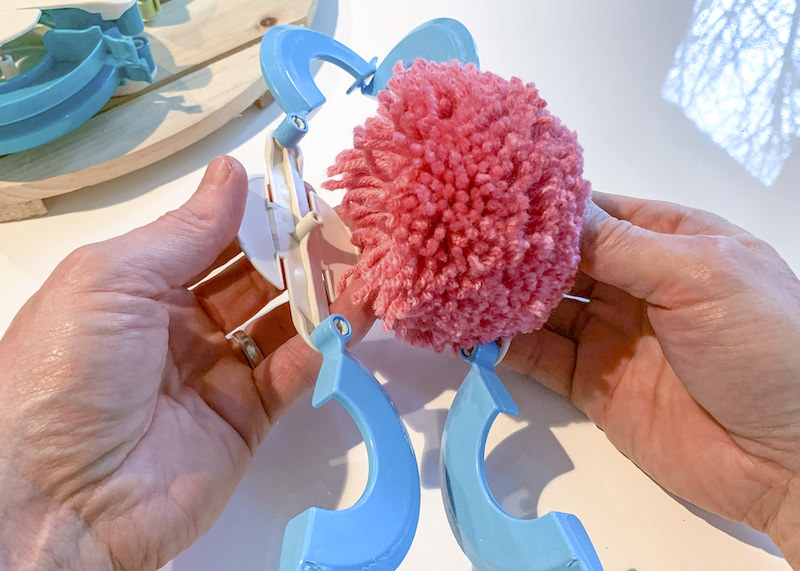
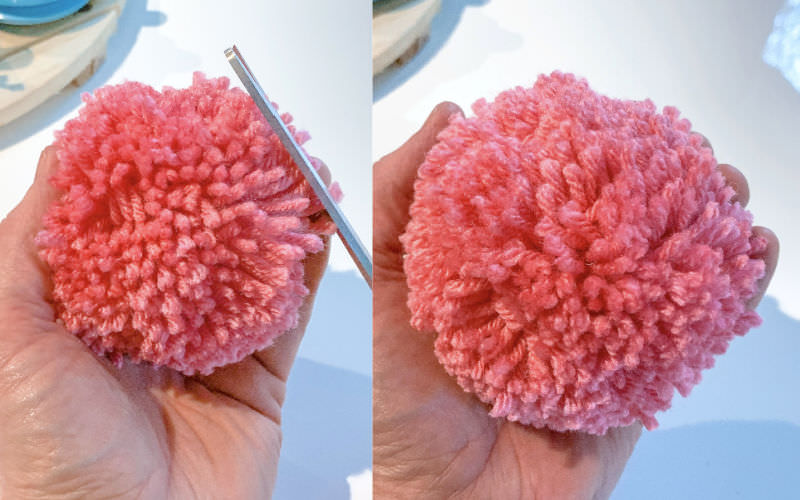
- The pompom will come out very shaggy, so you'll want to trim it up with the scissors, plus the excess yarn from tying. Repeat steps 1 – 5 to make as many pom poms as you desire.
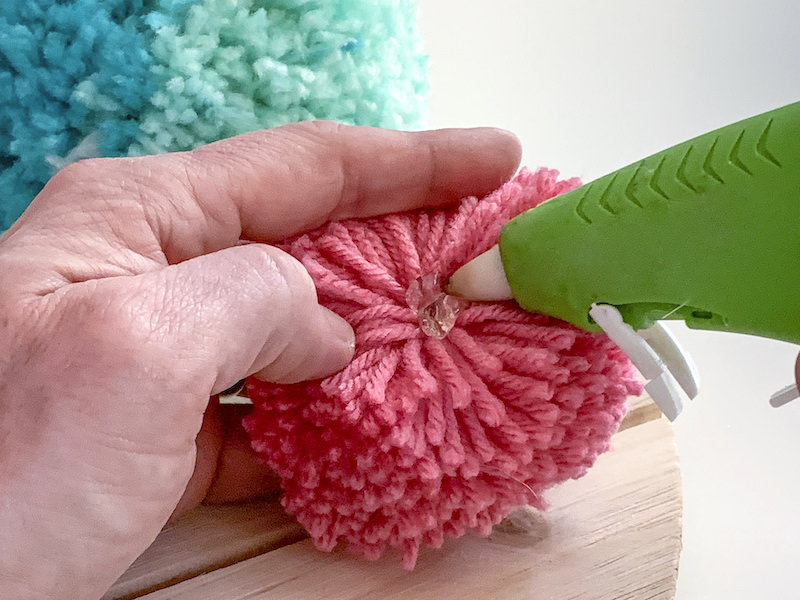
- Spread the yarn out on one pom pom with your fingers and place some glue down on the yarn.
- Press the pom, glue side down, onto the plaque. Let cool and it will be secure.
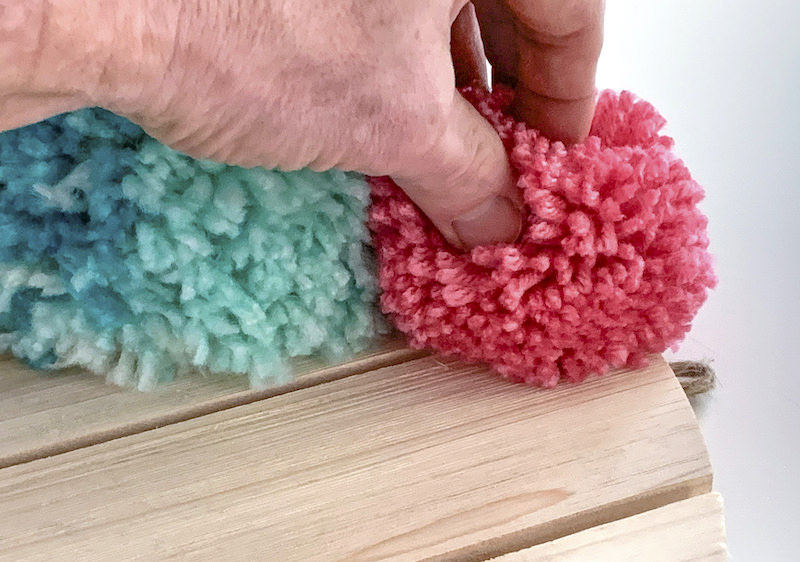
- Continue adhering pom poms until your wall hanging is complete. Then you can hang it on the wall as shown.

Notes
I’d love to know how you would personalize this DIY pom pom wall art! What colors would you use? Let me know in the comments.



I love that wall hanging! I’m totally going to make one this weekend for my son’s bedroom!
Paige
https://www.thehappyflammily.com/