DIY Wood Sign in Three Steps (Easy to Customize!)
If you have some scraps lying around, this DIY wood sign is the perfect home decor item to make with them. So easy to personalize! Great for rustic or farmhouse decor.
Skill Level: Very Beginner. There are only three basic steps to making this rustic sign. You don’t even have to cut wood if you get it done at the home improvement center (many will do it for you!) or, you can pick a used sign as a base. The rest is just painting and applying a graphic.

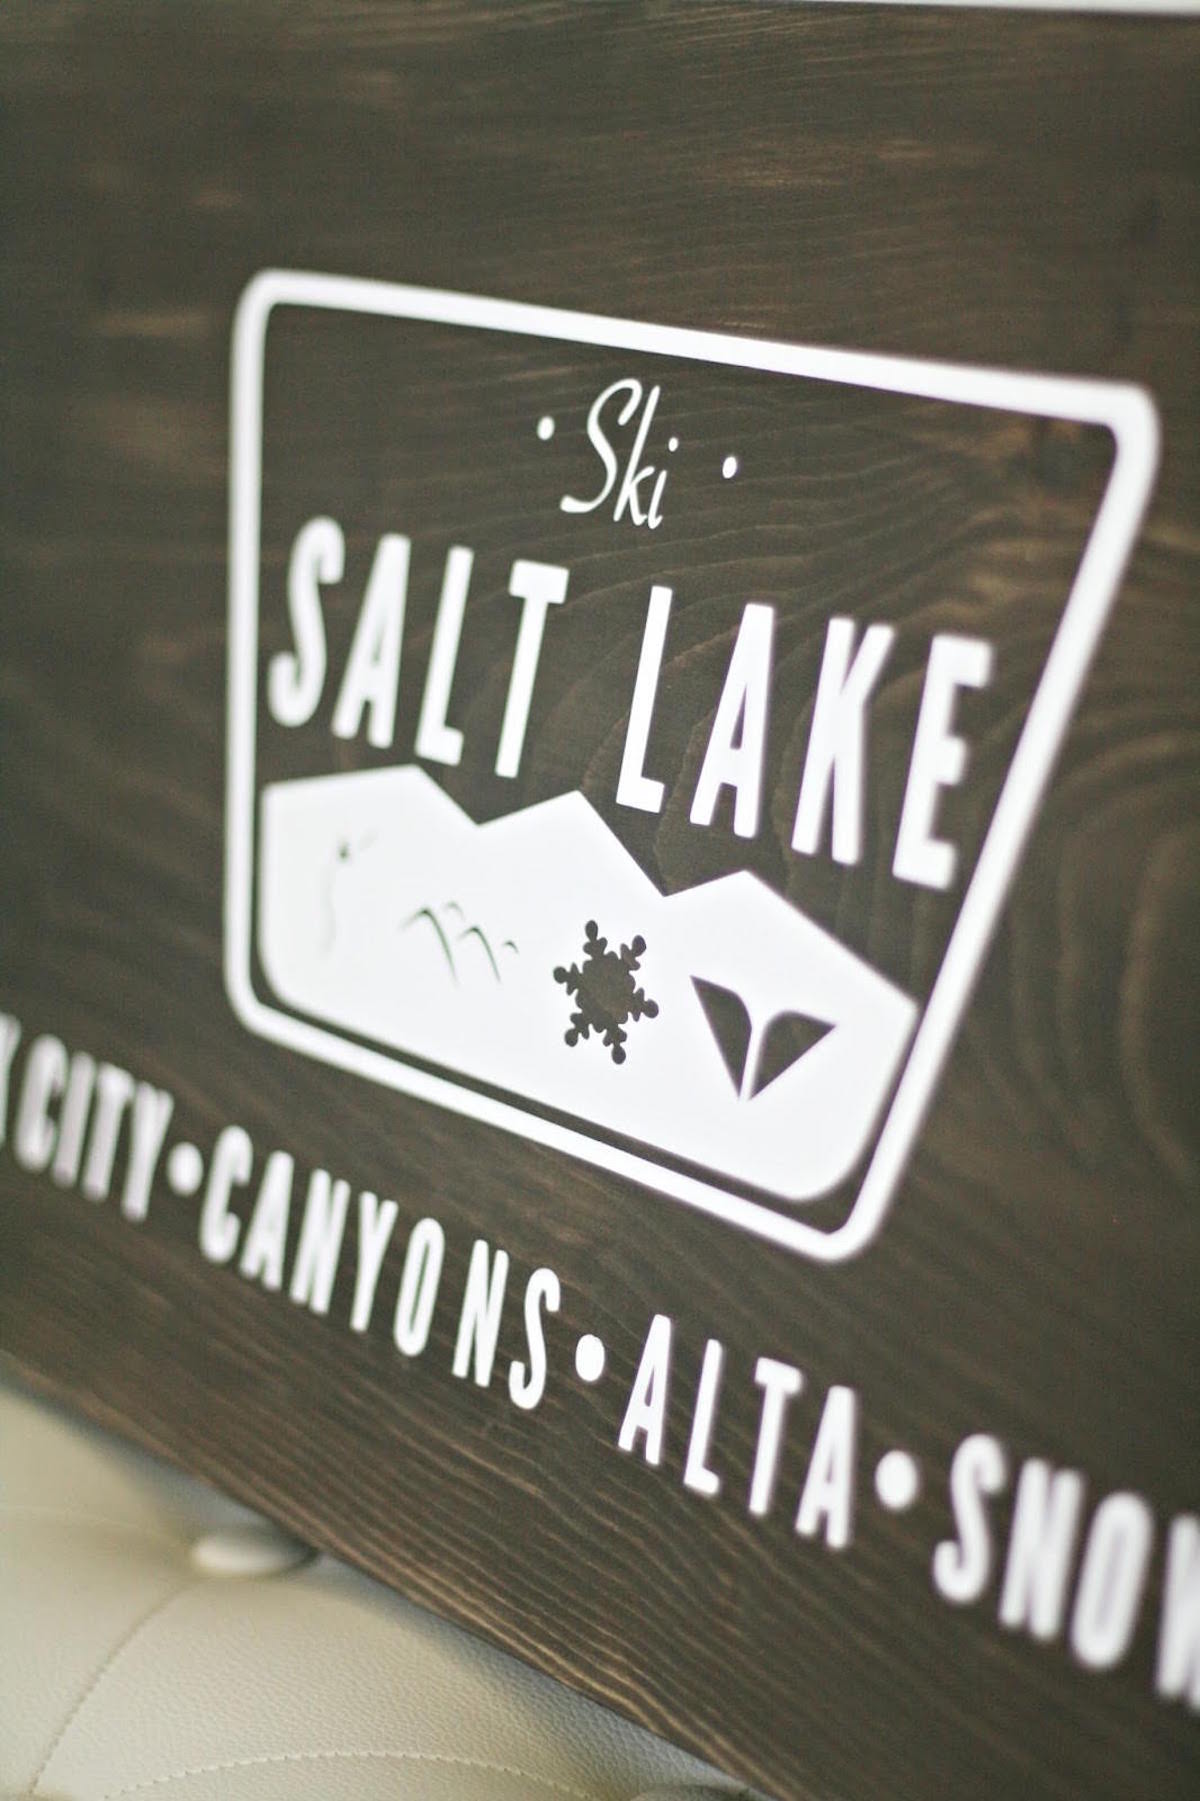
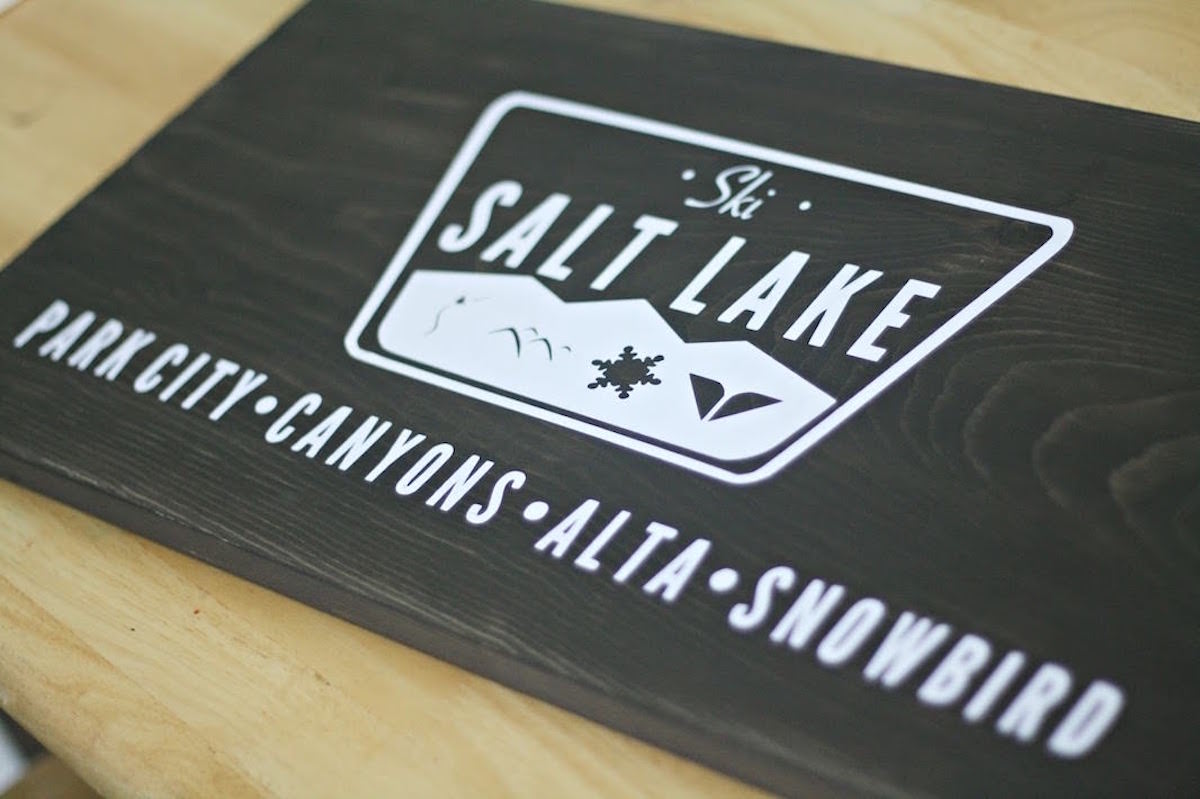
Our brother just bought a house up in the mountains in Salt Lake City, and we have been helping him decorate. He wanted some kind of print or wooden sign that had to do with skiing.
I still had some scraps of extra wood lying around from another project, so I made one for him! We found a design and tweaked it a little bit to fit the board. This DIY wood sign turned out perfectly and was so, so easy.
There are three steps to making a DIY wooden sign and I’m so excited to share them with you. They are as follows:
- Choose a surface
- Stain the surface
- Select a graphic and apply it
- Seal (this is completely optional so I’m not including it as part of the steps)
Choosing a Surface
Before you get started making your wooden sign, you’ll need to find the right board(s) that will work as a surface. You have a few options.
- You can go to a home improvement store like Home Depot and choose a new wood base. They will even cut it for you, or you can sort through the scraps to find a piece the size you like. It doesn’t matter which type of wood you select – pine is fine, and it’s inexpensive.
- Hit up the thrift store and see if there is a sign that you can re-do (maybe by sanding or painting over the top).
- Ask if you can have scrap lumber at a construction site – for example, a neighborhood with new homes (they often have lumber bins you can take from).
- Look on sites like Freecycle or Craigslist – sometimes people are giving away lumber for free in your area.
If you bought a USED board that you want to paint over, you have two options:
- Sand the board to remove the finish so that you are left with an unfinished wood surface (which is what I would do)
- Paint over the board with primer (like this one) and then stain or paint over the top. You won’t be able to see the grain of the wood so much, so I don’t love this option, but I wanted to give it to you!
Once you select your surface, you’re going to be ready to dive into your wood wall art.
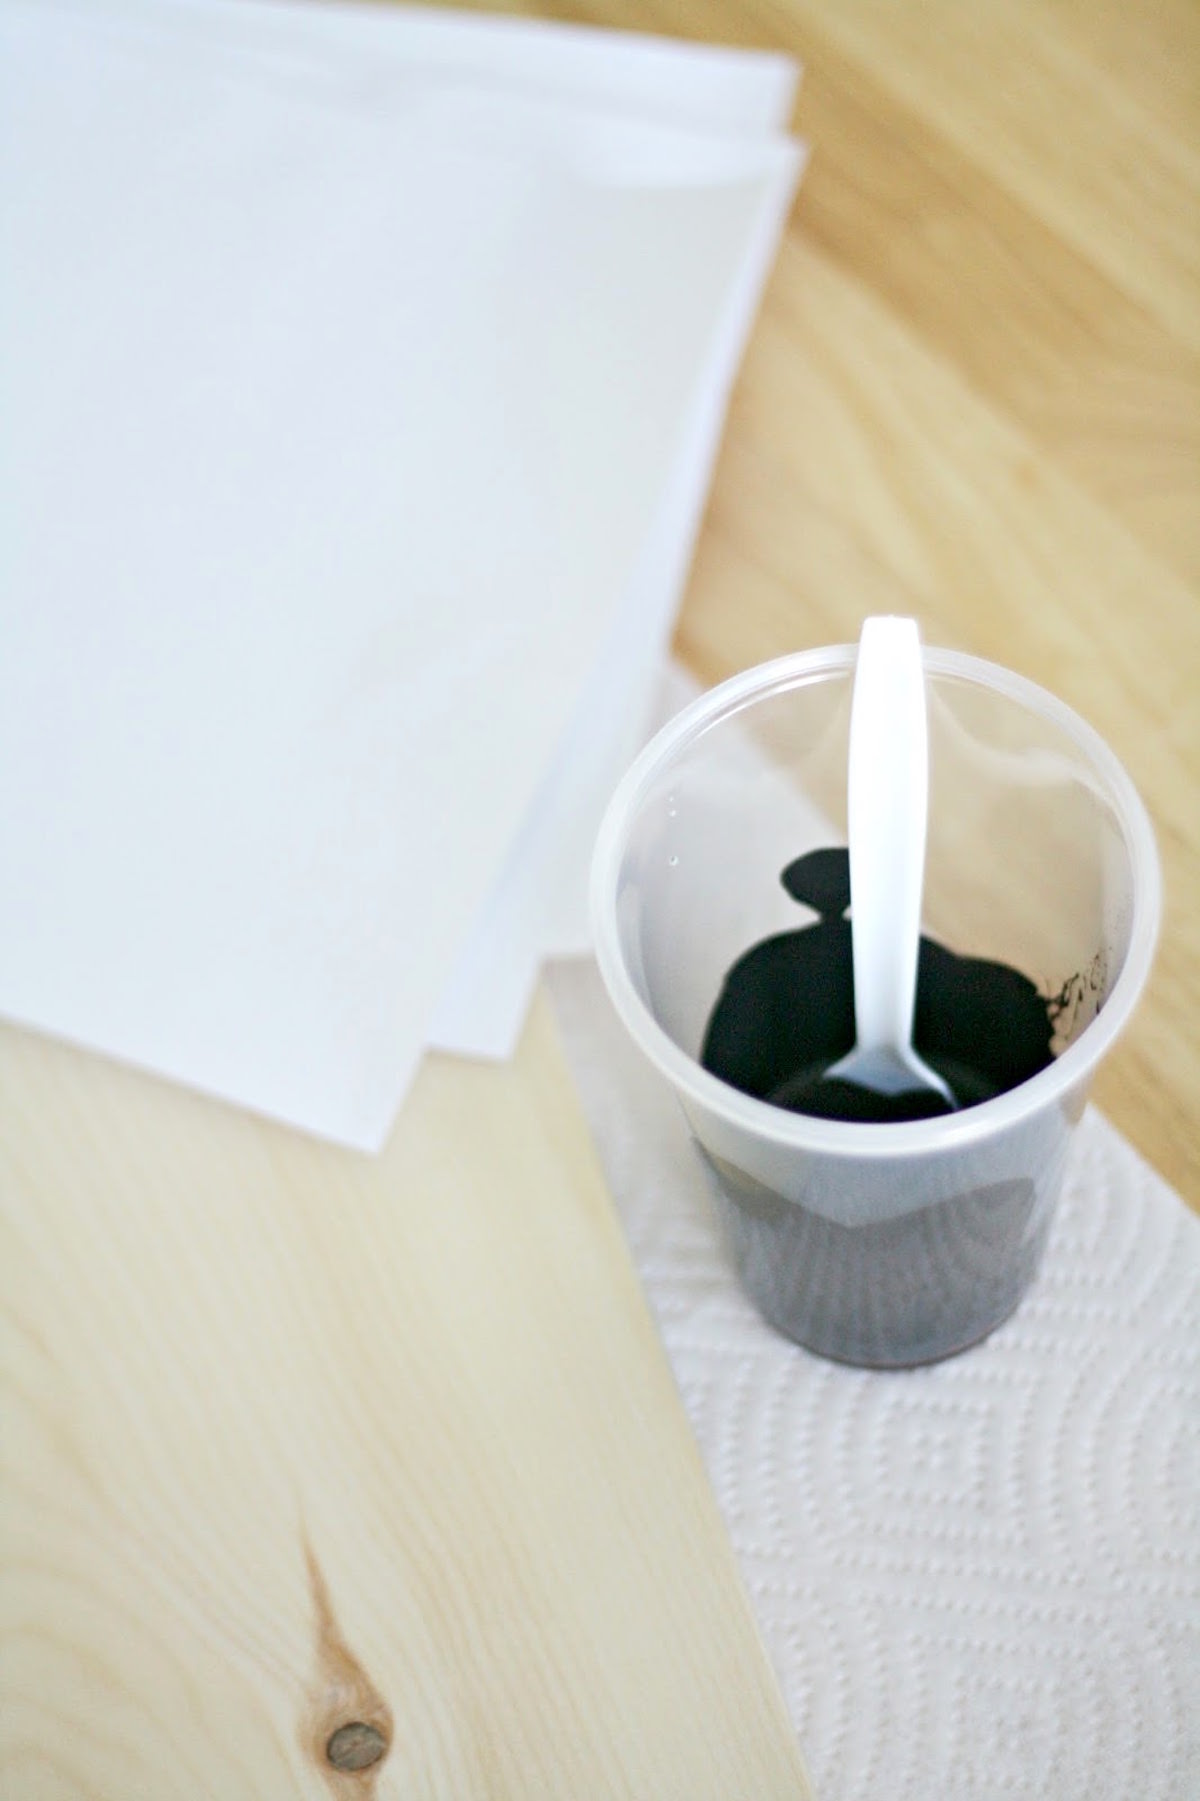
Staining/Painting
If you start with an unfinished wood board, you’re going to want to either buy or make a stain to paint over the top. I made a stain for my rustic sign using black and brown paint mixed together, with water added.
You’ll want to test your “stain” on the back of your board before you commit to it, so that you know if you like the look or if you want to add more water.
You can also purchase stain from the home improvement store, and keep your eyes on the clearance section. There are often take backs for a fraction of the price.
Another option I wanted to share just because I found it and it seems cool: aging wood with vinegar. I’ve never tried it, but it looks like a great option for a weathered effect on a rustic sign.
Once you decide on your stain, simply wipe it on with a rag and then wipe it off with a clean rag. Here’s how stain works – the longer you leave it on, the darker it stains. If you aren’t sure how dark you want it, simply wipe it onto your wooden sign with a rag and then wipe off. You can always layer it up.
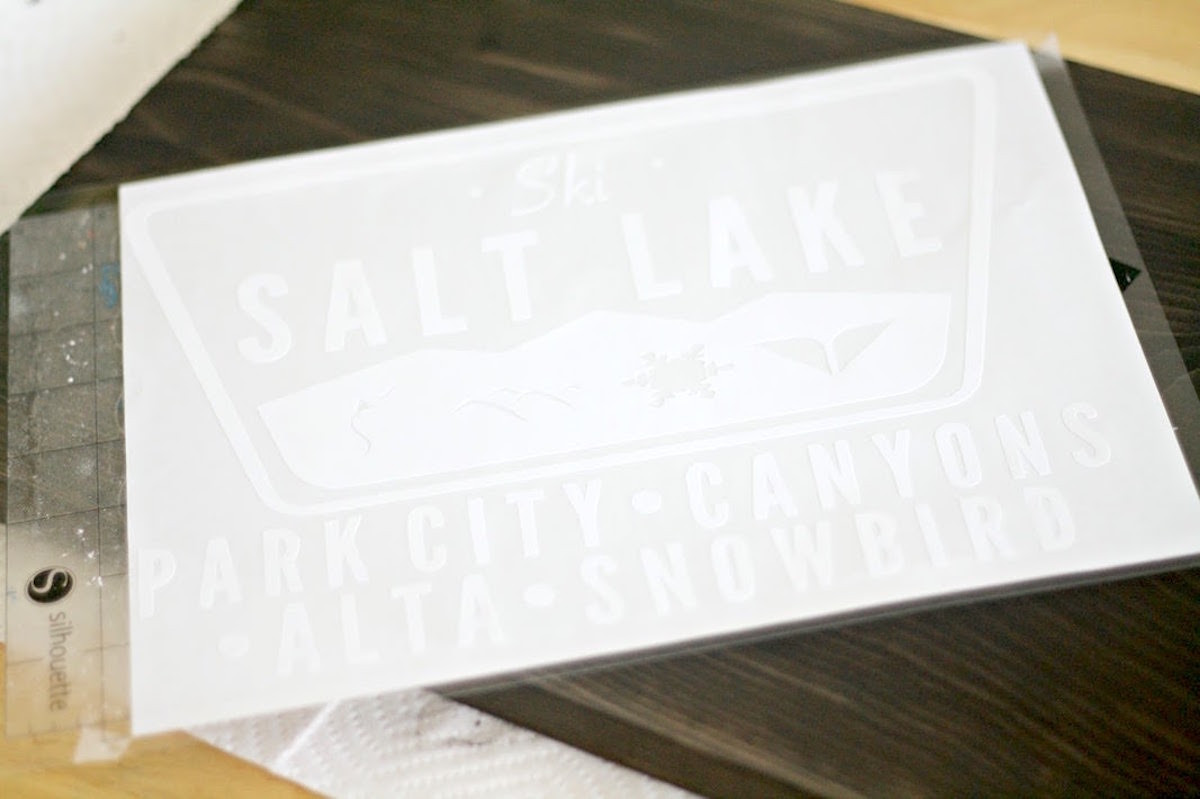
Adding a Decal
If you have a cutting machine, you’ll want to choose and print the design of your choice on vinyl. The Silhouette store has some very beautiful ski mountain designs. You can customize them with the word and city names of your choice.
IF you don’t have a cutting machine what do you do? Well, I have good news! You can order a custom vinyl decal on Etsy! There are hundreds of shops on Etsy that will print the design of your dreams for you, in the exact size you like.
I also recommend searching depending on what you are looking for. For example, if you are looking for a mountain design, then search for “mountain vinyl decal.” If the seller doesn’t list the size you need, ask them if they will do something just for you. Many times they will.
Another option is to join groups on Facebook like Cricut for Dummies or Silhouette Design Inspiration. You can ask if another member will cut something for you (they might charge). There are a lot of nice people out there as I’ve discovered!
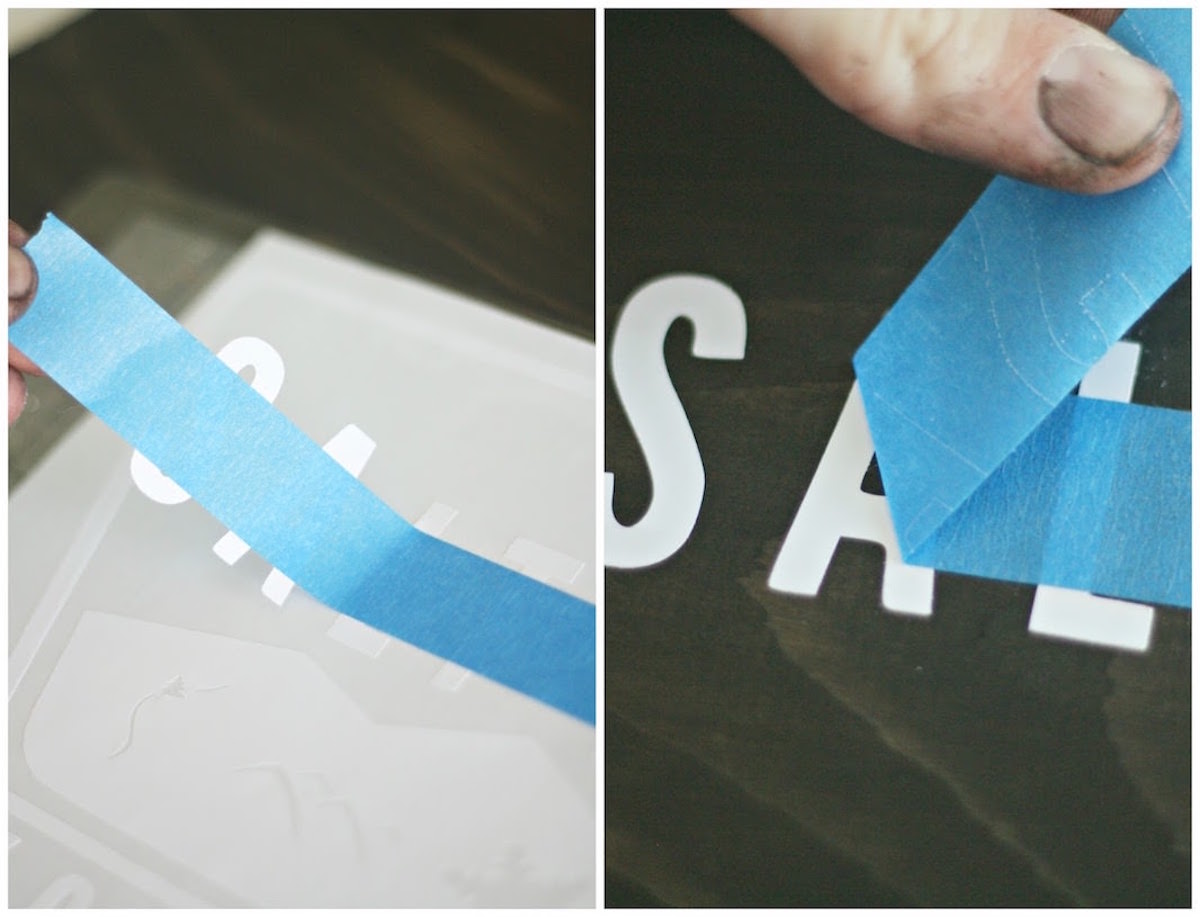
After you have the vinyl decal in your hands, use the painters tape trick to place the vinyl on the wood. All you’ll do is place a piece of painter’s tape over the tops of your letters and use it to pick up the stickers so that they remain in the correct place as you place them down.
If you plan to make a few DIY wood signs or more, I recommend investing in some vinyl transfer tape to do this. The transfer tape makes it really easy to pick up designs and transfer them to a surface; and there are lines that make your placement more exact.
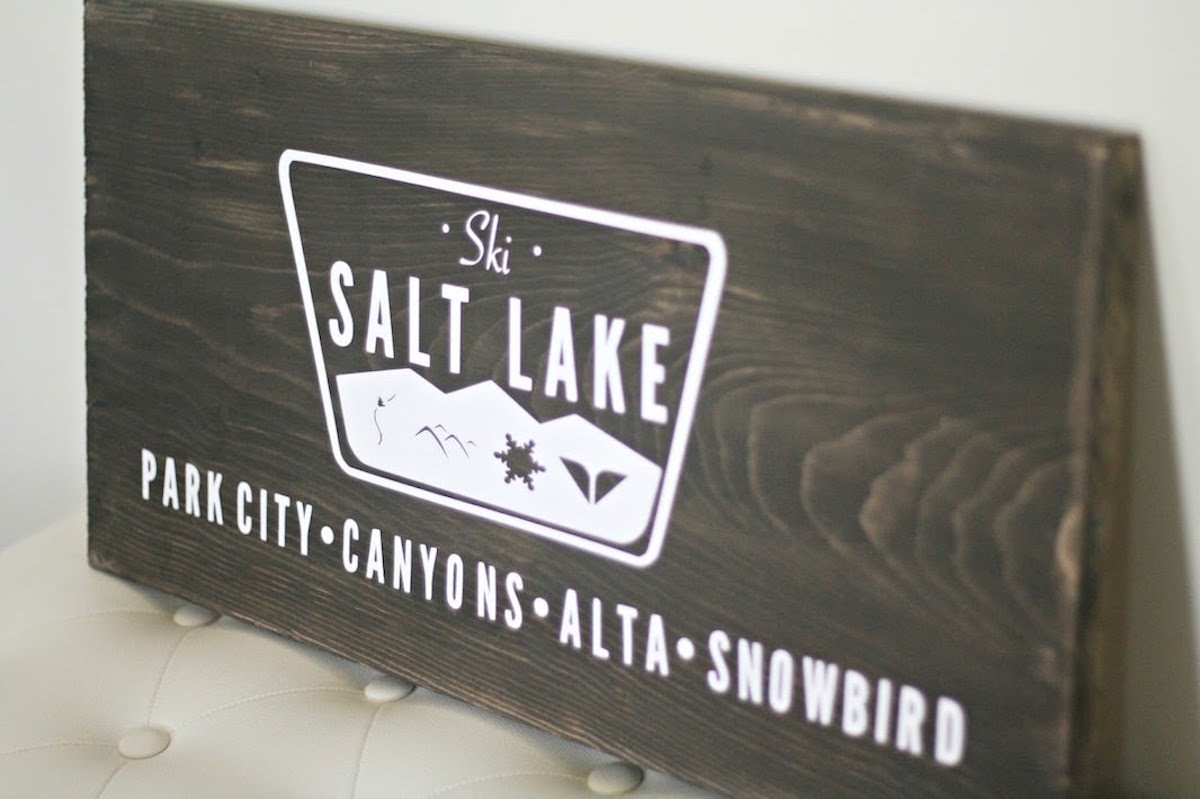
Once you’ve transferred the vinyl, your wooden sign is complete! Maybe . . .
Sealing (Optional)
Your sign can be sealed using a clear acrylic product like Minwax Polycrylic. It’s not going to stick to the vinyl but that’s fine – the portion you are sealing is the stained wood.
You don’t *need* to seal it, however if you live in a dry environment, it’s a great way to keep your board from drying out too quickly. You might also want a glossy or satin-y finish that your paint/stain doesn’t give you, in which case a sealant is perfect.
Once you seal your DIY wood sign, let it dry for 24 hours before hanging or displaying.
Three steps is about as easy as it gets to make a beautiful sign like this! I know that if I can do it, anyone can do it. This type of wooden sign goes so well with farmhouse, rustic, or industrial decor.
You can even work it into modern decor if you choose the right graphics and fonts. It’s really easy!
You can get the printable how to card below.

DIY Wood Sign
Equipment
- Table Saw (optional, if you are cutting your own wood)
Materials
- Wood board
- Wood stain or paint
- Cutting machine and vinyl
- Painter’s tape
- Towels for stain
- Sandpaper
- Vinyl transfer tape optional
Video
Instructions
- Cut the wood to be the size that you would like (you can also have it cut at the home improvement store).
- Stain or paint the color of your choice and let dry.
- It can be one that you've created with a cutting machine, hand cut, or purchased from Etsy.
- Use either painter's tape or vinyl transfer tape to help you keep the letters in the correct place.
- The sign can be sealed using a clear acrylic product like Minwax Polycrylic. This step is optional but highly recommended for longevity.
Let me know what you think in the comments! If you like working with wood, I’d love for you to check out the following posts:
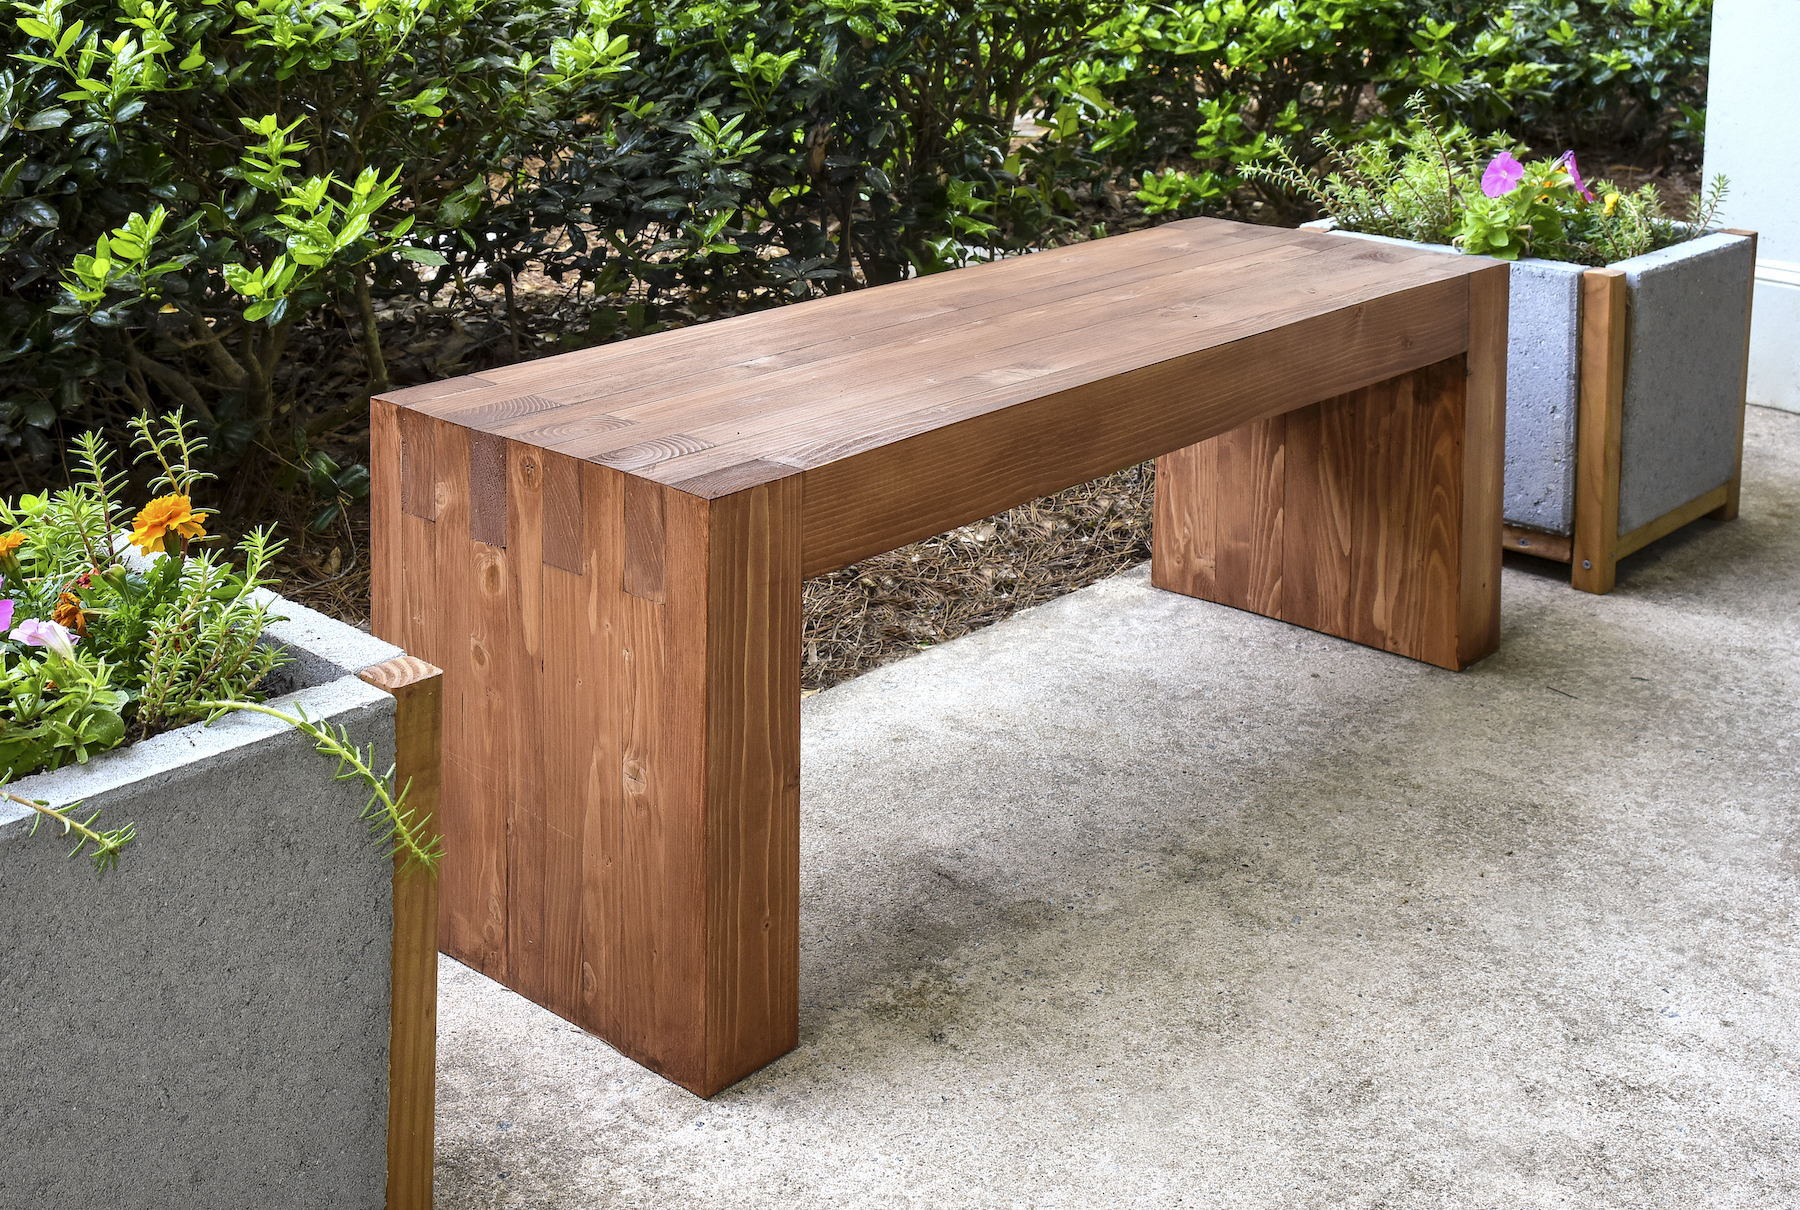
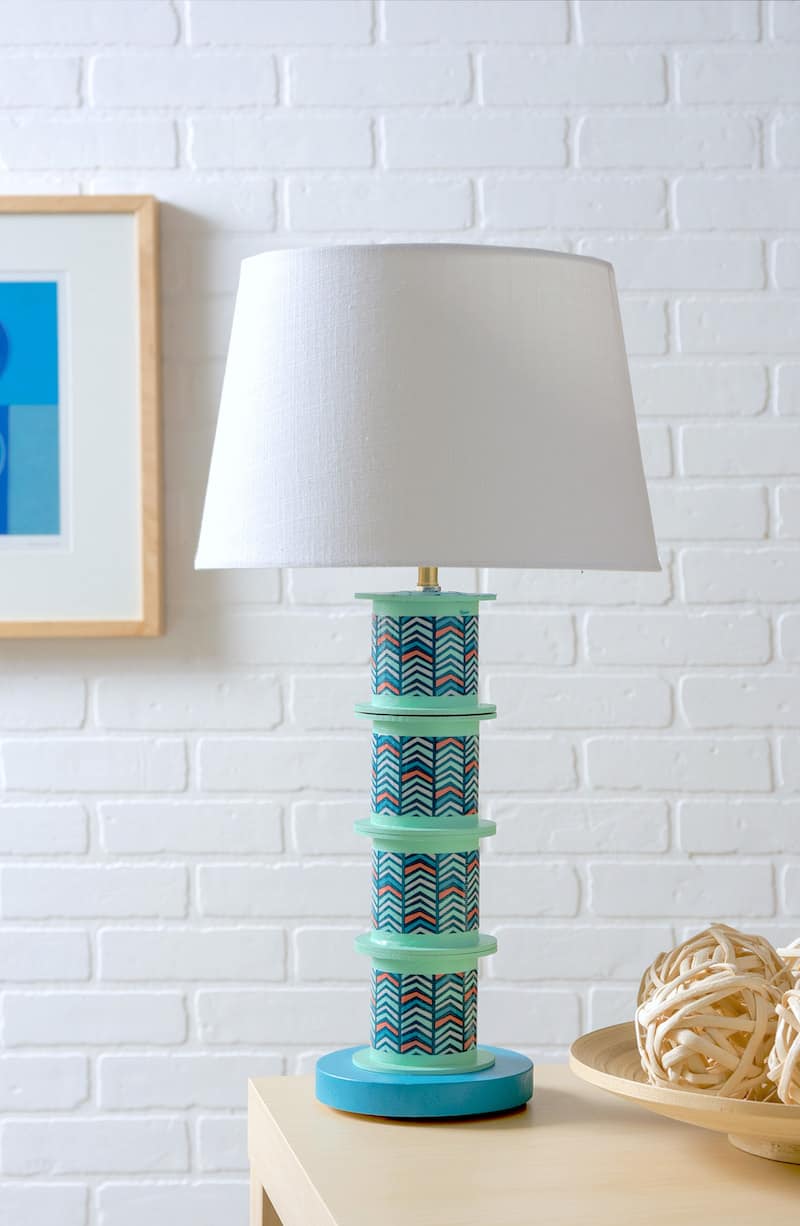
Camper Pallet Art • Gone Fishing Sign • House Number Plaque • Industrial Pipe Shelving • Lack Endtable Hack • Mirror Frame • Pallet Shelf • Paver Planter • Plant Hanger • Poster Hanger • Stacked Entry Bench • Table Lamp • DIY Laminate Table Top • TV Riser


This sign is SERIOUSLY so cute! I’m obsessed with it, and it looks so easy!
Paige
https://www.thehappyflammily.com/