Make a Pom Pom Garland in Three Easy Steps!
Learn how to make a pom pom garland in any size or color with this easy tutorial. This will be a perfect addition to your birthday party or home decor!
Skills Required: None. Even if you’ve never crafted before, you can do this project. You’ll be wrapping yarn on a plastic tool and then trimming. Then all you need to do is string your poms and hang. This garland is one of the easiest projects you’ll ever do.
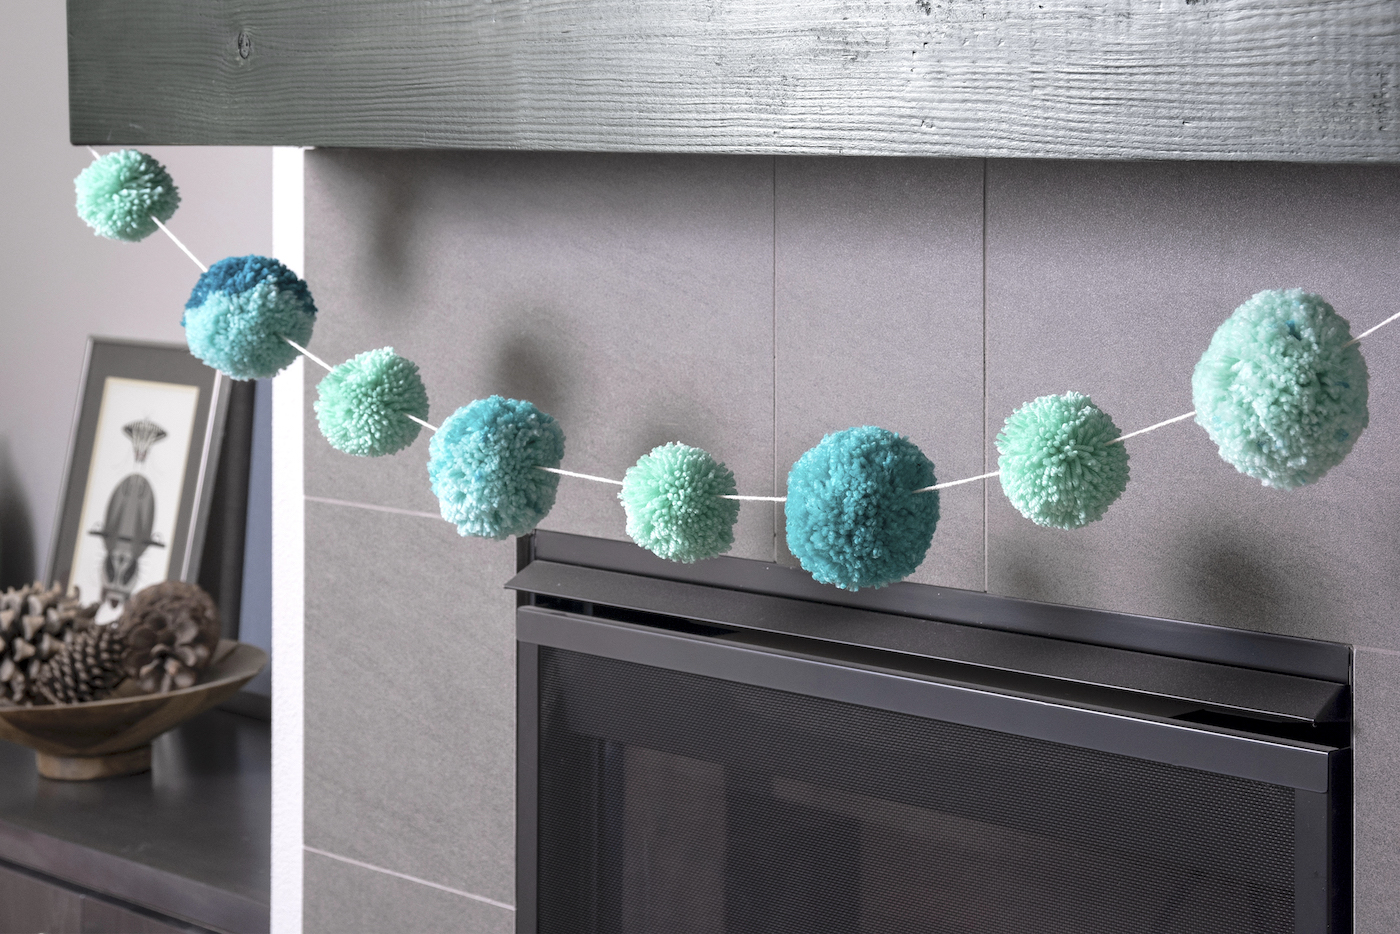
If there’s one thing we love around here, it’s pom pom crafts! There’s just something about those fuzzy balls that drive me crazy (in a good way). It’s because they’re just so dang quick and easy to make I think.
But seriously, they’re perfect for party decor. For DIY decor. For your Christmas tree (check out our pom pom Christmas garland!). For Valentine’s Day (we made heart pom poms!).
And if you have pom pom makers (which make it super duper easy to get full poms), you can easily customize them with various sizes and colors.
Tips to Make This Garland
I’m going to show you how to make the garland, but first I wanted to answer some frequently asked questions about the project. If you’re not interested, you can scroll down, but otherwise I hope these answers are helpful.
How do you attach the pom poms to garland?
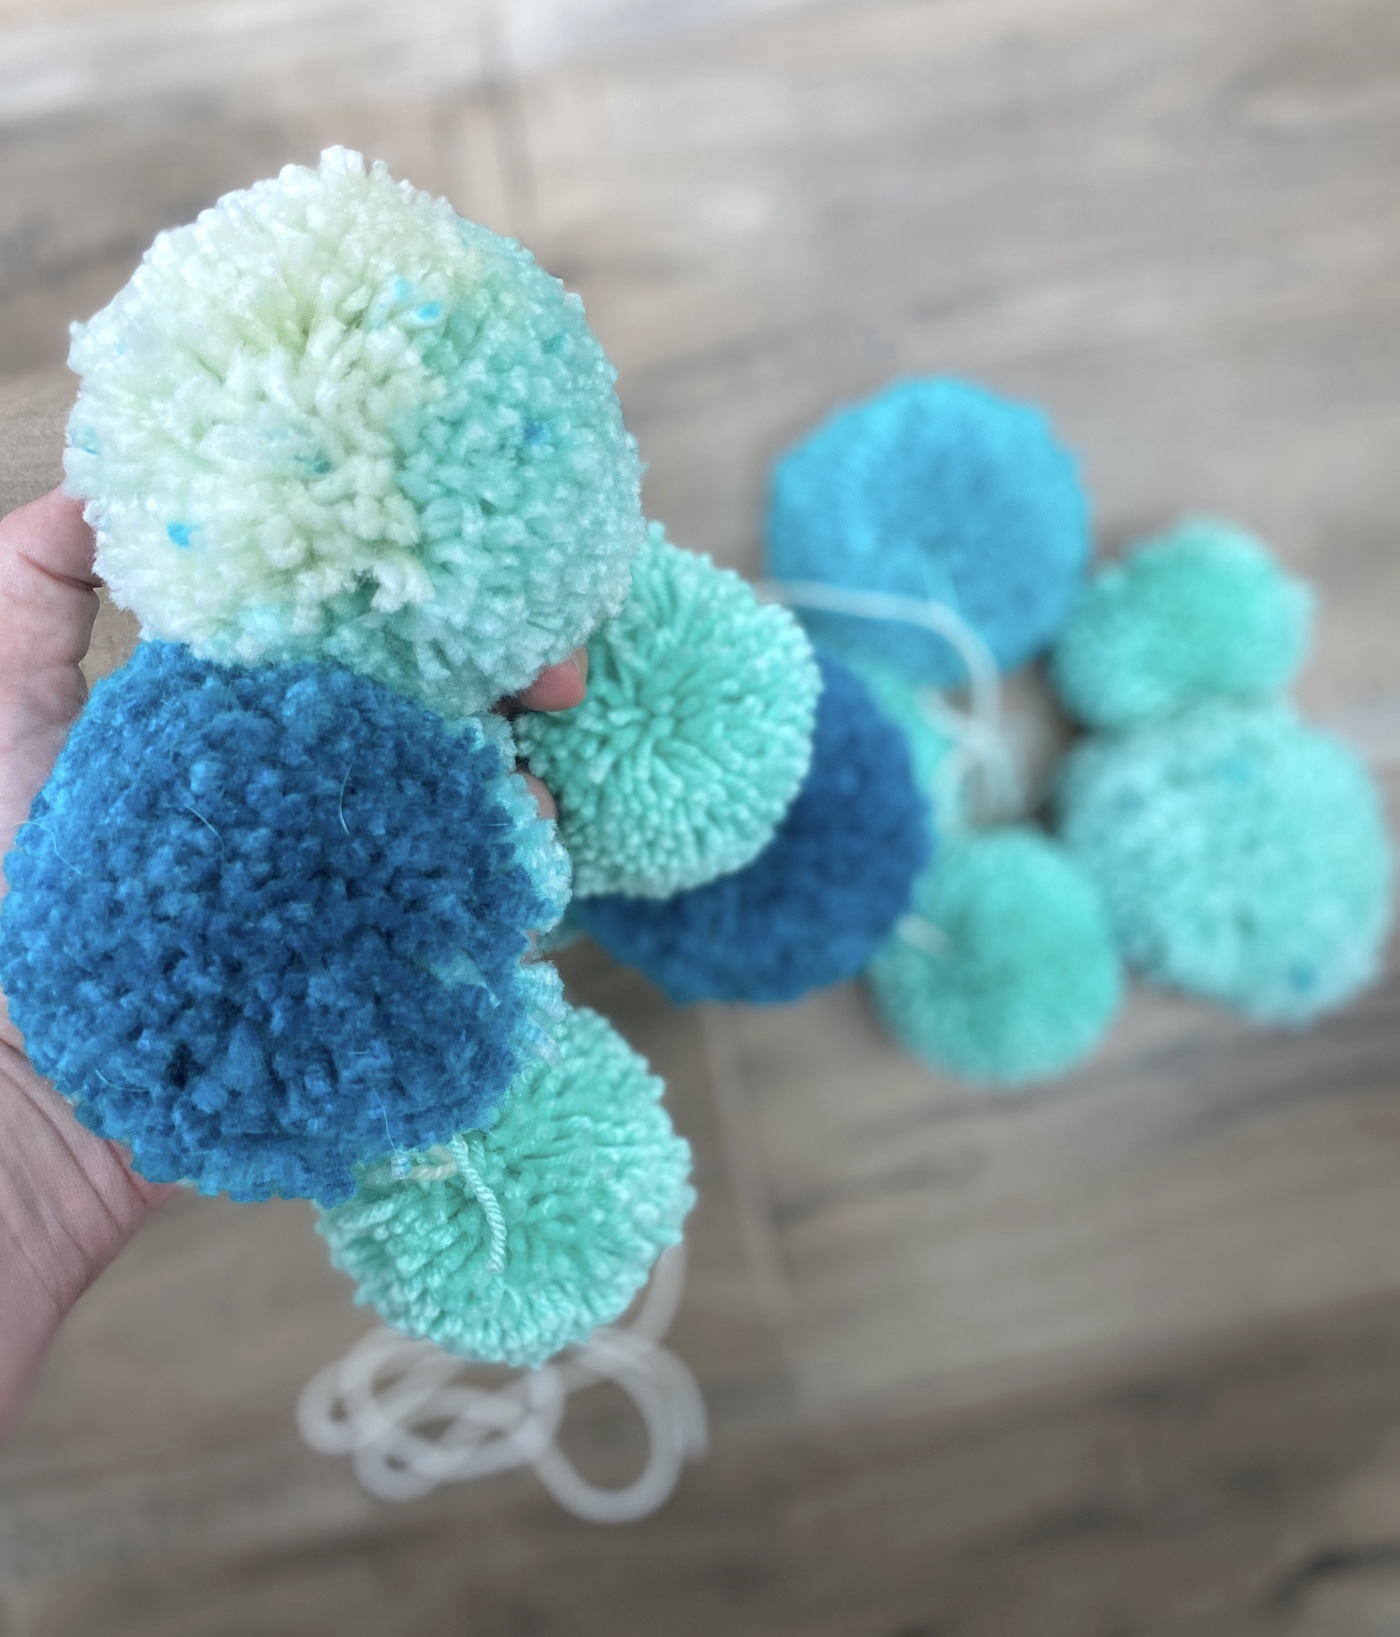
It’s super easy. You will just string them on with a needle and yarn. If you want to tie the yarn at each pom you can, but I find once I space them out, they just stay there. So all you really to do is string the pom poms through the center.
How do you make a pom pom?
There are multiple ways to make a pom pom, but I find these to be the easiest, especially for this project. Which is my favorite? Definitely the tool. Read on.
Pom Pom Maker
This is a special tool with folding pieces that allows you to make big, full, pretty poms in a predictable size. Meaning, all your poms will look exactly the same in terms of fullness and size.
I really love the maker for this reason. You can also experiment with different colors in the same pom more easily!
Pom Poms with a Fork
If you’ve no desire to purchase a tool, you can always use a fork! There’s a great video that shows you how to do it here.
You will essentially hold the end of the yarn and then wrap it around the fork many times. Then you’ll cinch in the center and cut. It is somewhat fussy and the poms are small, but it’s also free.
How do you make a pom pom tassel garland?
Make the yarn pom pom garland as I show you in this tutorial, then add the tassels separately. Learn how to make tassel here. You can simply tie them onto the yarn between each pom pom.
How many pom poms are needed for a garland?
For a very basic 5′ garland DIY, I’d have 36 – 40 small pom poms, 18 – 22 medium pom poms, and 11 – 12 large pom poms. This can vary if you use a combination of pom sizes on your garland.
How do you attach pom poms to string?
Grab yourself a needle and some yarn or string and thread the pom poms through the middle. That is the easiest way. You just need to make sure that if you use string instead of yarn, it’s strong enough to support the poms and won’t break.
Are you ready to get the tutorial? Let’s dive in! There are three steps to this project after you plan it: you’ll make the poms, then thread them, then hang your garland. That’s it!
Gather These Supplies
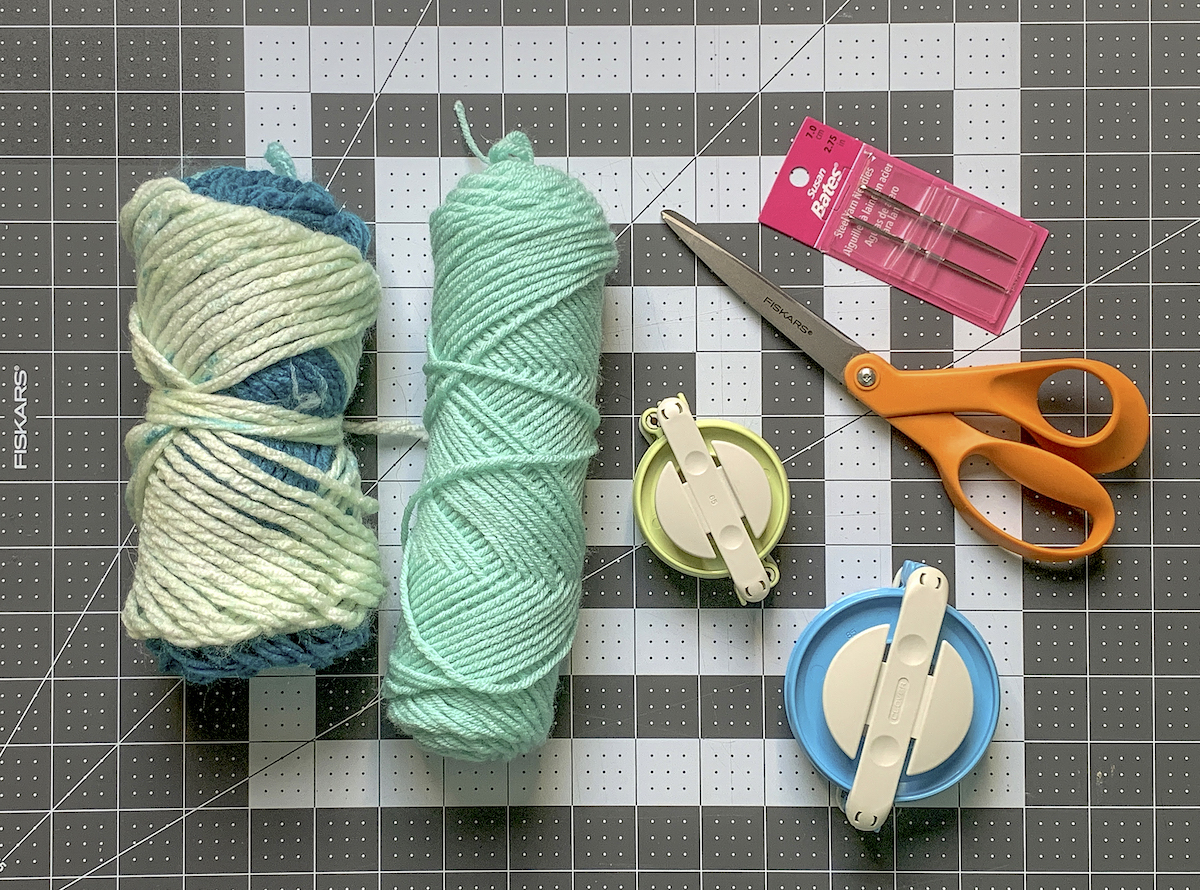
- Pom Pom maker(s)
- Yarn in colors of your choice
- Scissors
- Tapestry needles
How to Plan Your Project
Before you get started, plan your project. I recommend cutting a long piece of yarn and placing it along your mantel (or whatever surface) to get an idea of how long you want the finished project to be. You will want to make sure to add for a little bit of “hang.”
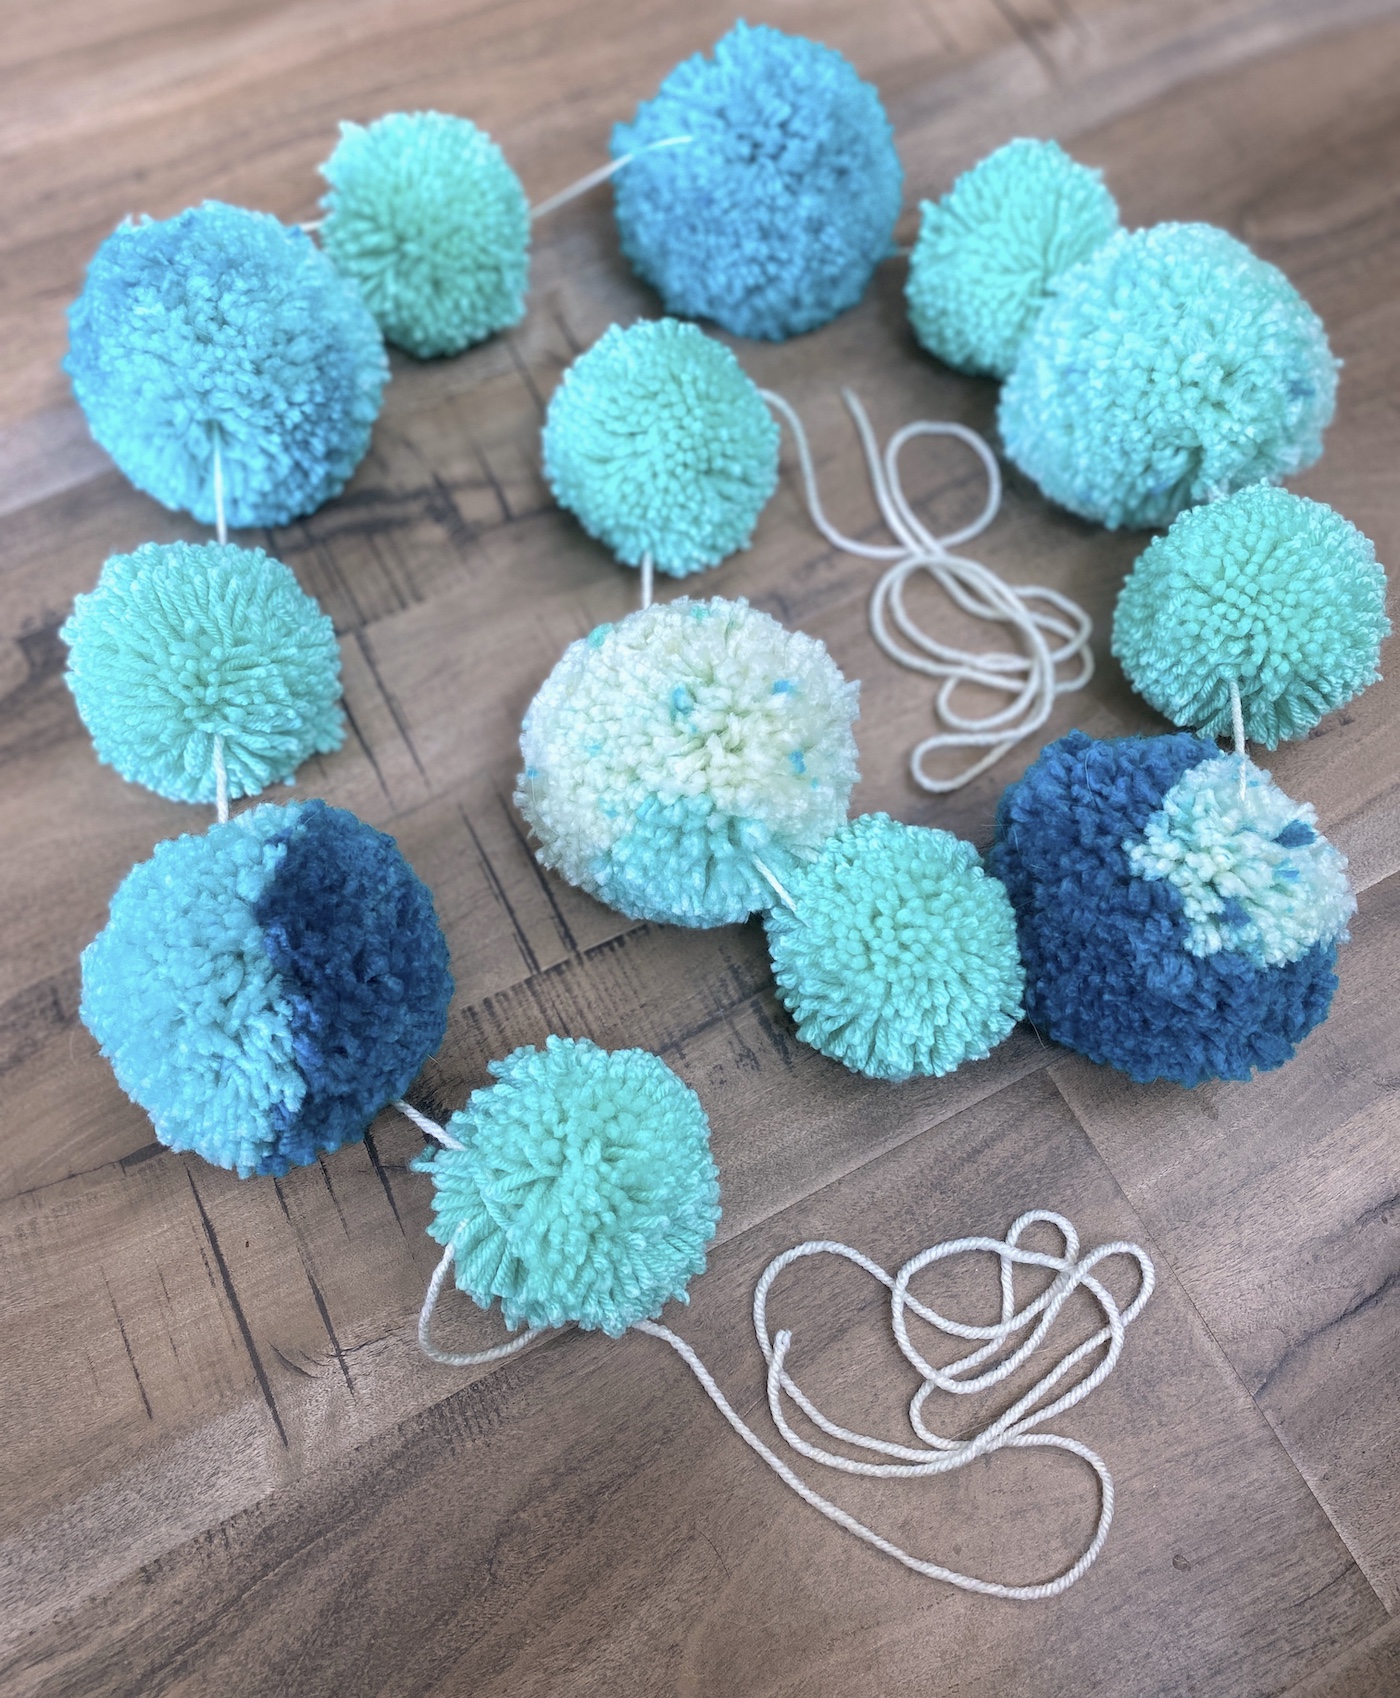
I have a 56″ inch mantel and my garland is 69″ inches long with 13 poms on it of various sizes. I used the green and blue pom pom makers that make 2 1/2″ and 3 3/8″ poms. There’s extra yarn on the end of each side that hangs down.
Once you’ve planned out how many poms you need, it’s time to get wrapping! It’s hard to say how many skeins of yarn you’ll need because everyone with do a different length, but I’d have 3 – 4 especially if the poms are larger. You can always take excess yarn back (keep the receipt).

I just love the big, fun, colorful poms for this project! Hang on a mantel, in the doorway, etc. Now you can space the poms out across the yarn.

I used two small nails to hang mine. It’s so fun and colorful! You can also drape the garland on a tray, around a vase, or even on a Christmas tree. The method is the same no matter what color or size of pom poms you use.
Pom Pom Garland
Equipment
- Needle(s)
Materials
- 3 skeins yarn
Video
Instructions
Make the Pom Poms
- Open one side of the pom pom maker. Wrap yarn around the plastic half circle – starting at any point.
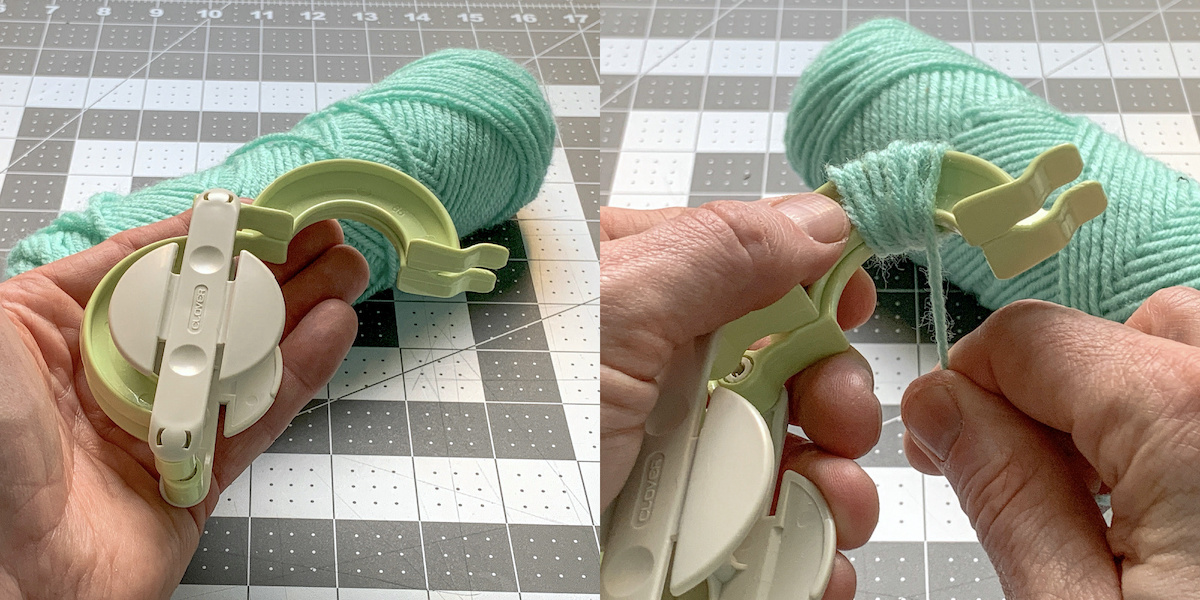
- Continue wrapping . . . and wrapping . . . until you've filled the "U" plastic portion of the tool.
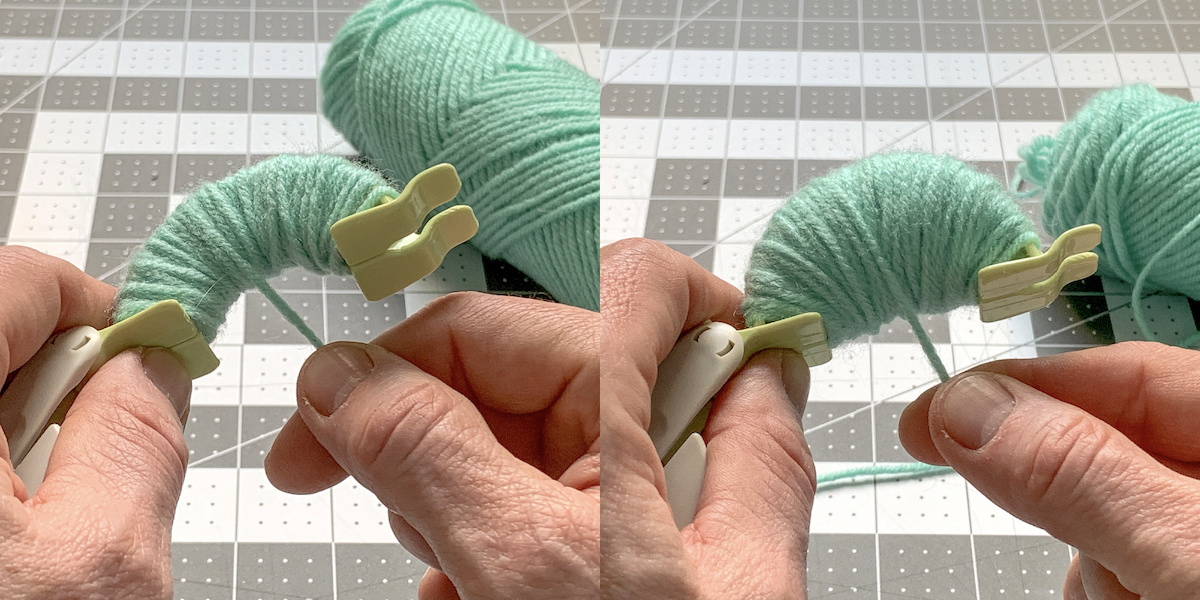
- After you're done with one side, close it and open the other. Bring the yarn around.
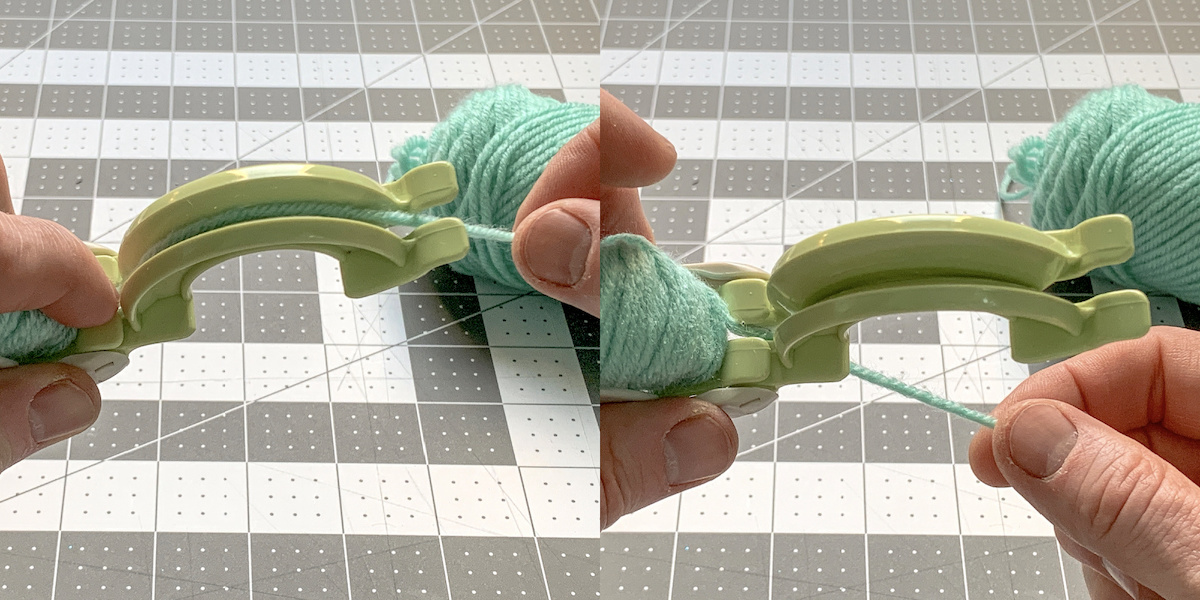
- Wrap the plastic "U" of the pom pom maker as you did the first side. Then close that side.
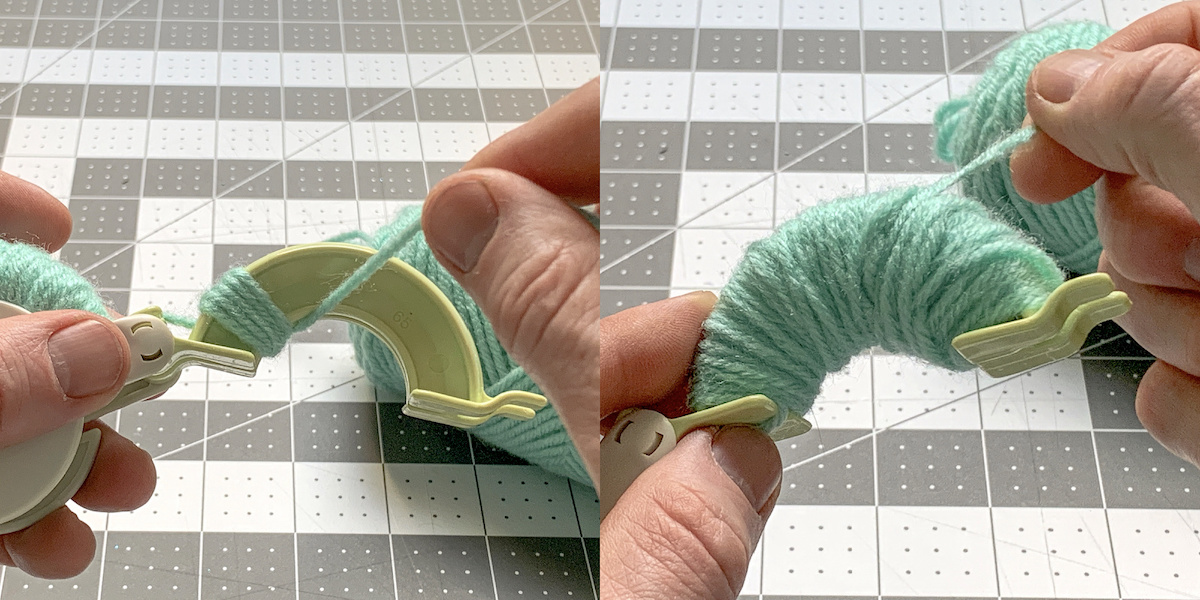
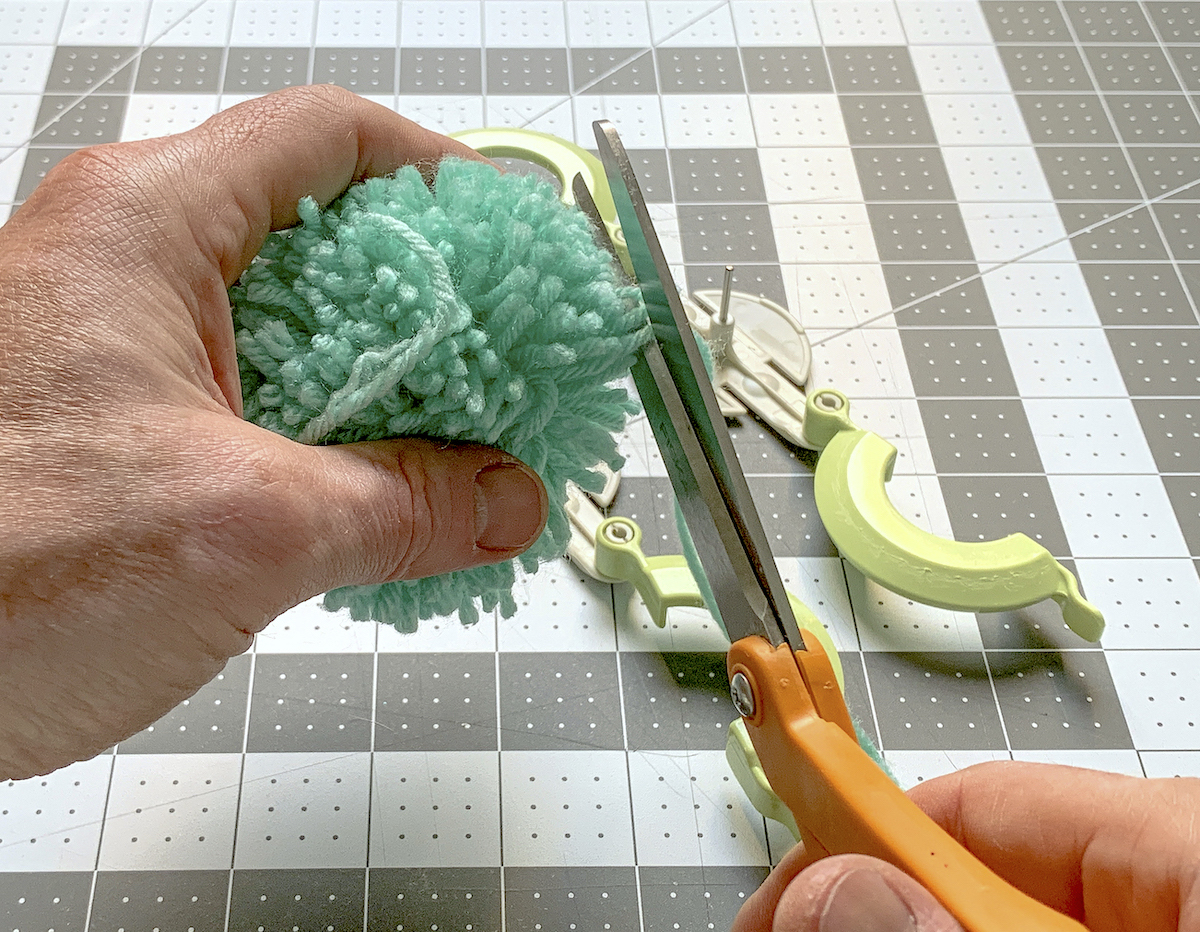
- Trim the yarn coming out of your tool with the scissors.
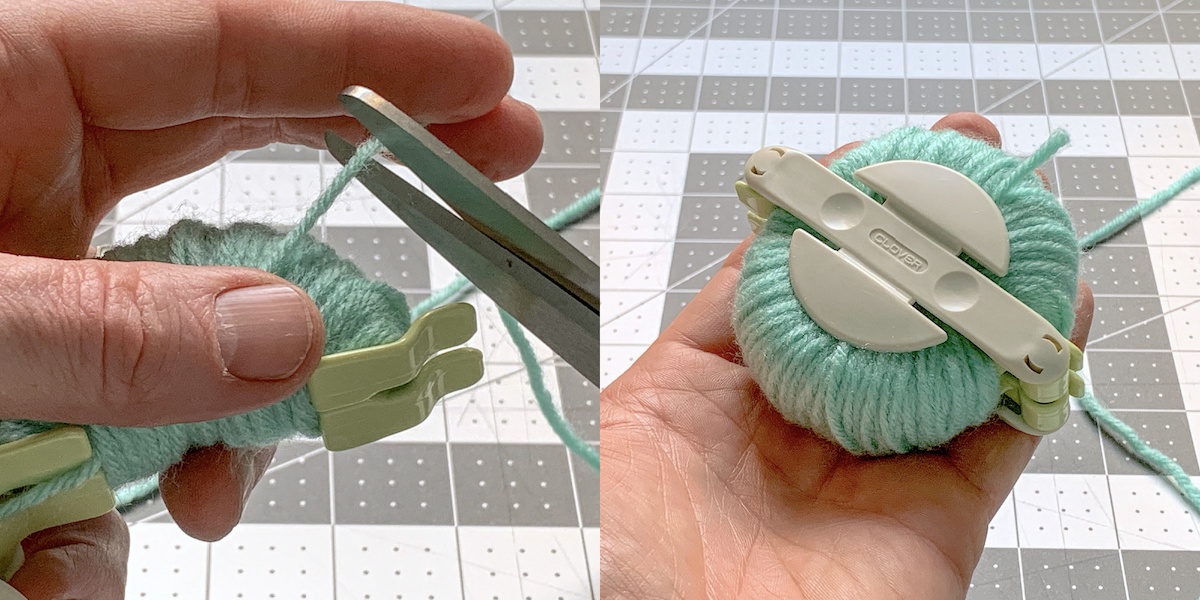
- Cut the yarn apart on both sides of the maker using the scissors.
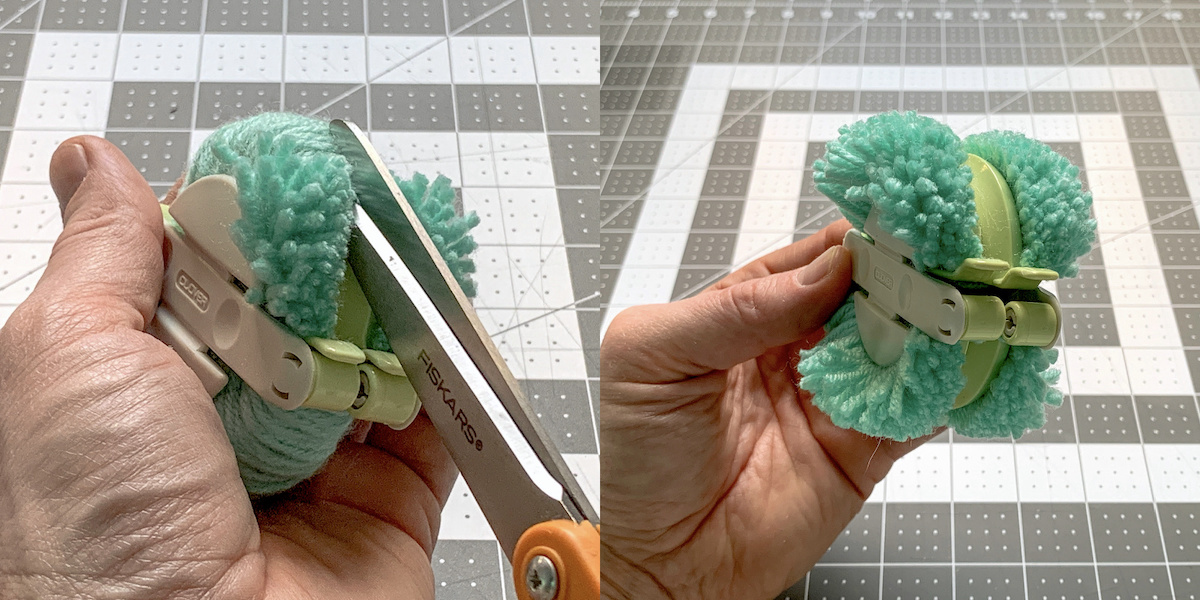
- Cut a length of yarn. You'll be able to knot this through the center of the tool. You'll want to pull the yarn tight and then double knot.
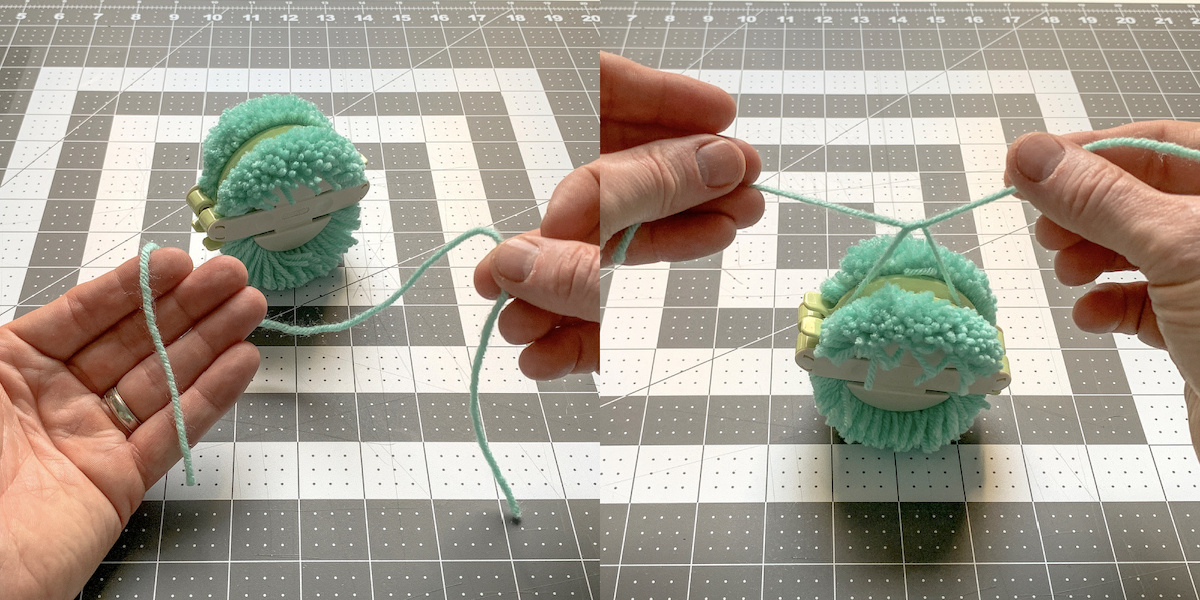
- Open both sides of the pom pom maker and pull out your pom. Repeat to make desired amount.
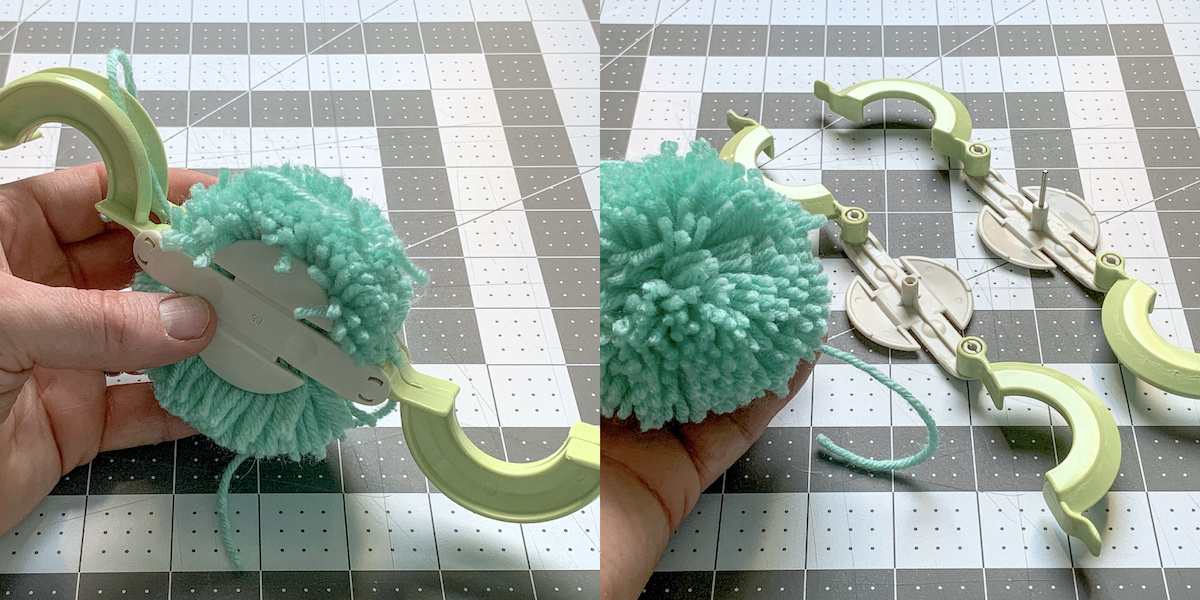
- Trim all of the pom poms with the scissors to make them even.
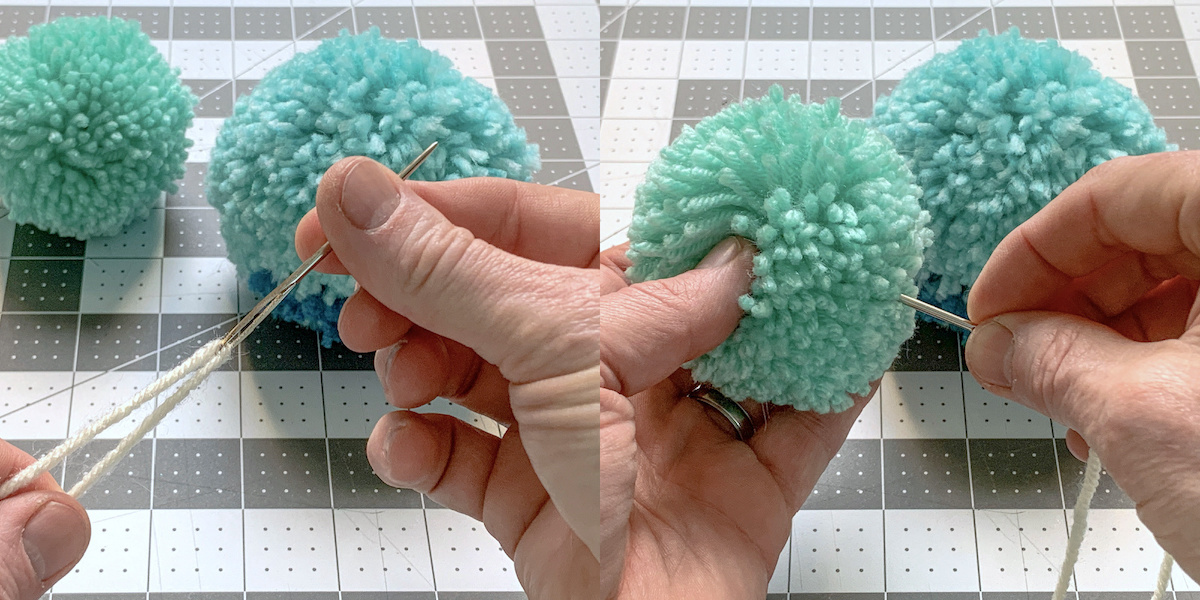
- Thread the yarn onto the tapestry needle, then thread the pom poms onto the garland through the centers.
- Hang the garland. Space the pom poms out to desired length apart.

Notes
What do you think? Let me know in the comments!
Did you enjoy this yarn craft idea? I’d love for you to check out these other decorating projects:




if you show us how to make a pom pom with a fork there is no reason on showing the pom pom maker
The pom poms you get from a fork are very different from the ones you get from a pom pom maker. If you want nice thick poms and multiple colors, you’re way better off with a pom pom maker.
What size tapestry needle are you using? The ones I got are way too small. Thanks so much for the tutorial, I’m in love with my garland so far!