Craft a Mod Podge Picture Frame with This Simple 5-Step Guide
Learn how to use patterned paper and an unfinished wood surface to make this Mod Podge picture frame! Add a pop of color to your decor.
Skills Required: Beginner. This is a great project for someone just getting started with Mod Podge, or crafting in general. It makes for easy home decor or a gift idea.
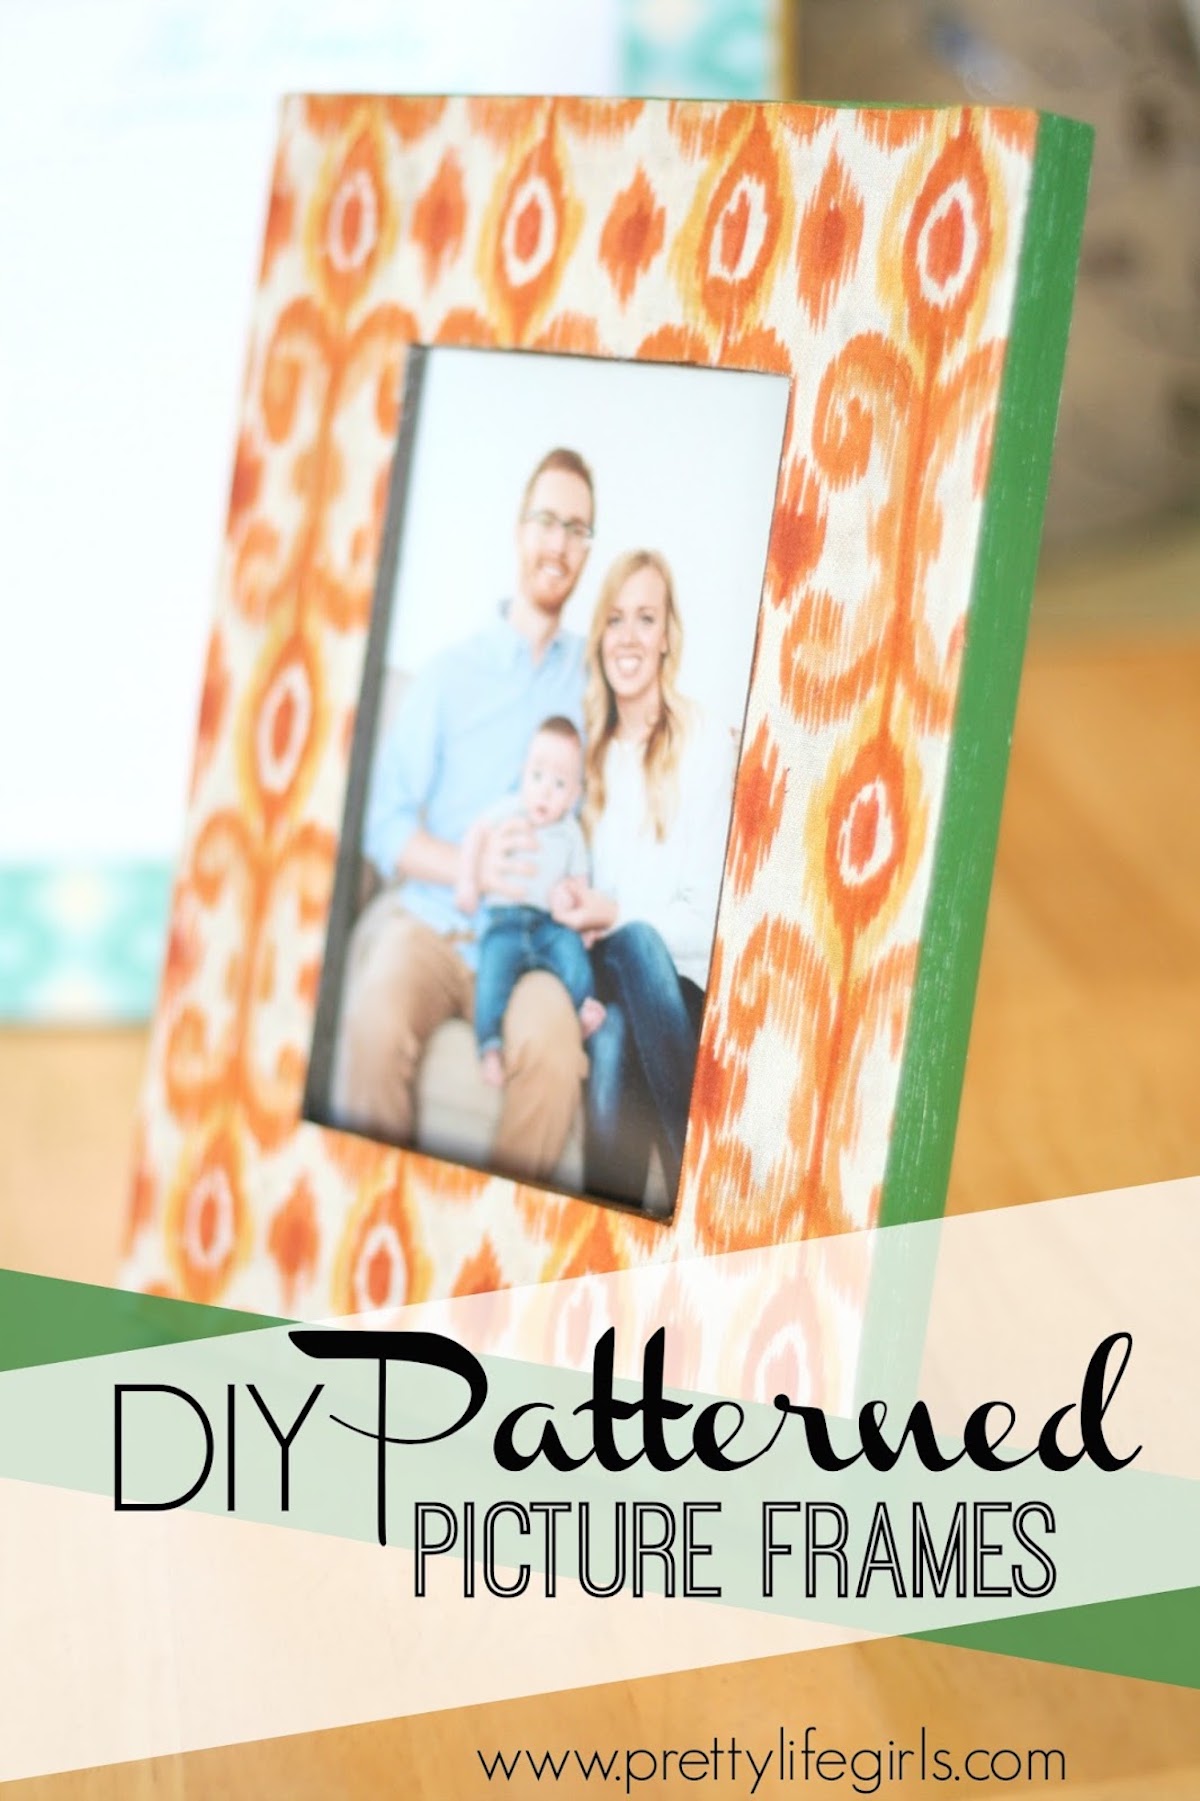
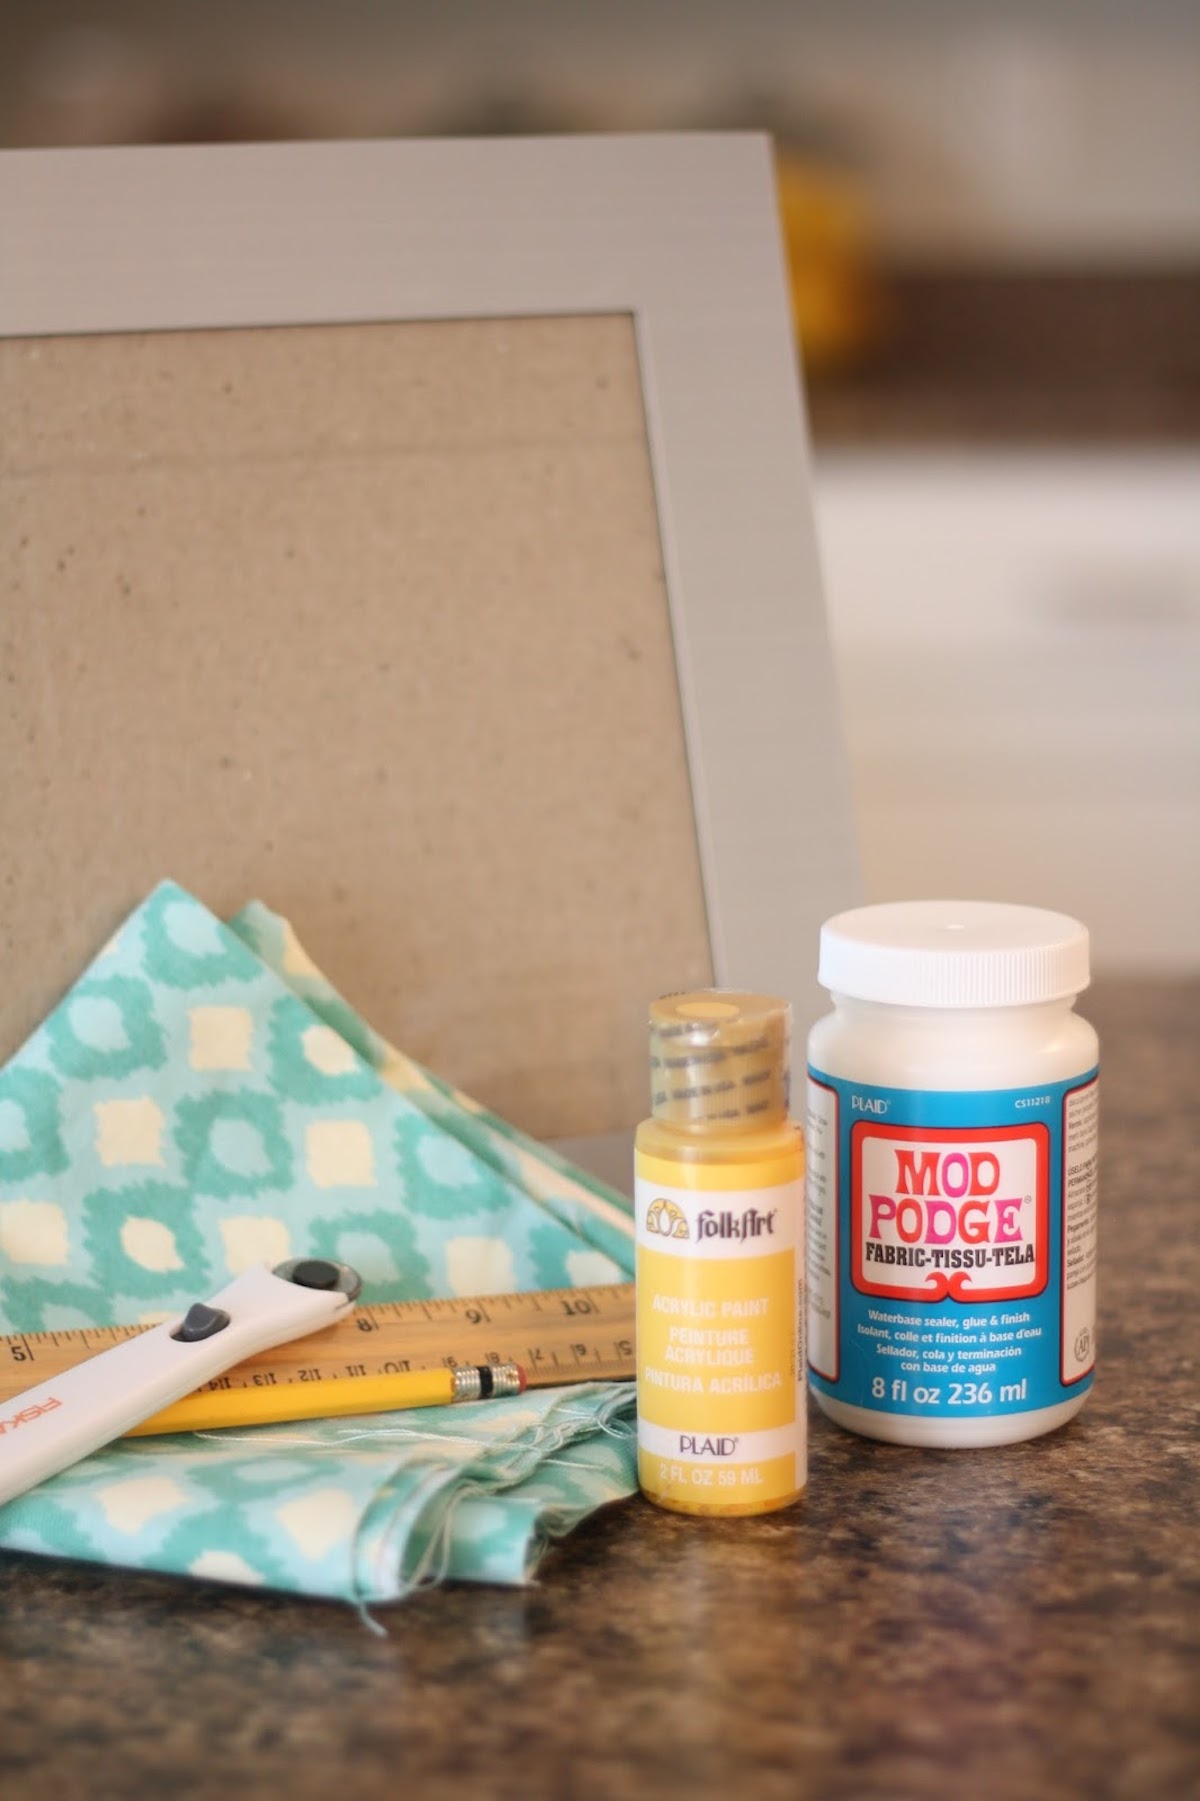
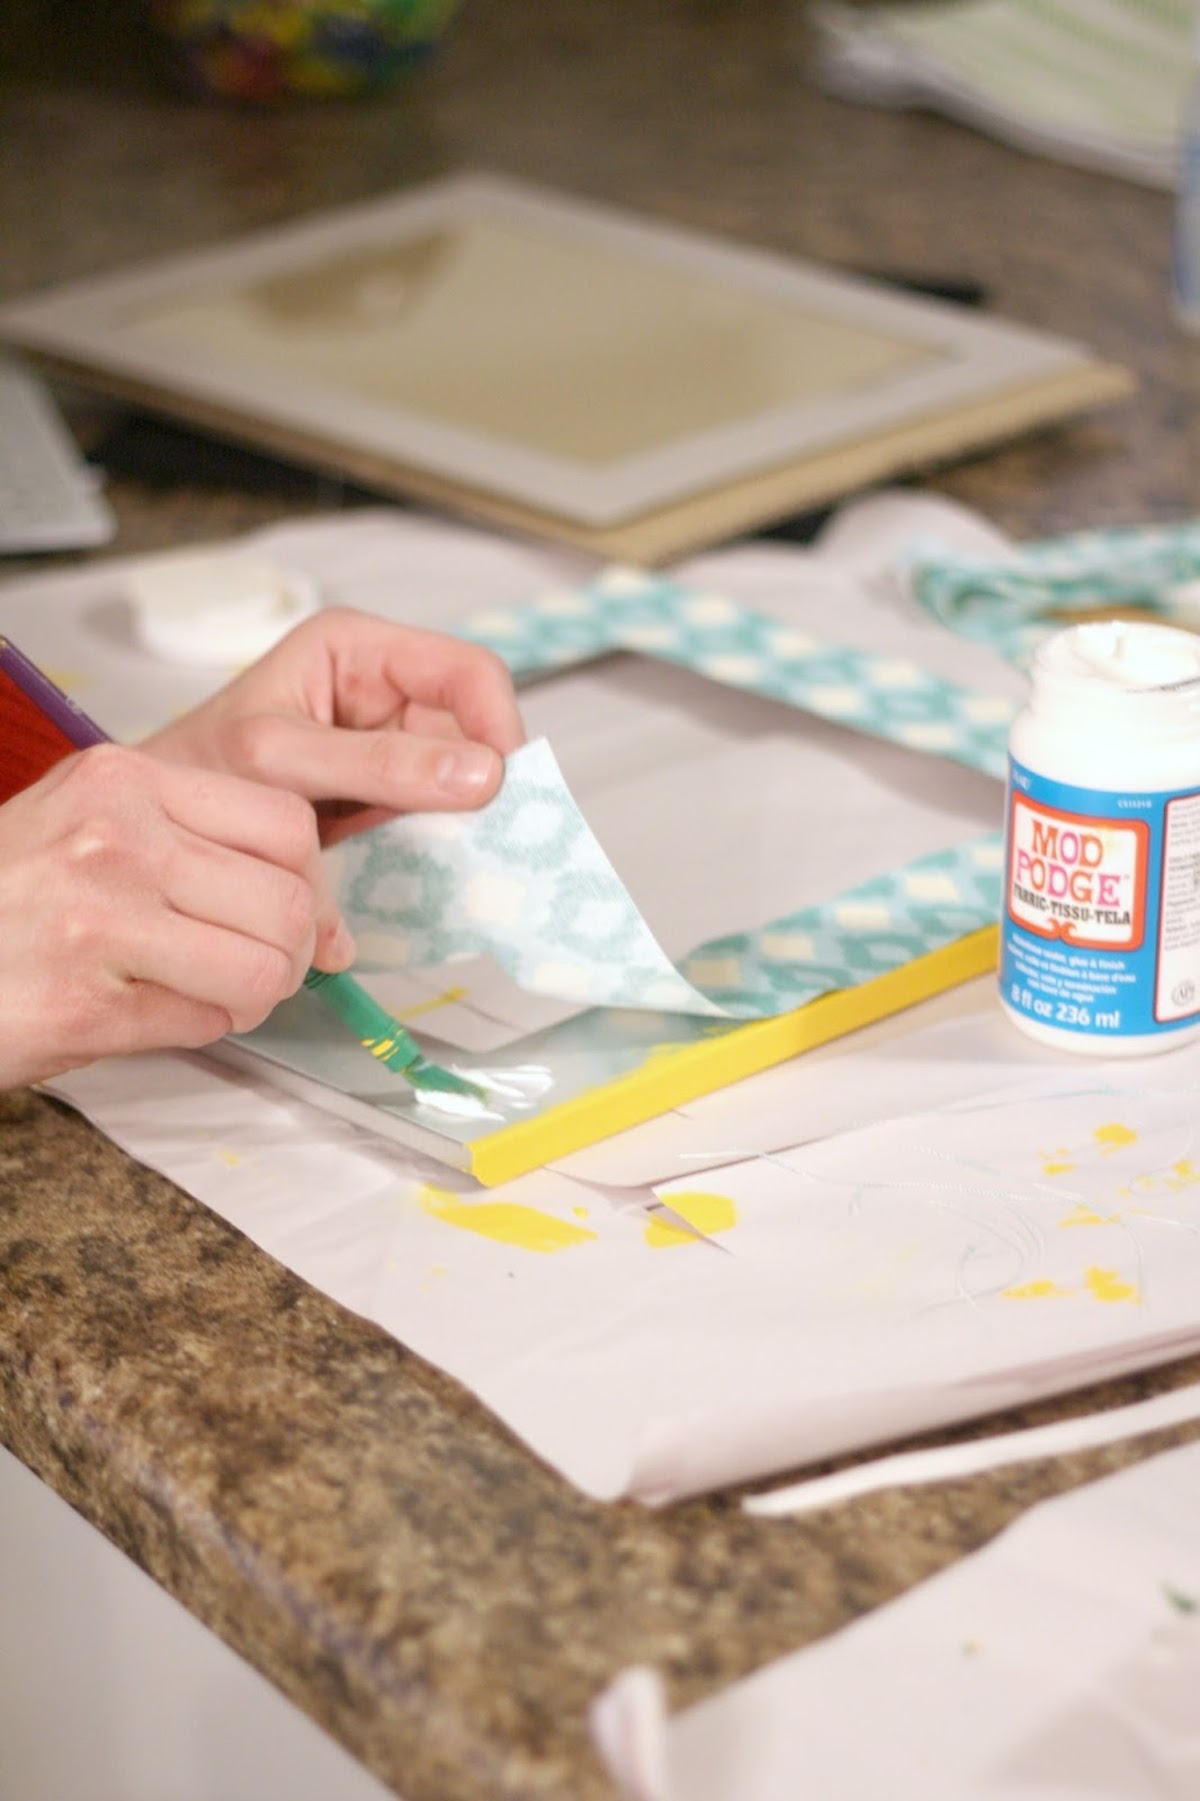
Hi everyone! This is Sam from The Pretty Life Girls, here to share with you a simple project to change up some of those old picture frames you have around your house. You’re going to need a bottle of Mod Podge, fabric, and some other simple supplies you may already have lying around.
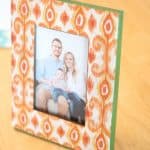
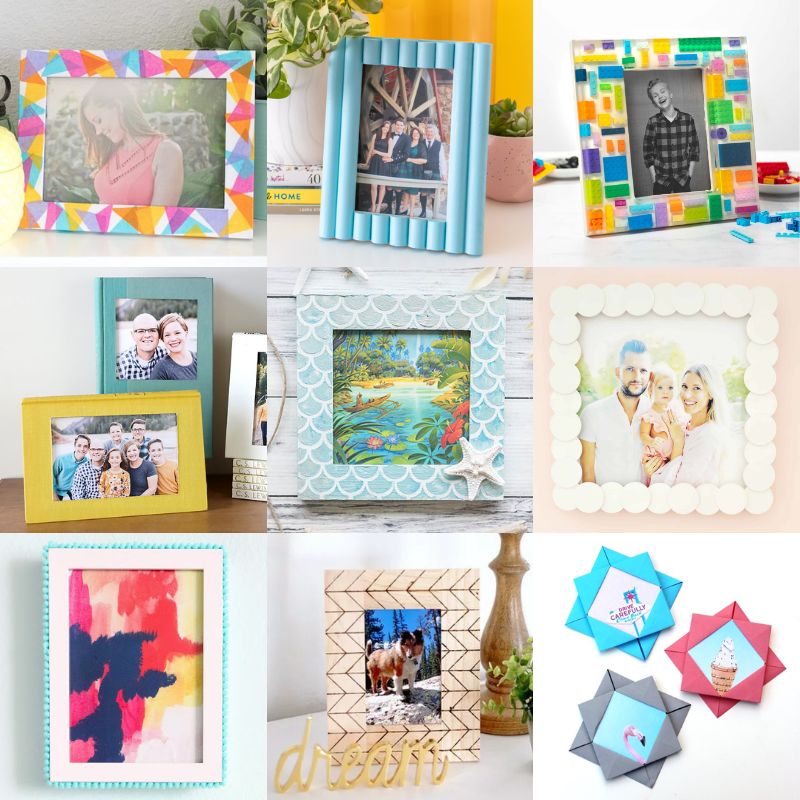
These DIY frames were so fun and easy to make, and they add the best little pop of color to my house.
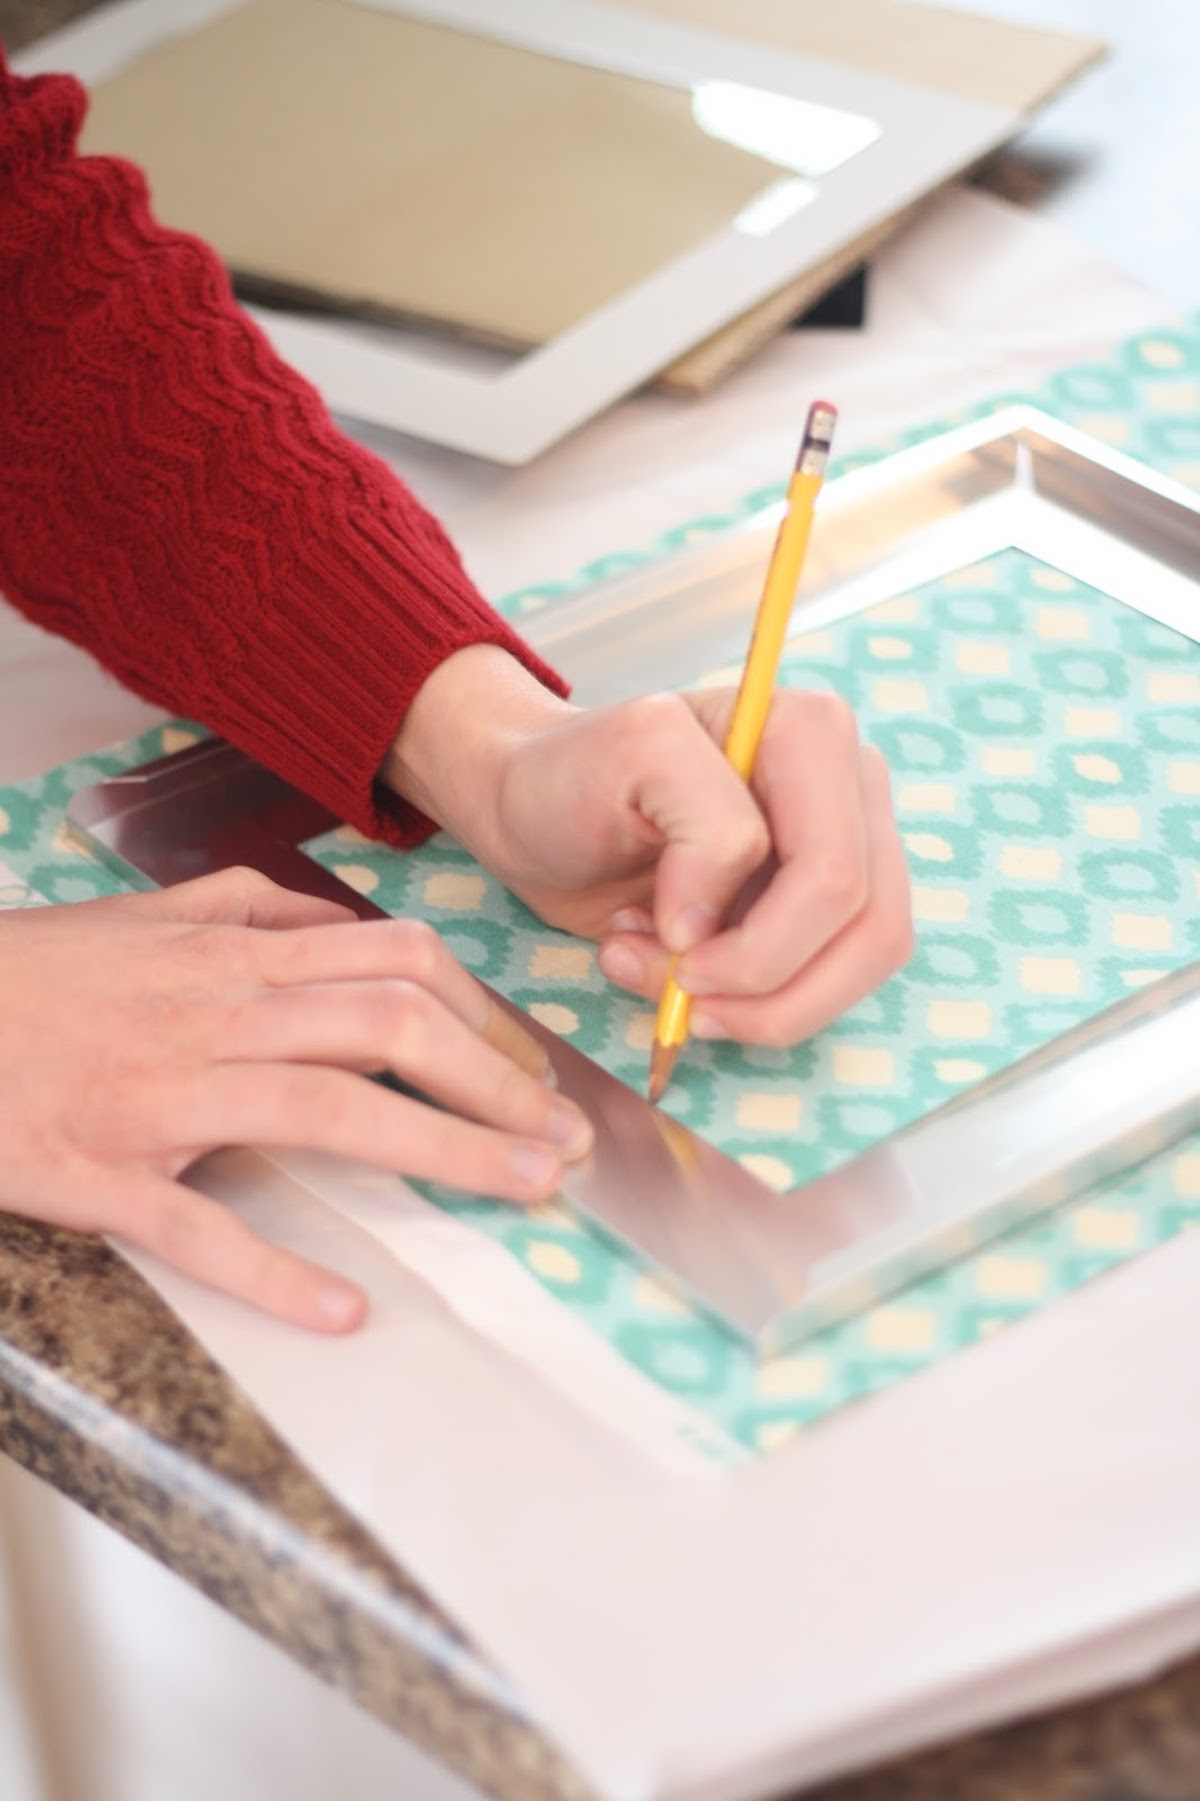
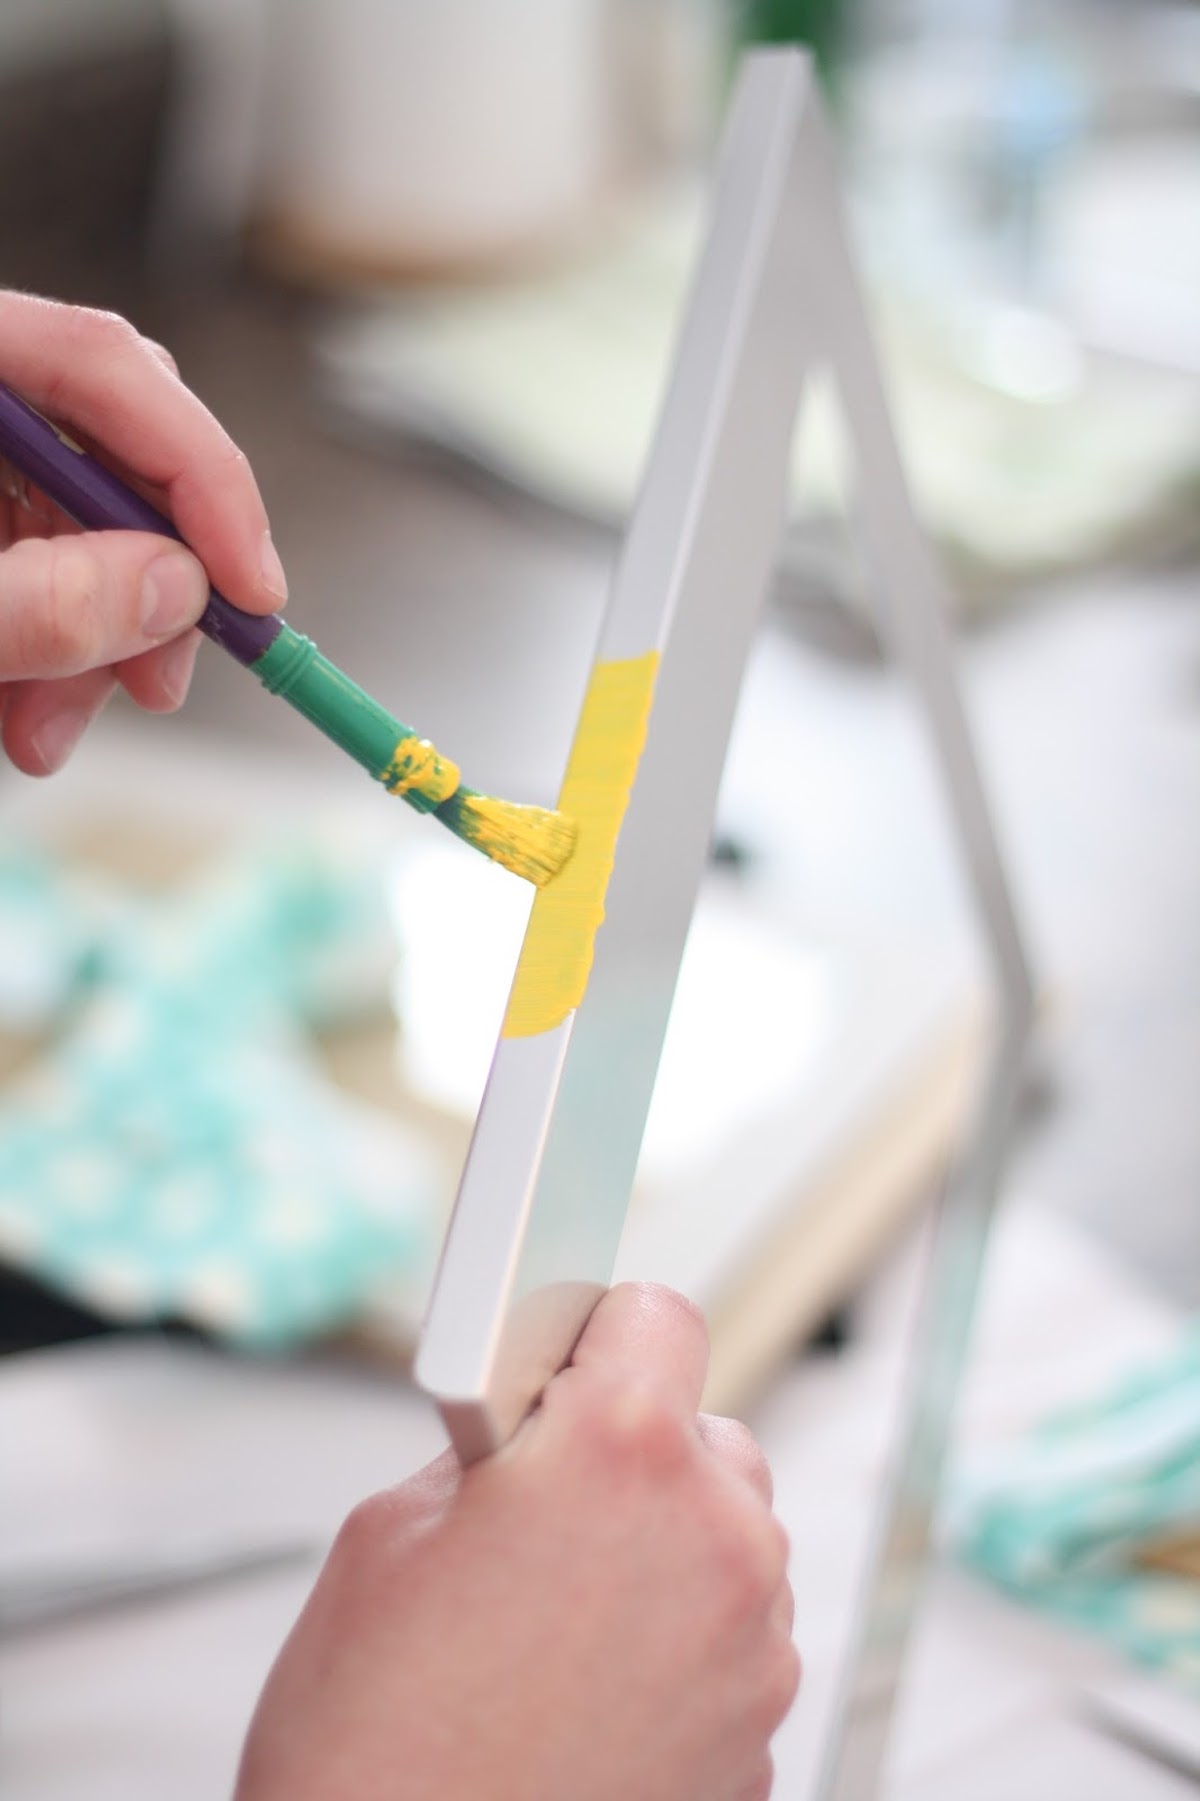
You’re going to complete this project in four simple steps. You’ll trace the frame and the cut the fabric or paper to fit. Then you’re going to paint the frame (which is optional), and Mod Podge the fabric or paper to the top.
This is a really simple decor project and I’ll walk you through it. First thing to do is gather your supplies.
What you need:
- Picture frame
- Patterned fabric or paper
- Craft paint
- Mod Podge
- Pencil
- Ruler
- Scissors/rotary cutter
- Paintbrush
If you’re a beginner, stick with thicker scrapbook paper. It is easiest to decoupage without wrinkles.
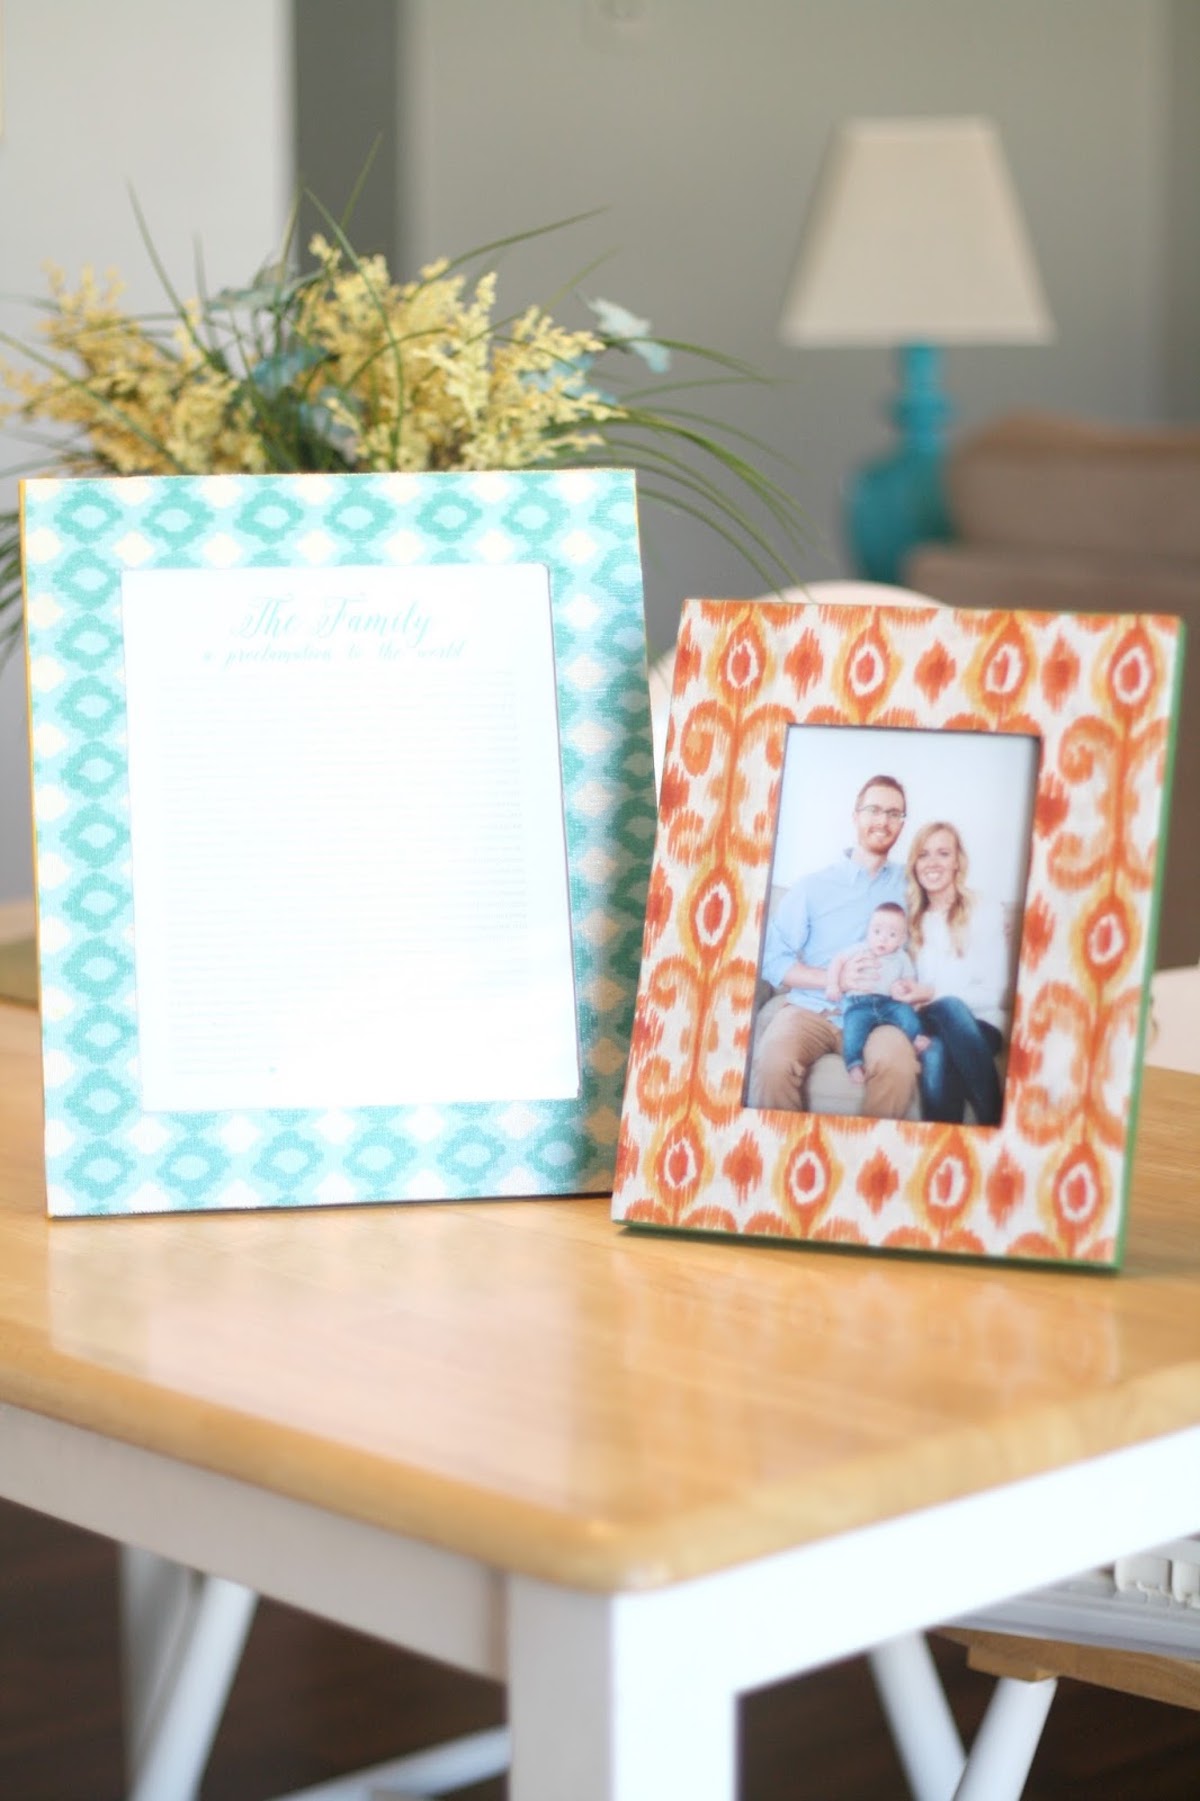
You can add a photo to your frame. Or anything else you want to display around the home. This project is so easily customizable.
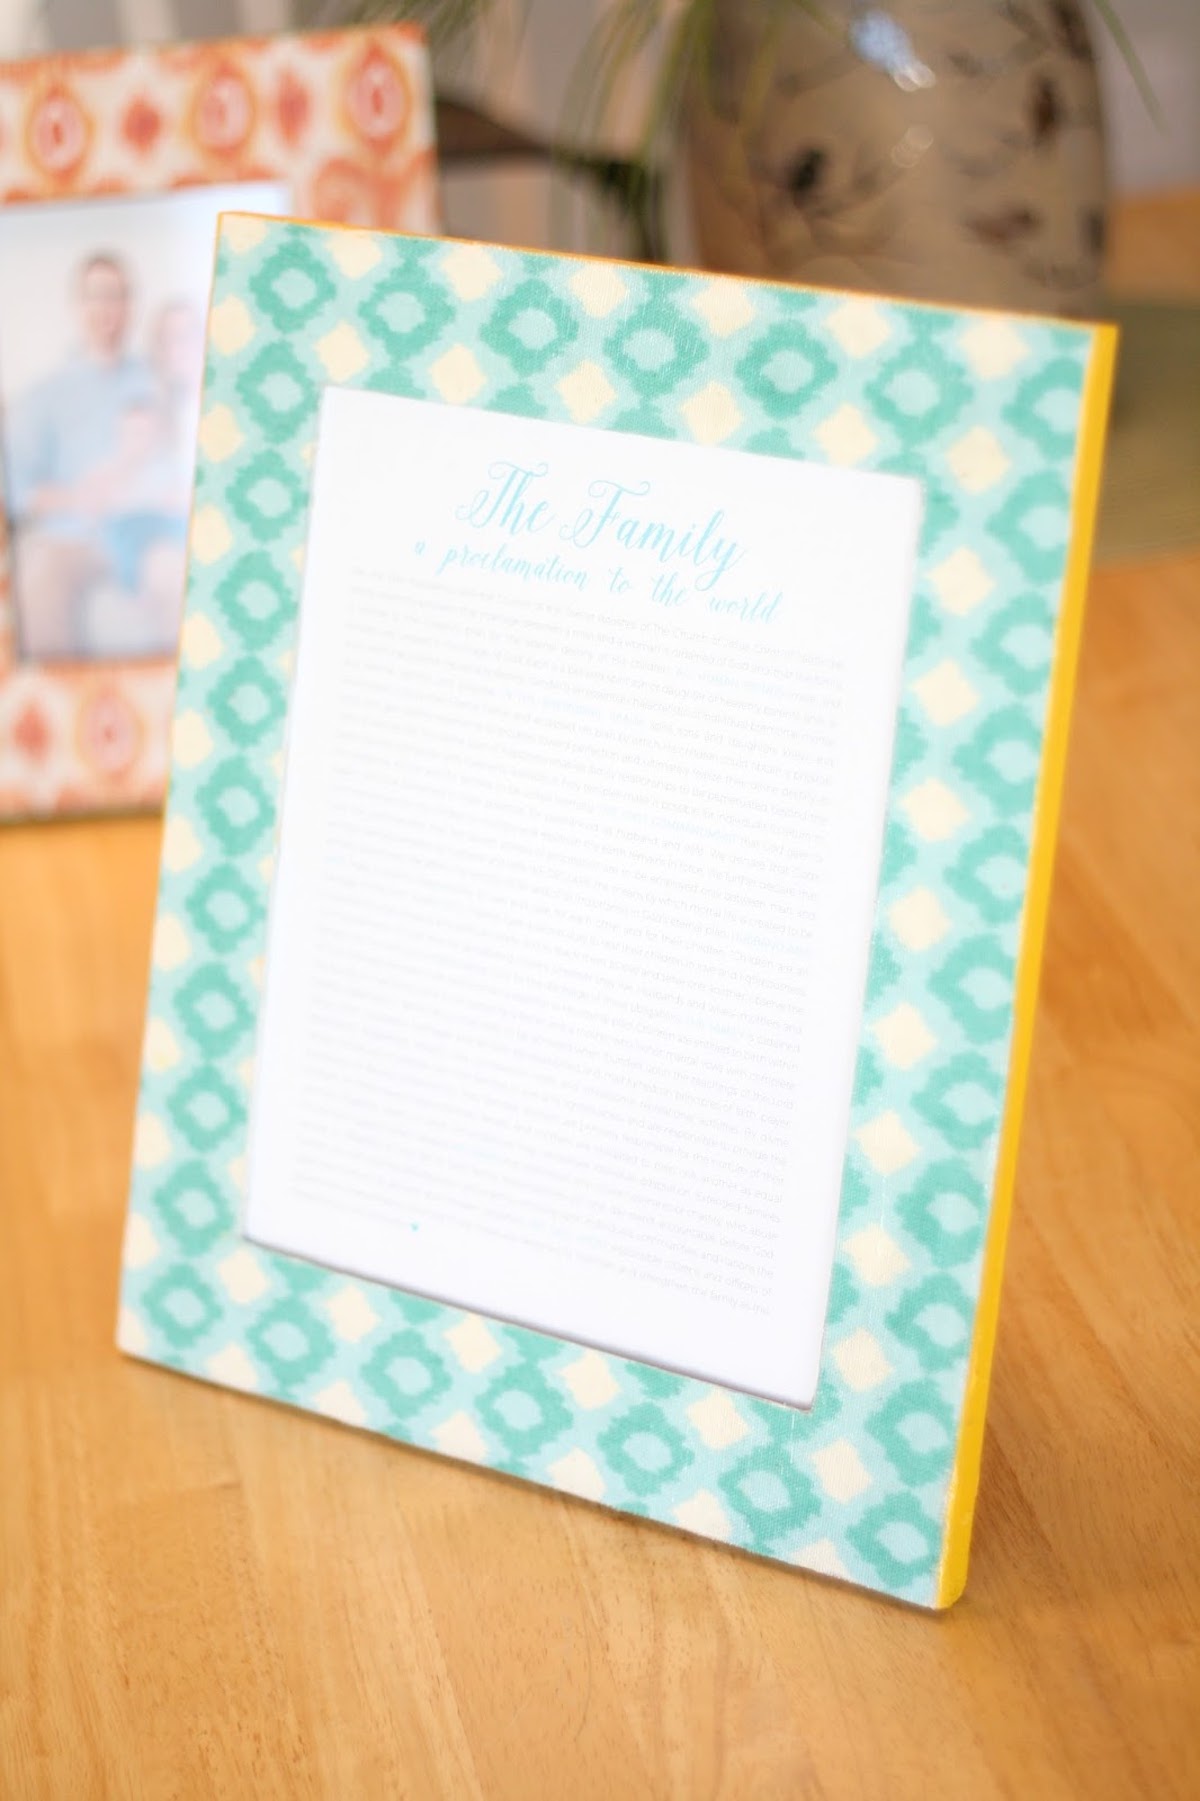
Why not make a few Mod Podge picture frames in a few patterns? These are so fun – I can’t stop making them!
Get the printable how to for this project below:
DIY Mod Podge Picture Frame
Equipment
- Pencil(s)
- Scissors/rotary cutter
- Craft mat
Materials
- Picture frame
- Patterned fabric or paper
- Acrylic paint
- Mod Podge
Instructions
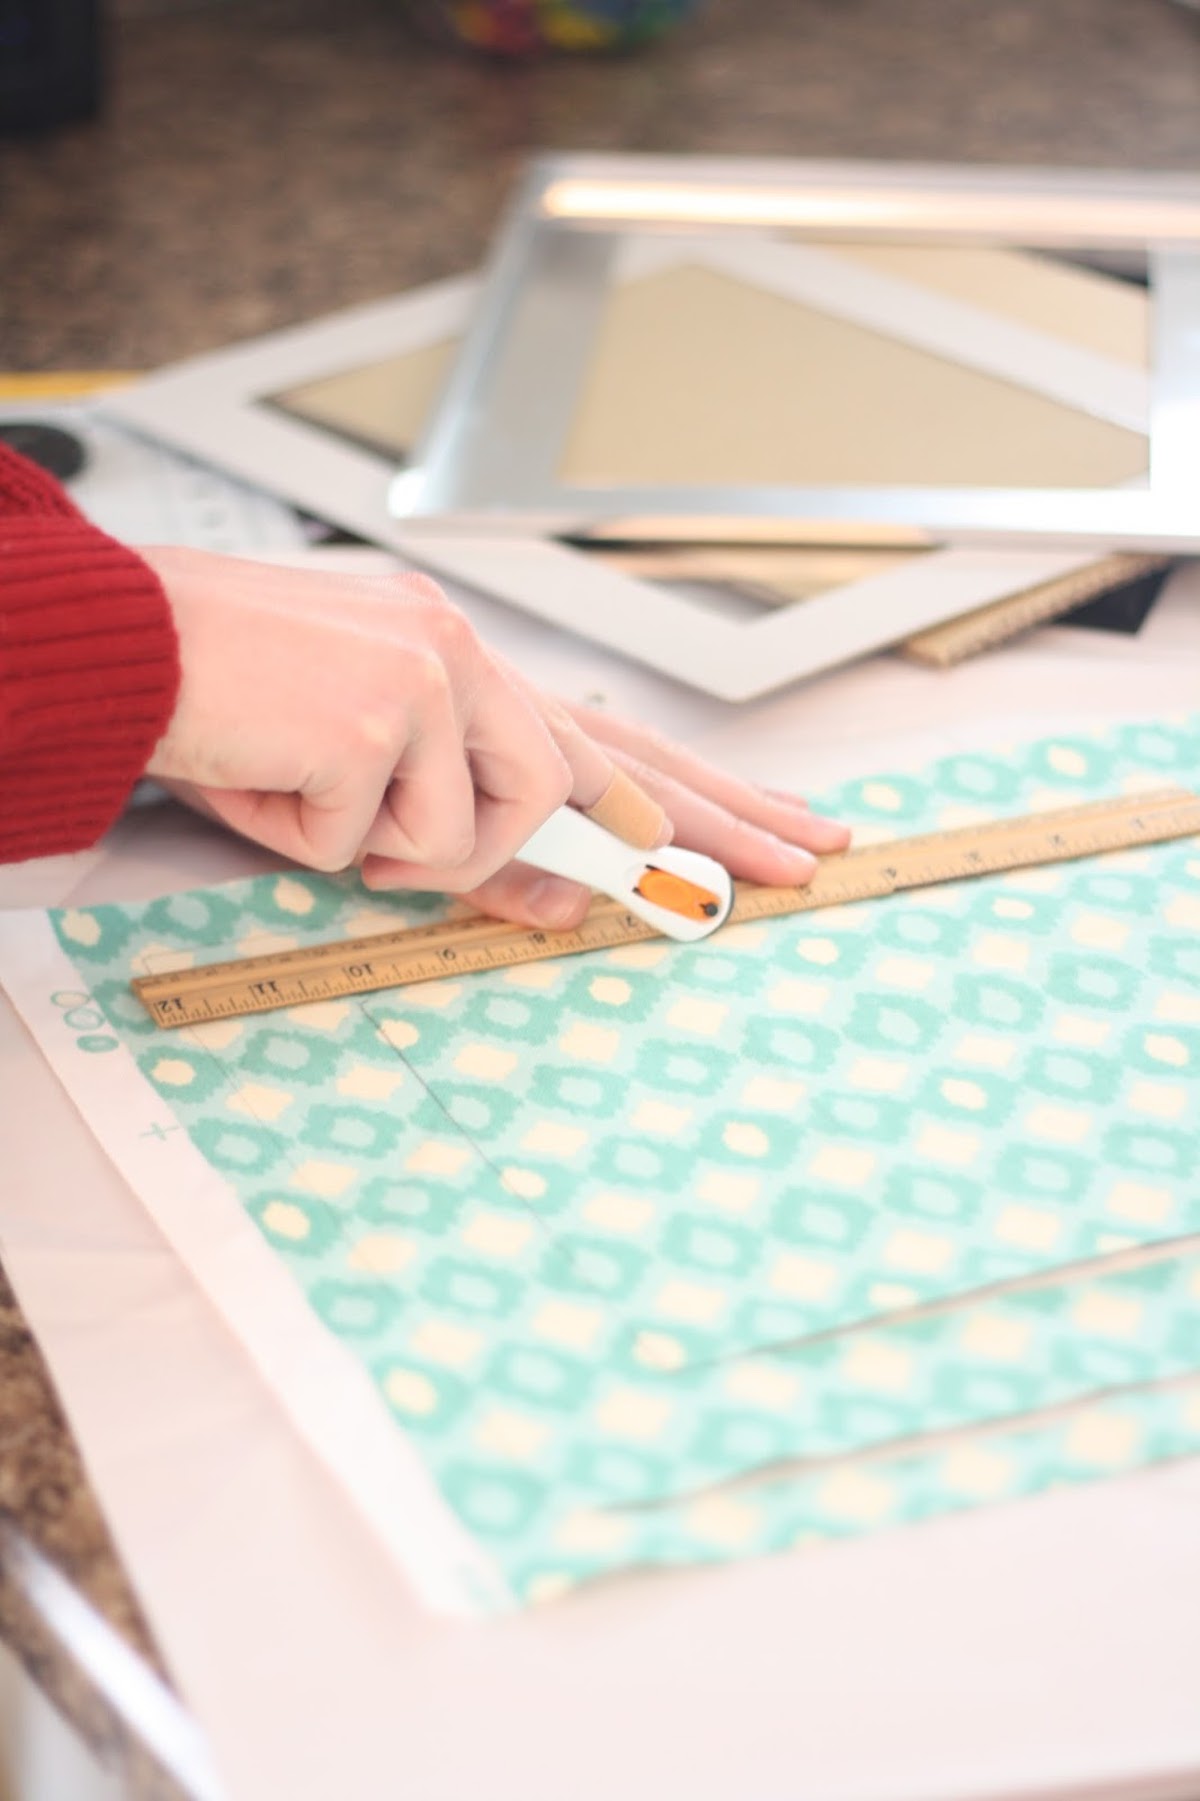
- Use a ruler and pencil to measure the paper or fabric to fit the frame. You can also trace.

- Use the rotary cutter or craft knife to cut the paper or fabric.
- Paint the frame your desired color and let dry.
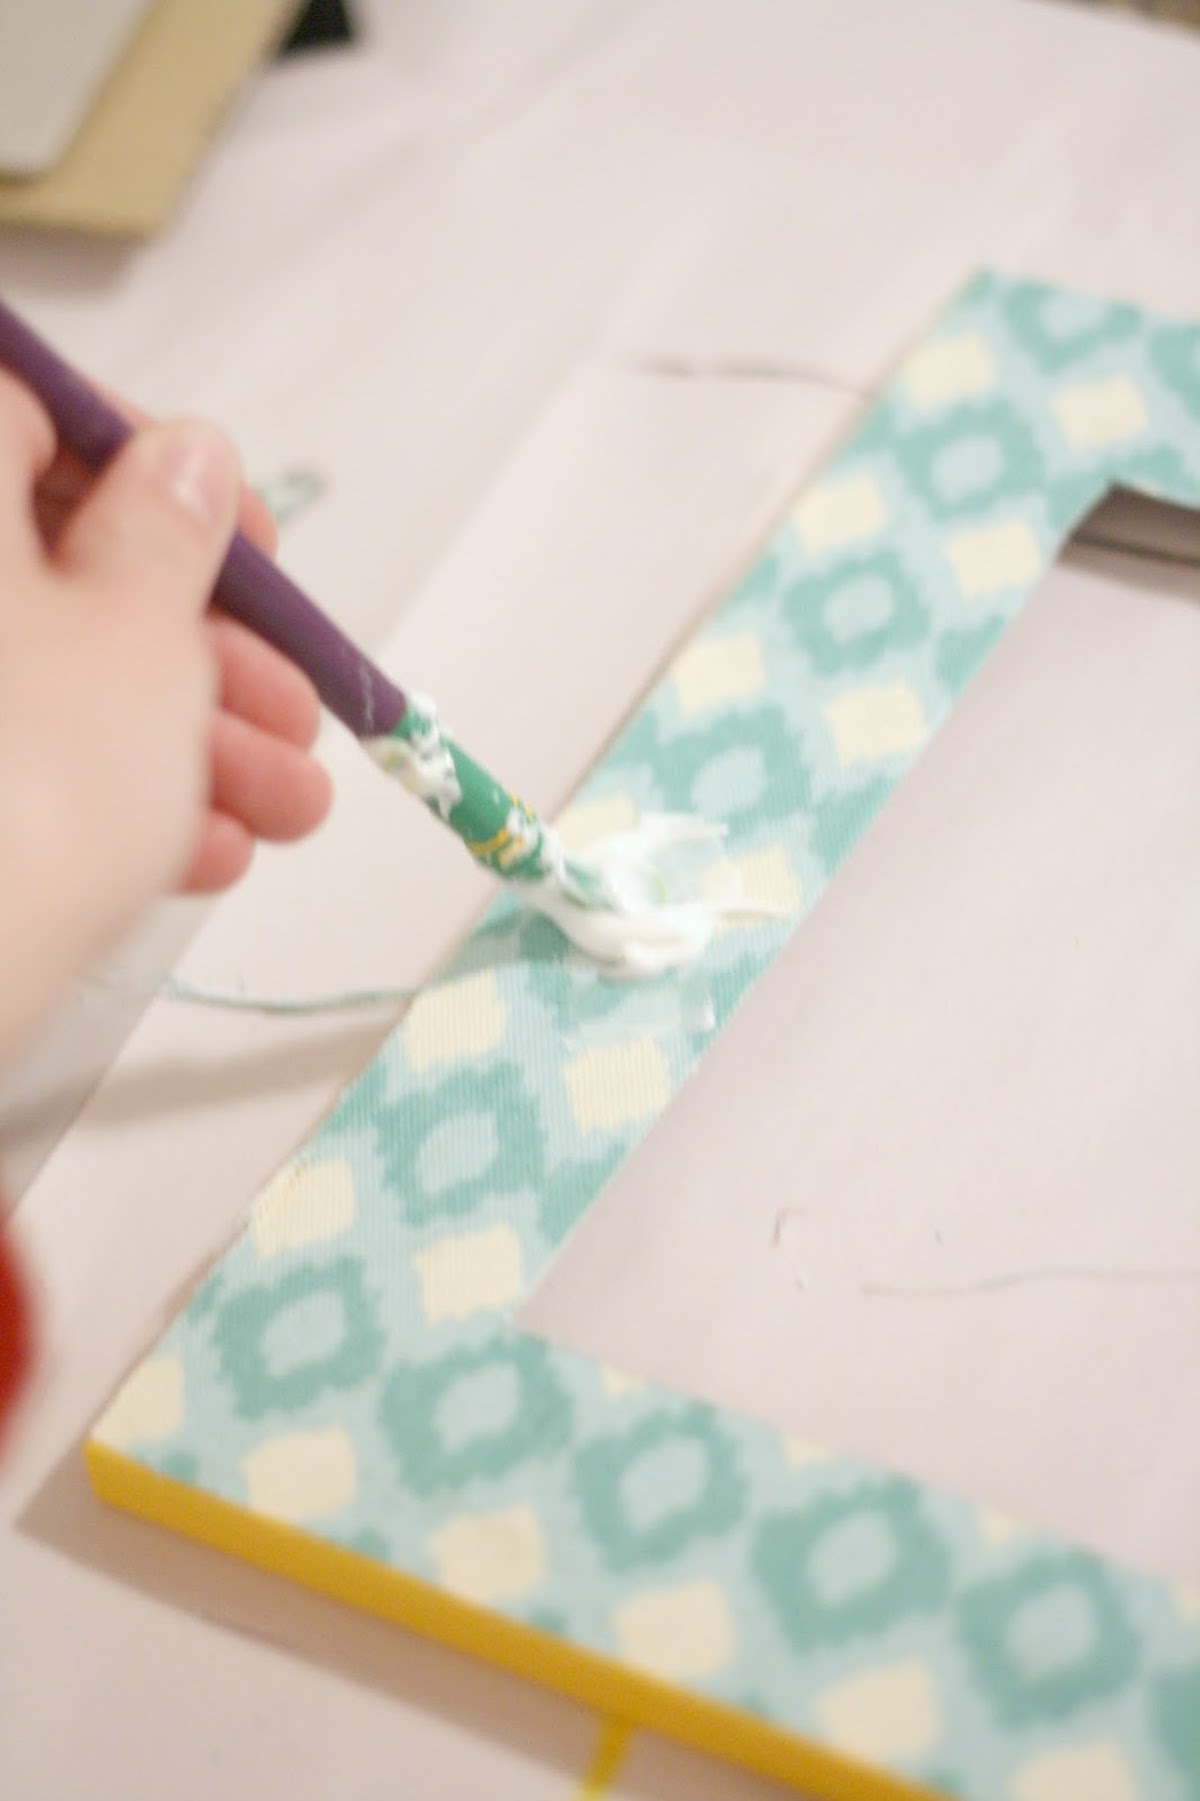
- Add Mod Podge to the front of the frame. Apply the paper or fabric and smooth down. Let dry for 15 – 20 minutes.
- Apply a coat of Mod Podge over the top. Let dry. Repeat and let dry completely before replacing the back of the frame.
Happy crafting! And be sure to come and visit my sister and me as we blog about style, food, and the things we love over at The Pretty Life Girls. If you’re looking for other home decor projects that are just about as easy as it gets, take a look at these great ideas:
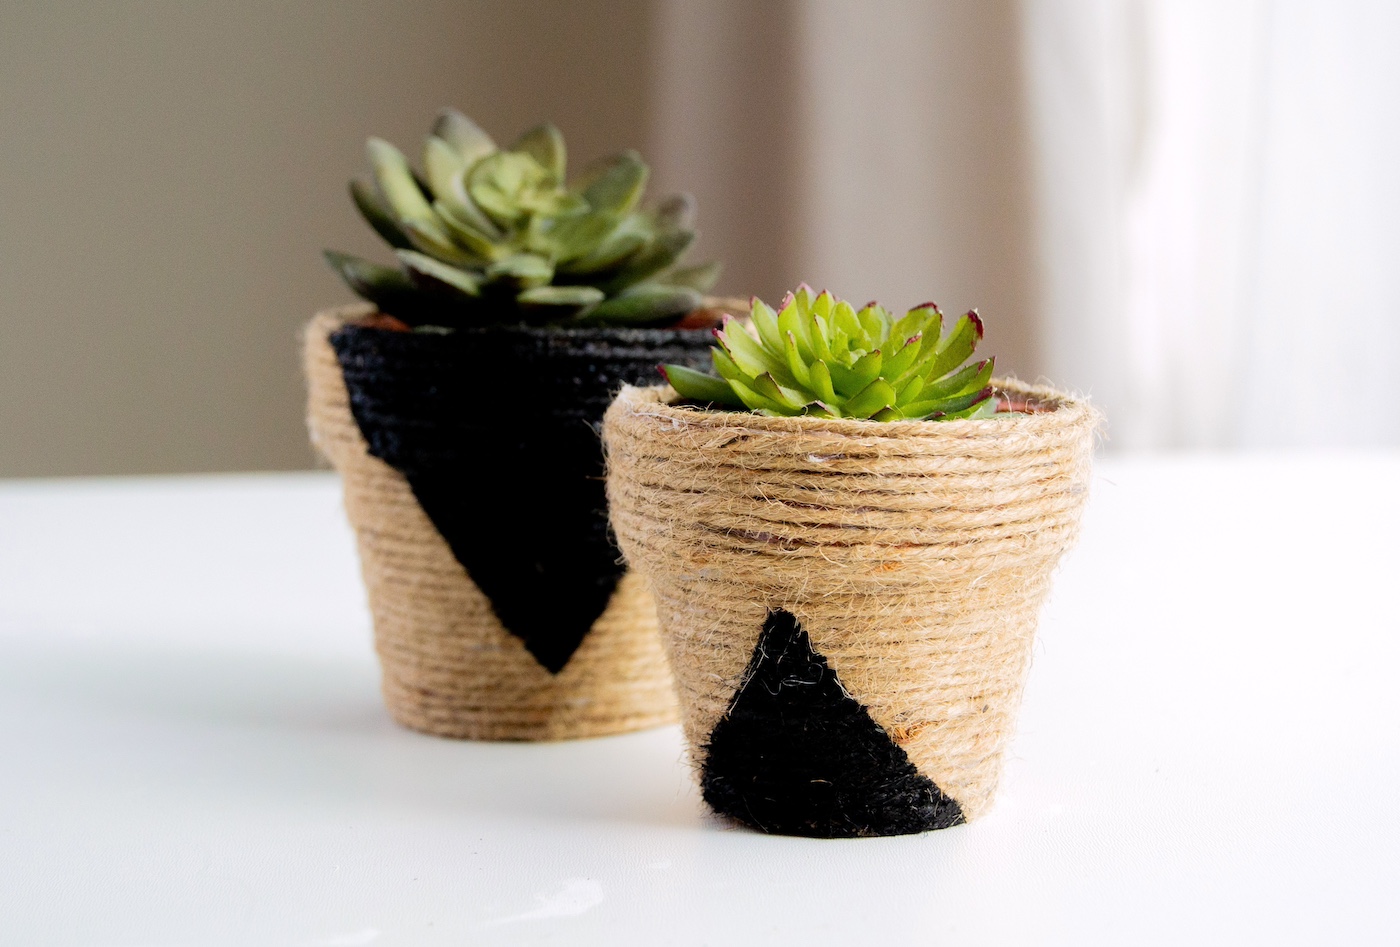
Clay Photo Holders • DIY Bulletin Board • DIY Door Stop • DIY Dry Erase Board • DIY Gold Frame • Felt Ball Garland • Floral Hanging Frame • Glue Art • Hot Glue Mushroom Lights • Magazine Collage Art • Mini Dry Erase Board • Mini Planters • Modern Nesting Dolls • Poster Hanger • Song Lyric Art • Yarn Wall Art

Love the frames, they turned out really nice. They do pop with the pretty colors and patterns.
I enjoyed doing the frames. I painted one. The other one I used fabric. I do need more practice with the fabric.
Thank you