DIY Snowman Mason Jar That’s Almost Too Adorable to Gift
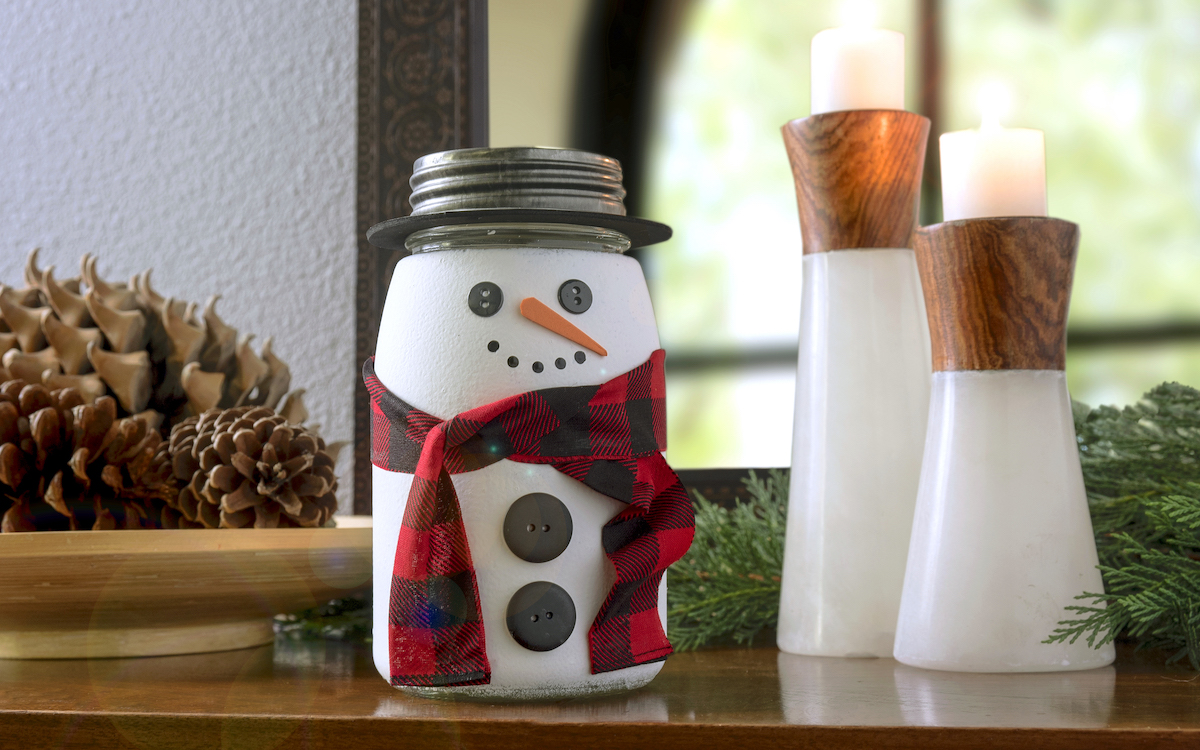
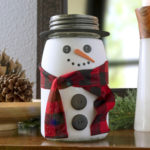
Make a snowman mason jar for Christmas gifting or winter decorating! This is fun holiday project that is perfect for beginners.
Skills Required: Beginner. This project is great if you don’t have much crafting experience. You’ll be painting, cutting out embellishments, and gluing them to the jar. Honestly it’s a great craft for both adults and children.
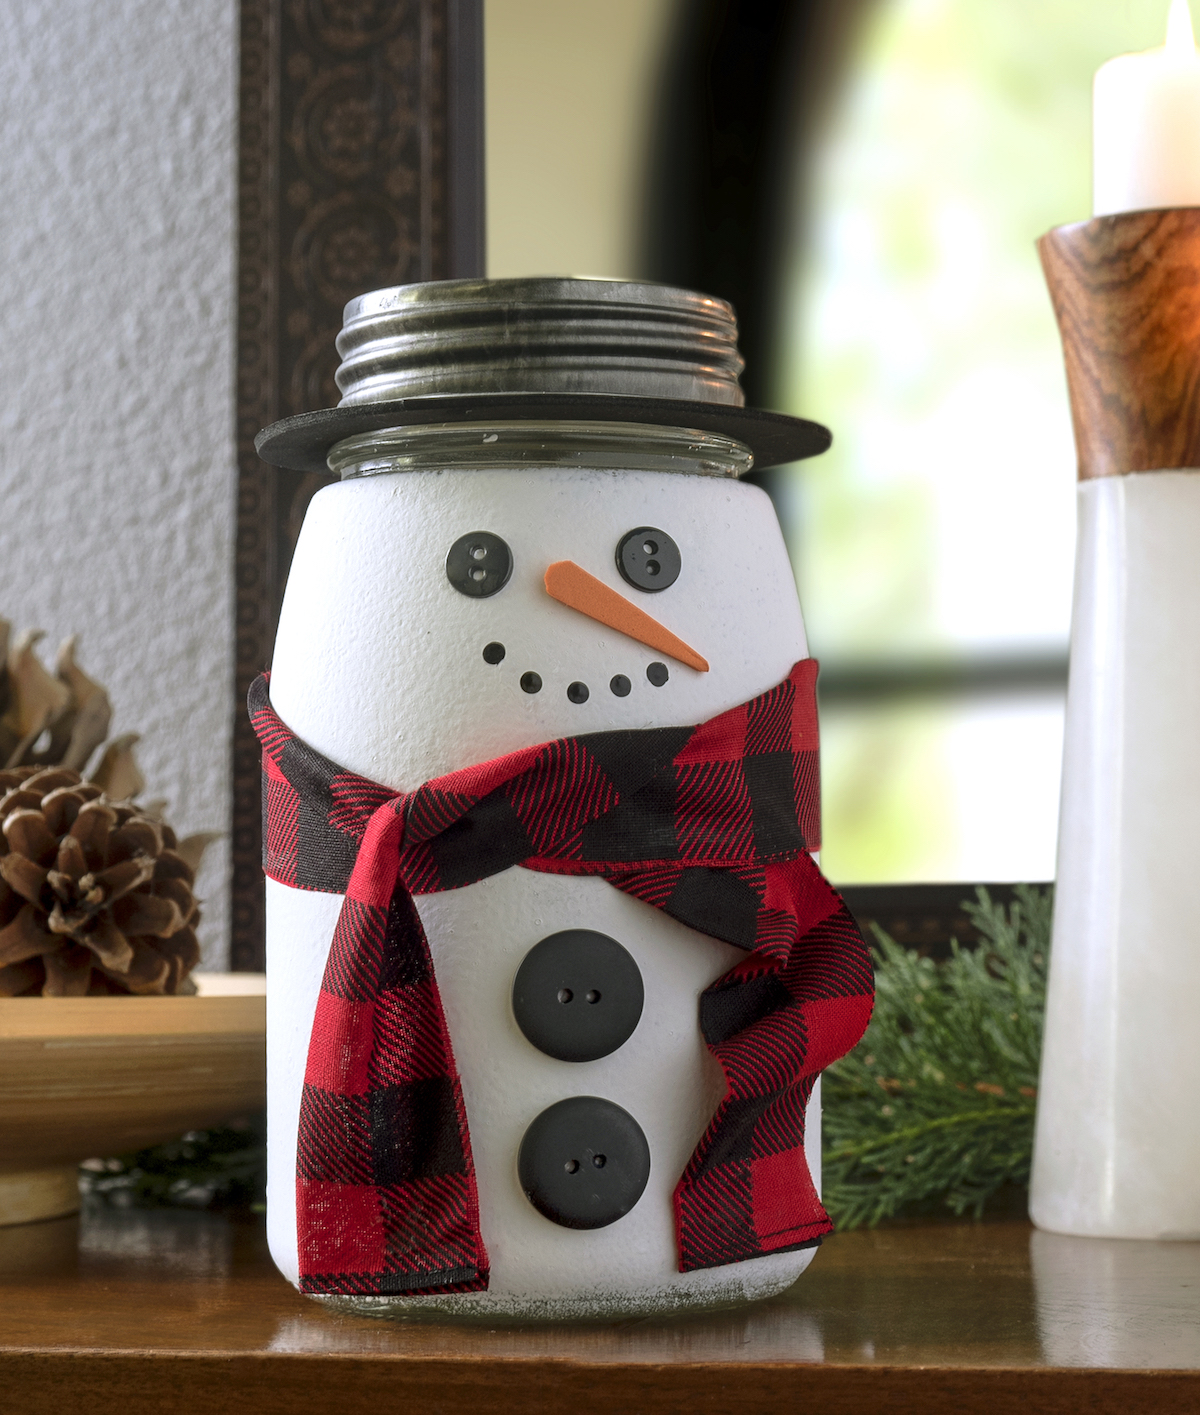
I’m sure, like me, you watched the 1969 classic “Frosty the Snowman” when you were little. Maybe you’ve never seen it, but let’s just say I always wanted a snowman for a best friend. I liked the flower in his hat and his sassy striped scarf.
He seemed like my kind of snowman.
The funny thing is that as an adult, I don’t incorporate snowmen into my Christmas and winter decor nearly enough. I tend to like woodland based projects like these wood slice coasters or bold and bright decor like this pom pom garland.
I know those are very different genres, but woodland is my normal style and the bold and bright I reserve especially for the holidays. Instead of deer and sparkles this year, I decided to go with a snowman theme. So here is what I started with . . . my snowman mason jar!
This mason jar is not only perfect for rustic or farmhouse decor, it’s also a great Christmas gift idea. Fill the jar with candies or baked goods, because all the crafting is done on the outside of the jar (it’s still food safe inside).
I think my favorite thing about Frosty the snowman jar is his buffalo plaid scarf. I can’t wait to show you how I made it!
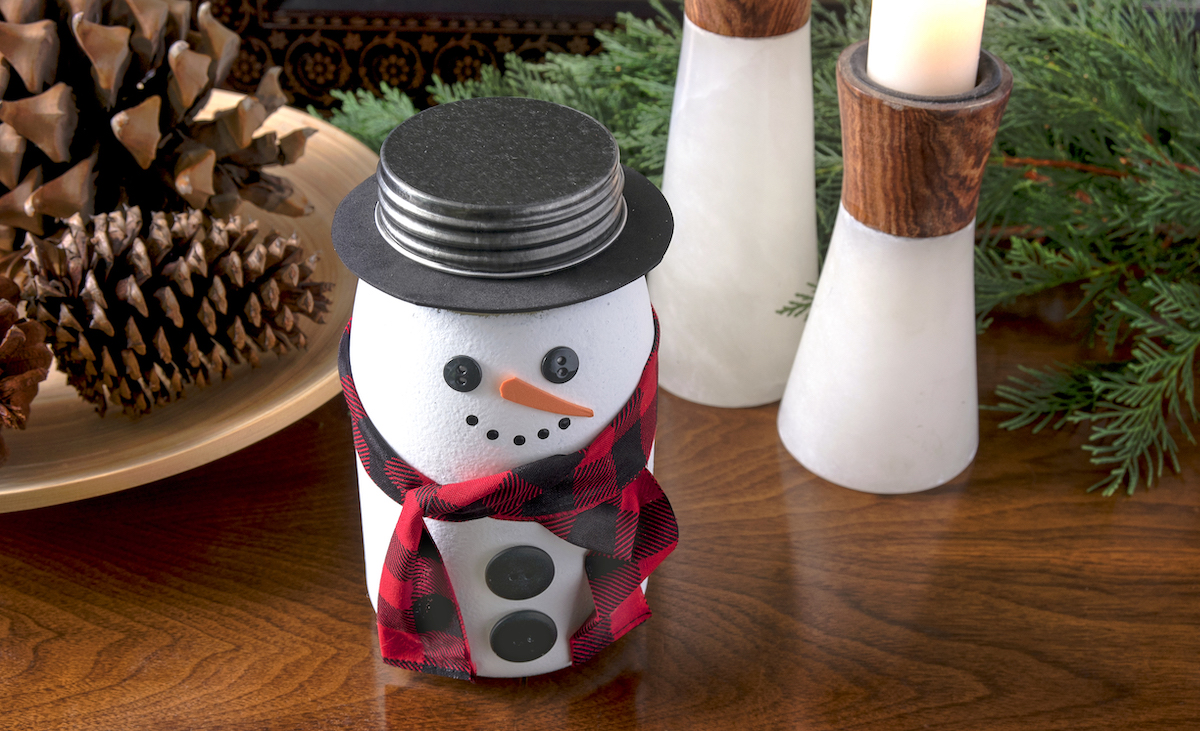
This project can be completed in five simple steps. You’re going to paint the jar, add the scarf, glue down the buttons, add the face, and then make the brim.
Before we get started on the tutorial, I want to share just a few tips with you that might help as you make a jar of your own:
- Use multisurface or glass paint on the jar. You can also use white spray paint. I don’t recommend regular red craft paint because it will be easy to scratch off the glass.
- Glass paint looks worse before it looks better. Use a soft bristled brush or spouncer and don’t paint the next layer until the layer before it is dry. Your first layer will be pretty thin. This is where you need the patience. Don’t glob the paint on; simply brush it on and it will start to flatten out.
- In this post, the paint is spounced on. It gives a bit of a texture to the paint though. You’ll find it goes on easier and more consistent, but the results won’t be completely flat (very slight texture). If you want to use a brush, go ahead.
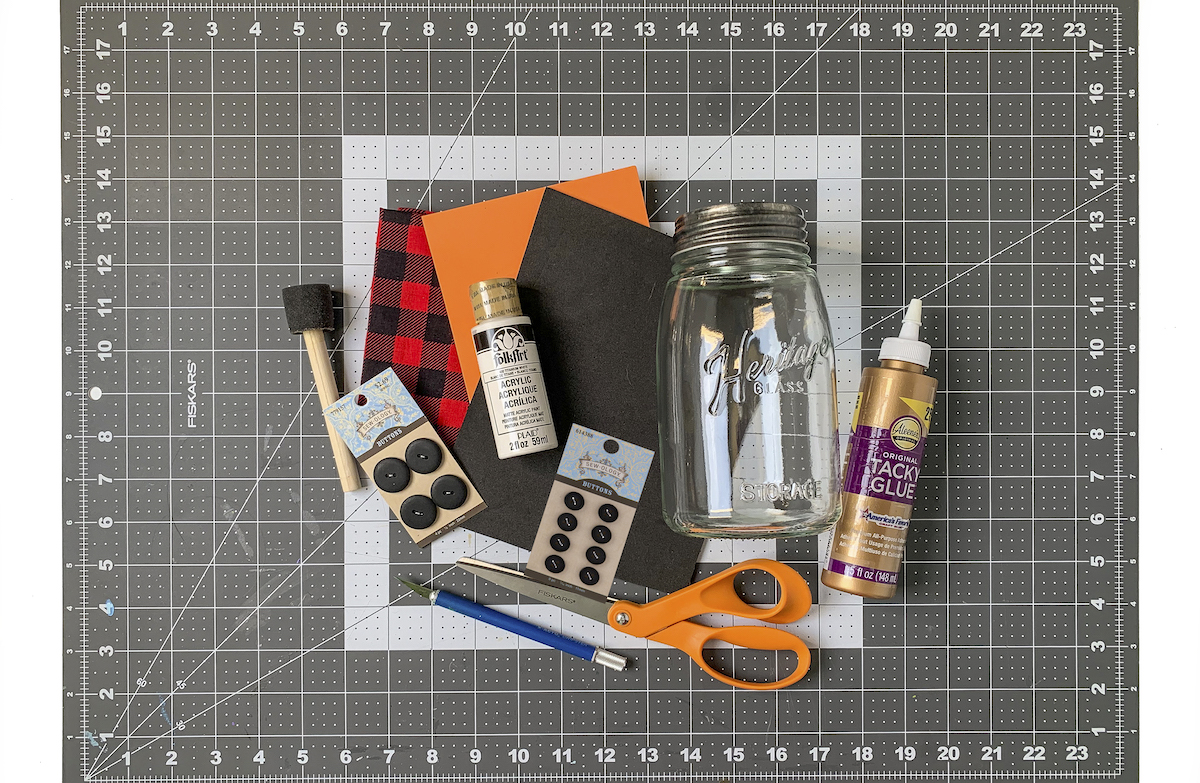
Gather These Supplies
- Glass mason jar – I got mine from Dollar Tree
- White multisurface or glass paint
- Plaid bandana – you could also use felt, fabric (think scraps or a sock without a pair), or even knit a small scarf if you are so inclined
- Black buttons – 2 small, 2 large
- Orange craft foam or felt
- Black craft foam or felt
- Craft glue
- Brush or spouncer
- Pencil or pen
- Scissors
- Paintbrush
What treats would you put in your jar? Let me know in the comments!
Get the printable how to card below:
Mason Jar Snowman
Equipment
- Brush or spouncer
- Pen or pencil
Materials
- 1 Mason jar(s)
- Multisurface craft paint white
- 1 Plaid bandana or fabric
- 4 button(s) black – 2 small, 2 large
- 2 pieces Craft foam or felt 1 piece orange, 1 piece black
- Craft glue
Video
Instructions
- Clean your jar with mild soap and water or rubbing alcohol and let dry.
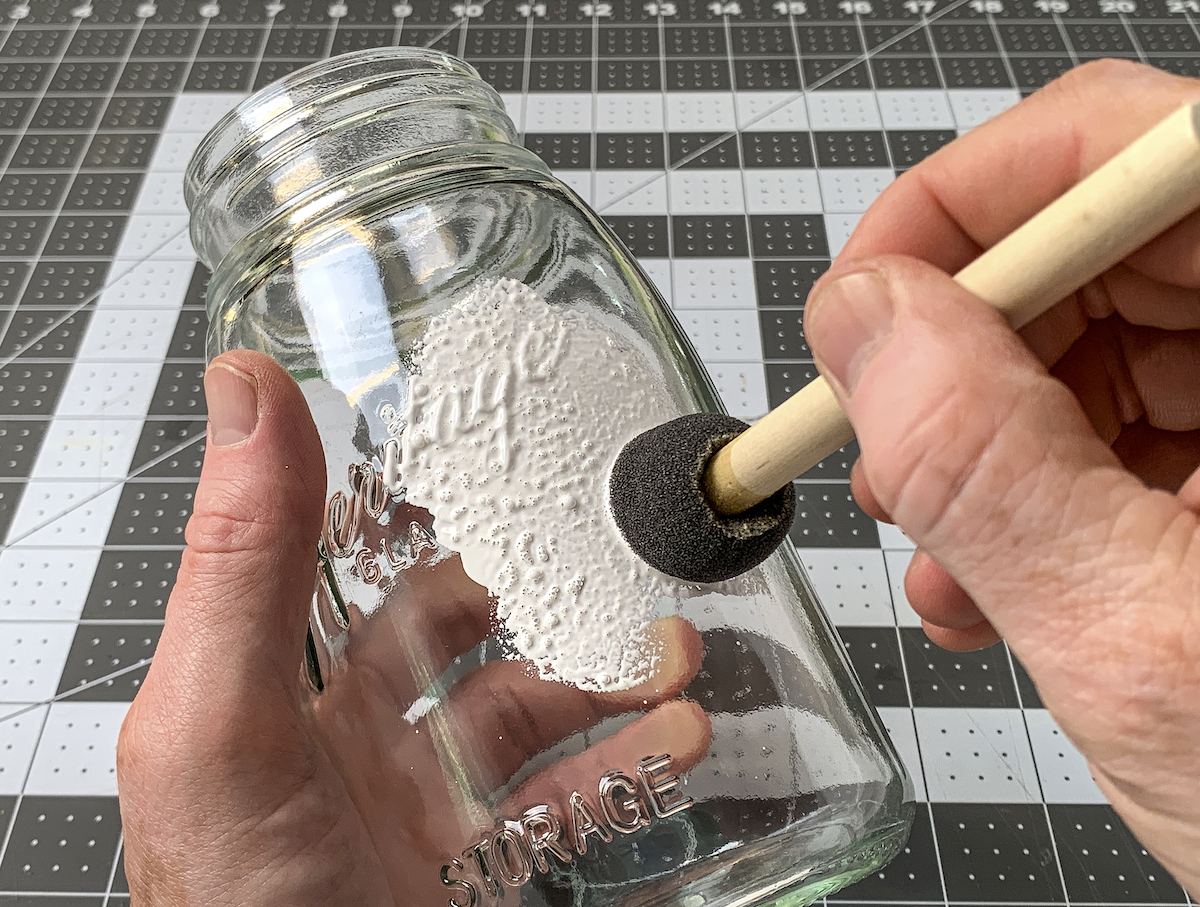
- Start by spouncing white glass or multisurface paint onto the jar. Use a foam spouncer. Press the sponge into the paint, dab off the excess, and then press up and down onto the jar.You want to add a medium layer of paint. It is better to do multiple, thinner layers rather than one thick layer. Work one section of the jar at a time, layering the paint and covering the entire jar. Let dry completely.
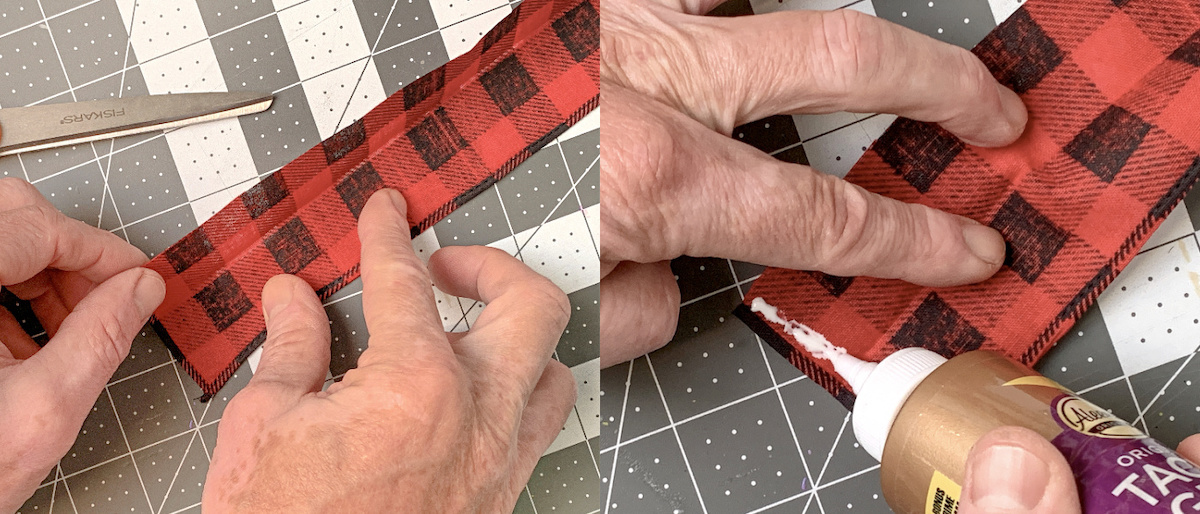
- Cut a 2" x 21" (approximate) piece of fabric or bandana. Fold in half and glue to secure.
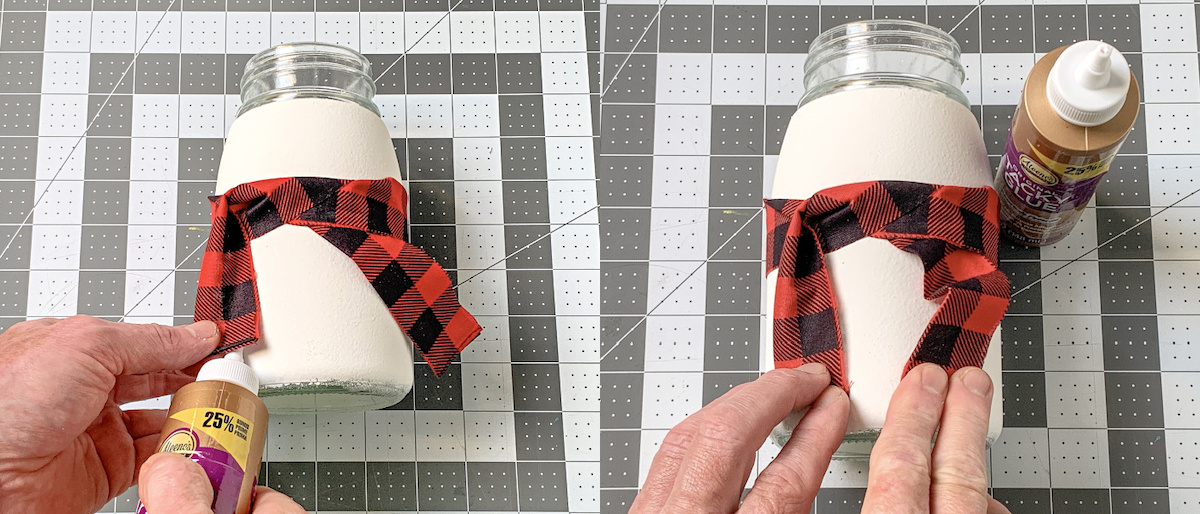
- Tie around the mason jar to act as a scarf. Tack down the ends with glue to secure. Your snowman doesn't want a straight scarf, so you can glue it down with a bit of "movement."
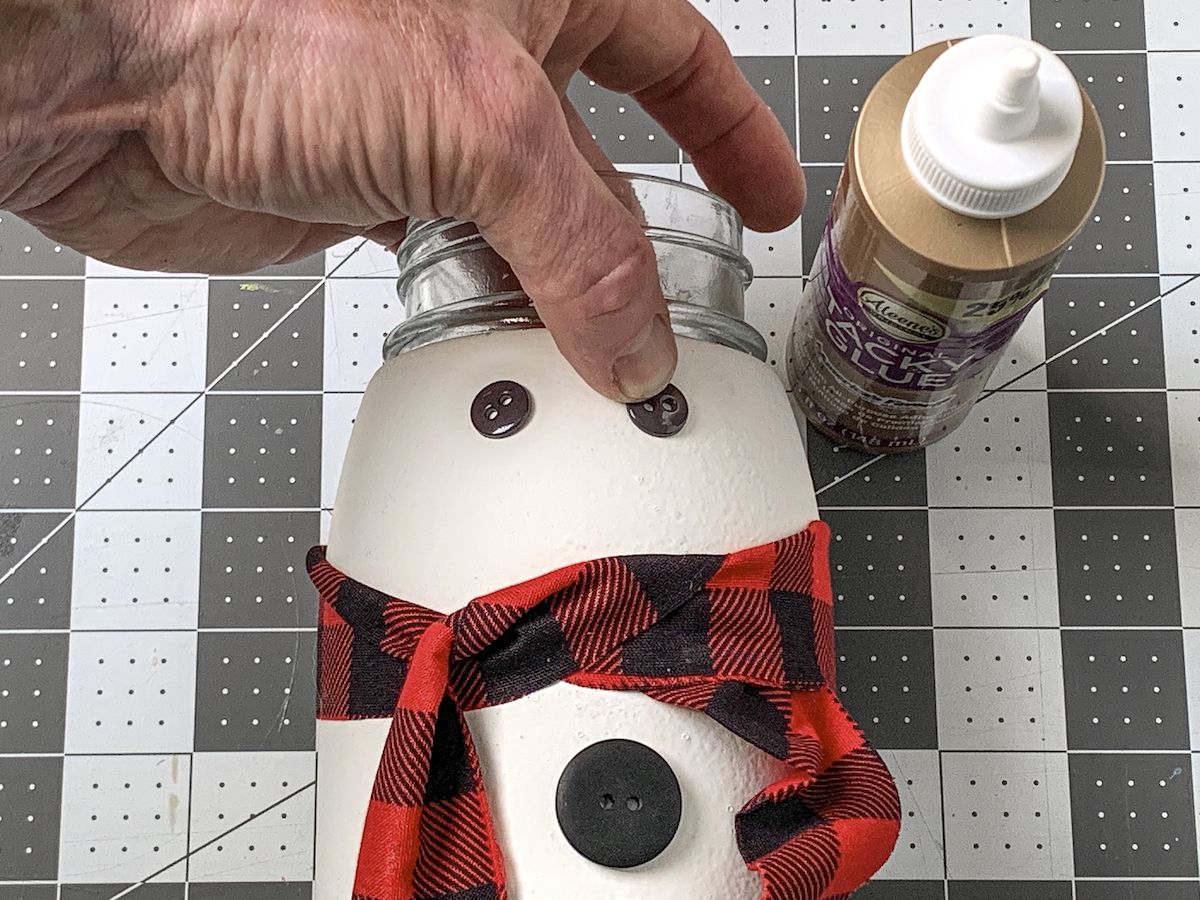
- Glue two large black buttons to the front under the scarf. Let dry.
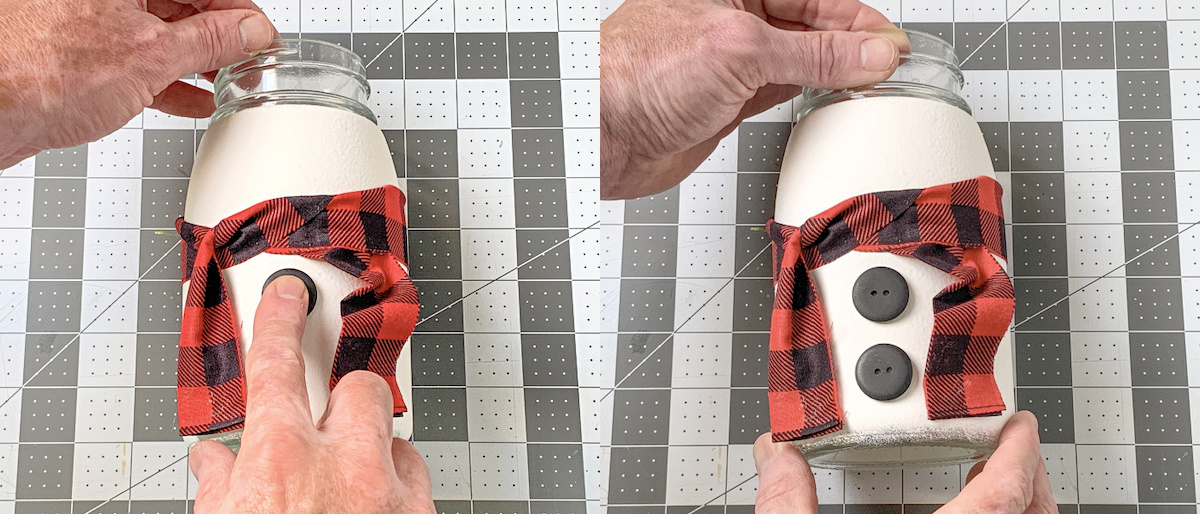
- Glue two small black buttons to the front above the scarf to act as eyes. Let dry.
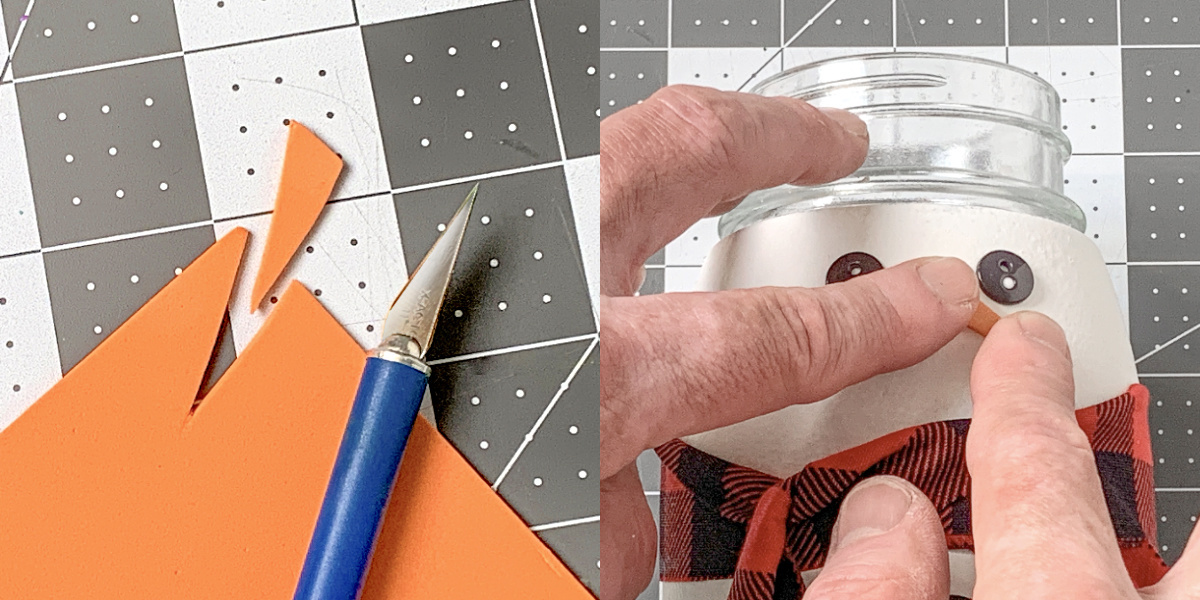
- Cut a nose from orange craft foam or felt and attach to the front with glue. Let dry.
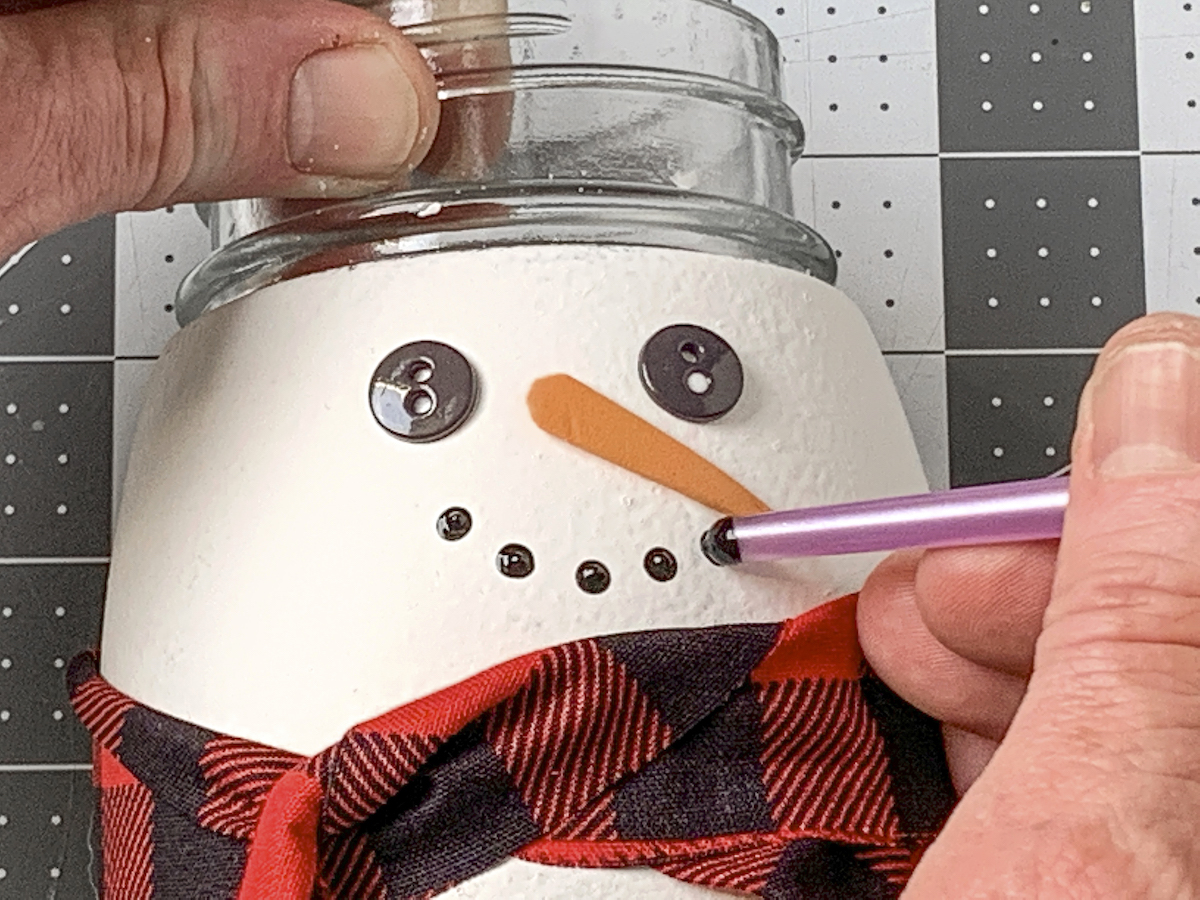
- Use the end of your paintbrush and black acrylic paint to dot a mouth on the front. Let dry.
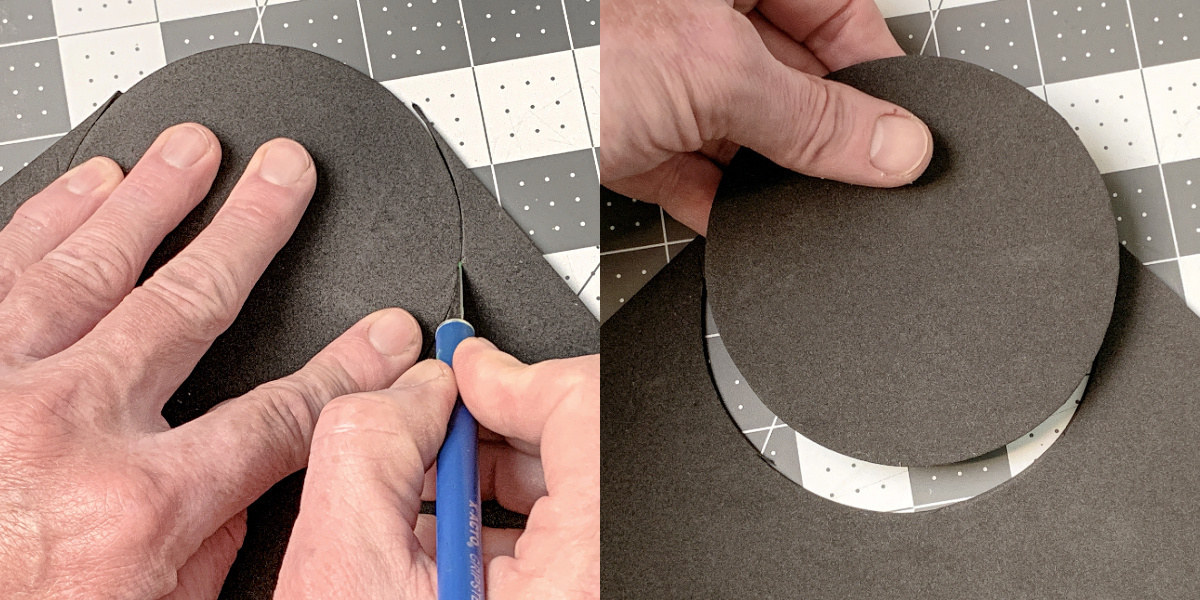
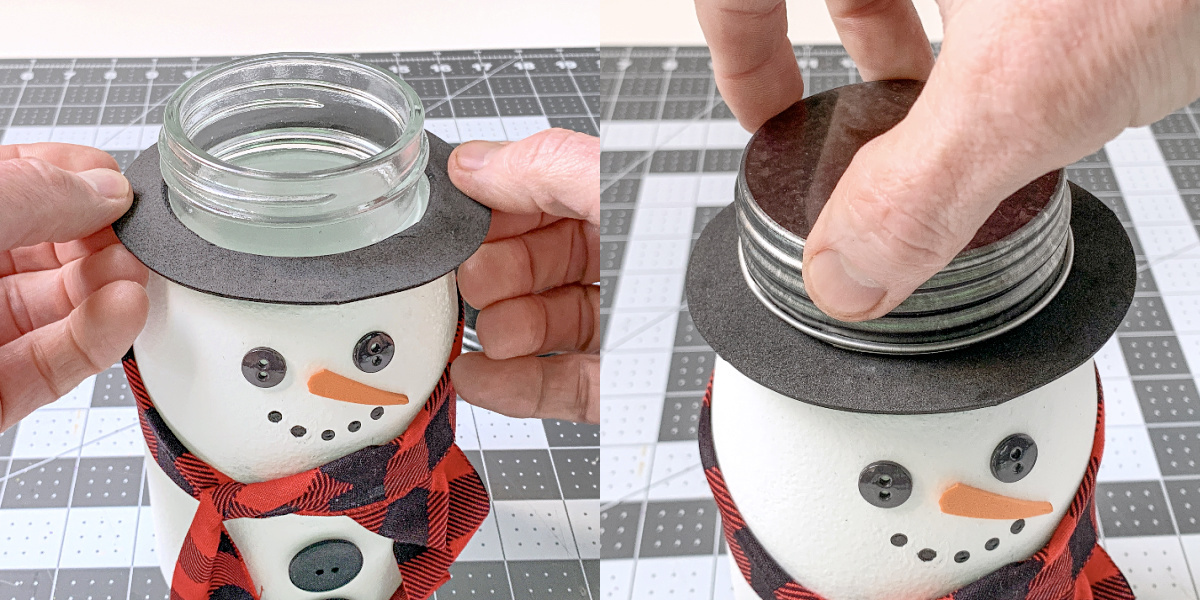
- Trace a circular object larger than the lid onto the craft foam or felt and cut out. Trace the jar lid onto the center of your new circle and cut out.
- Place the brim you just created onto the mason jar and screw the lid on top to finish..
Did you enjoy this snowman jar? If so, I’d love for you to check out these other holiday and winter craft ideas:
Apothecary Jars • Candy Cane Centerpiece • Christmas Magnets • Christmas Paper Chain • Christmas Shadow Box • Decorative Candles • Felt Mistletoe • Gift Card Holders • Gnome Decor • Magazine Christmas Tree • Santa Hat Topiary • Santa Mason Jar • Santa Napkin Rings • Spindle Snowman • Wine Cork Snowman



Will hot glue work ok for this project? Thank you!
Yes *but* hot glue can pull off sometimes. Like if someone were to accidentally snag one of the buttons on the front on something, it will rip off easier with hot glue than craft glue. I think you’re fine but I just wanted to give this warning 🙂