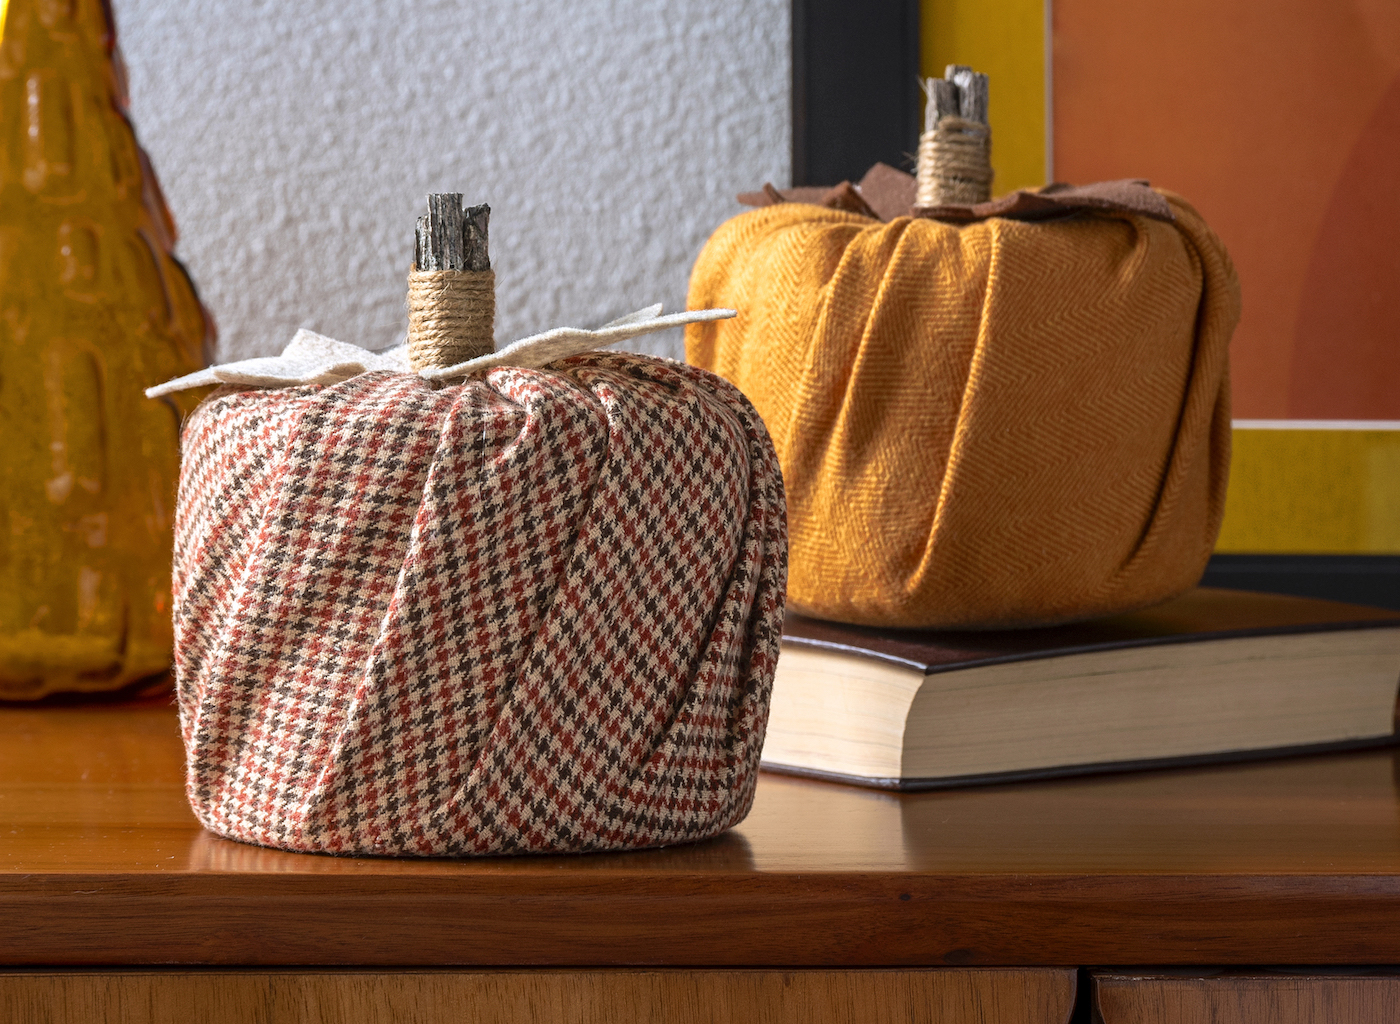
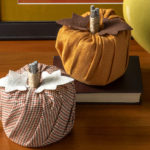
Easy Toilet Paper Pumpkins to Elevate Your Fall Decor
These toilet paper pumpkins are so easy to make for autumn decor! Use the fall fabric of your choice, and you’ll be done in minutes.
Skills Required: None. Even if you’ve never crafted before, you can make this super easy DIY for your fall home decor! You’ll be wrapping fabric around a roll of toilet paper and then creating a stem and some leaves.
I don’t mean to brag, but fall projects (and Halloween) are kind of my specialty. But let’s be honest . . . it’s easy to be better at the things that you love! And autumn is my absolute FAVORITE time of year.
It’s my favorite time for treats, gatherings, parties, and being outside. The weather is pretty perfect, even with the rain we get here in the Northwest. I love this season!
Something I’m planning on doing this fall is a fall craft night for adults. There will be delicious beverages (like this ginger beer cocktail) and of course, a hands on activity.
Given who I’m inviting and that there will be alcohol, I need a *really* easy activity. So I decided to do toilet paper pumpkins!

If you’ve never tried these fabric pumpkins before, they’re pretty fun. When I say that anyone can make them, I mean it. No prior crafting experience, even if someone says “I’m not crafty.”
In fact, if you’re the seasonal creative sort, I recommend getting others involved with this type of project. It makes people feel successful!
Just a few things to note about this project before beginning:
I recommend using the Mega rolls for these. They make the project more “gourd-like.”
If you prefer a wider pumpkin, use a regular roll but add extra layers of fabric or even unroll the toilet paper multiple times before loosely rolling it back up. This technique will give your pumpkin a fuller, more rounded appearance.
To make a thinner pumpkin, remove some of the toilet paper before wrapping. To make a taller one, you can get bigger pieces of fabric and stack two rolls. You have a lot of options to make a unique display.
You’ll need a fat quarter size (18″ x 22″) of fabric or larger in fall colors for each pumpkin. I got my herringbone flannels at Joanns.
Use a cotton or thin flannel fabric. You don’t want anything too thick, or you won’t be able to tuck it. Bandanas can also be used for the smaller rolls.
Use twigs or cinnamon sticks for the stems. The cinnamon will smell nice. You can also drop any scent of essential oils onto the twigs.
These are perfect for displaying anywhere, but they do look cute in the bathroom. Are you ready to jump into this fall decor craft? Keep on reading!
Toilet Paper Pumpkins
Equipment
- Plant trimmers
Materials
- 2 rolls Toilet paper
- Fabric 2 pieces 18″ x 24″ (or a fat quarter)
- Twigs or cinnamon sticks
- Felt sheet(s)
- Twine
Instructions
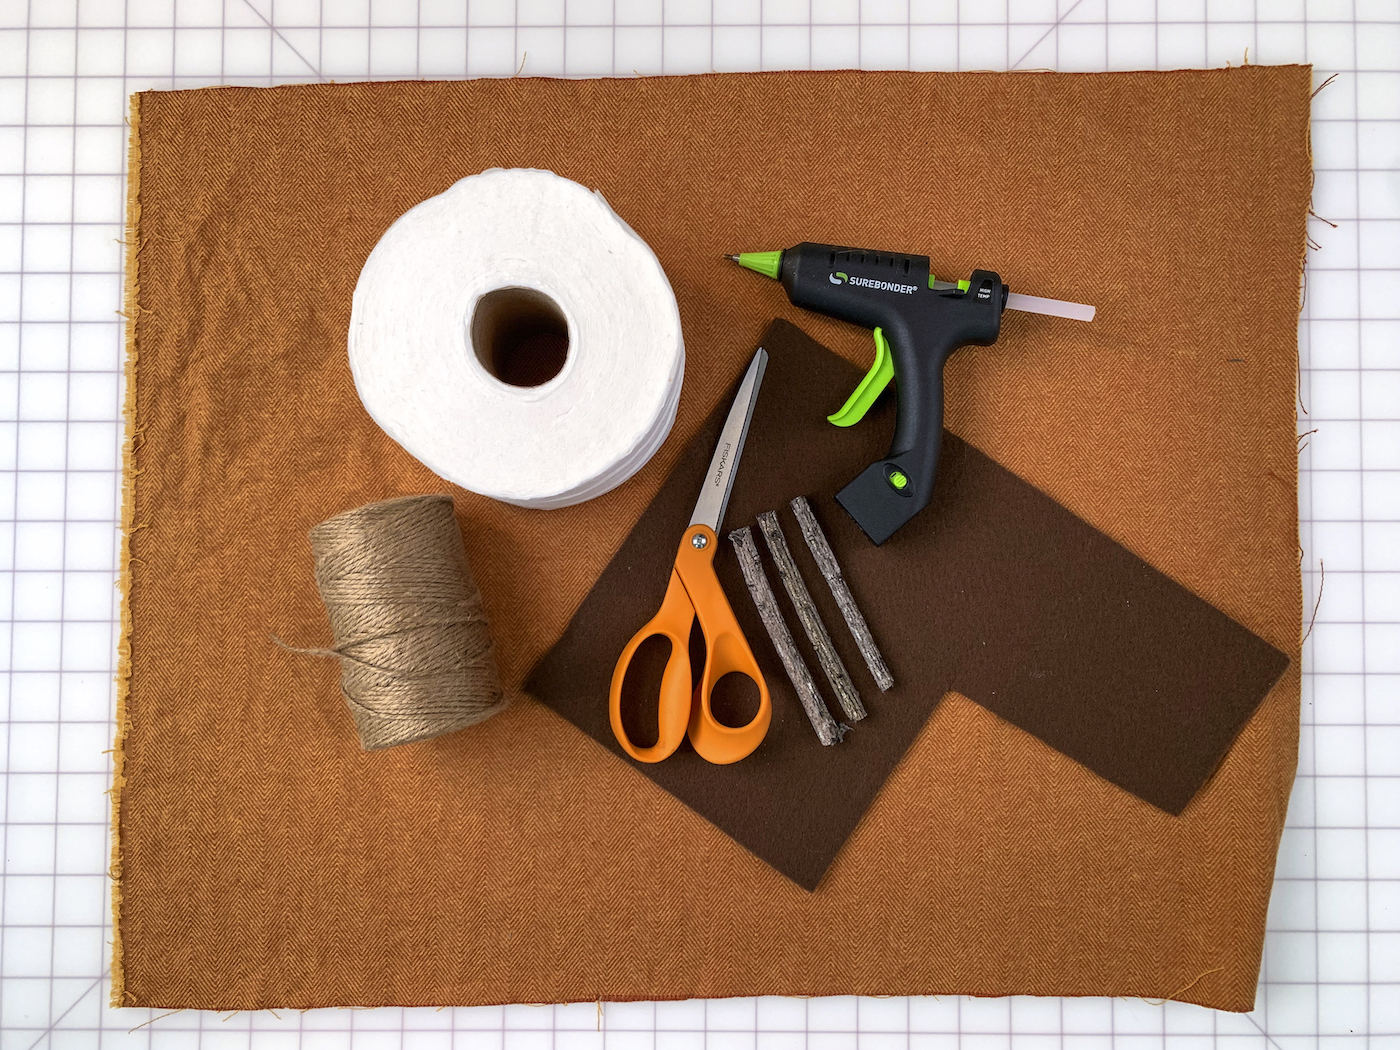
- You’ll need an 18 x 24” piece of fabric, toilet paper roll, hot glue gun and glue sticks, felt, scissors, twigs, and twine.

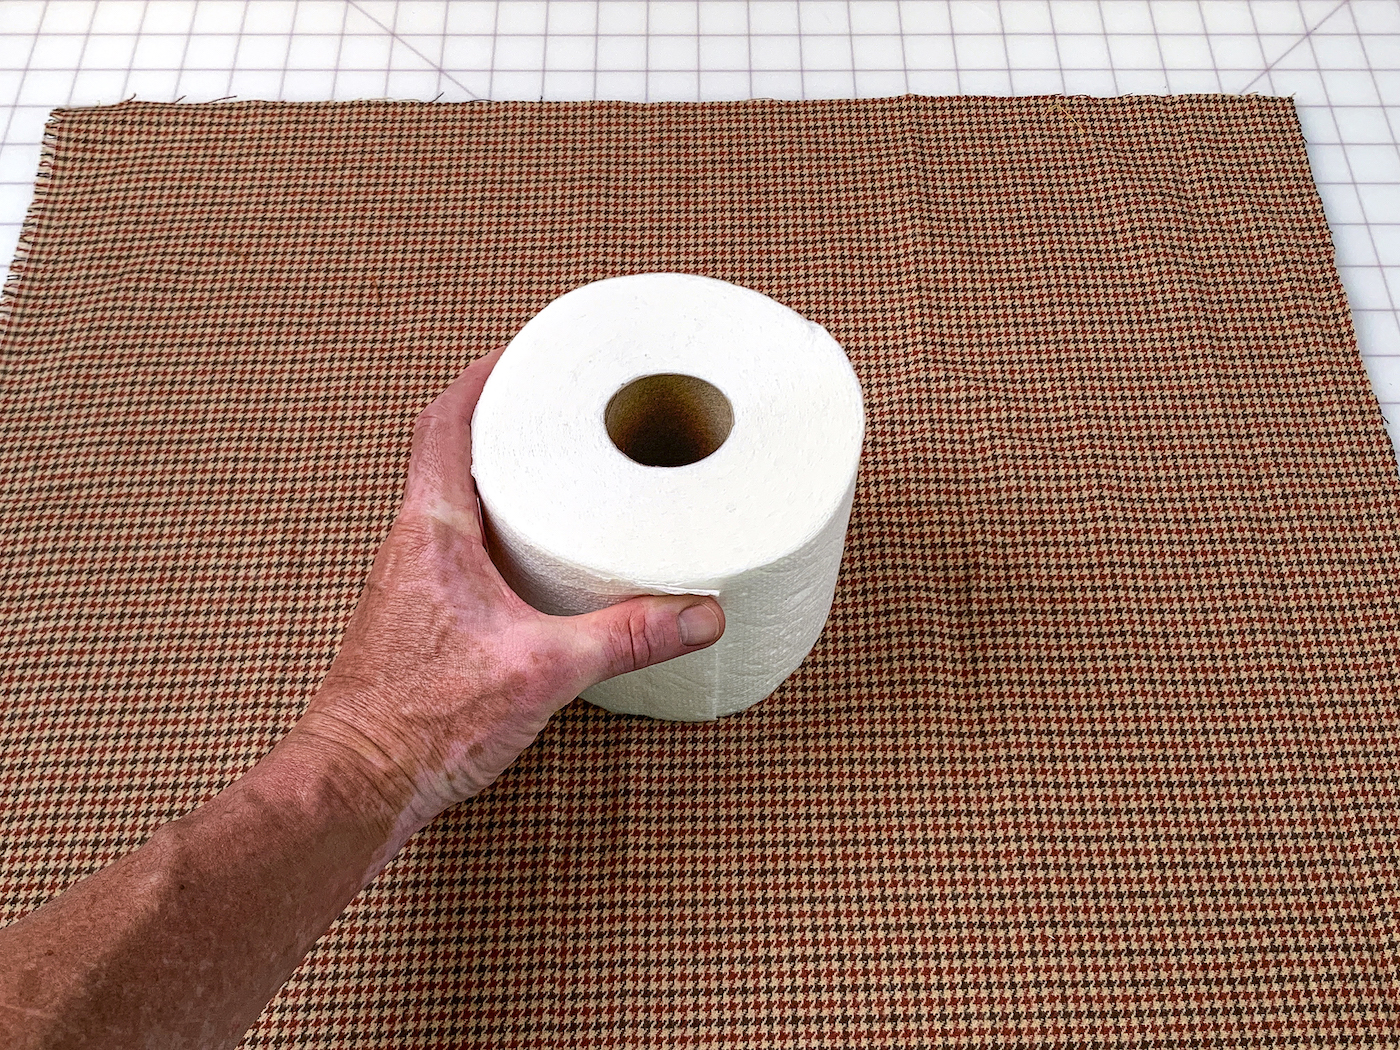
- Iron the fabric if needed and lay out on your work surface. Place the toilet paper roll in the middle of the fabric.
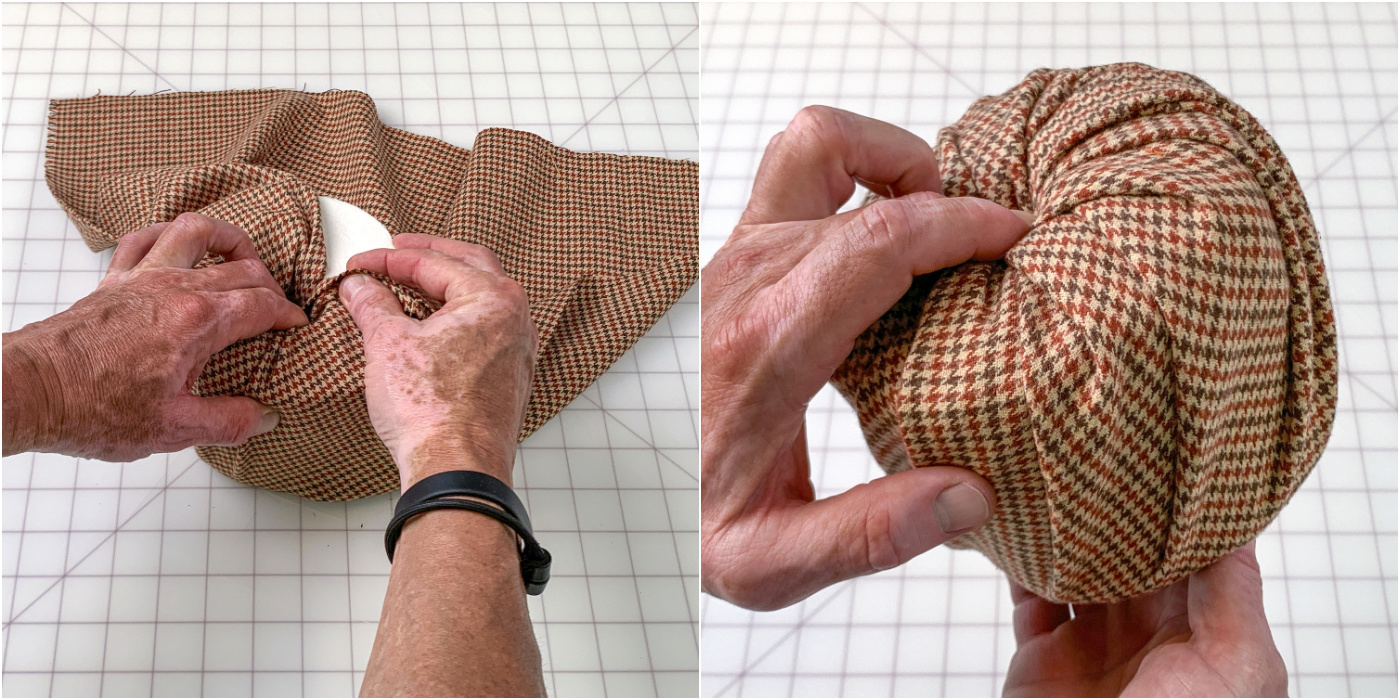
- Starting with one corner, pull up the fabric and tuck into the core in the center of the toilet paper.

- Turn the roll clockwise and continue tucking the fabric into the roll. Pull it taut, but not too tight. Continue tucking until the fabric completely covers the roll and all ends are tucked in.

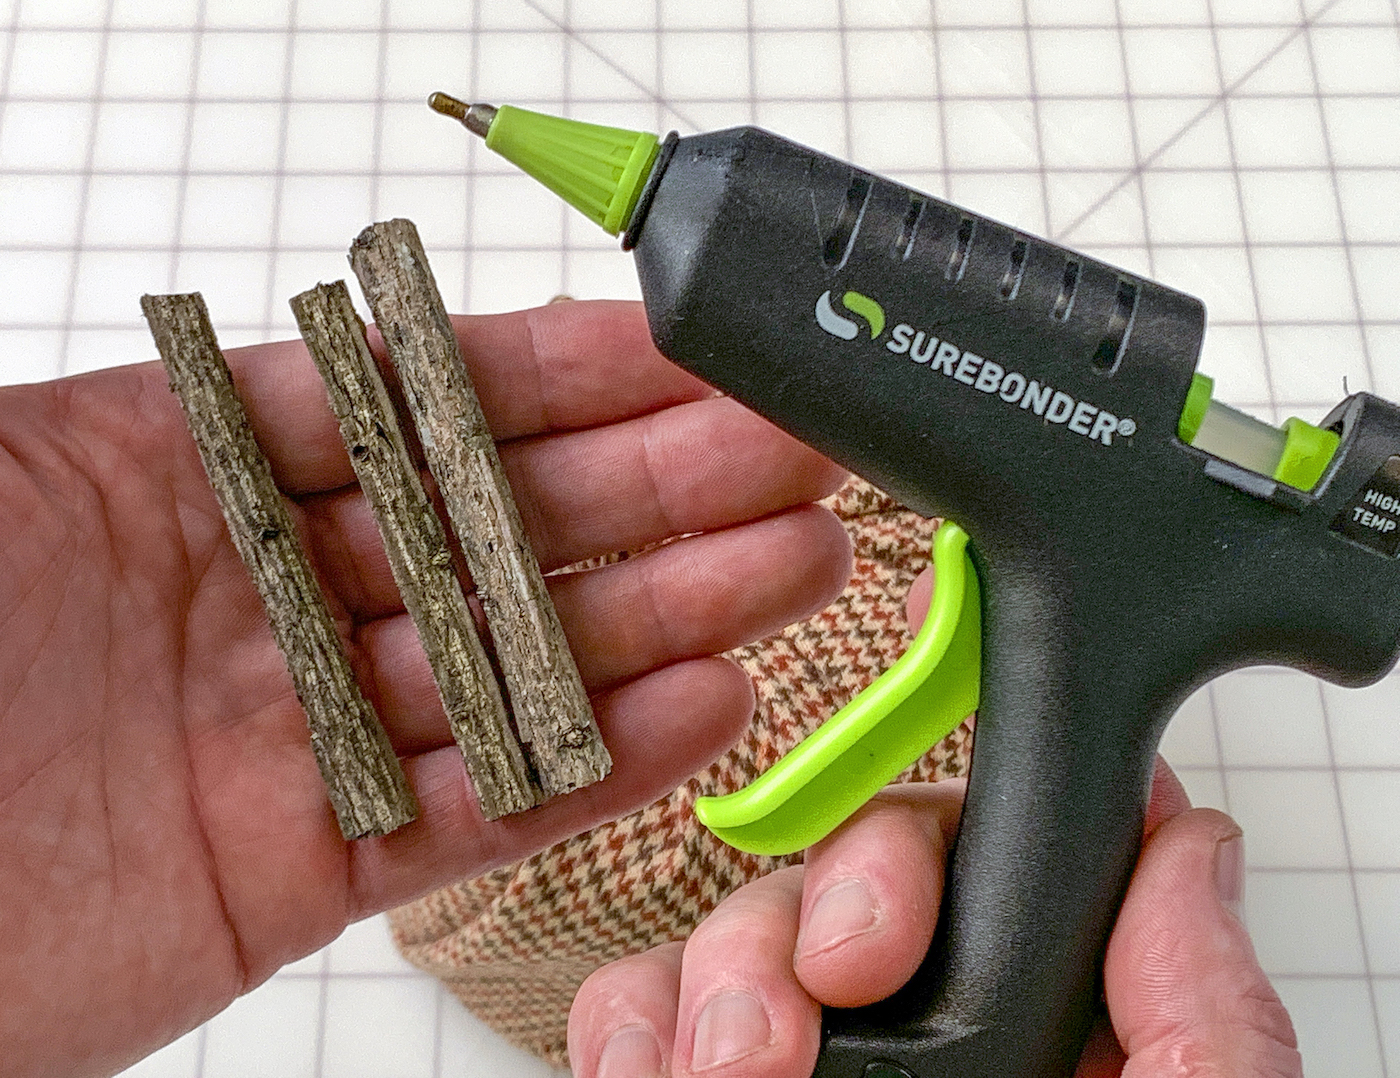
- Cut three twigs about 3 inches long each using the plant trimmers, and warm up your hot glue gun. You can also use cinnamon sticks

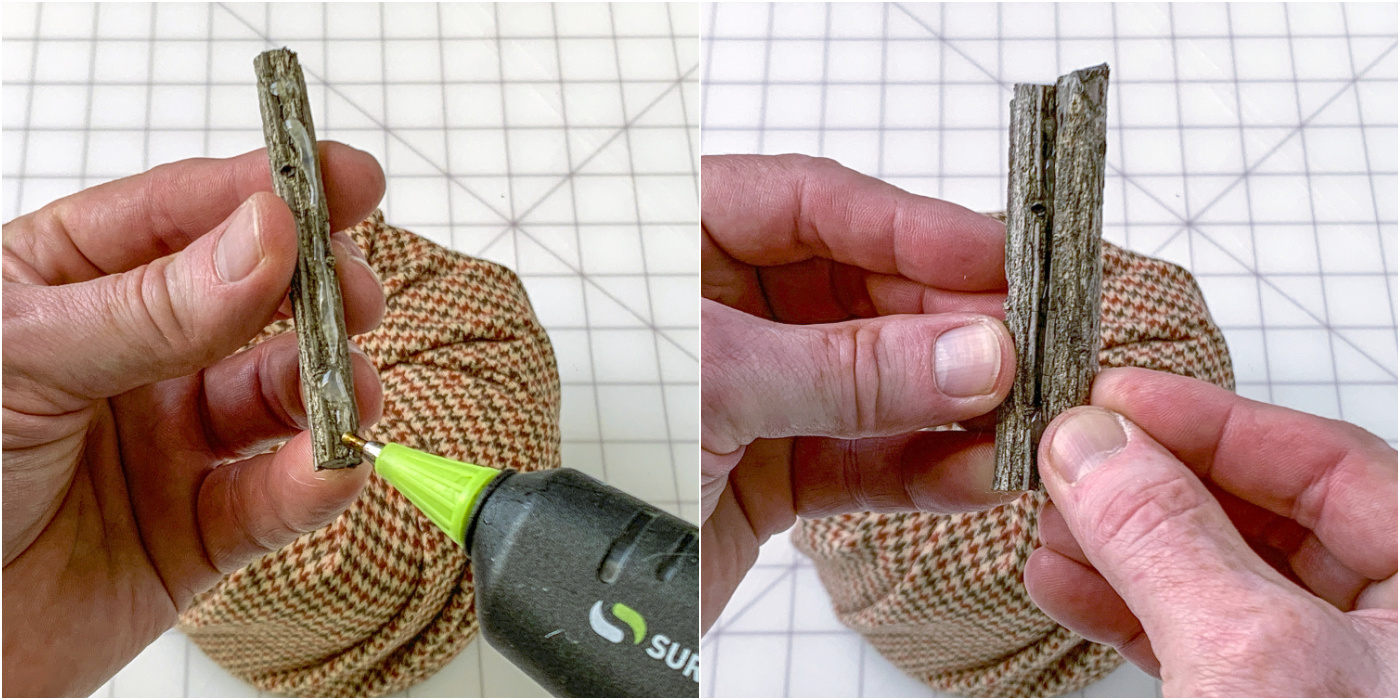
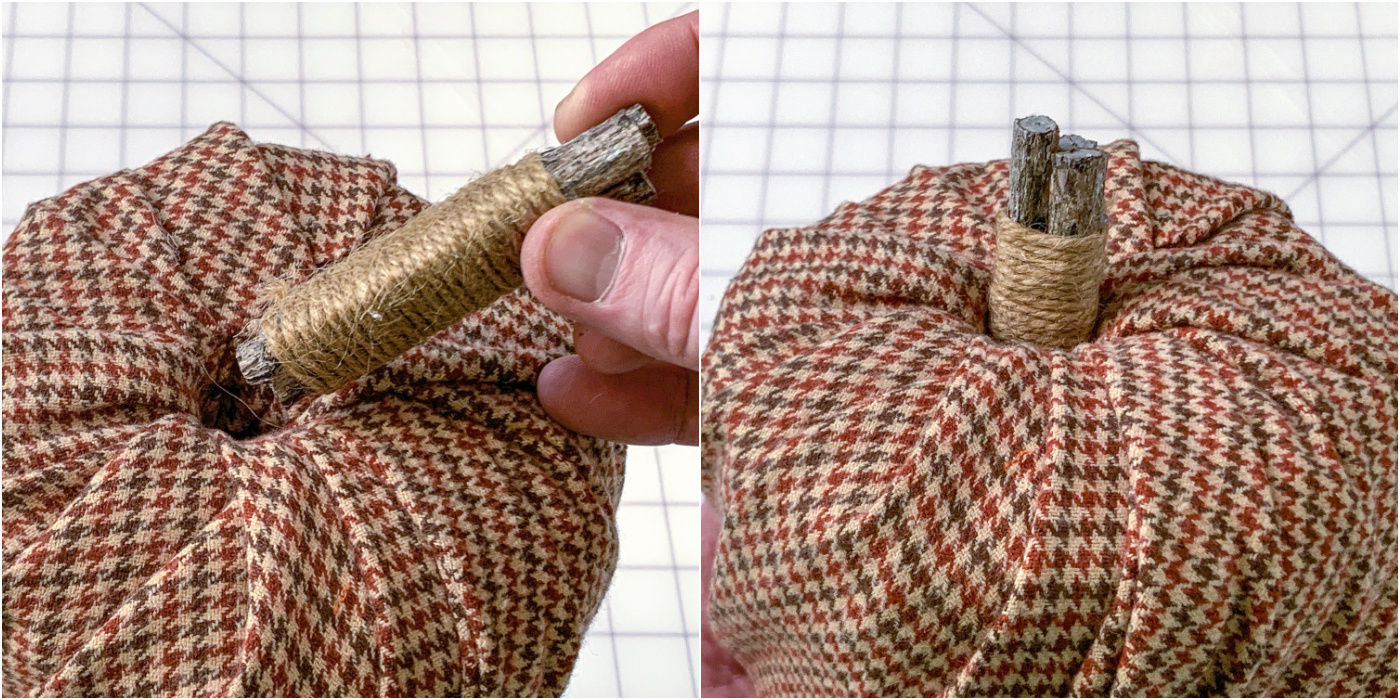
- Using the hot glue gun, glue the three twigs or sticks together to form a pumpkin stem.
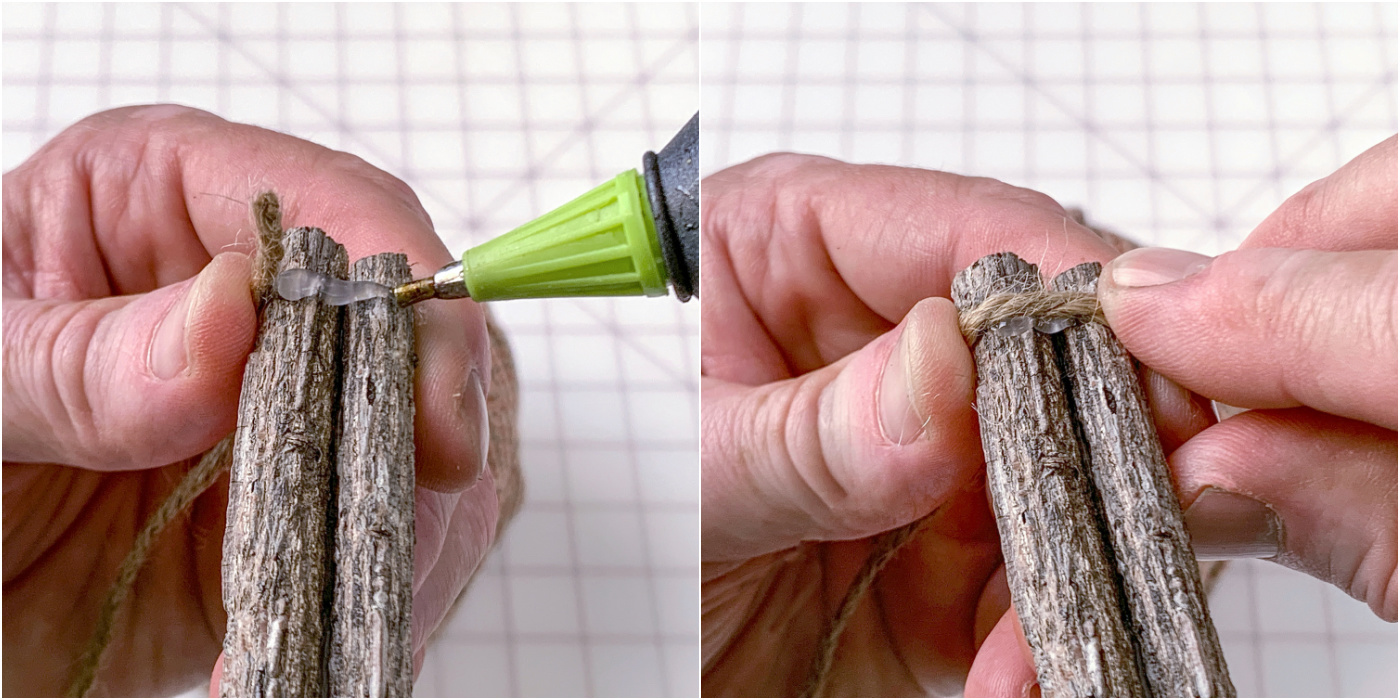
- Cut a length of twine and use the hot glue to attach one to the top of the twig.
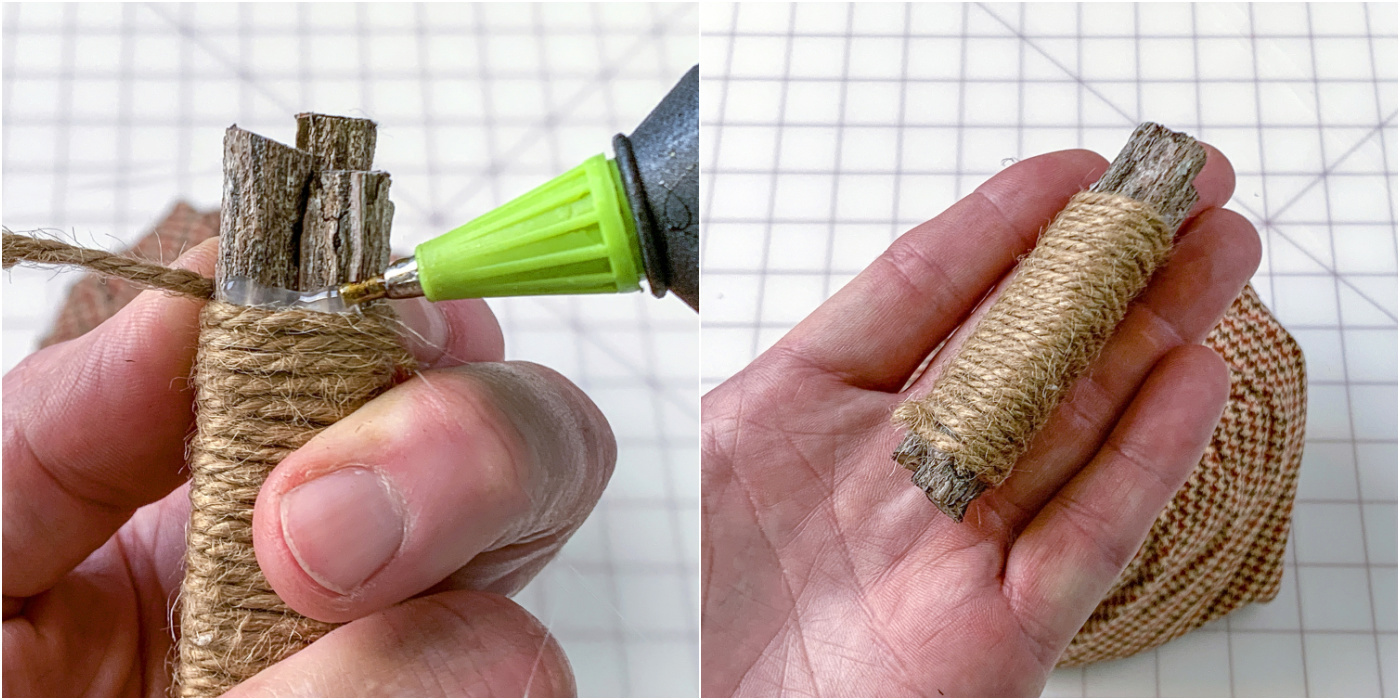
- Continue wrapping and gluing the twine around the stem until you have it somewhat covered. Glue the end and trim with scissors.
- Stick the wrapped twig down into the toilet paper roll to make a pumpkin stem.
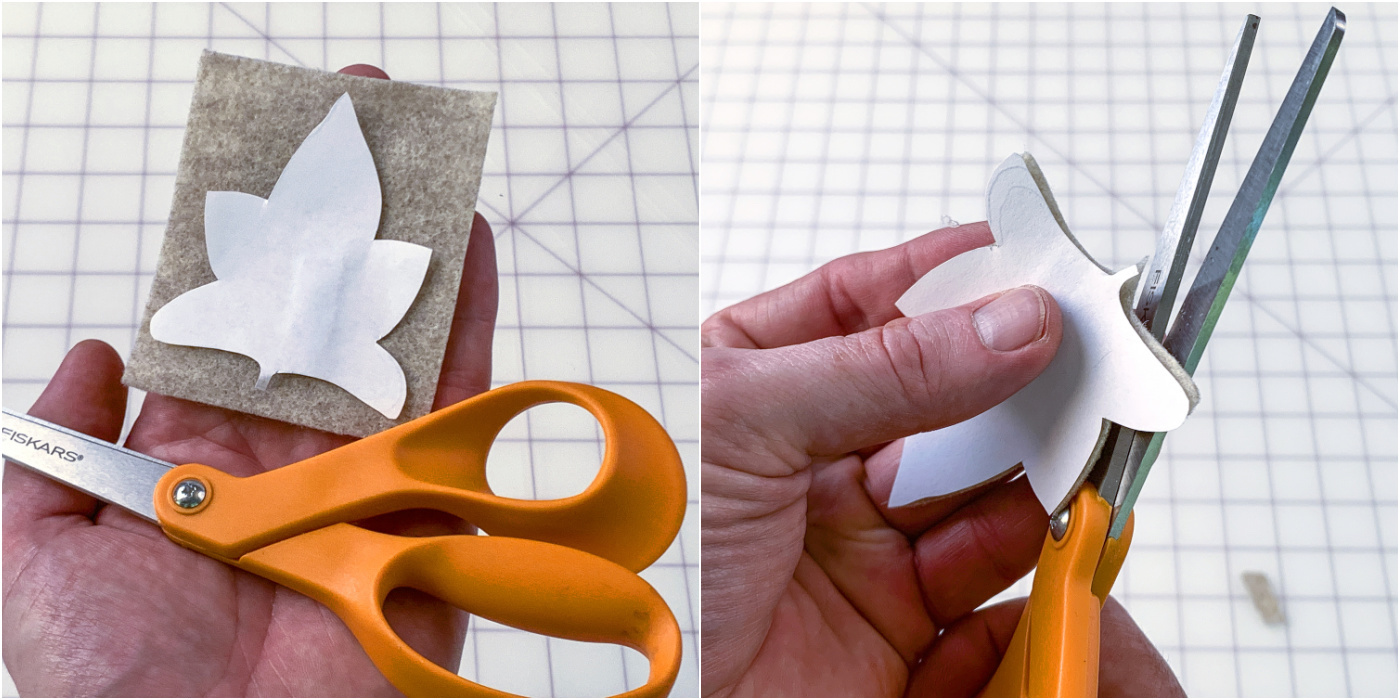
- Draw or print out a leaf on paper, then use this template to cut a leaf out of the felt. Repeat to make two leaves.
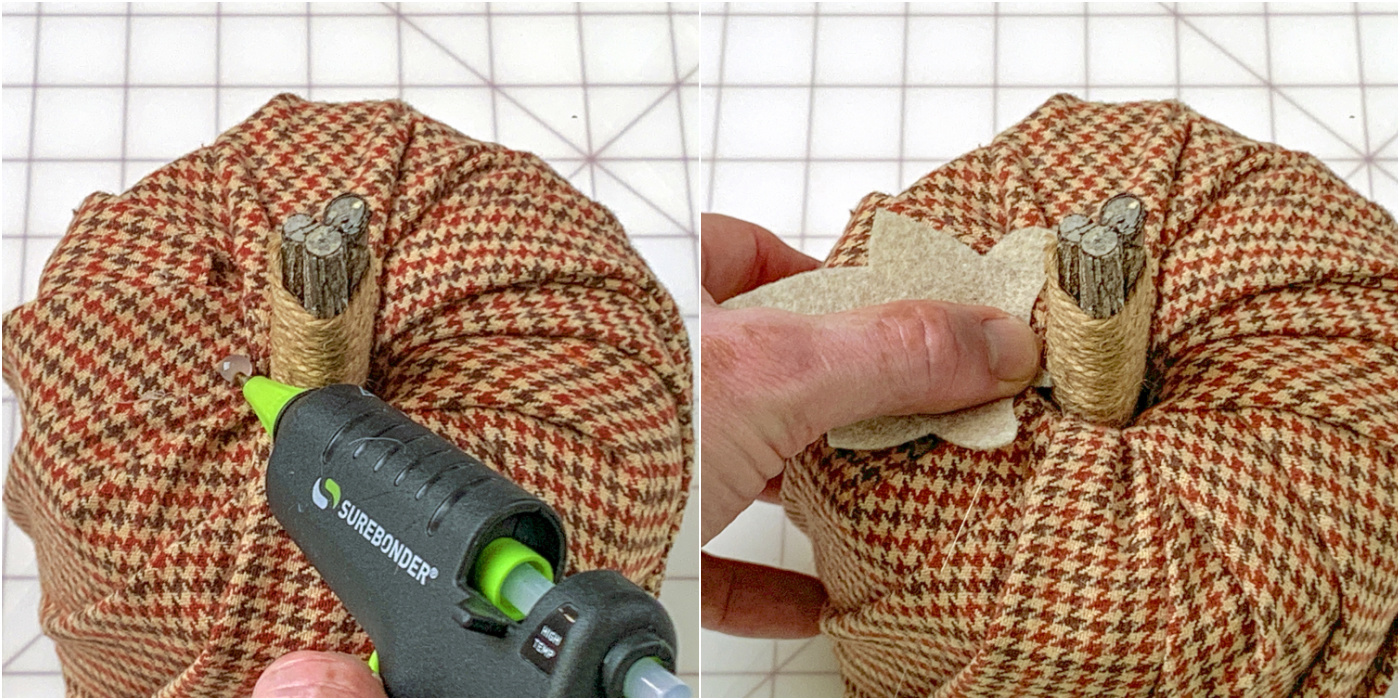
- Use the hot glue to attach the leaves to the top of the pumpkin, one on either side of the stem. You just need a small dot.
- Repeat the steps above to make two toilet paper pumpkins.

Video
If you enjoyed making these easy pumpkins, I’d love for you to check out these other posts:
Book Page Pumpkin • DIY Fall Wreath • DIY Pumpkin Garland • DIY Pumpkin Stand • Fall Gnomes • Leaf Cork Trivets • Mini Fall Banners • Mini Pumpkin Vases • Mini Pumpkin Wreath • Scrapbook Paper Leaf Decor • Twig Votives • Wine Cork Pumpkins