Wine Cork Pumpkins For Cute Fall Decor
Learn how to make the cutest wine cork pumpkins for fall decorating! This cork pumpkin craft is easy enough for beginning crafters. The whole family will enjoy this autumn decor project, and it’s done in three easy steps.
Skills Required: Beginner. This cork pumpkin craft is simple even if you’ve never made anything before! It’s so easy that even kids (old enough to operate a hot glue gun safely) can make it.
I don’t know what it is around here, but my neighbors drink a lot of wine! You should see the recycling bins on Wednesday morning . . . there are all the bottles you could ever want for crafting. And my neighbors let me take them if I want to.
My neighbors are also really good about saving their corks for me so that I can make wine cork crafts. This allows me to make projects like my wine cork wreath without having to spend on the corks themselves. It’s amazing how many things I have made on a dime!
That’s why I’m excited to share my latest creation with you: wine cork pumpkins! I made these cute lil’ cork pumpkins with supplies I had on hand. That made this project free for me.
And I think most of you get just as excited as I do when you can make a craft without spending. These pumpkins will make such a cute addition to my fall decorating (they work for Thanksgiving decor too).
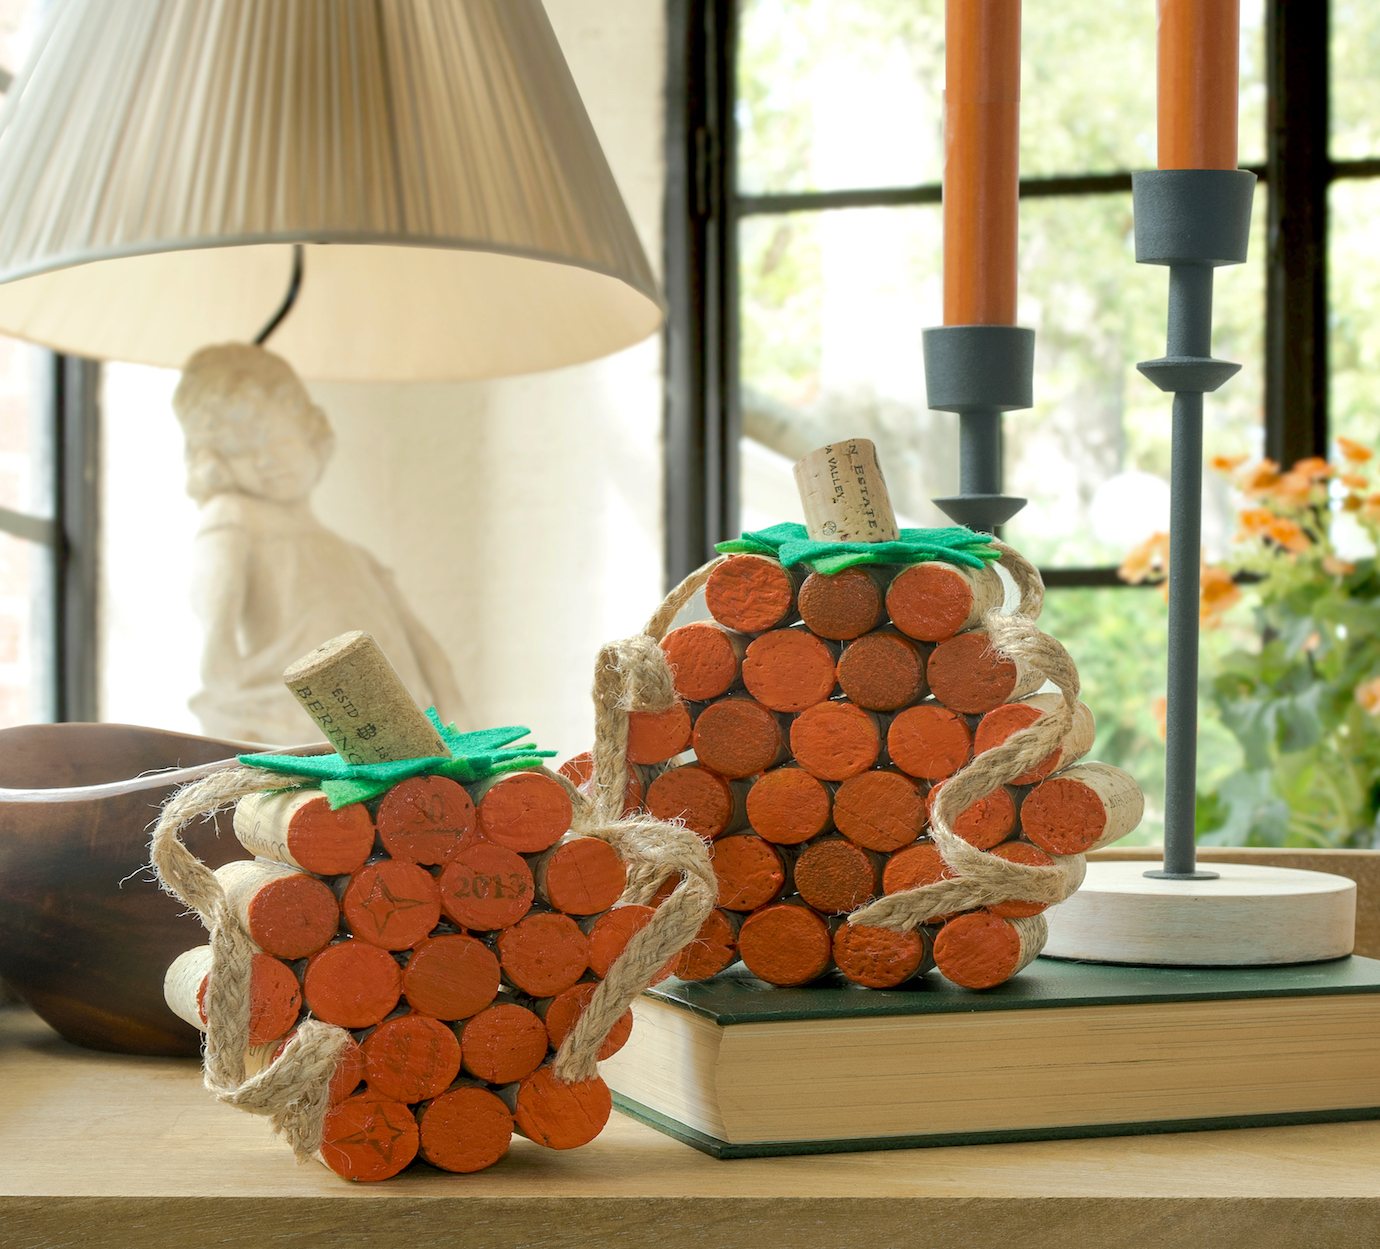
I love them for a side table or a mantel! They are simple, but interesting enough that people will comment on their cuteness. Trust me on this one.
How many wine corks do you need for this project?
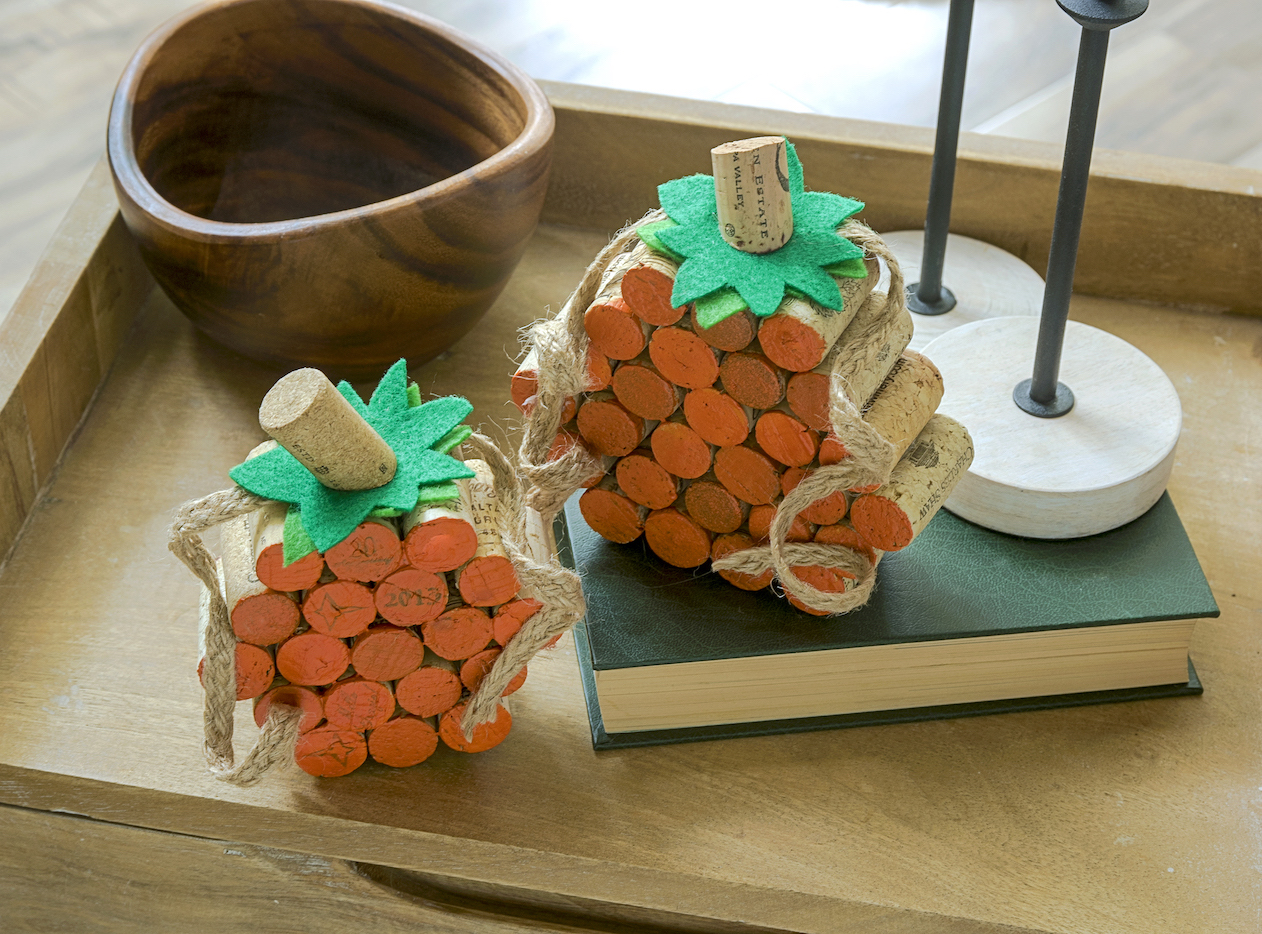
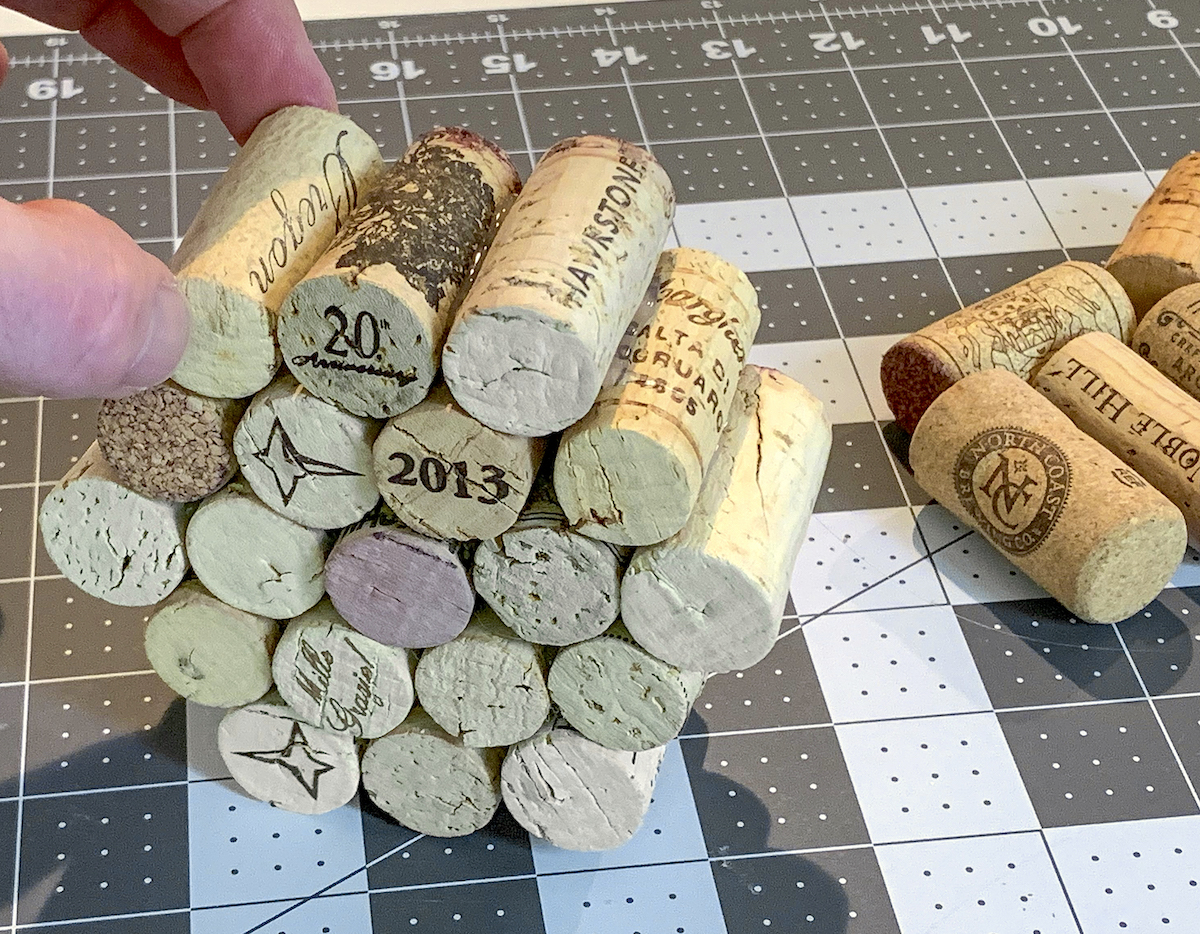
You could make a mini pumpkin with only seven corks . . . but the two in this post take a few more. The smaller pumpkin takes 19 and the larger pumpkin takes 27.
You can display these just about anywhere. Everyone who sees them will love them. Aren’t they cute? Get the printable how to card for this project below!
Wine Cork Pumpkins
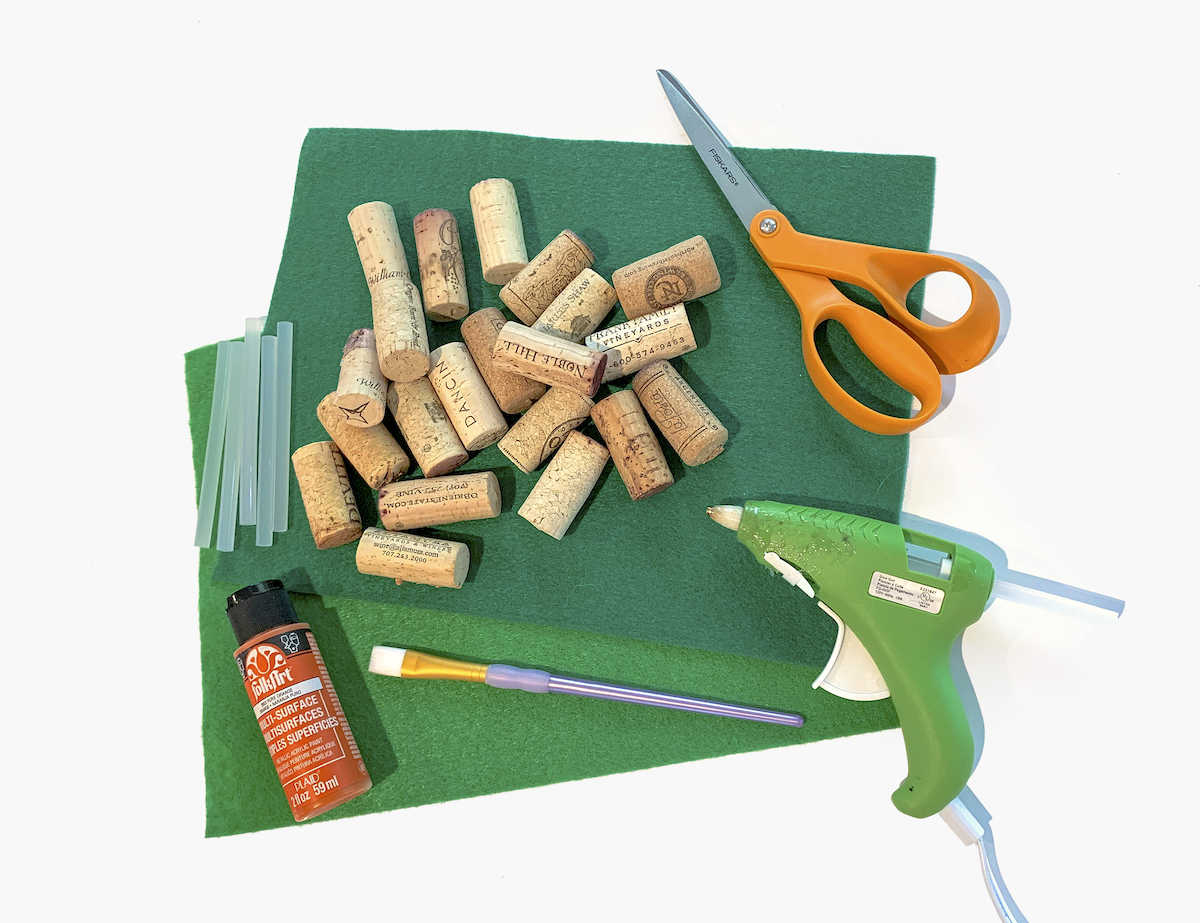
Materials
- 48 Wine corks
- Acrylic paint orange
- Burlap twine or ribbon
- Felt sheet(s) two shades of green
Video
Instructions
- Clean your wine corks by soaking them overnight in hot water with a splash of hydrogen peroxide (if you have it). Once they're done, rinse and let dry.
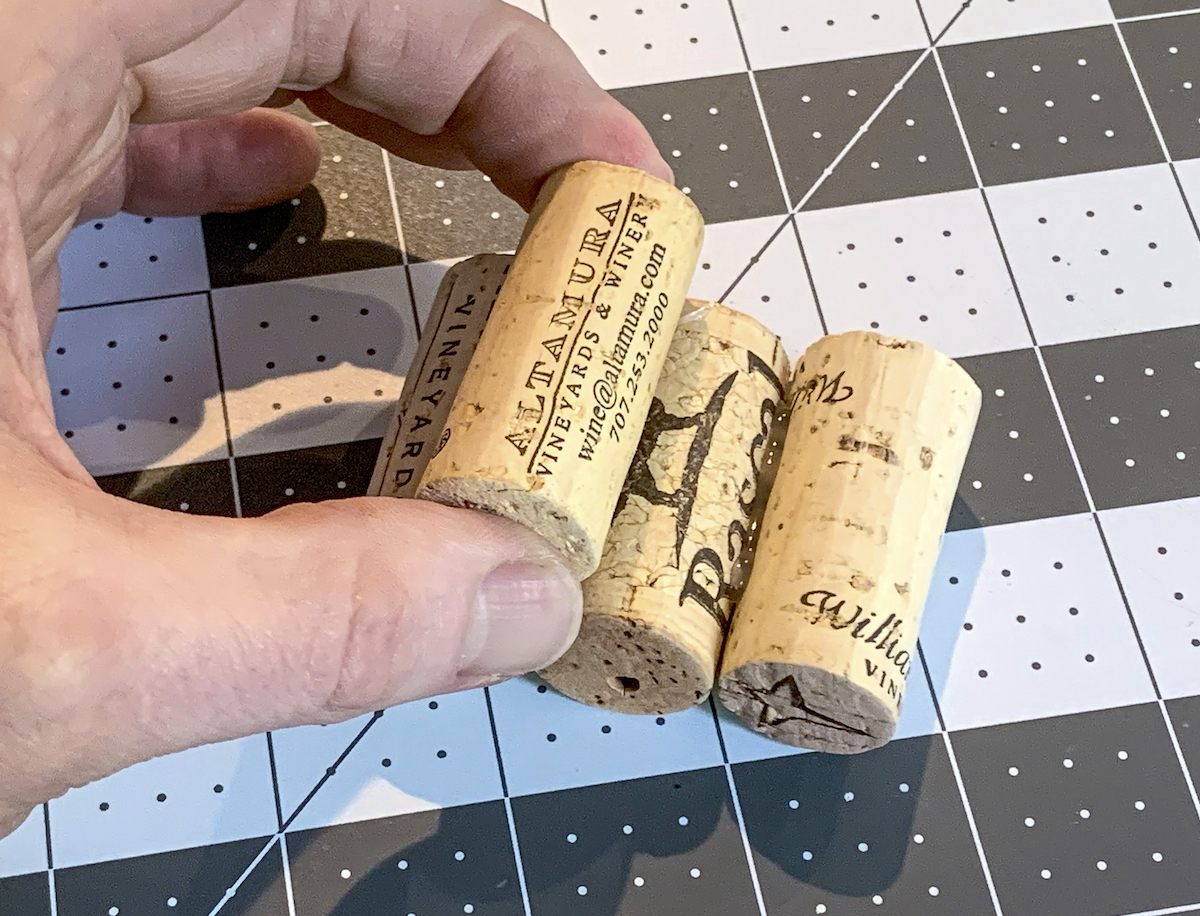
- Gluing corks is very simple with hot glue. Arrange the corks on your craft mat with the long ends together in a row. Add a bead of hot glue between each and press together for a few moments. Let cool before moving on.
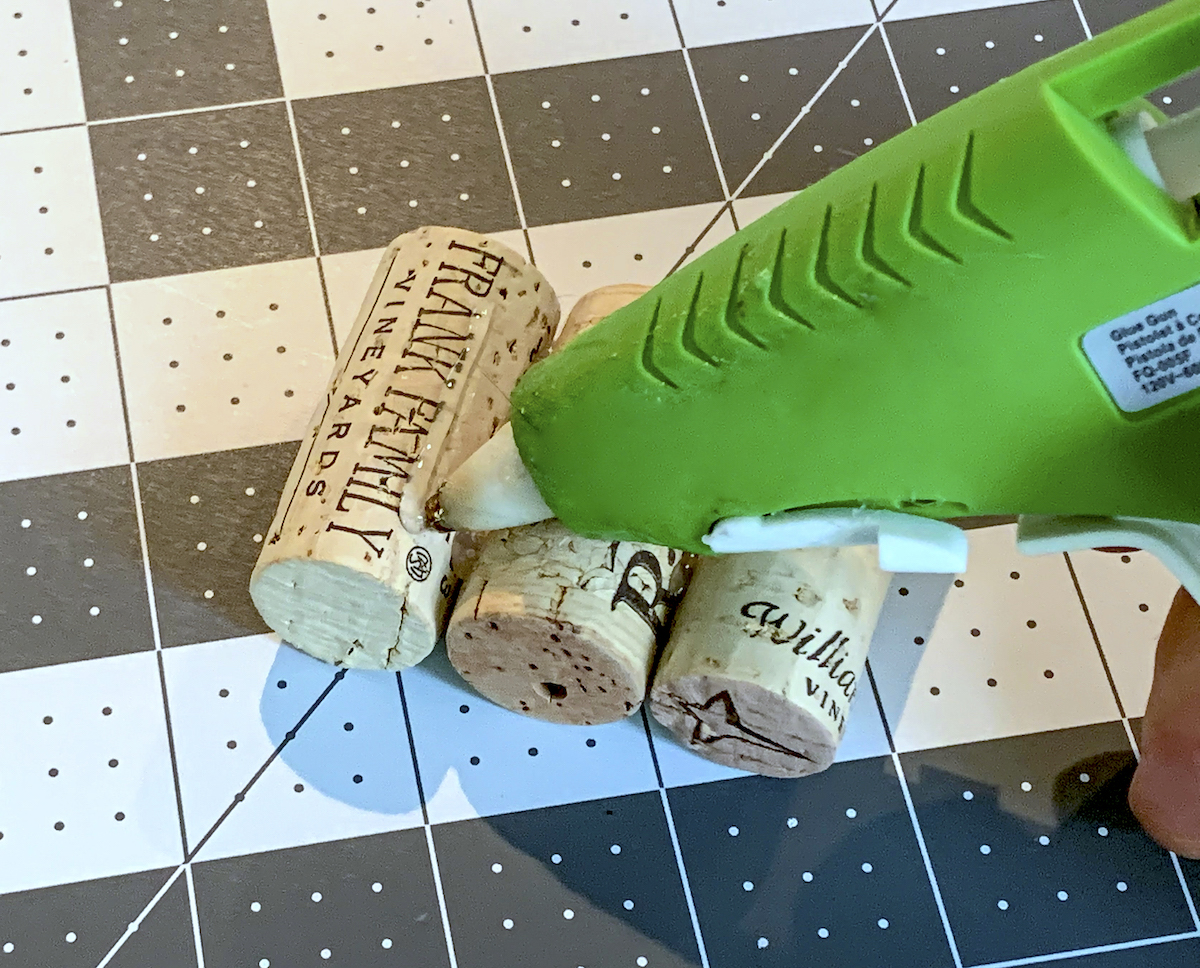
- Continuing adding thin beads of hot glue and pressing the corks together. Be very cautious to keep the hot glue between the corks and not burn your fingers.
- Once the entire pumpkin is assembled and the top row is glued, let cool completely. Complete a second pumpkin.
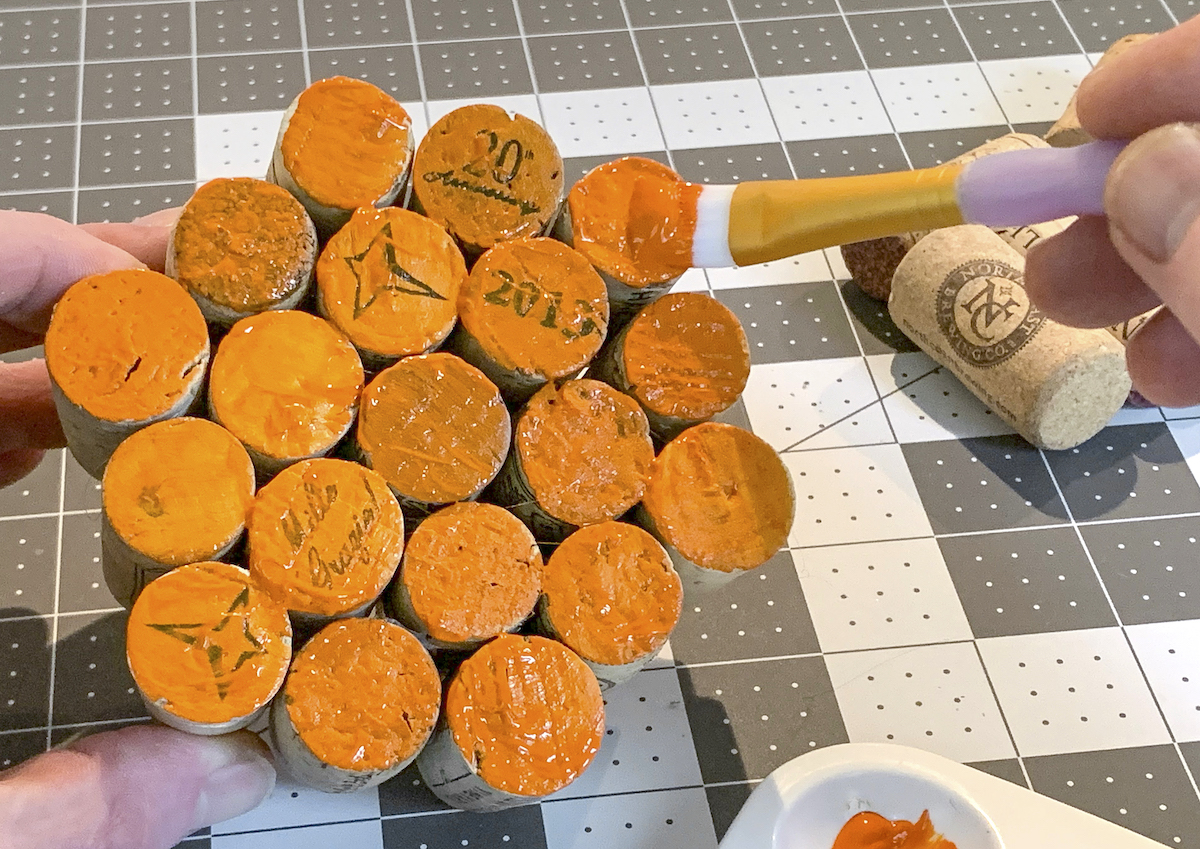
- Paint the ends of all corks on both sides with orange acrylic paint. Let dry; paint a second coat if needed.
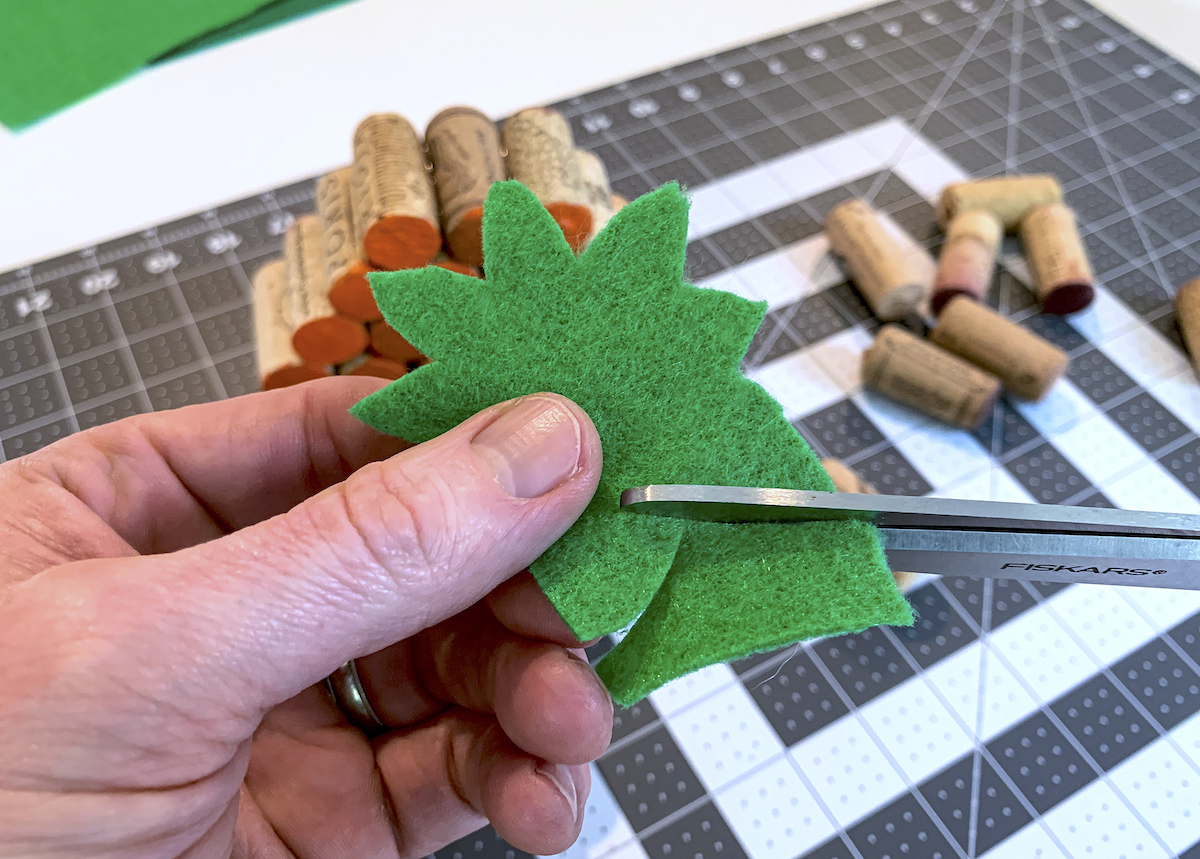
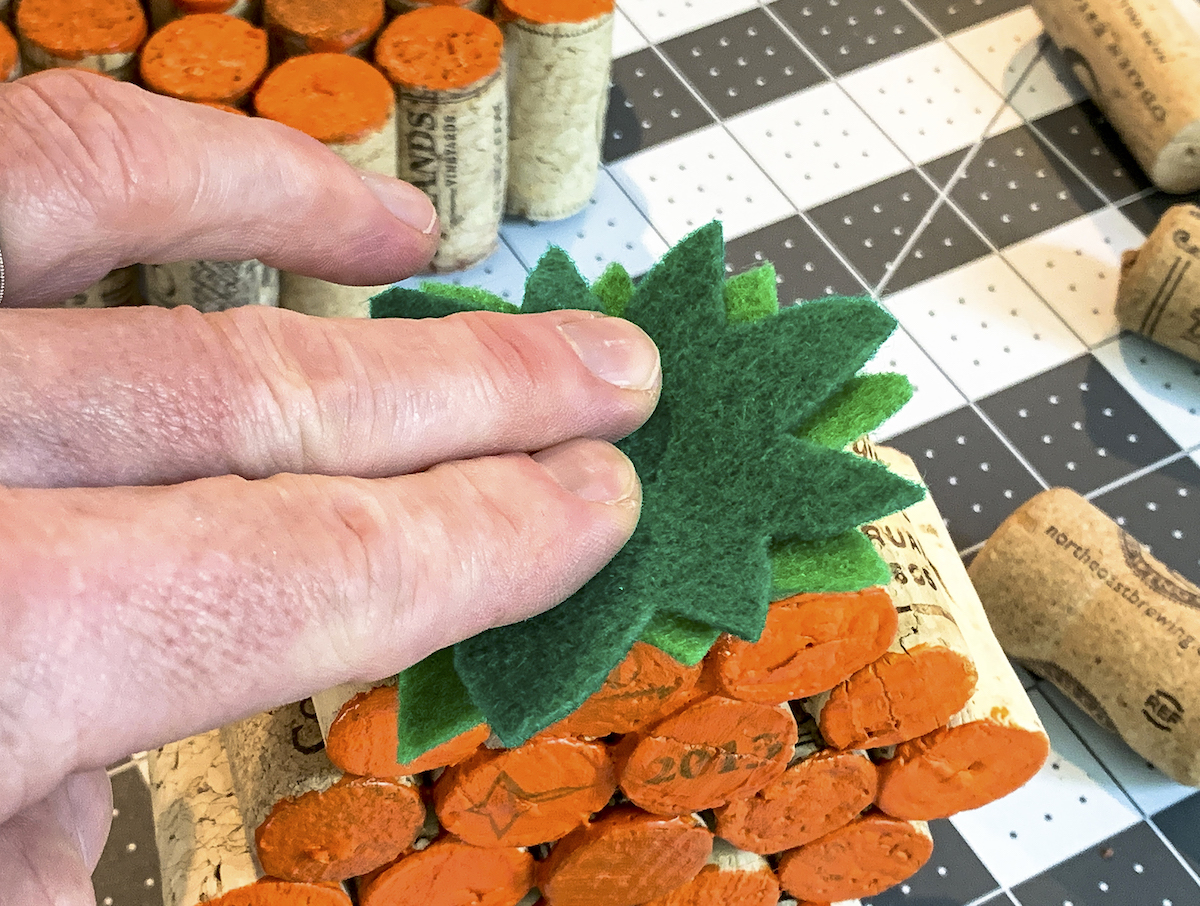
- Use scissors to cut stem shapes from green felt (I used two different shades).
- Hot glue the stems (stagger them) to the top center of the pumpkins.
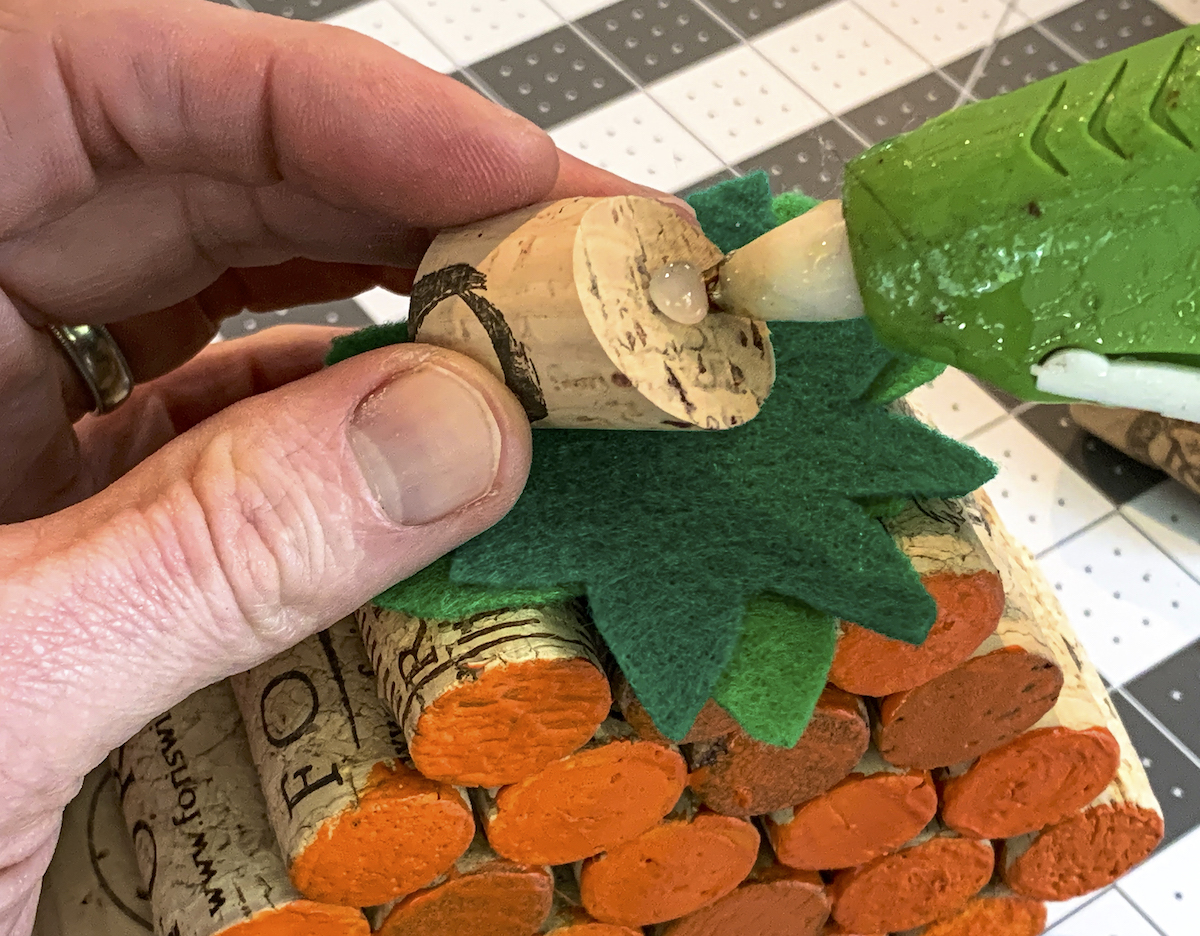
- Cut two corks (one for each pumpkin) on the diagonal using a craft knife. Glue them on the top of the felt as stems.
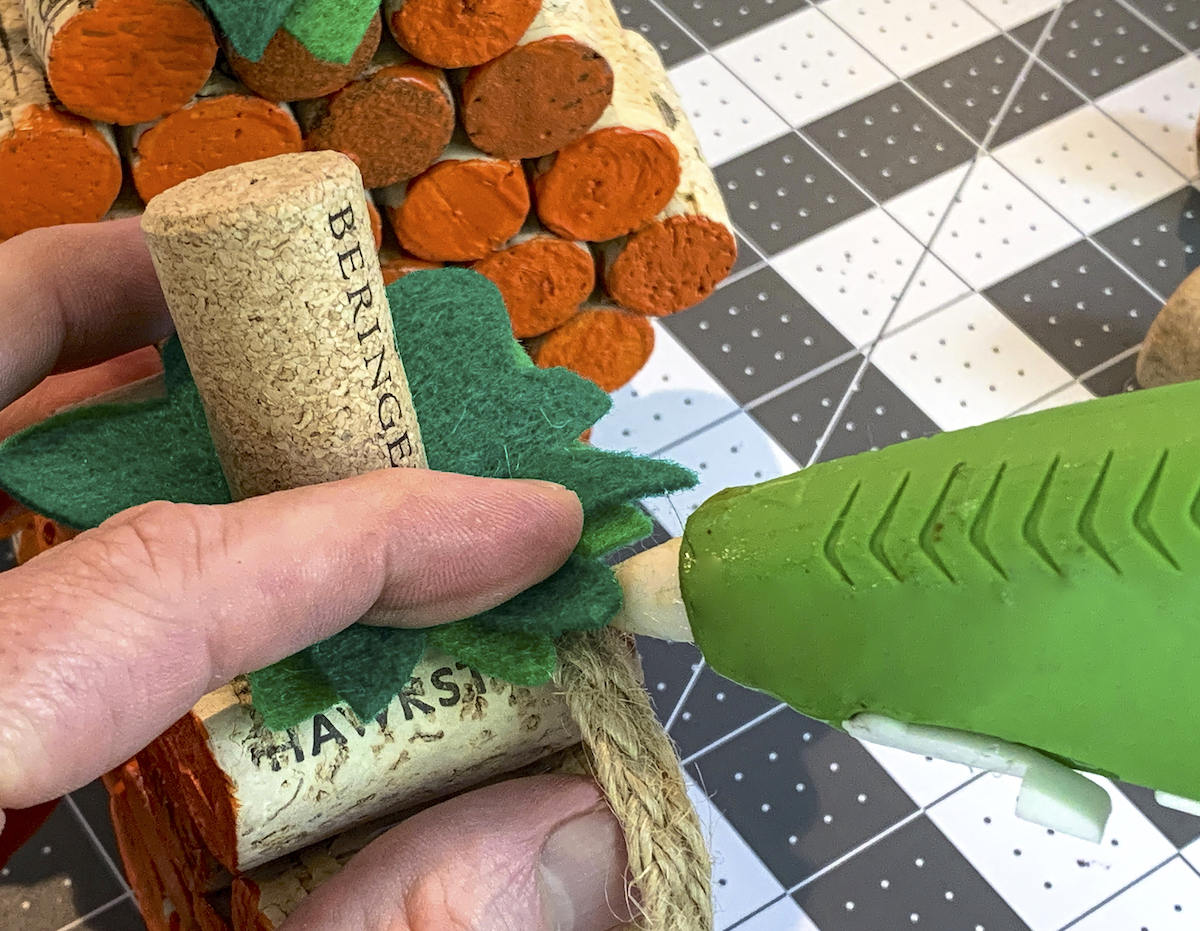
- Cut lengths of burlap ribbon and hot glue underneath the stems as accents to finish.
Notes
If you enjoyed this fall craft, I’d love for you to check out these other ideas: