Book Page Pumpkin: A Creative Twist on Fall Decorating
Learn how to create a charming book page pumpkin with this easy DIY tutorial. Transform old books into unique fall decor with just a few simple steps!
Skills Required: None. If you can fold, you can make this easy pumpkin craft project. You’ll also need to be able to use a hot glue gun.

I don’t think there is anything you can’t do with book pages! They are just the absolute perfect crafter resource, don’t ya think?
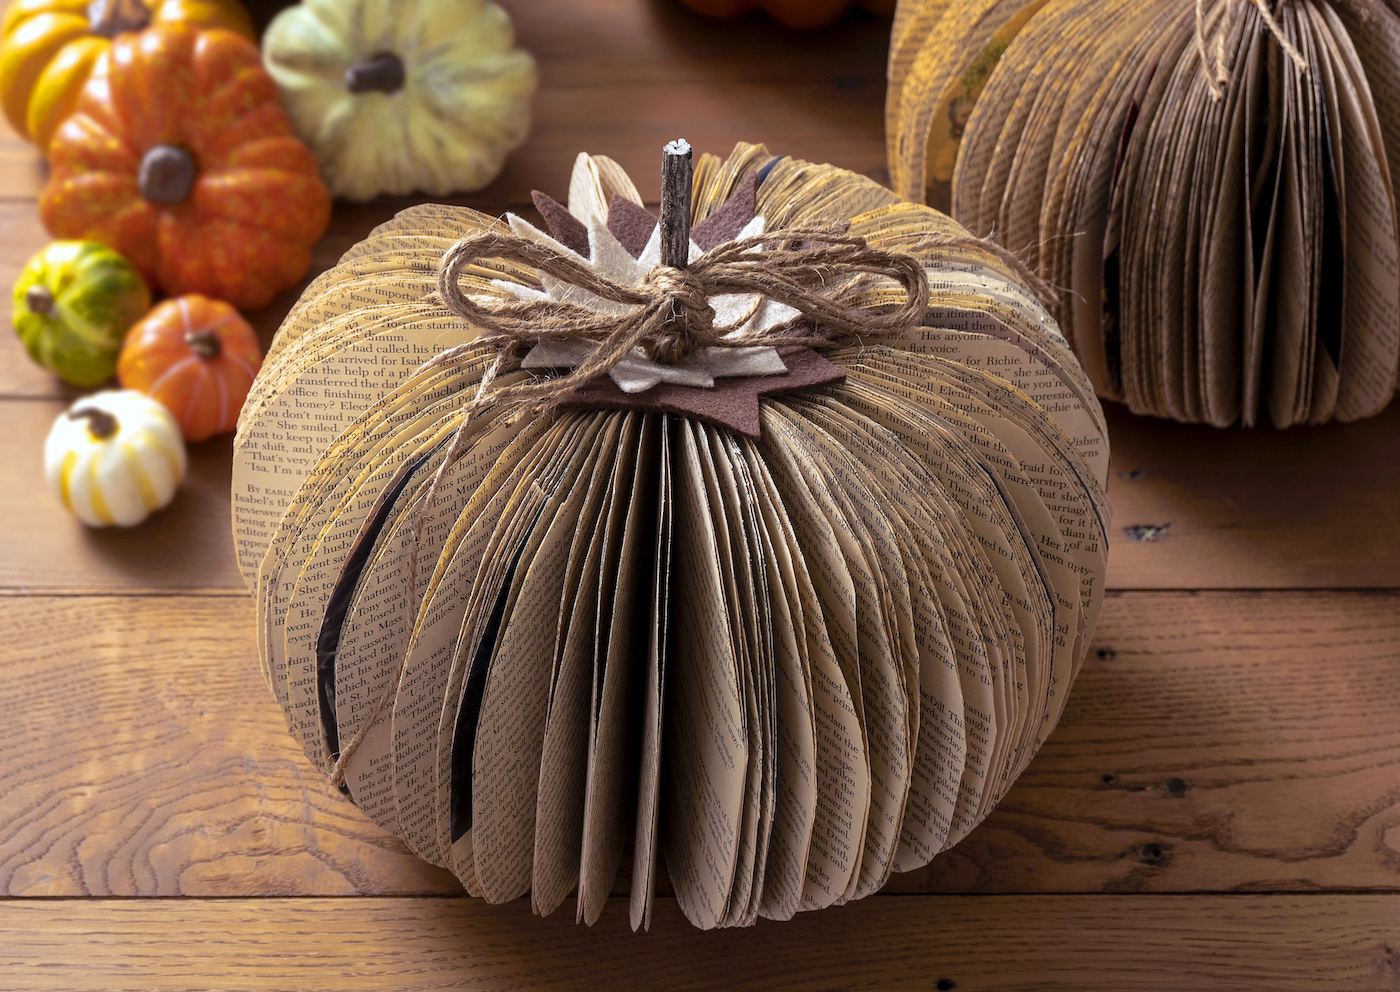
I’m taking the book page thing to a whole new level now. Today I’m showing you pumpkins made from book pages! So super cute. They are so easy to make, cost next to nothing, and make the perfect addition to fall decor.
If you like fall decorating on the cheap, this is for you. You’re also going to love this as a recycled Halloween craft. There’s no reason you can’t make this a little more “spooky leaning” with a well-placed spider or black felt.
There’s only one tip I can offer you for this project – and it revolves around the books. A lot of people don’t feel comfortable with breaking apart books.
BUT you can salvage something ready for the trash if you go ask at the library! You’re going to use the book without the cover to make a pumpkin, and they frequently have broken books they are willing to give.
You can also look on Freecycle, Facebook marketplace, thrift stores, or eBay for low cost and/or books that are ready for the garbage. You have options besides using a new book.
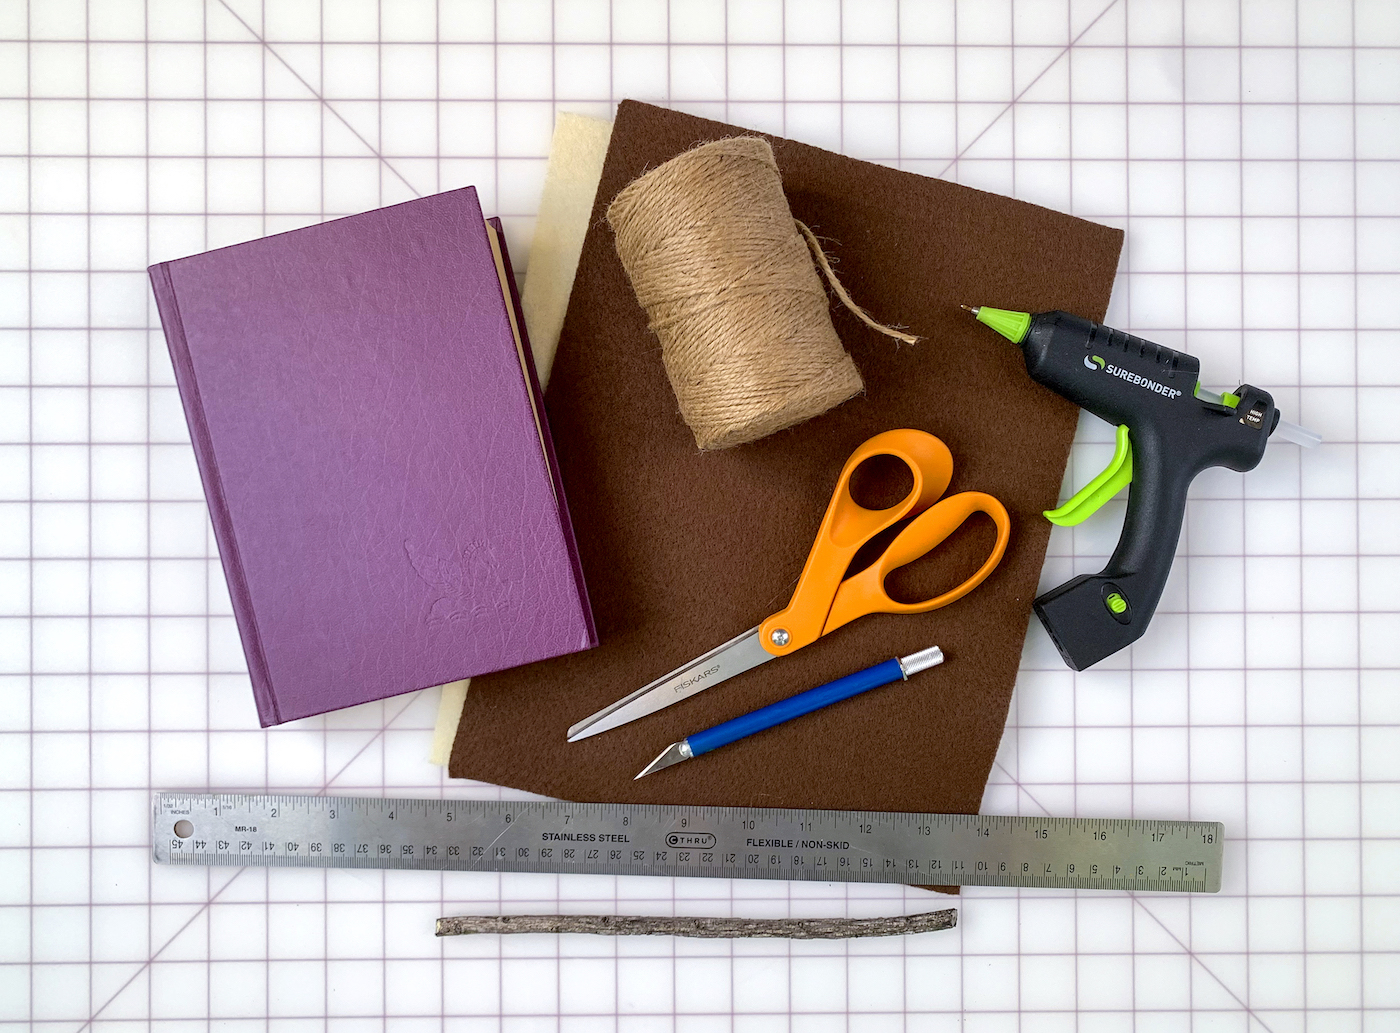
Gather These Supplies
- Book – one per pumpkin
- Sheet of paper (for a template)
- Felt – a few fall colors (mine is from Dollar Tree)
- Twig(s)
- Twine
- Pen or pencil
- Scissors
- Hot glue gun and glue sticks
- Ruler
These are such a easy alternative to traditional pumpkins while having a rustic and vintage feel. Can’t you see miniature versions of these on a fall tablescape? You can use any sized book to make one.
Wherever you put them, they will be sure to give your home a festive touch for fall! Get the printable how to card below.
Book Page Pumpkin
Equipment
- Pen or pencil
Materials
- Book one per pumpkin
- 1 sheet paper for a template
- Felt sheet(s) a few fall colors
- Twigs
- Twine
Video
Instructions
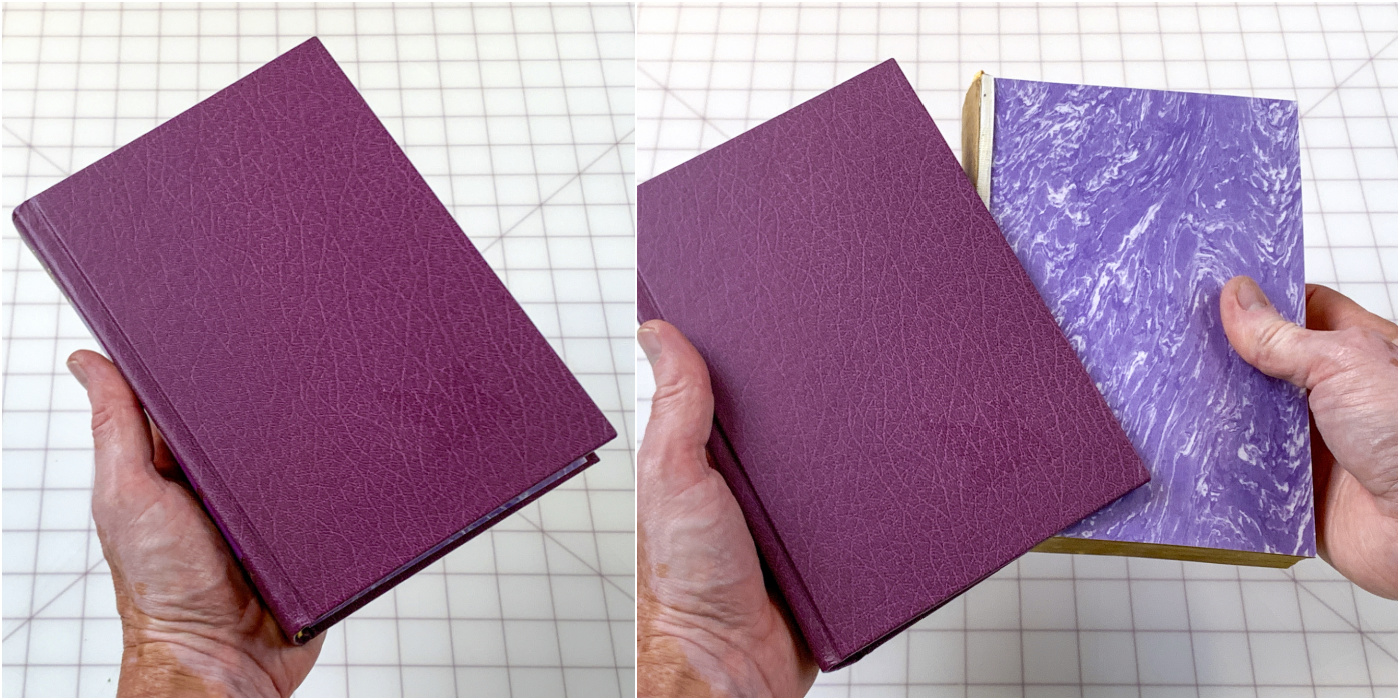
- You'll need a book with strong binding for this project. It should be easy to bend around a twig (which will act as a stem).
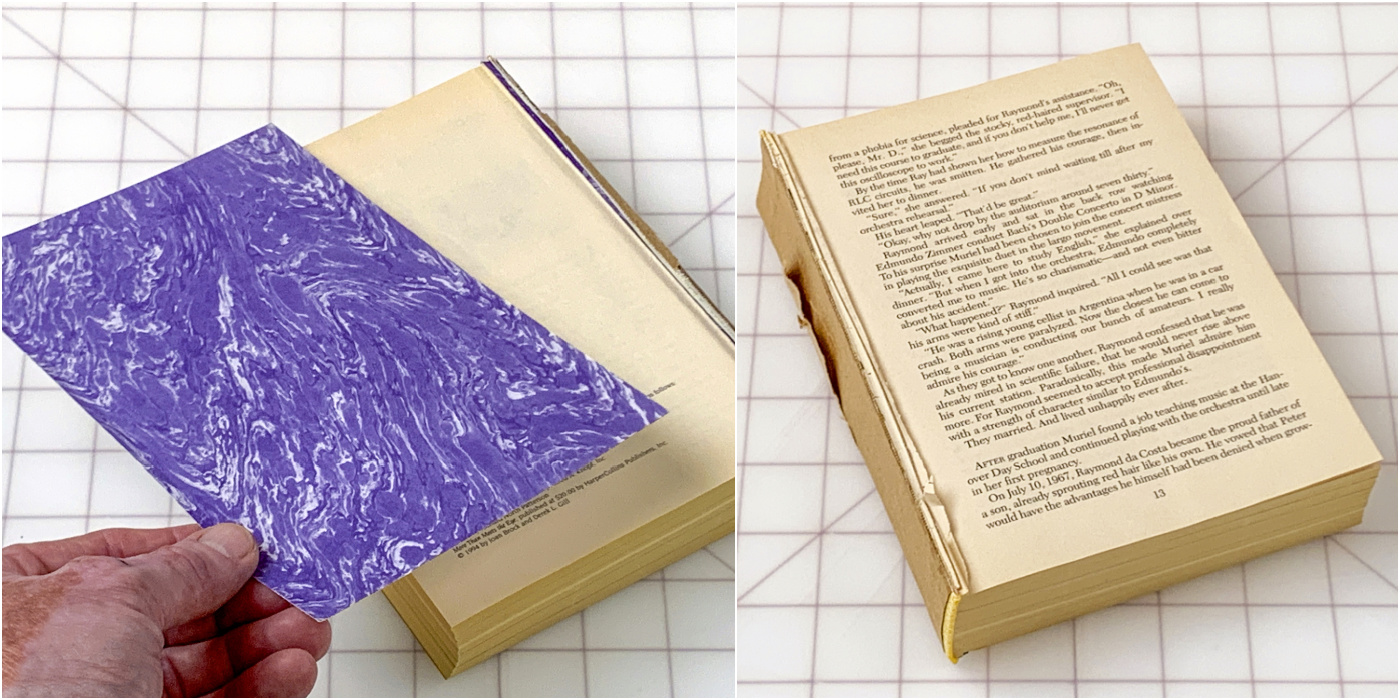
- Remove the book cover from the book by holding all the pages together and ripping the cover off. You can use scissors or a craft knife to help you on the edges.
- If there are any thicker liner pages in your book, remove those.
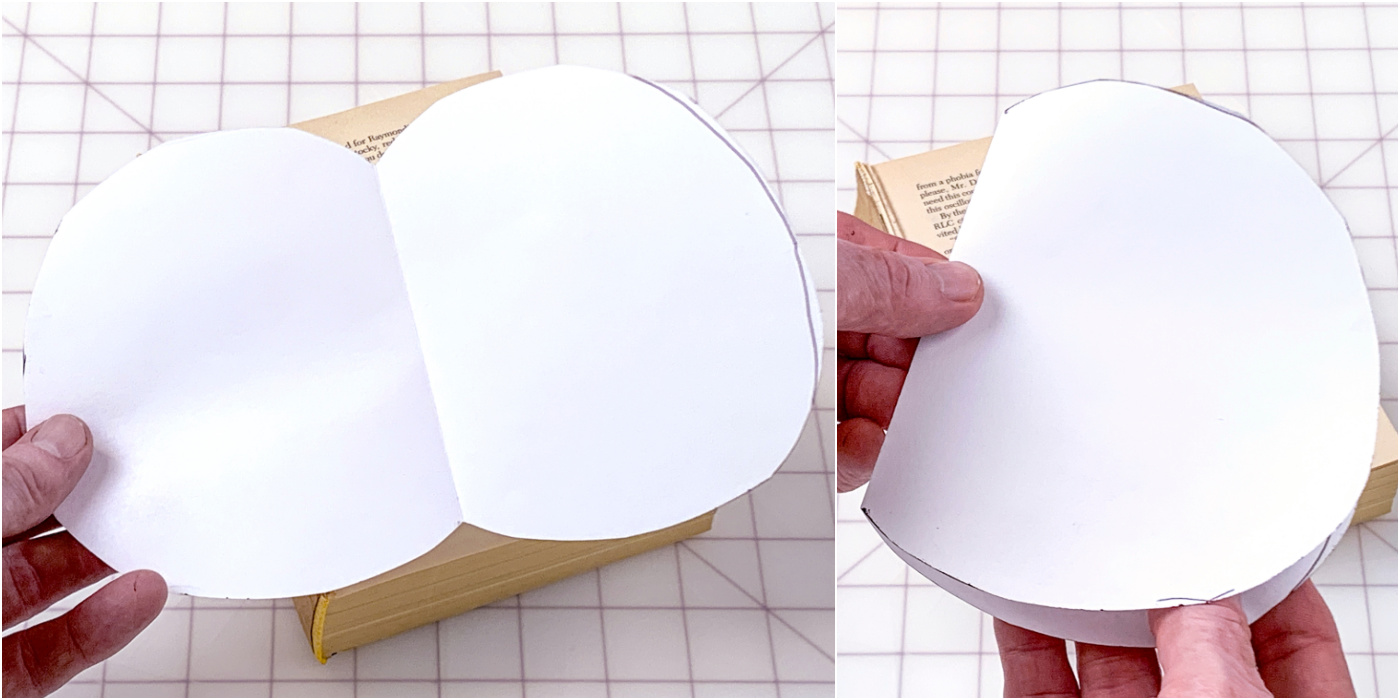
- Fold the piece of paper in half. Draw a half pumpkin shape to the best of your ability, using the fold as the center. Cut out with scissors. Unfold and make sure it looks somewhat like a pumpkin, and then fold back in half.
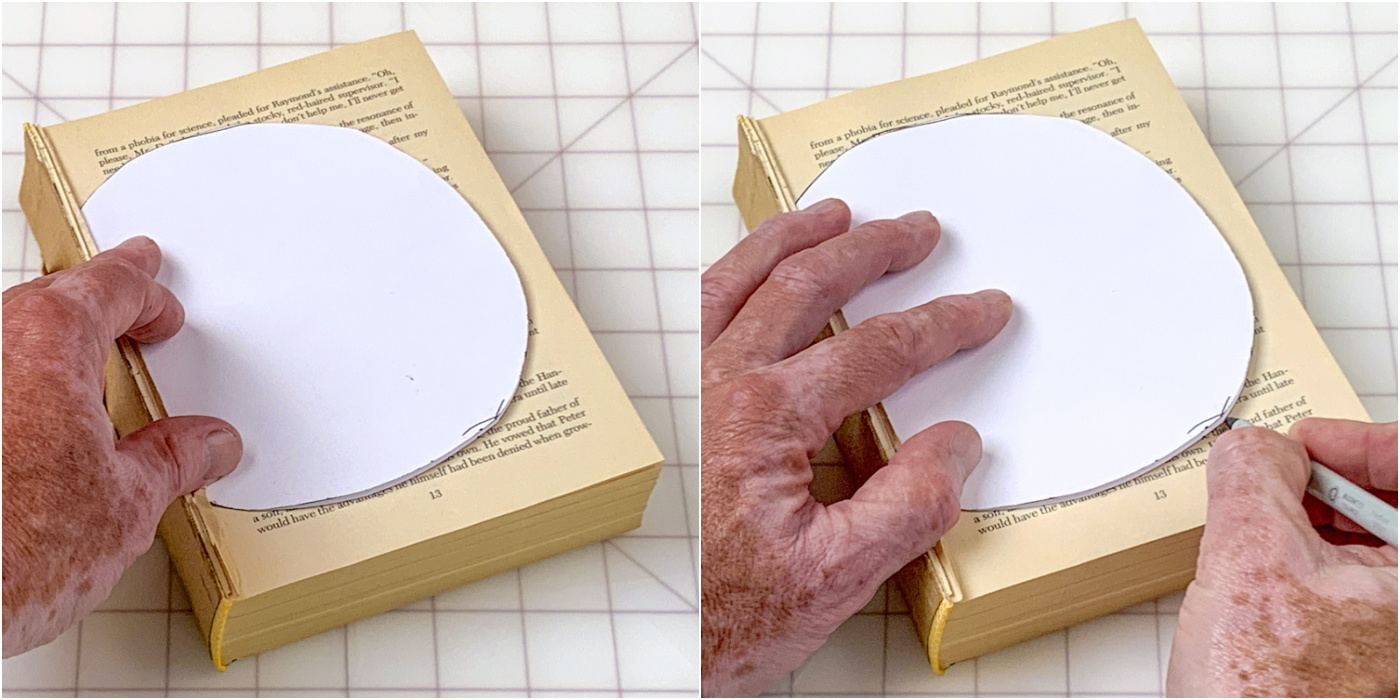
- Place the book pages down on your work surface, and put the template down with the fold on the binding. Trace with the pen.
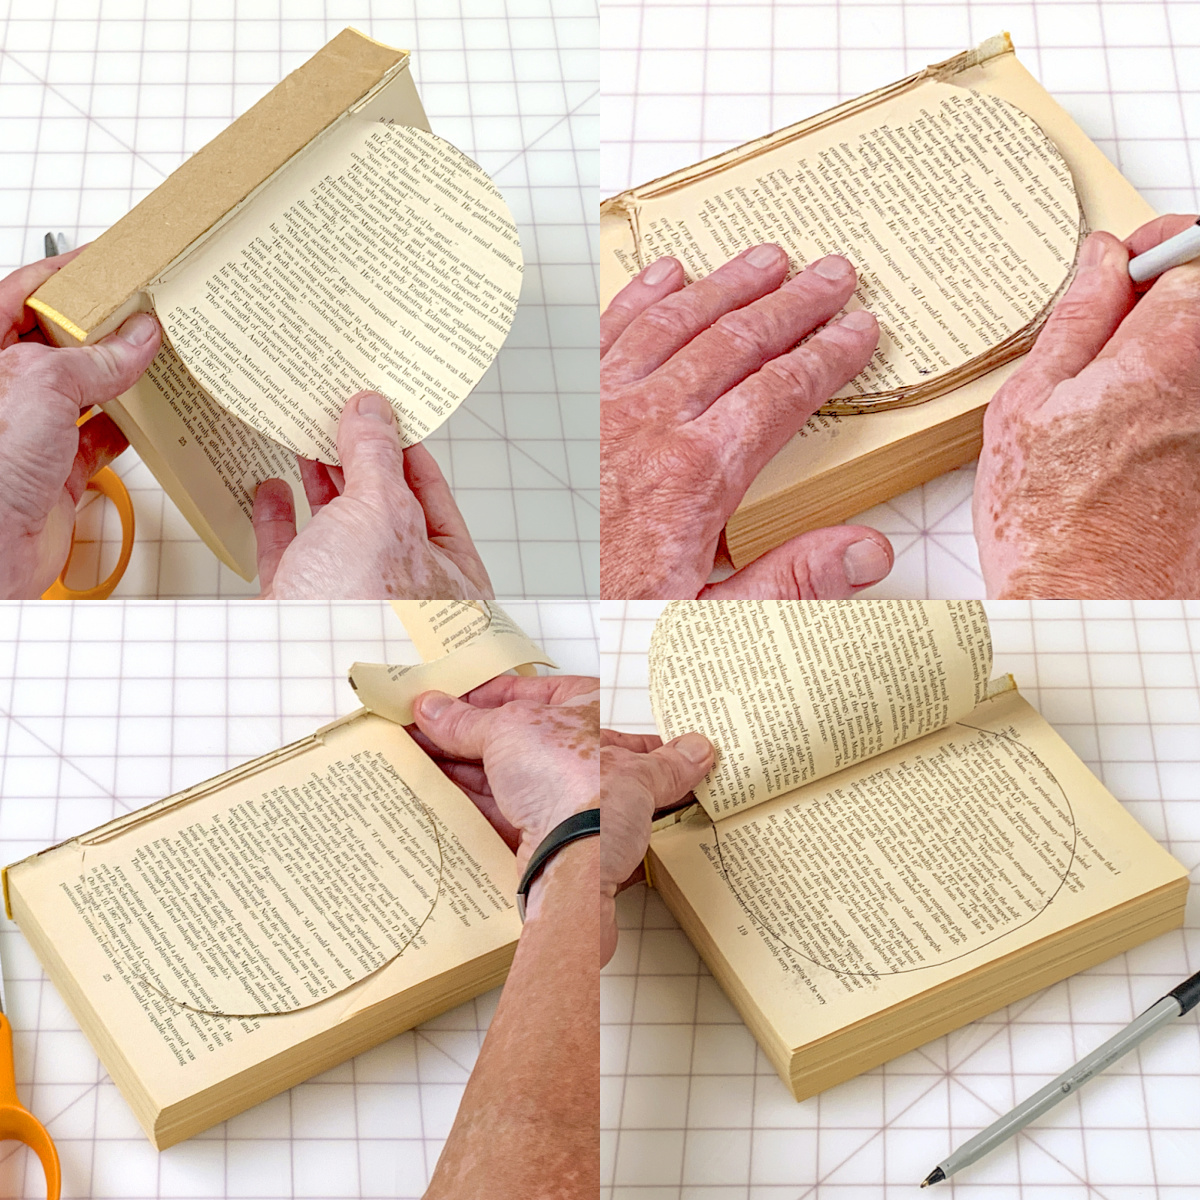
- Remove the template and grab 5 – 10 pages at a time. Cut around them with the scissors and remove the scraps.

- Using the pages you just cut as a template, draw another line on the page below. Grab 5 – 10 more pages and cut again. Repeat this step until all pages are cut (this is the most time consuming part).
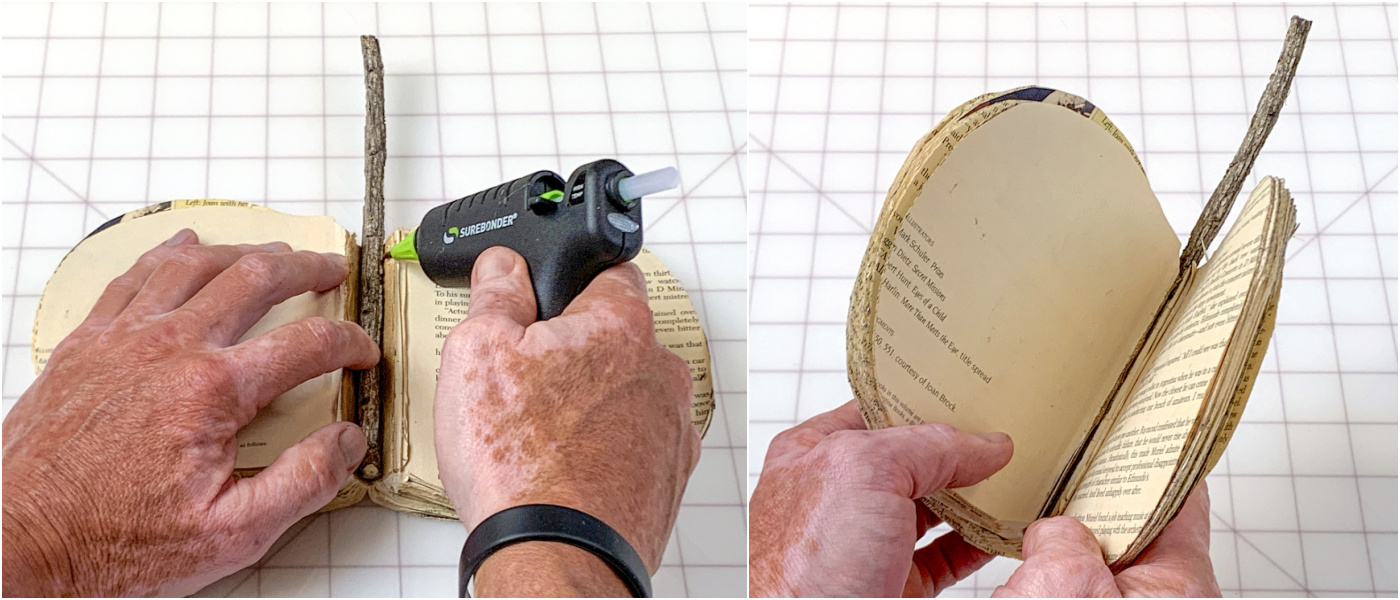
- Use a ruler to measure a twig that is about 4 to 5 inches taller than your pumpkin. Place the cut book open with the binding facing you on the work surface. Add a line of hot glue and place the twig down, flush to the bottom.

- Add hot glue to the binding and the twig, and bring the book pages forward, wrapping the binding around the twig to secure.
- Bring the end pages around and hot glue them together.
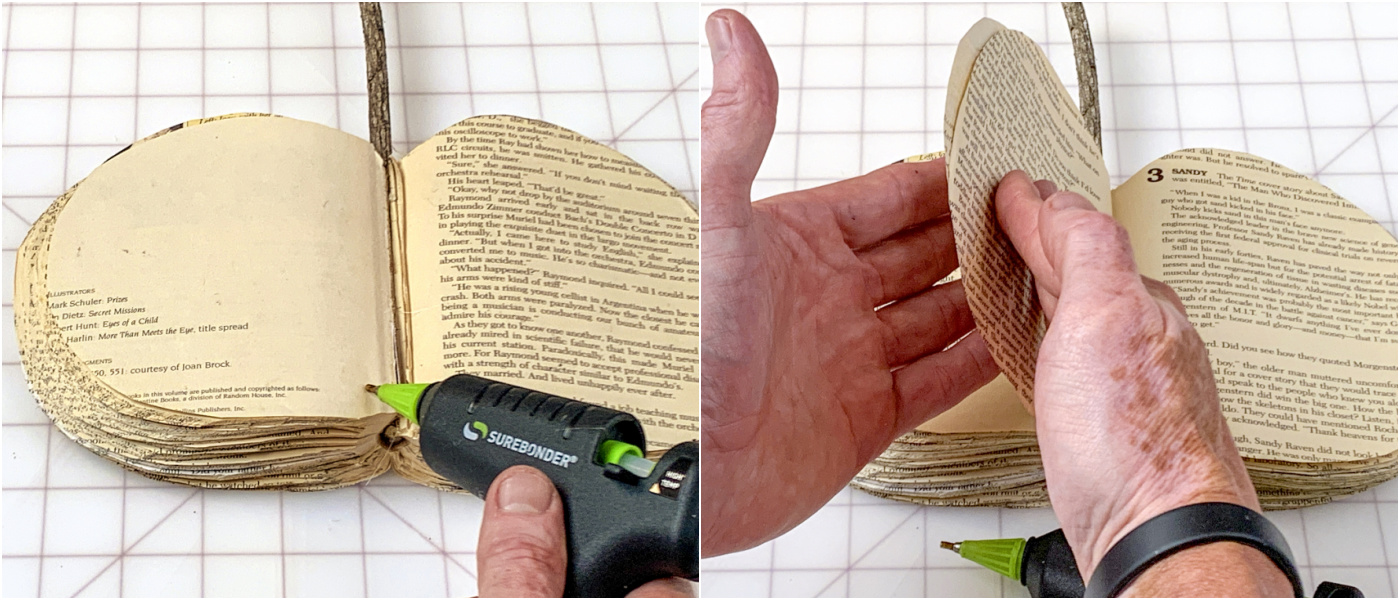
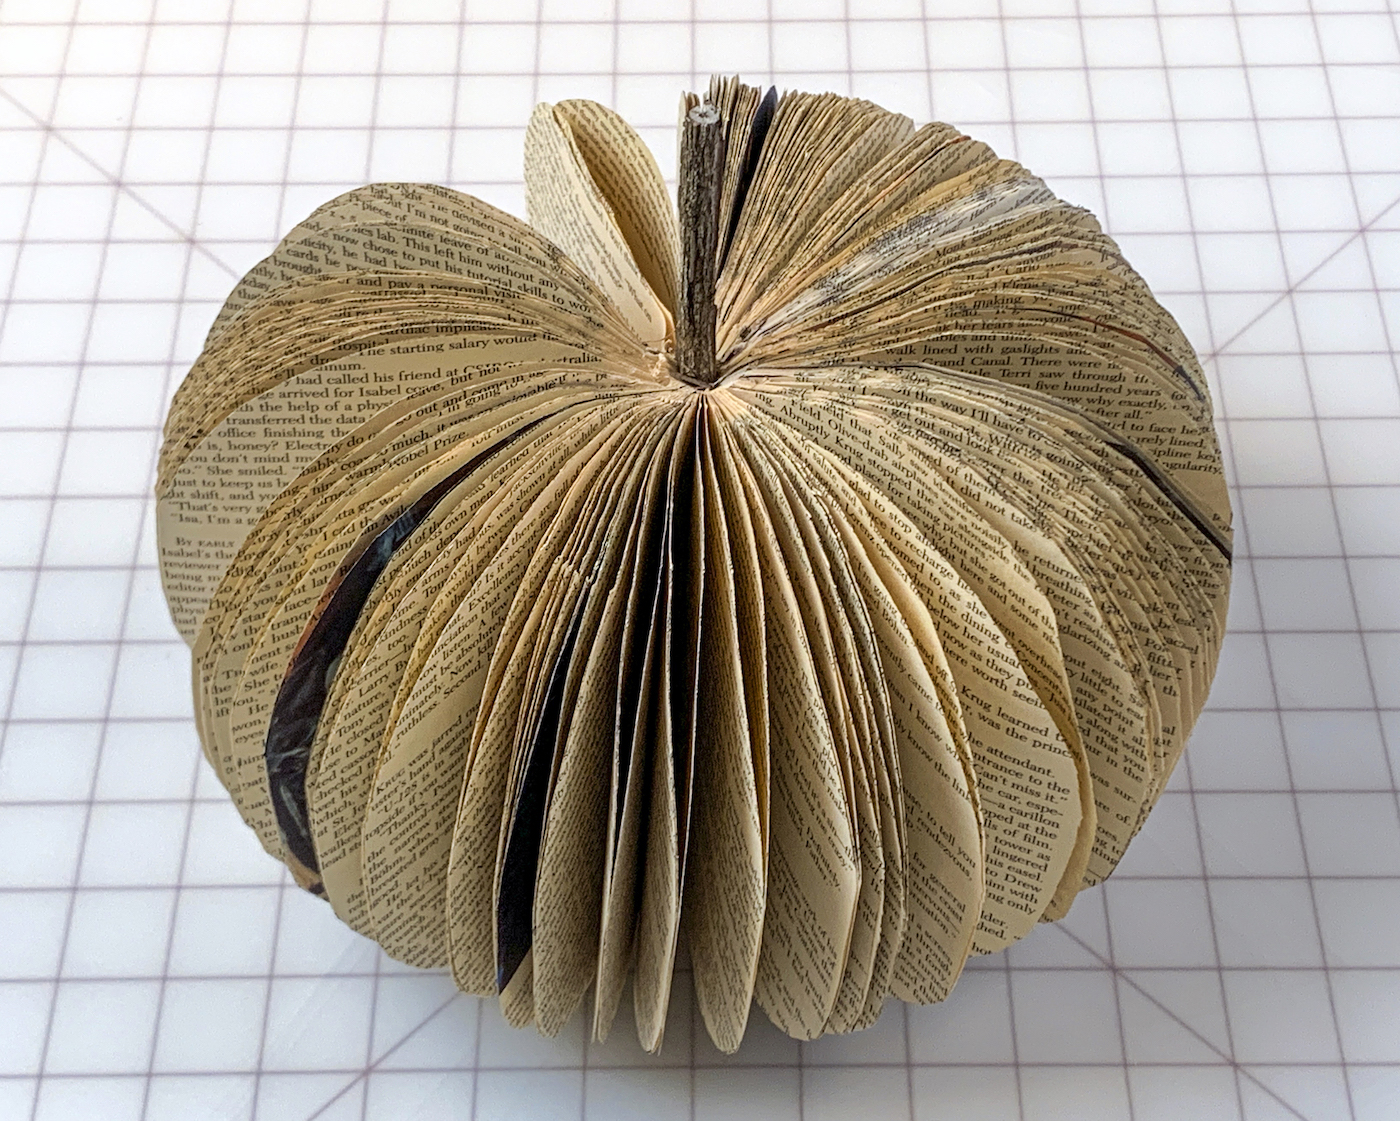
- Stand your pumpkin up and start fluffing. Hot glue any additional pages together depending on how they naturally separate. You might not need to do any gluing.
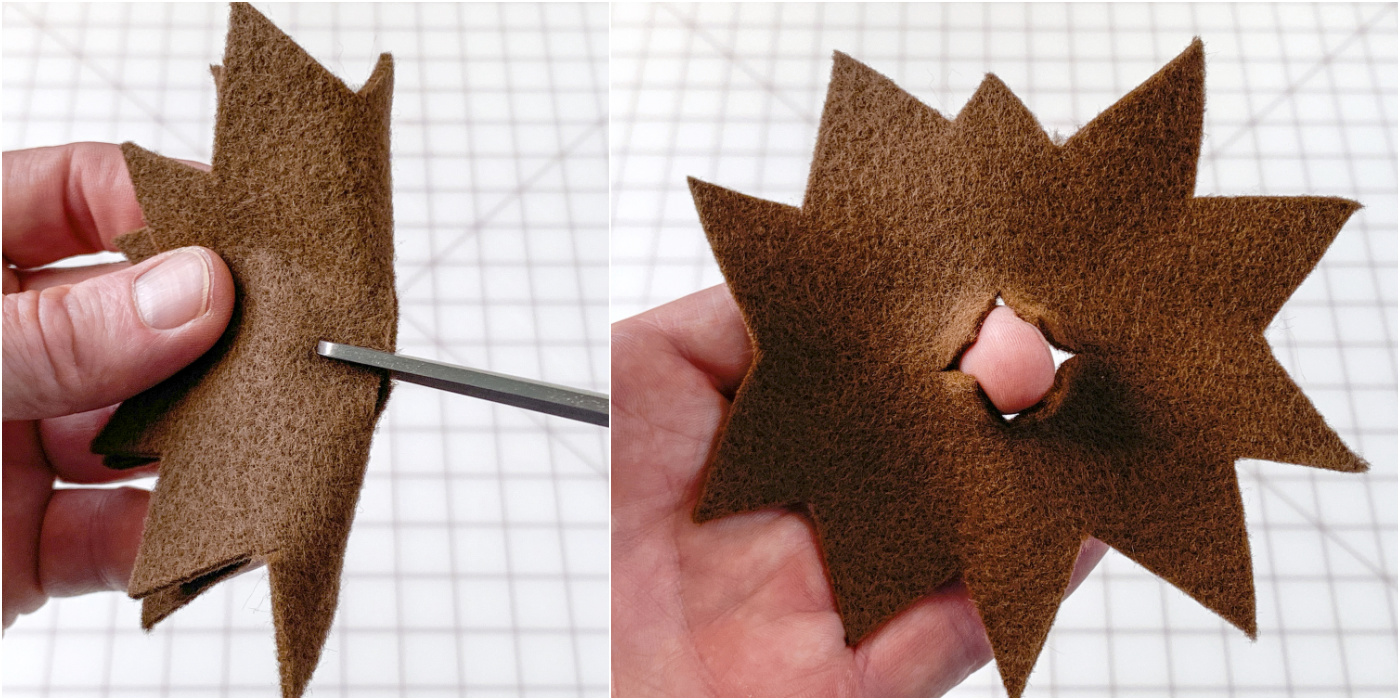
- Make a template with your scrap paper. Use it to cut out a few stem or leaf pieces from the felt. I did two, one slightly larger than the other.
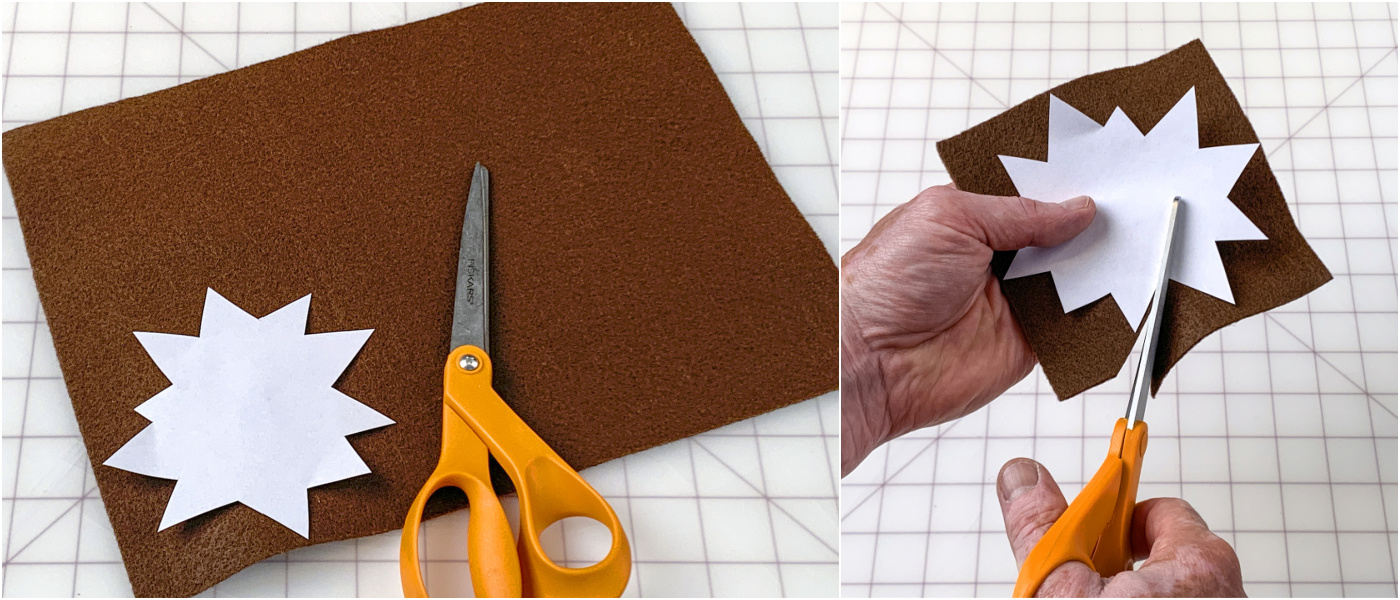
- Make a slit in the middle of the felt pieces with scissors.
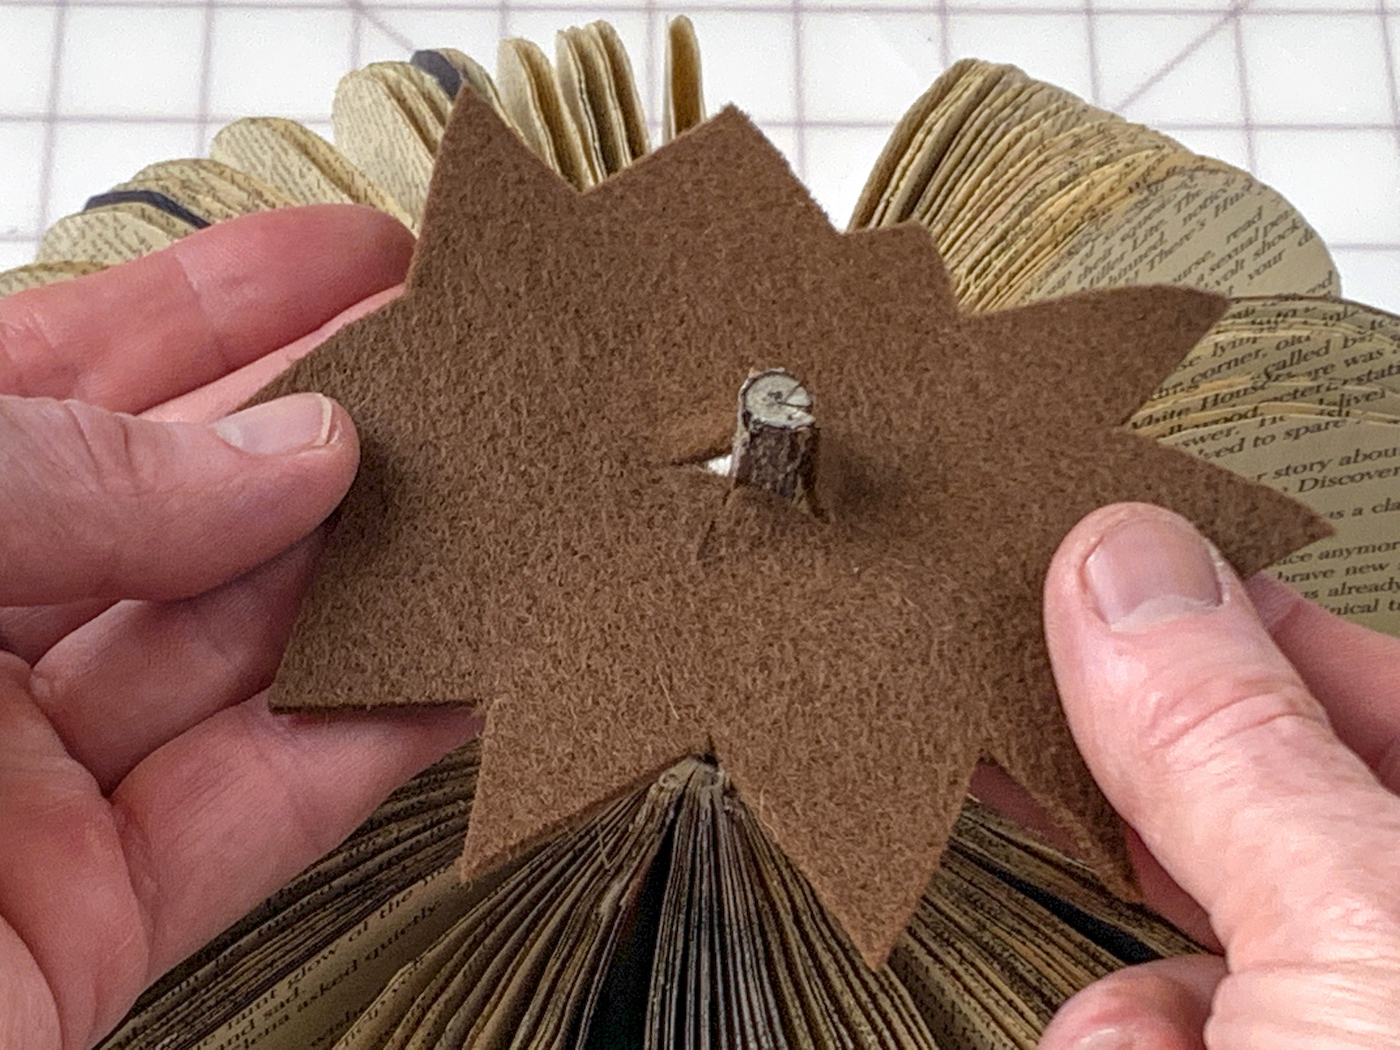
- Slide the felt pieces down onto the stem to secure.
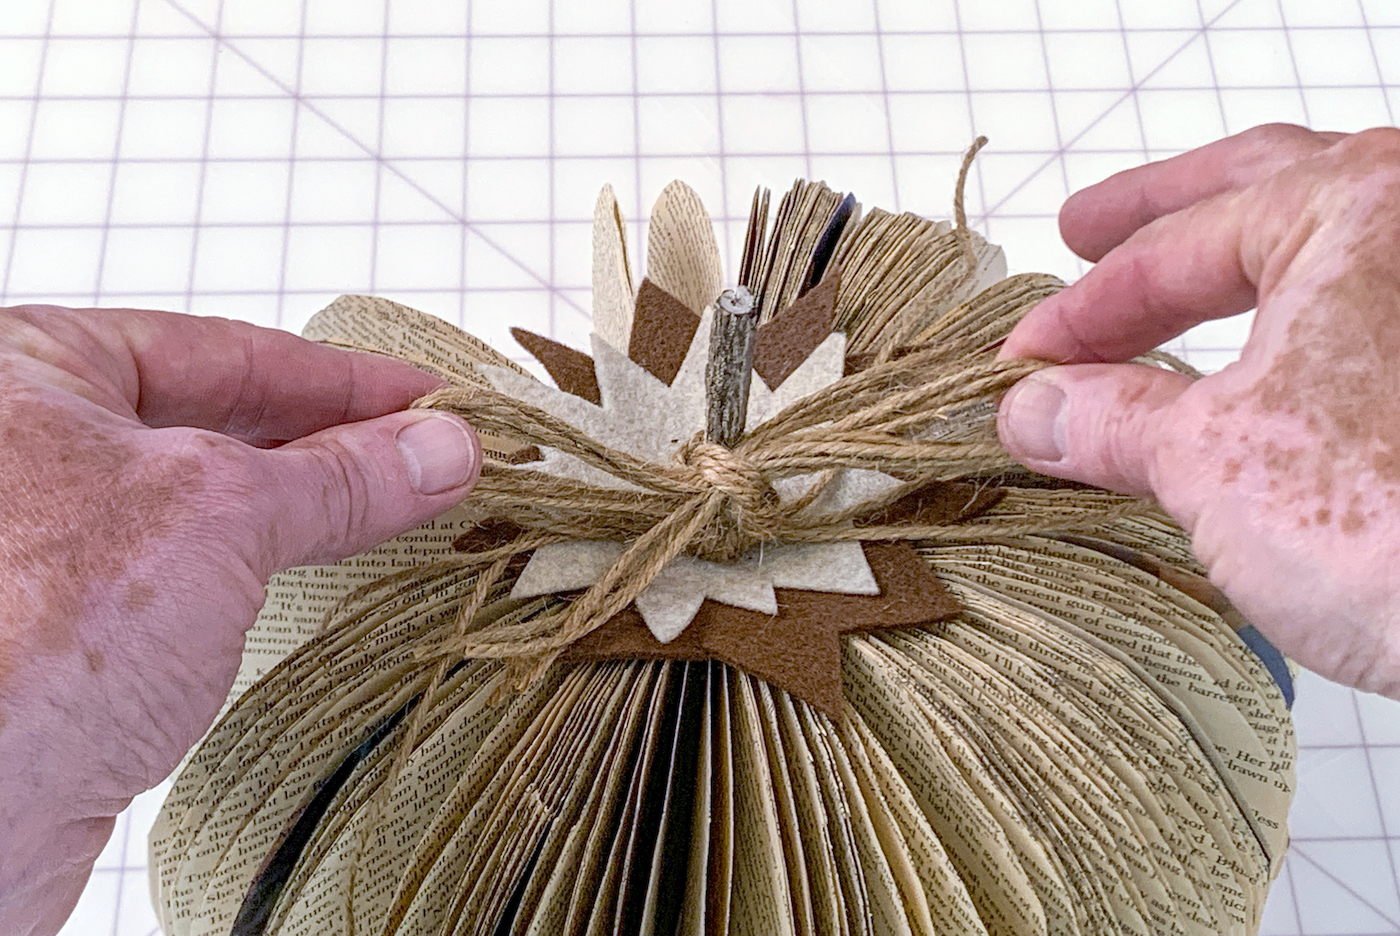
- Tie the twine around the pumpkin stem to finish. Trim with scissors.
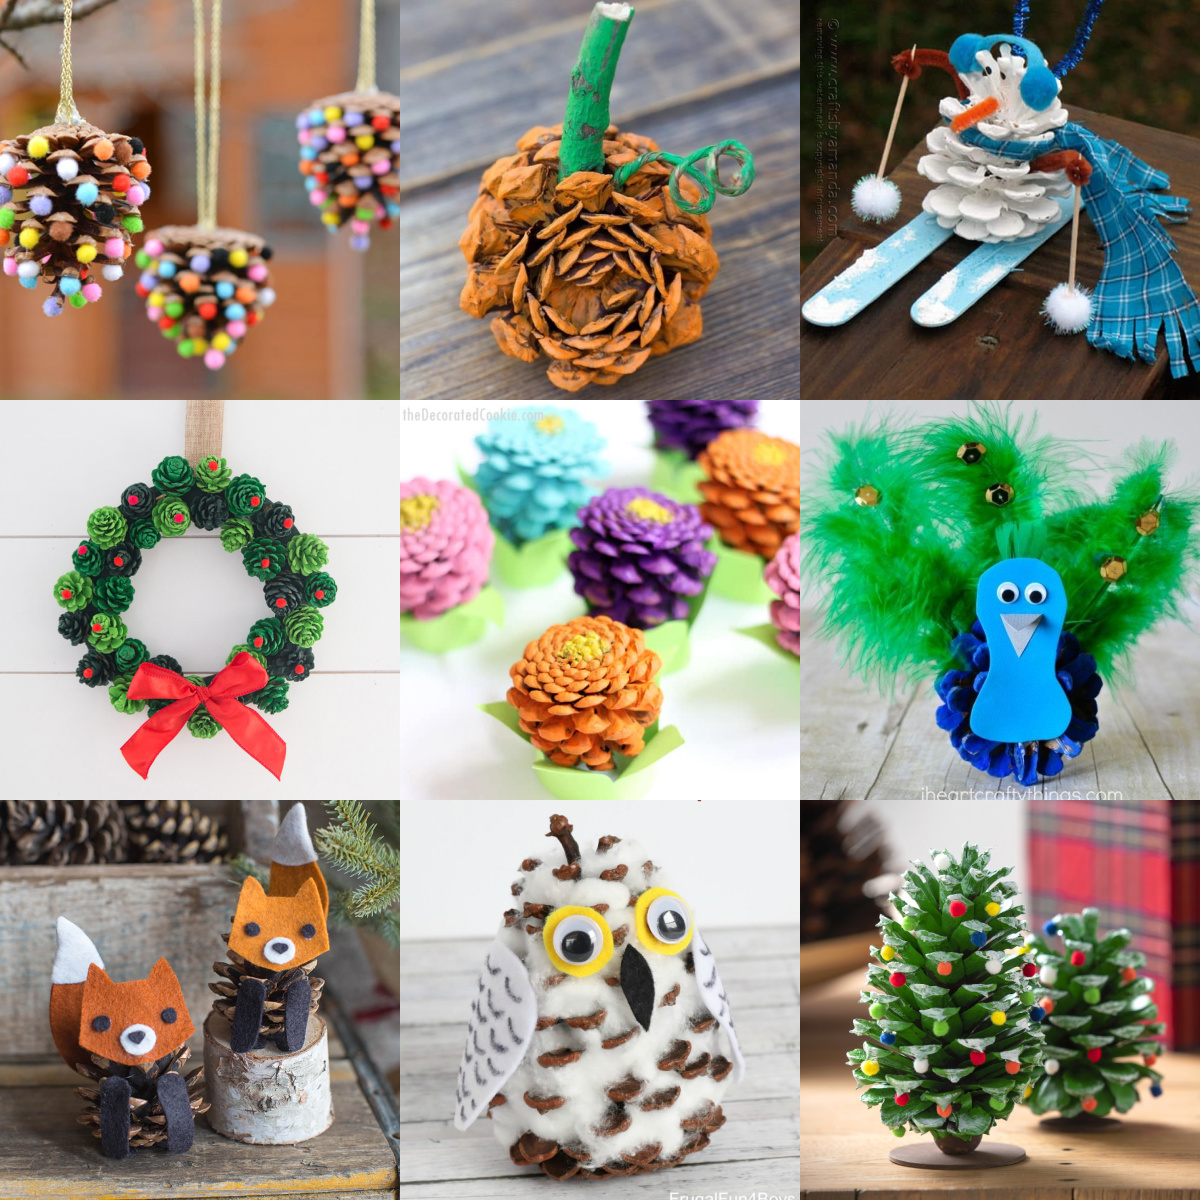
If you enjoyed this project, please let me know in the comments! I’d also love for you to check out these other unique fall crafts and decor:
DIY Fall Wreath • DIY Pumpkin Garland • Fall Gnomes • Leaf Cork Trivets • Mini Fall Banners • Mini Pumpkin Vases • Mini Pumpkin Wreath • Scrapbook Paper Leaf Decor • Toilet Paper Pumpkins • Twig Votives • Wine Cork Pumpkins


Can you please tell me what approximate size books you used? And how many pages for thickness?
Yes, the book was approximately 5.5″ x 8″ on the front cover with a 1.5″ binding.
A very unique twist on pumpkin decor. “Love this idea!
Eres grande!!!
Love it. Going to make it. I love the stars on top and the colors you chose.
So cute and will try this for sure… But how can I save this ??
Great idea for kids and adults alike.
Love it going to give it a shot.
Wooo! I hope they turn out!
Such a awesome and cute pumpkin,thanks so much for sharing the how to with this.