DIY Bulletin Board For Your Wall in Ten Minutes
Looking for a DIY bulletin board idea that takes about ten minutes? This is just the project for you! It’s really easy to do and is budget friendly.
Skills Required: None. Even if you’ve never crafted before, you can do this project. I’d practice using a staple gun once or twice if you’ve never used one before.
Have you ever felt that sweet rush of completing a craft project that’s both quick and utterly fabulous?
I’m all about those projects that sparkle with simplicity yet make a statement. Sure, I’m always game for an intricate craft, but there’s something undeniably satisfying about a project that can be whipped up in the blink of an eye.
It’s a little victory dance for our creative souls, especially when time is a luxury we can’t always afford.
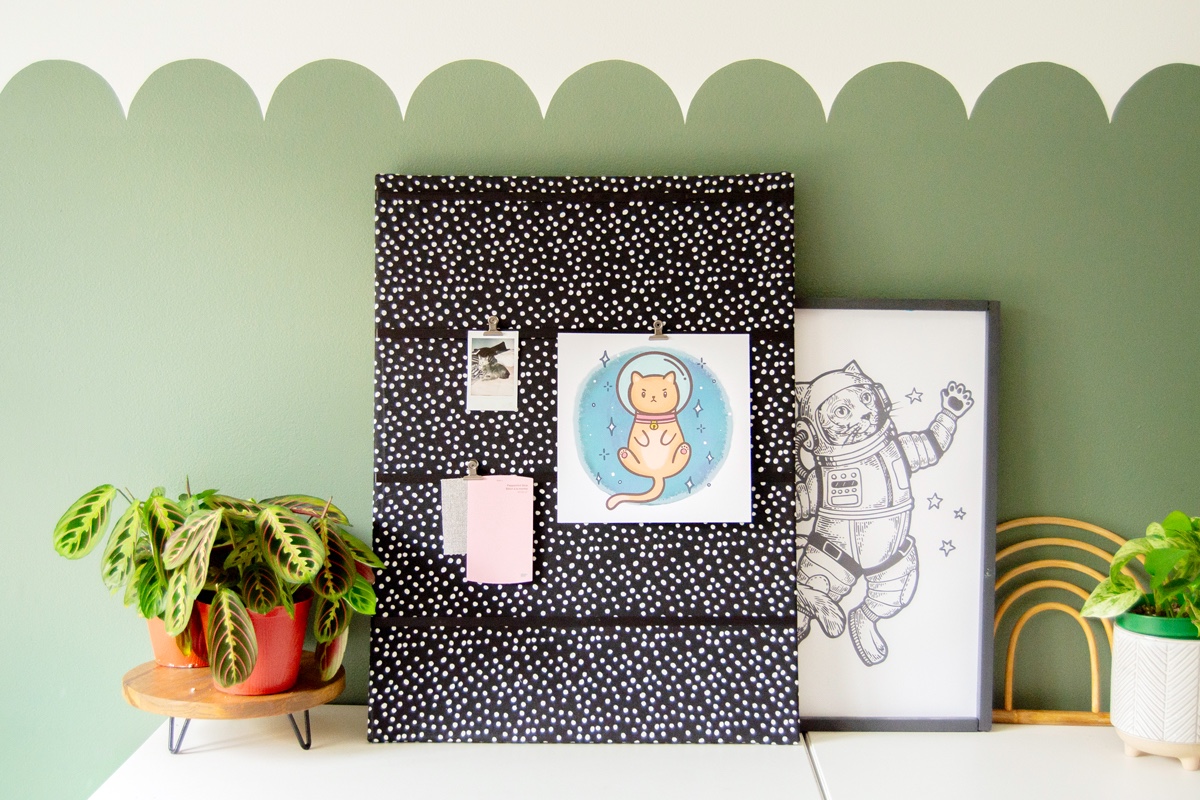
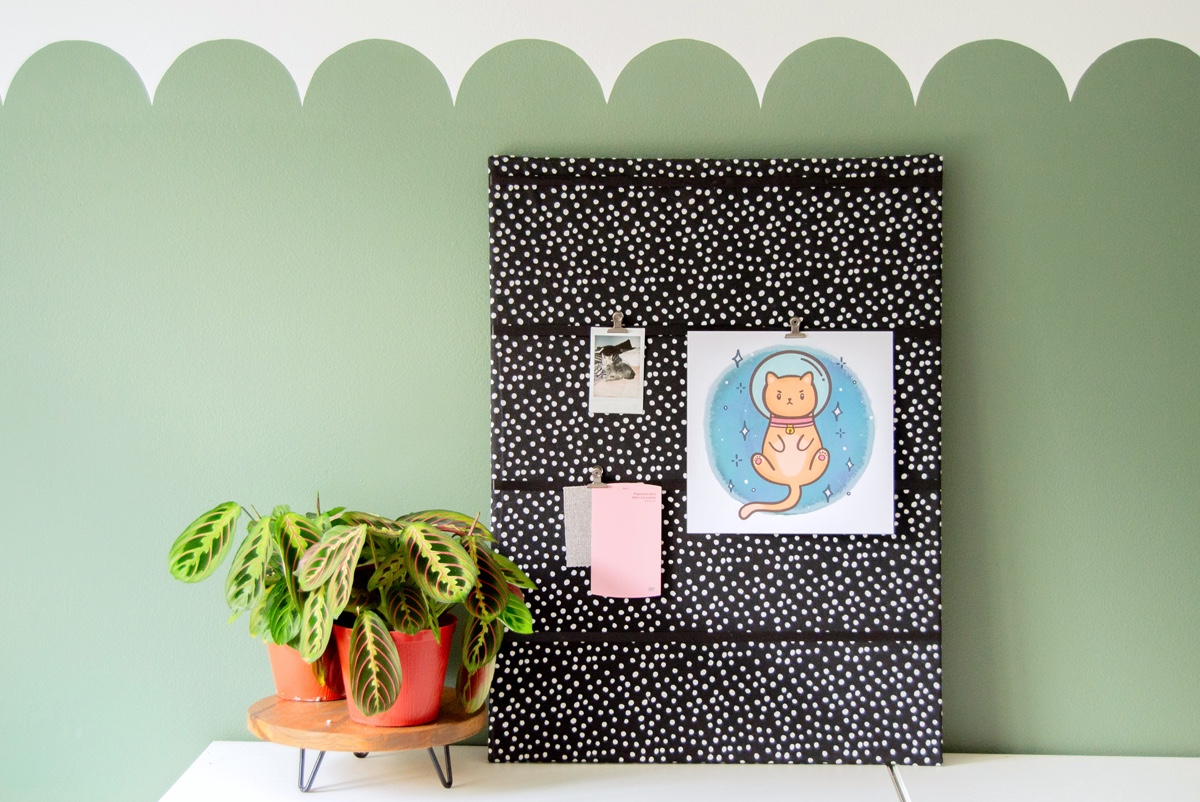
That’s where today’s gem of a project comes in – a DIY bulletin board that’s as easy as pie and twice as stylish! Imagine transforming a plain art canvas and some chic fabric into a stunning bulletin board.
It’s not just any board; it’s a canvas for your inspirations, a place for your memories, and a splash of personal flair for your space.
And the best part? You can create this beauty in about ten minutes. Yes, you read that right!
In this DIY adventure, we’ll use a hot glue gun, our favorite fabric, and some ribbon. The ribbon isn’t just for show; it’s for pinning up those adorable pictures, inspirational quotes, or little reminders.
Whether you’re looking to jazz up your home office, add a personalized touch to your dorm room, or just create something unique, this DIY bulletin board is your ticket.
Imagine the possibilities – a chic backdrop for your Zoom calls, a stylish organizer for your back to school study nook, or even a heartfelt homemade gift. It’s versatile, it’s trendy, and it’s waiting for your creative touch.
So, are you ready to transform that simple canvas into a masterpiece of practical art?
Time to unveil the magic of making a DIY bulletin board that’s as unique as you are. Scroll down to learn how to create this charming and functional piece of art in just a few easy steps!
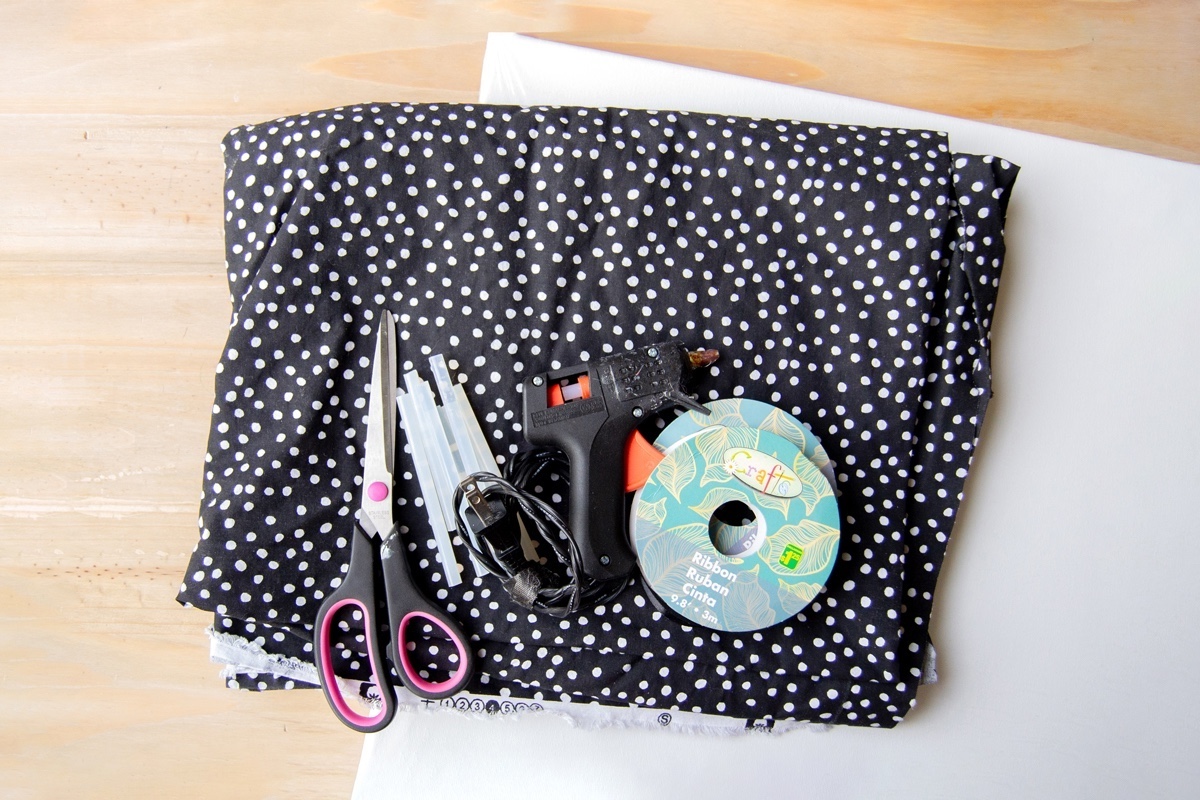
First, here’s what you’re going to need.
- Canvas (I used an 18 x 36 canvas)
- Hot glue gun
- Fabric (in the print of your choice)
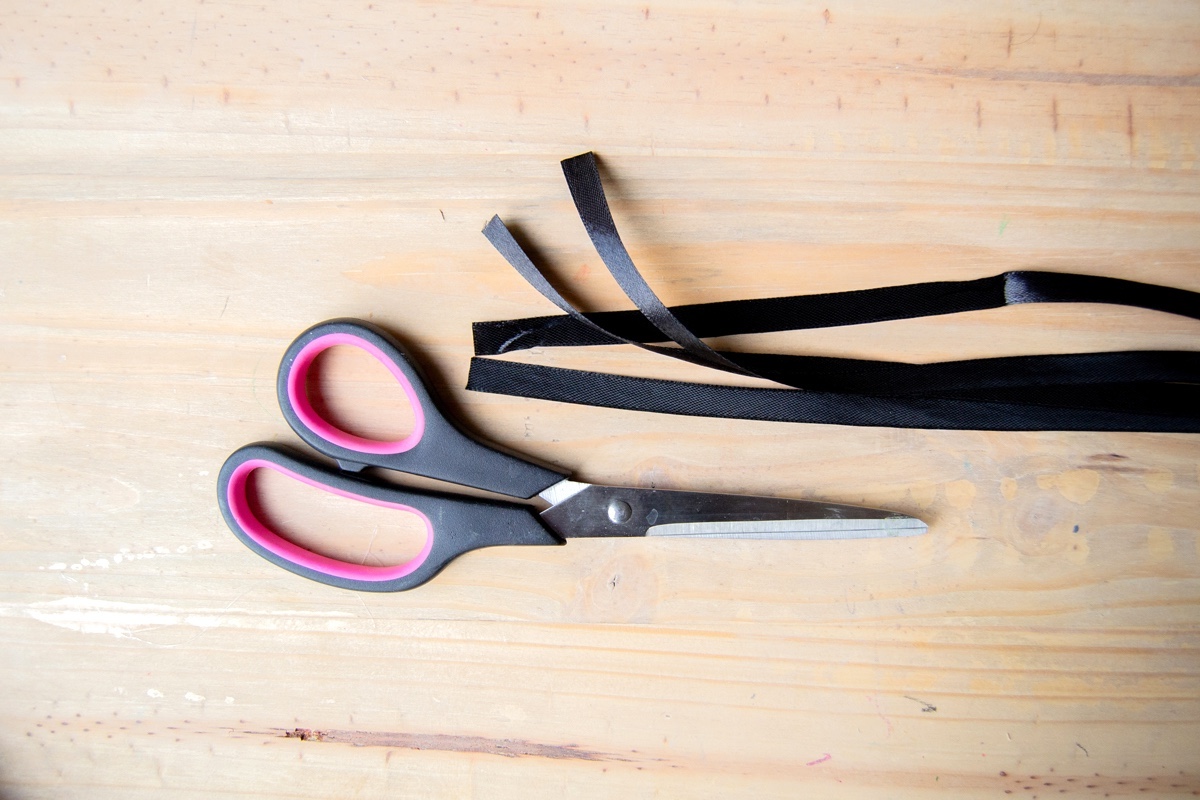
- Scissors
- Ribbon – at least 1/2″ thick
- Measuring tape
- Marking tool
- Finger protectors
- Clips
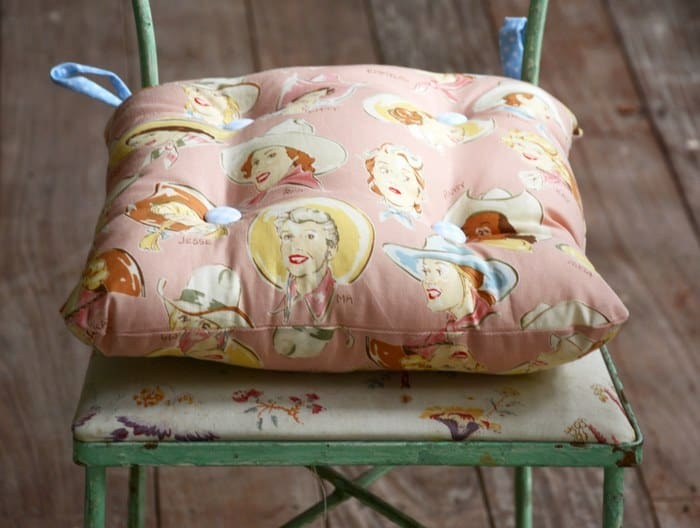
I love this fabric so much and it fits in very well with my current design aesthetic. Use clips on the ribbon to attach your art, reminders and more.
Taking into account the size of your canvas and how many rows you want, measure the side of your canvas (the long side if you want a portrait layout, and the short side if you want a landscape layout).
Looks great and will probably last longer than normal cork boards. Learn how to make it below!

DIY Bulletin Board
Equipment
- Marking tool
- Finger protectors
Materials
- 1 Wrapped canvas any size (I used an 18×36 inch)
- Fabric – large enough to cover a canvas
- Ribbon(s)
- Clips
Instructions
- Measure the canvas and add two inches (or more if you are using a thicker canvas) on the side and top as allowance so you can fold it over on the back of your canvas. Cut the fabric and iron it to make sure there are no creases.
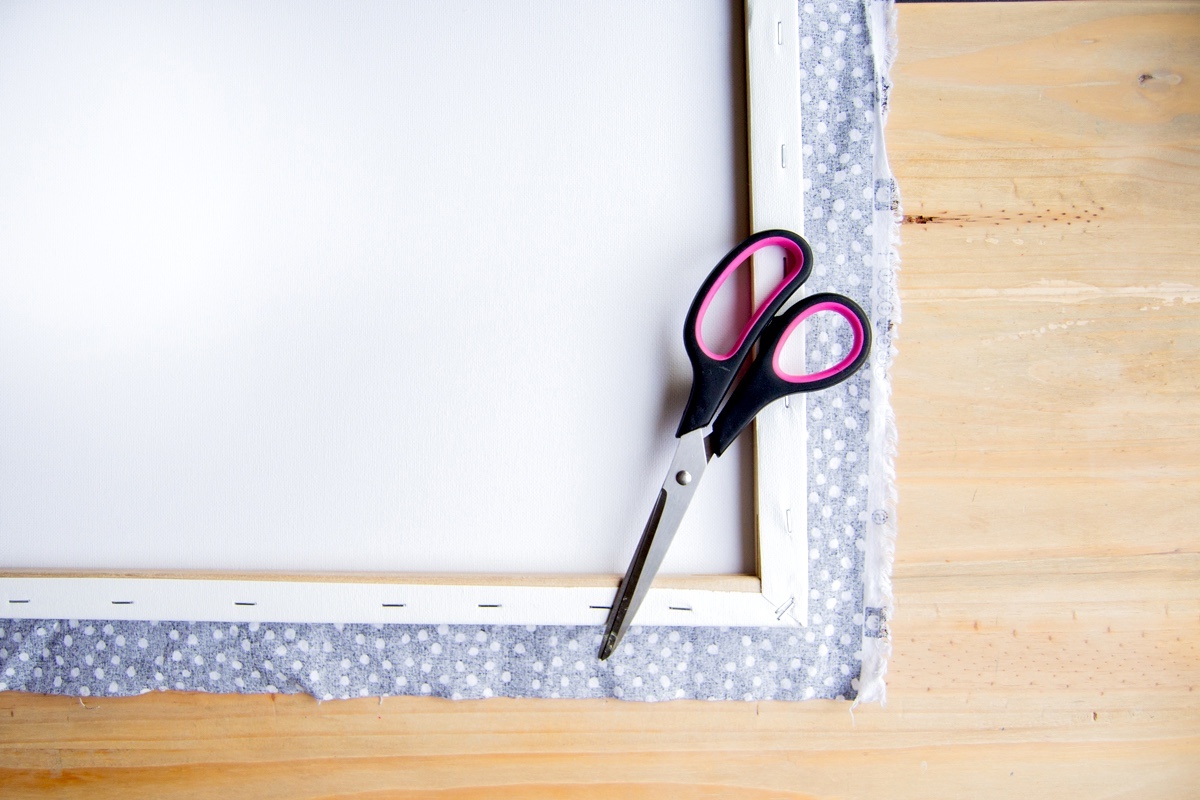
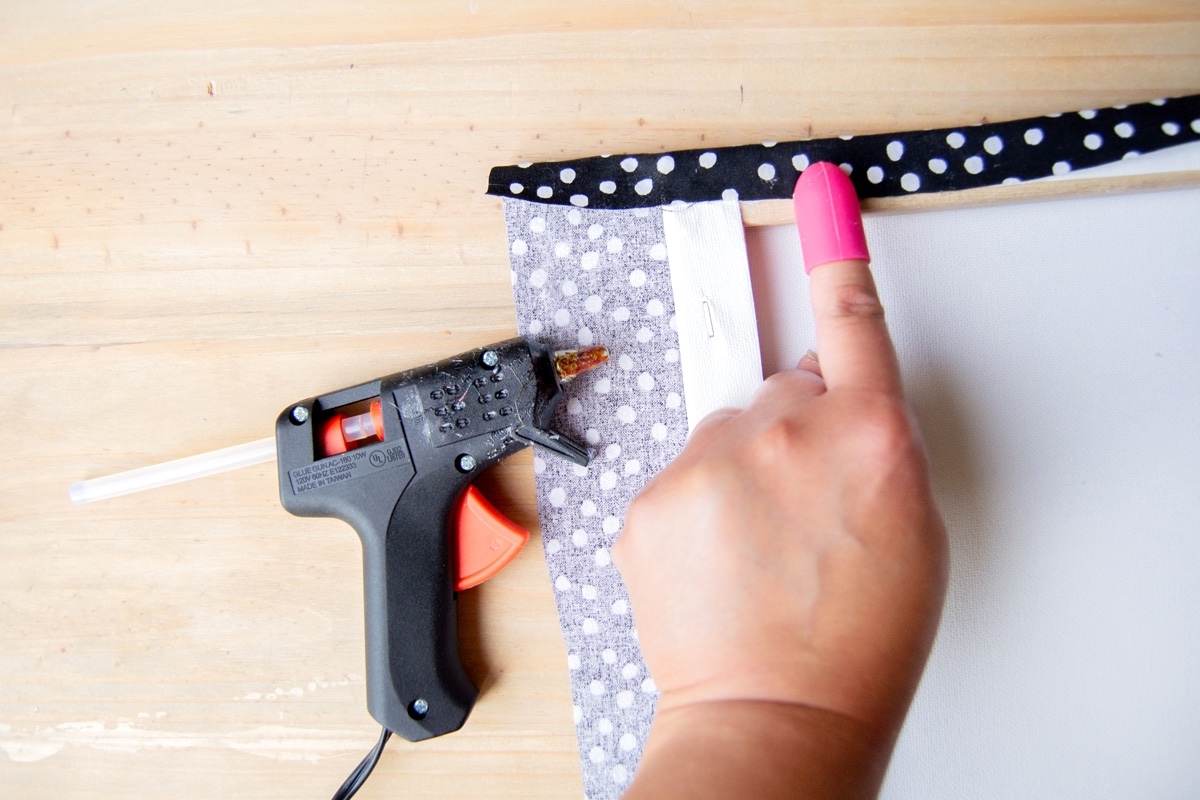
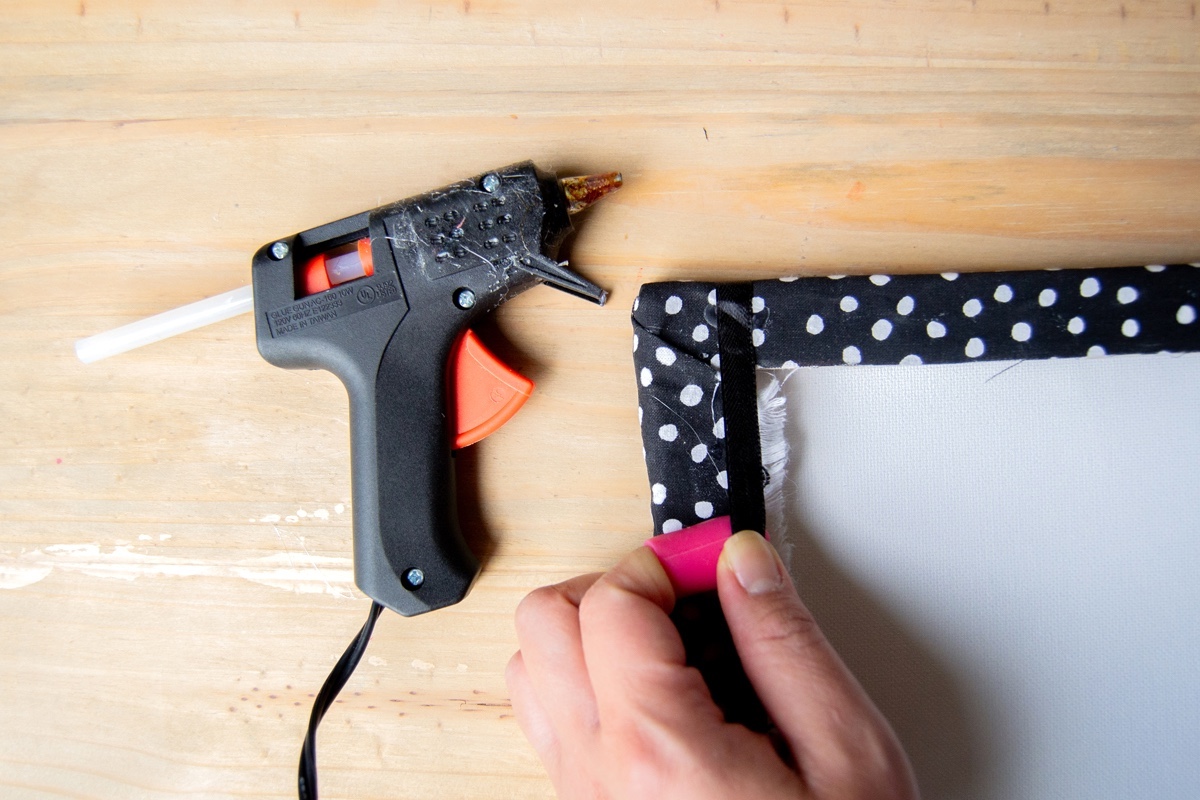
- Center your fabric on the front of the canvas. Using the hot glue, fold over one side (I started with the top edge of the canvas) and press down, making sure to keep a straight edge. Slowly go along the side, gluing and pressing until you get to the end of the side.
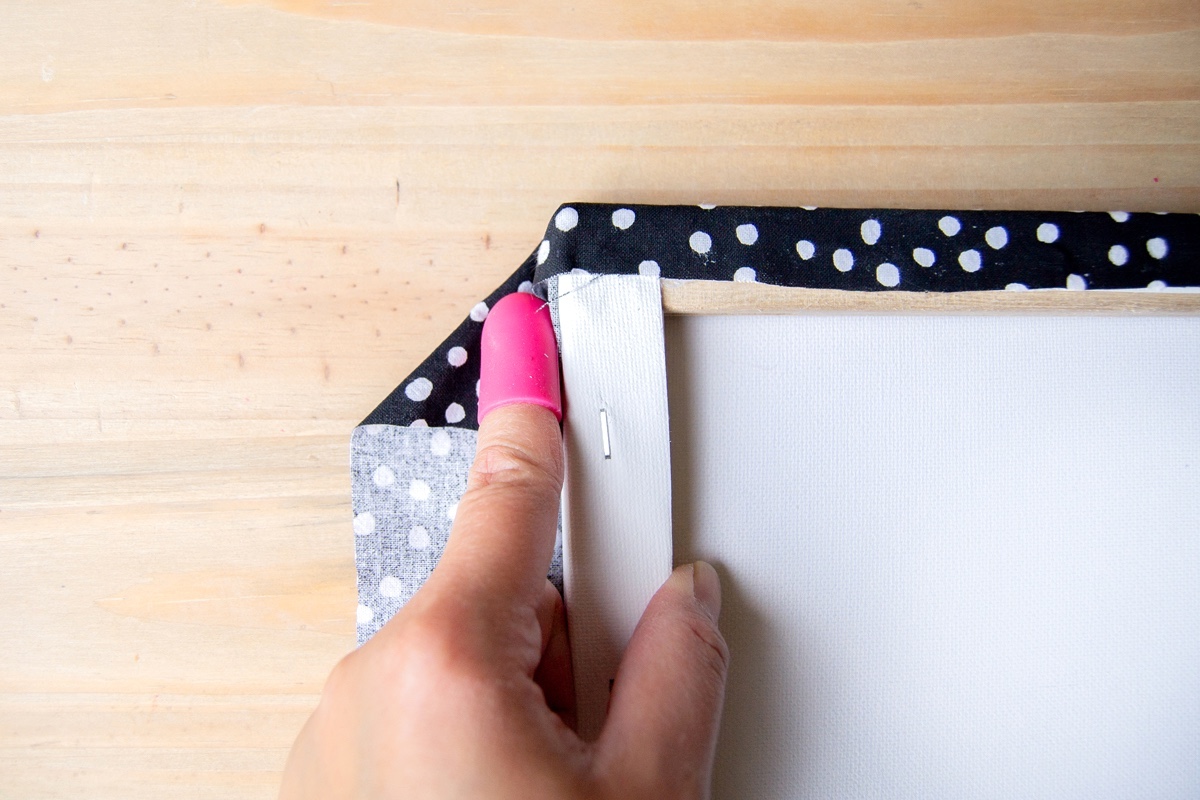
- Glue the opposite edge, making sure to pull the fabric taut while you are gluing the edge down for a smooth fabric surface.
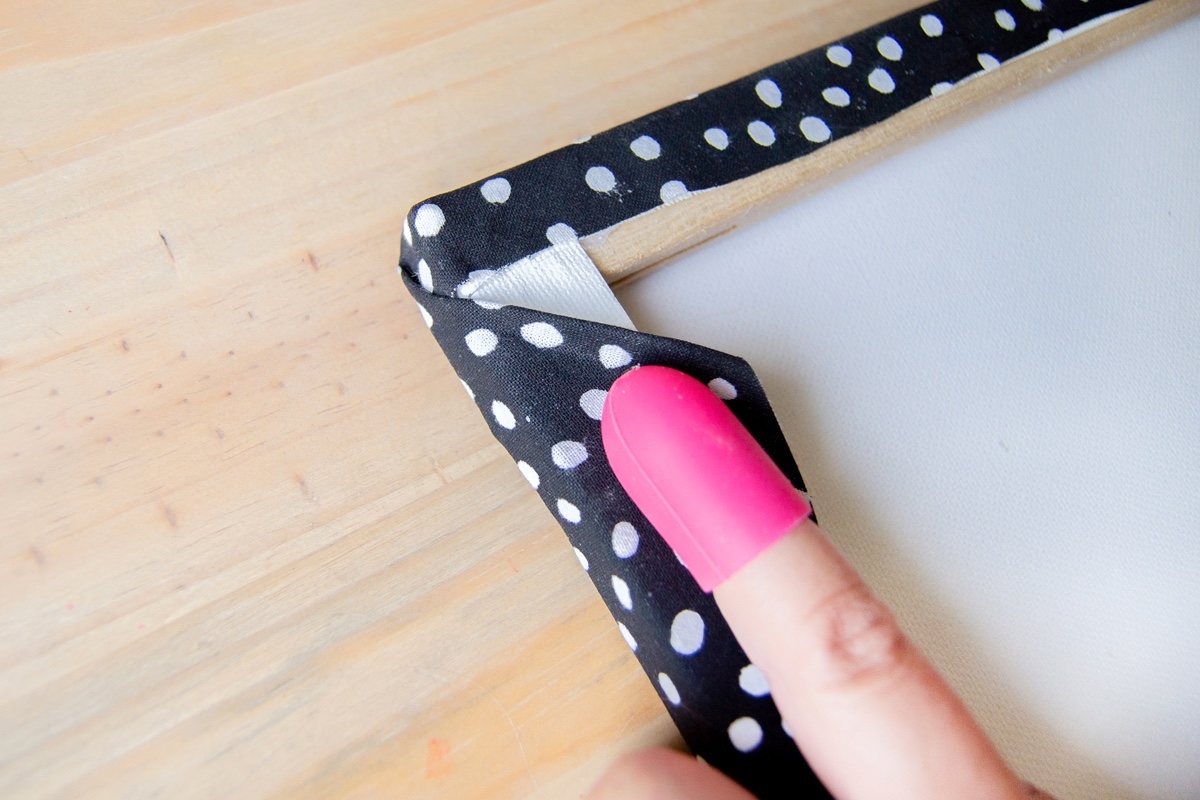
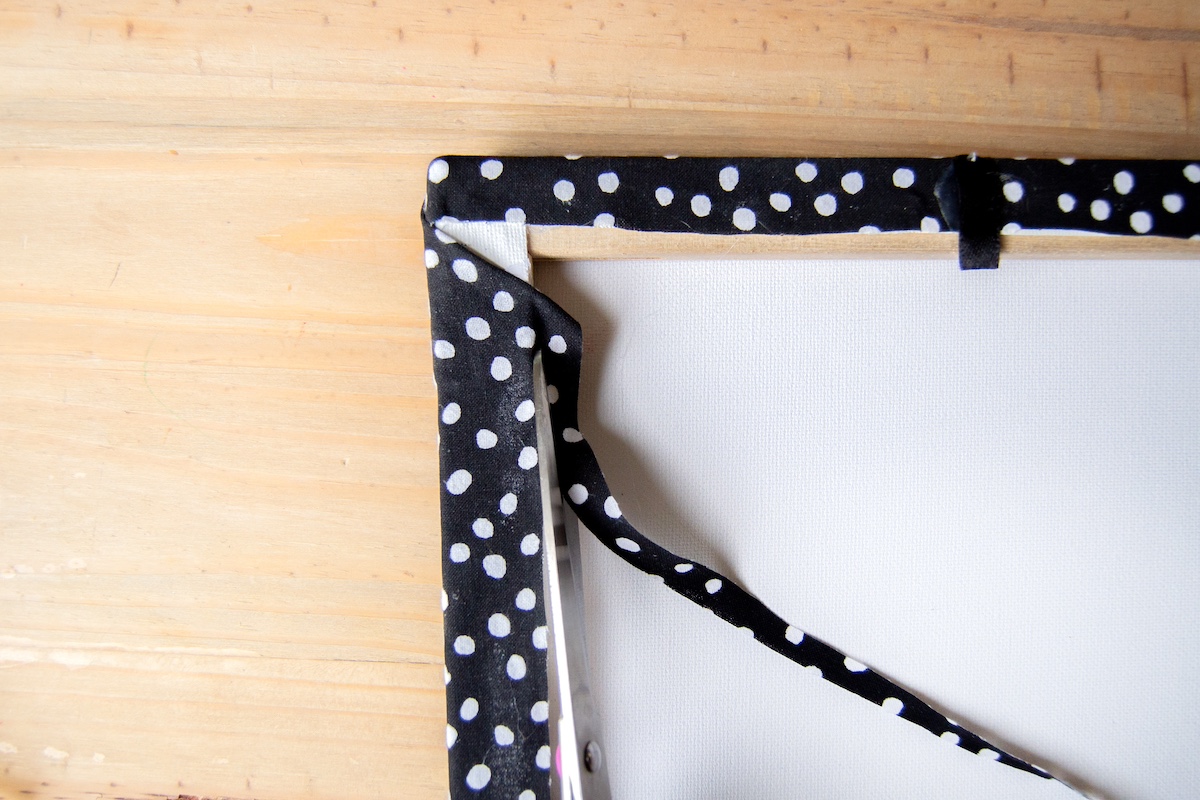
- Fold the corner of the fabric like you are wrapping a gift and glue. Make sure to pull the fabric taut here as well for a clean edge and smooth fabric surface.
- Repeat all the way around the canvas until you have completely glued the fabric to the canvas frame.
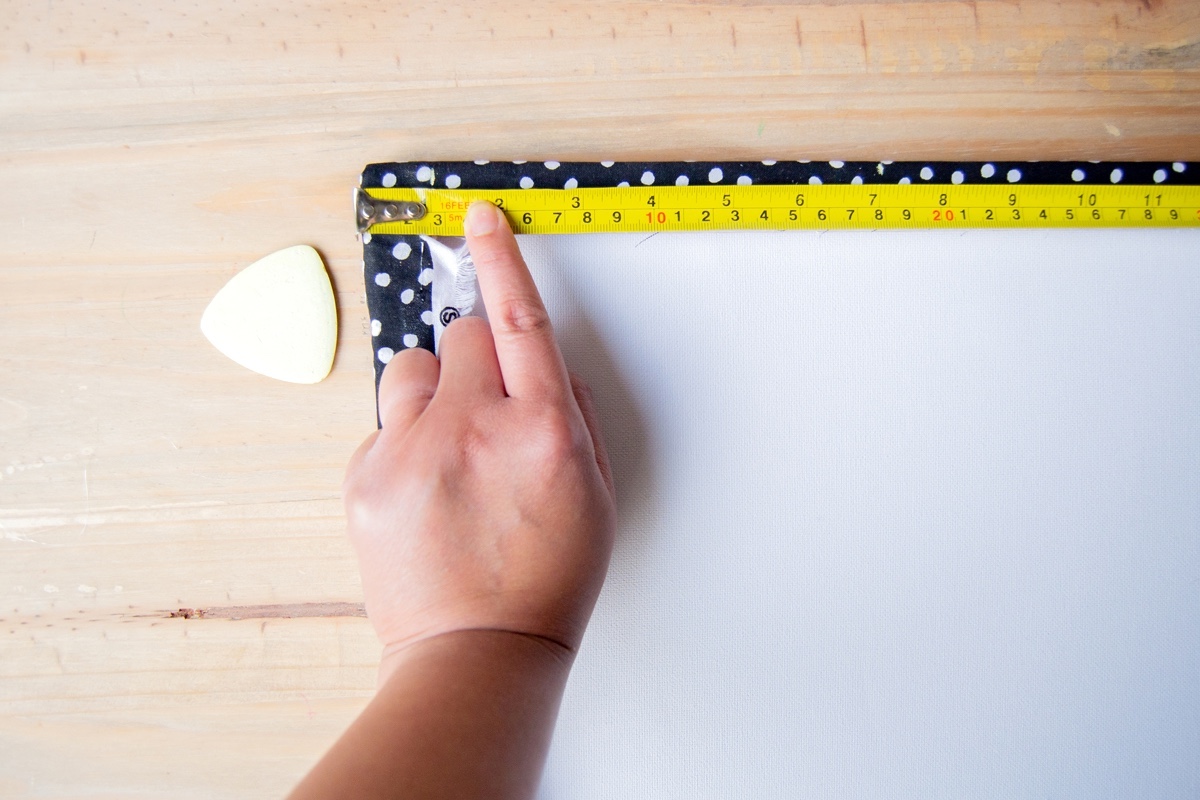
- Decide on how many ribbon strips you want, then use a fabric marker to mark spacing. Give a 1 inch space from the top of the canvas to the first ribbon row. Measure and mark both sides of the canvas back to ensure the ribbon is straight.
- Use a thicker ribbon at least 1/2” in width. Cut your ribbon to size, making sure to add extra to fold on the canvas back.
- Use hot glue to attach your ribbon to the canvas – use the marks as guides to where to glue it on. Pull it taut so there is no slack and make sure that the ribbon is not twisted as you glue it down to the back of the canvas. Repeat this step until you have glued all the rows down.
- For the canvas front, find the center of the ribbon and add a dab of glue to the back of it to secure it onto the fabric and help it support the weight of what you are clipping onto it.
- Finally, cut the excess fabric and ribbon on the back of the canvas. Add a wall hanger if desired.
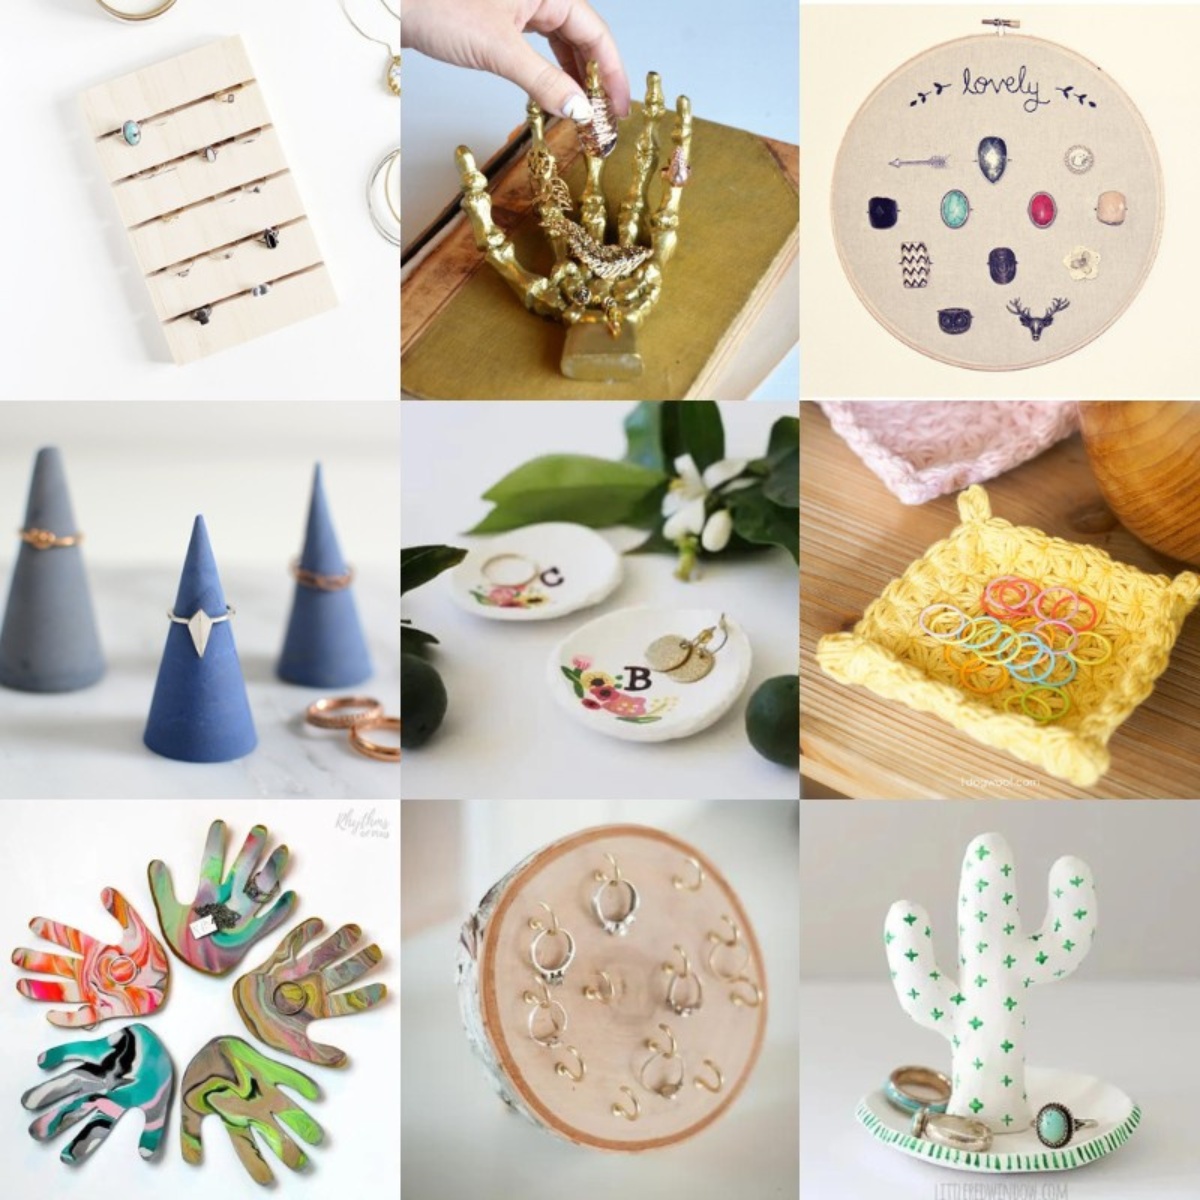
Now that you’ve made a DIY bulletin board, you might be ready to tackle a few similar projects. Check out these simple ideas:
Clay Photo Holders • Clothespin Clock • DIY Door Stop • Embroidery Hoop Wall Organizer • Felt Ball Garland • Floral Hanging Frame • Glue Art • Hot Glue Mushroom Lights • Magazine Collage Art • Mini Dry Erase Board • Poster Hanger • Song Lyric Art

Thank you for all the great crafts to do, i’m 84 but going to try and make a bulletin board? Thank you for all the good ideas.
This is so smart now I don’t have to buy a bulletin board AND I can reuse the canvas (perfect size I wanted) that I was about to throw away *AND* I can use some fabric from my impulse fabric pile and it’ll match my room. Life saver. Genius.
I have so many old canvases, and this brought me joy! I have a use for them!