Halloween Cross Stitch Canvases Are Unique Decor
Make these Halloween cross stitch canvases in just a few simple steps! If you can hold a needle, you can do this project. Easy holiday decor in minutes!
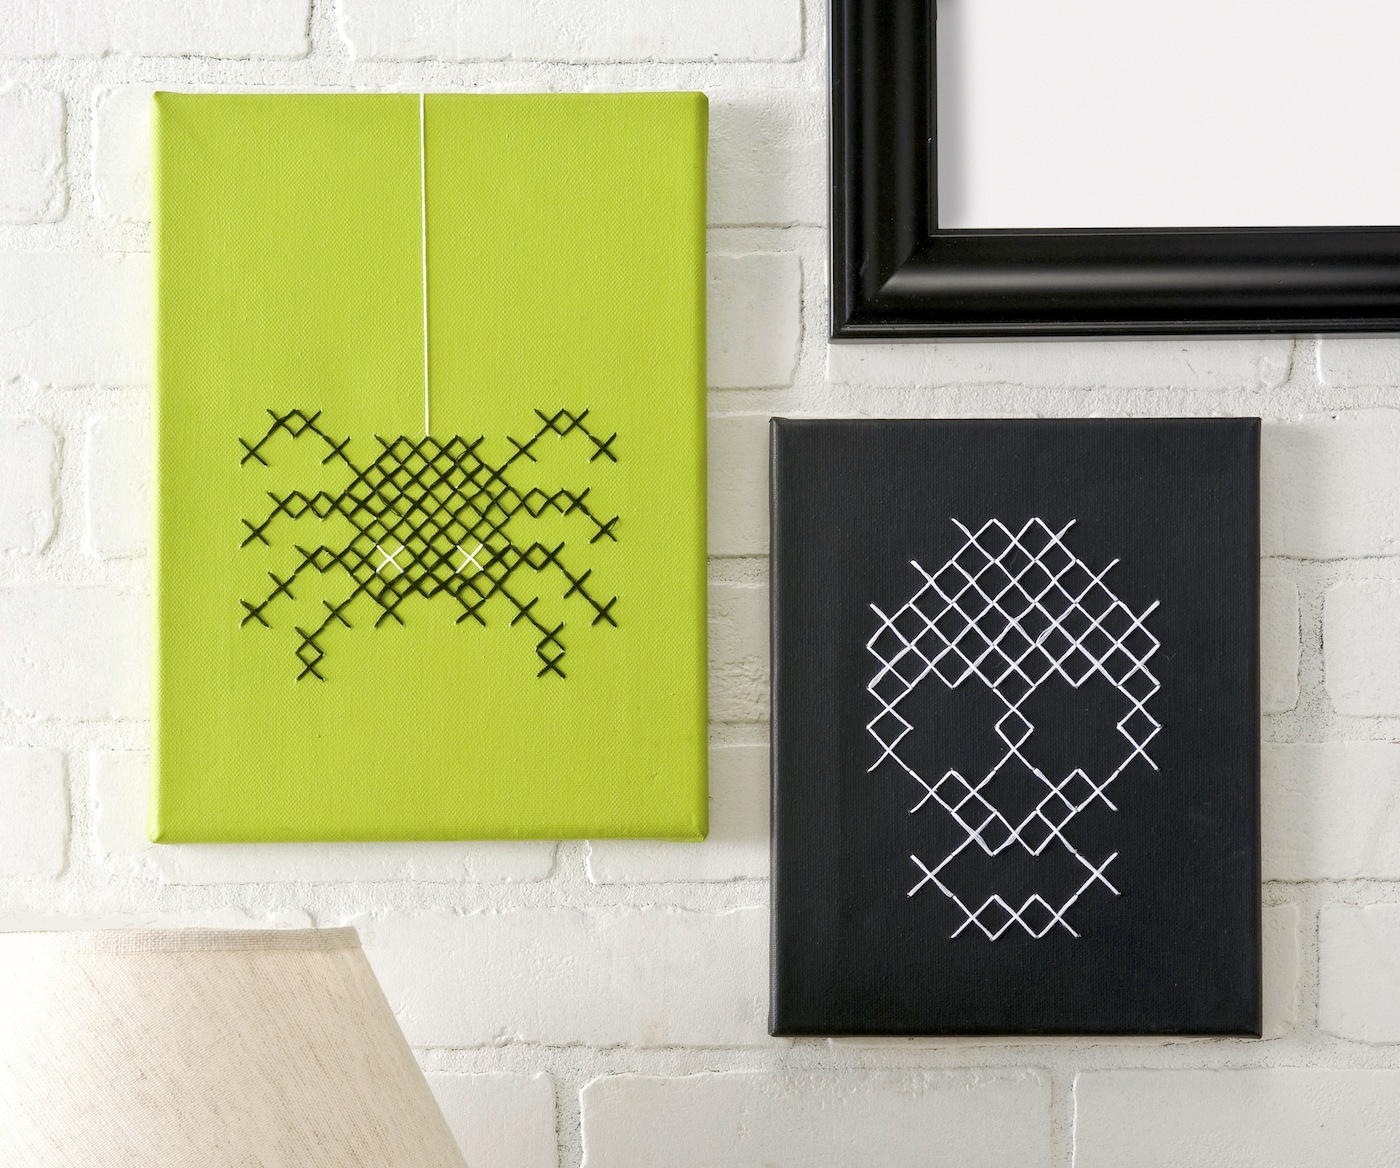
What do you think about cross stitching canvases? I think it’s one of my favorite activities ever. A cross stitch canvas is very unique looking, especially in home decor. I love how the thread adds texture to the flat surface.
And the cross stitch design can be turned modern easier than you think! These Halloween cross stitch canvases are easy to make and perfect to add a touch of amazing to your holiday decor.
I’ll show you how simple these Halloween decor projects are, and then you can adapt them to any pattern you like. Here’s how they were made.
Halloween Cross Stitch
Gather These Supplies
- Canvas of any size
- Acrylic paint of your choice – I used FolkArt Citrus Green and Pure Black
- Awl or some sort of poking tool – I know, technical. I used a tool made for poking holes into clay beads
- Foam core board, a work surface, or something to put down below your canvas while you punch
- Embroidery thread in colors of your choice
- Needle
- Cross-stitch pattern that fits inside the frame of your canvas – I used this spider and made my own skull pattern
- Tape
- Hot glue gun
- Scissors
Place the Patterns
Print your patterns on your printer. You might need to do it a few times until you find the correct fit. Flip your canvas with the front side down so you can punch through it.
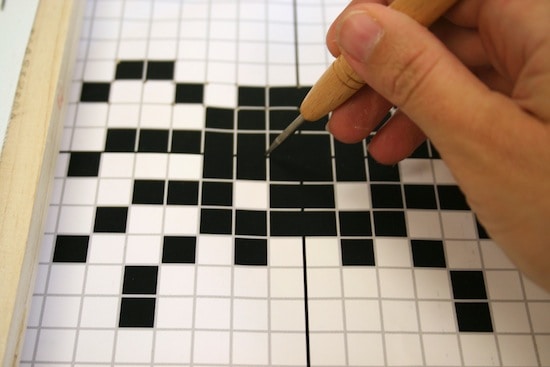
Punch the Canvas
Place the pattern inside the frame and tape down. To punch, you’ll probably want to put a piece of cardboard behind the canvas so that the tool has something to punch into.
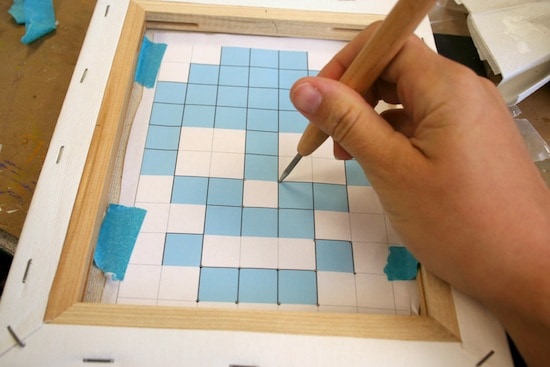
The reason I punch from the back is because 1) canvas stretches; I didn’t want to stretch the canvas a lot while I was punching, and 2)I found it easier to center the pattern on the canvas from the back. Punch your canvas patterns in all of the corners, too.
Paint the Canvas
Once the punching is done, then do the painting. Give the canvases a few coats of paint and let them dry.
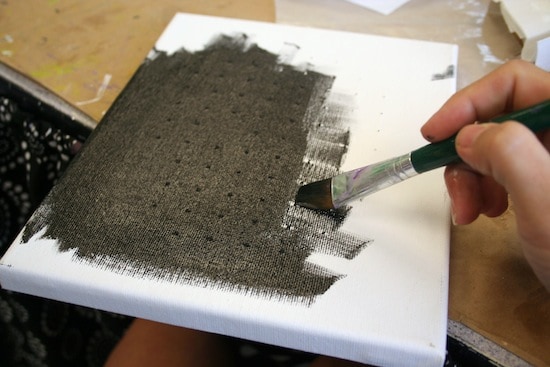
Add the Embroidery
Then thread your needle and get started! Two things. First, don’t separate the threads on the embroidery floss. You want it to be thick so it shows up nice and solid. Secondly, you need to make sure that your needle is big enough (but too huge) to accommodate this size of floss.
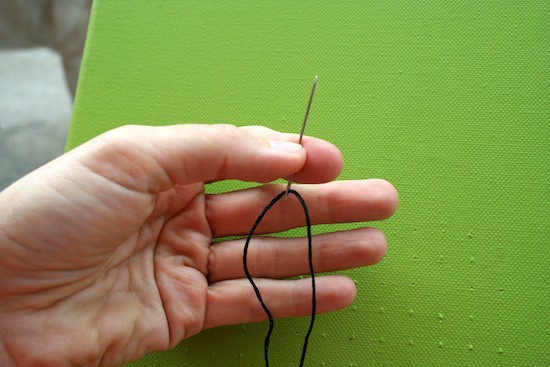
Make Xs on the front of the canvas, going through the front from top to bottom. I treated some of the longer lines like regular cross stitch, where I did half of all the Xs . . . then came back across to finish.
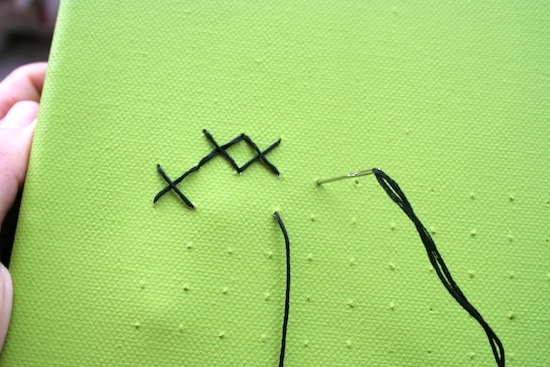
Keep the pattern nearby so that you remember what you are stitching. It can get confusing.
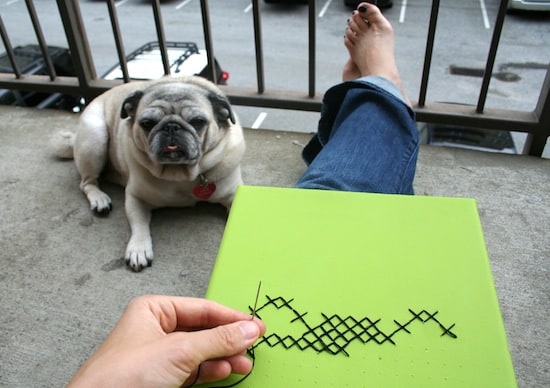
It takes awhile too, so you might have to find a special crafting friend.
And it’s okay if the back looks like a mess. No worries! Hot glue the very last thread down and you’re done!

These Halloween cross stitch canvases are going to be a holiday decorating staple for quite awhile. I love them! What do you want to cross stitch? Let me know in the comments!
I’d also love for you to check out the following projects for the holiday. Happy Halloween!
Borax Crystal Skull • DIY Halloween Doormat • Felt Ball Garland • Home Sweet Haunted Home • Lighted Pumpkin Topiary • Mesh Halloween Wreath • Milk Jug Skeleton • Pumpkin Terrarium • Shrunken Apple Heads • Skull Bean Art • Skulls Makeover • Spooky Apothecary Jars • Spooky Skull Display • Wine Cork Skeleton • Witch Hat Wreath


Oh my goodness, I want a set of these canvases in MY house!! My favorite part is the
bold color choices! Ridiculously pin-tastic ha!
It’s innovative designs like this that we’d love to see at our Outside [the Box] Link
Party. The party is every Tuesday at 5PM EST.
I love this idea! I made a few cross stitch canvases, but instead of painting the canvas, I wrapped it in fabric. I feel like these are great for easy-to-swap-out seasonal decor.