DIY Skull Decor in Minutes: A Spooky Halloween Centerpiece
Make this glowing DIY skull decor in just minutes using an apothecary jar and a few Halloween basics. It’s spooky, stylish, and so easy to create!

You know those last-minute Halloween decorating urges – when you suddenly need to add one more spooky touch to your space? That’s exactly how this DIY skull decor came to be.
A good friend and I were wandering the aisles at Michaels (as one does), and we both stopped in our tracks when we spotted this cool apothecary jar. “Okay, that would make an awesome Halloween centerpiece,” I said, and just like that, the wheels started turning.
We found the perfect skull to go inside, added a little paint for drama, and before we knew it – bam! A creepy-but-chic skull display that takes just minutes to put together.

This is one of those crafts that looks way more impressive than it is complicated (my favorite kind). If you’re short on time but still want a handmade touch in your Halloween decor, you’re going to love this one. It takes just a few minutes.
Okay, maybe more than just a few minutes, but it really doesn’t take long at all.
I really love this spooky decor and am impressed that we came up with it so quickly. Here’s what you’re going to need to get started.
Gather These Supplies
- Apothecary jar – ours was 18.5″
- Skull – we got this at Michaels too; he has a removable back skull and a votive fits inside
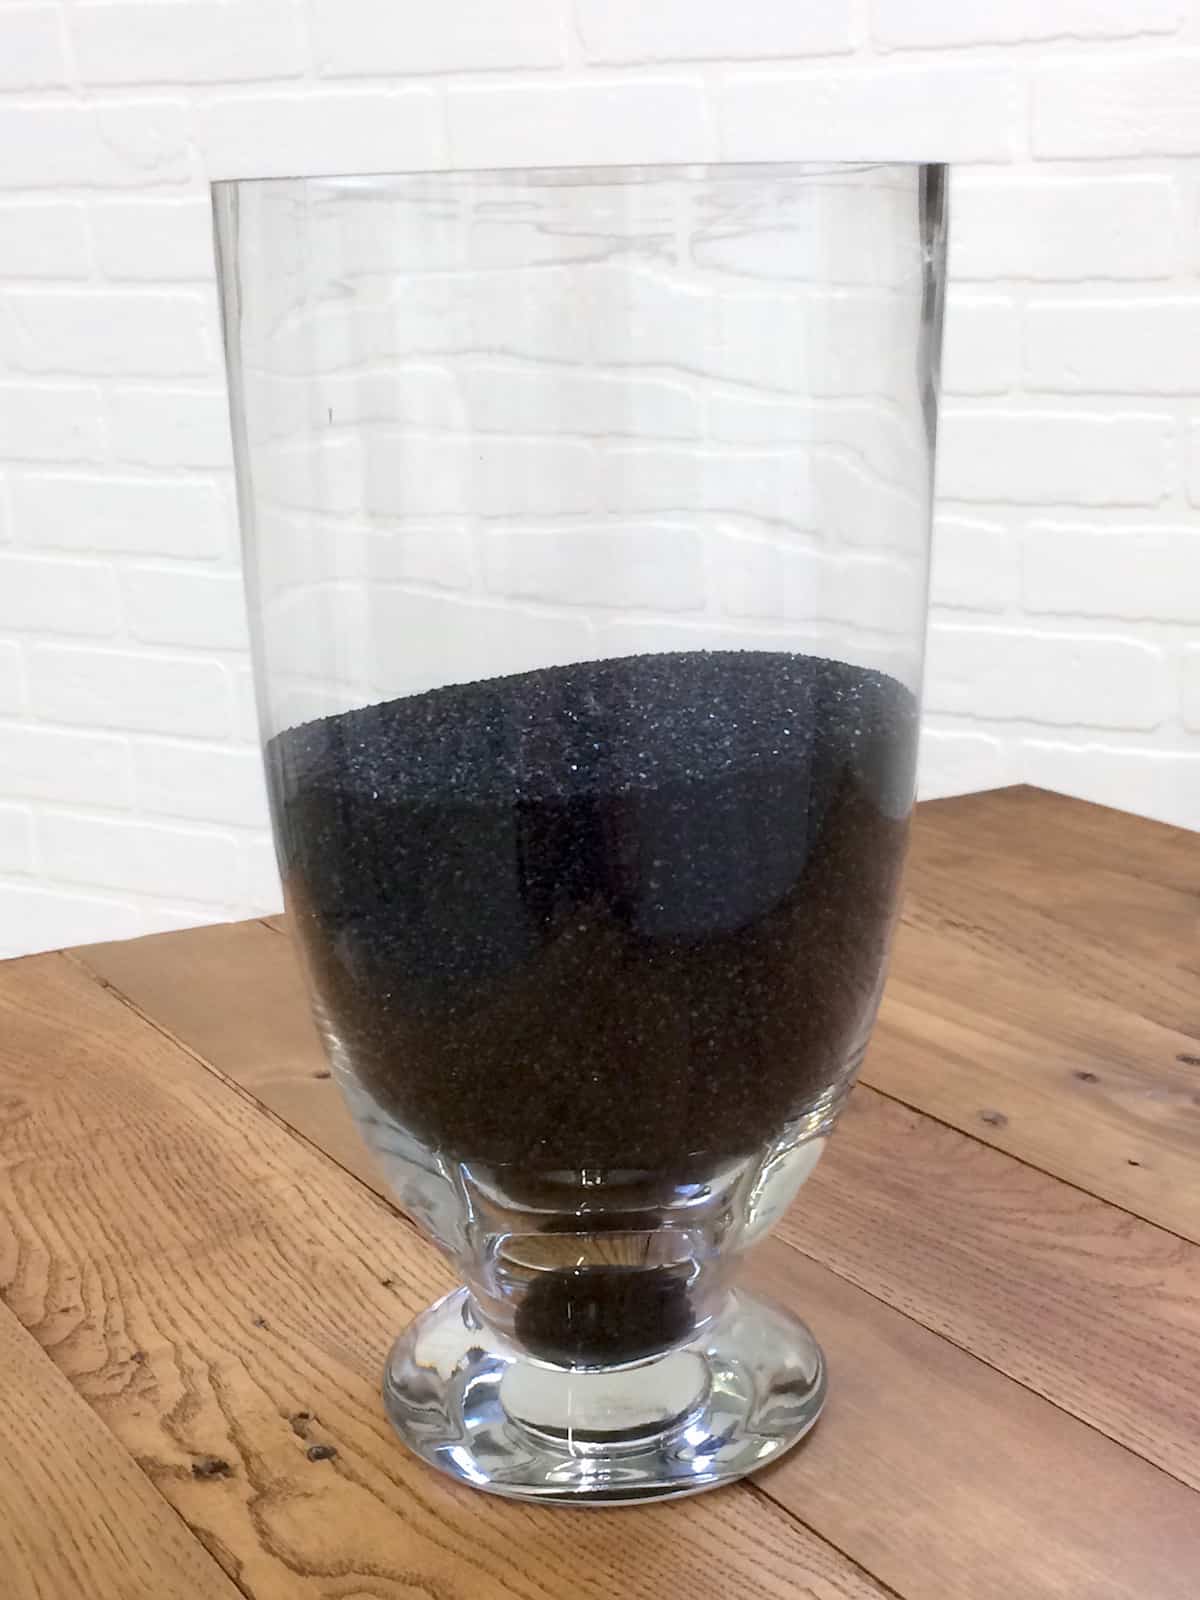
- Decorative stone granules – in the floral section
- FolkArt Multi-Surface Paint, Pure Black
- 1/4″ stencil tape
- Paintbrush
- LED votive (for the inside of the skull)
The glow from the inside of the skull is so perfect for the holiday. Perfectly spooky! Get the printable how to card below:

DIY Halloween Skull Decor
Equipment
Materials
- Apothecary jar
- Plastic skull
- Decorative stone granules
- Multisurface paint
- Stencil Tape
- LED votive candle
Instructions
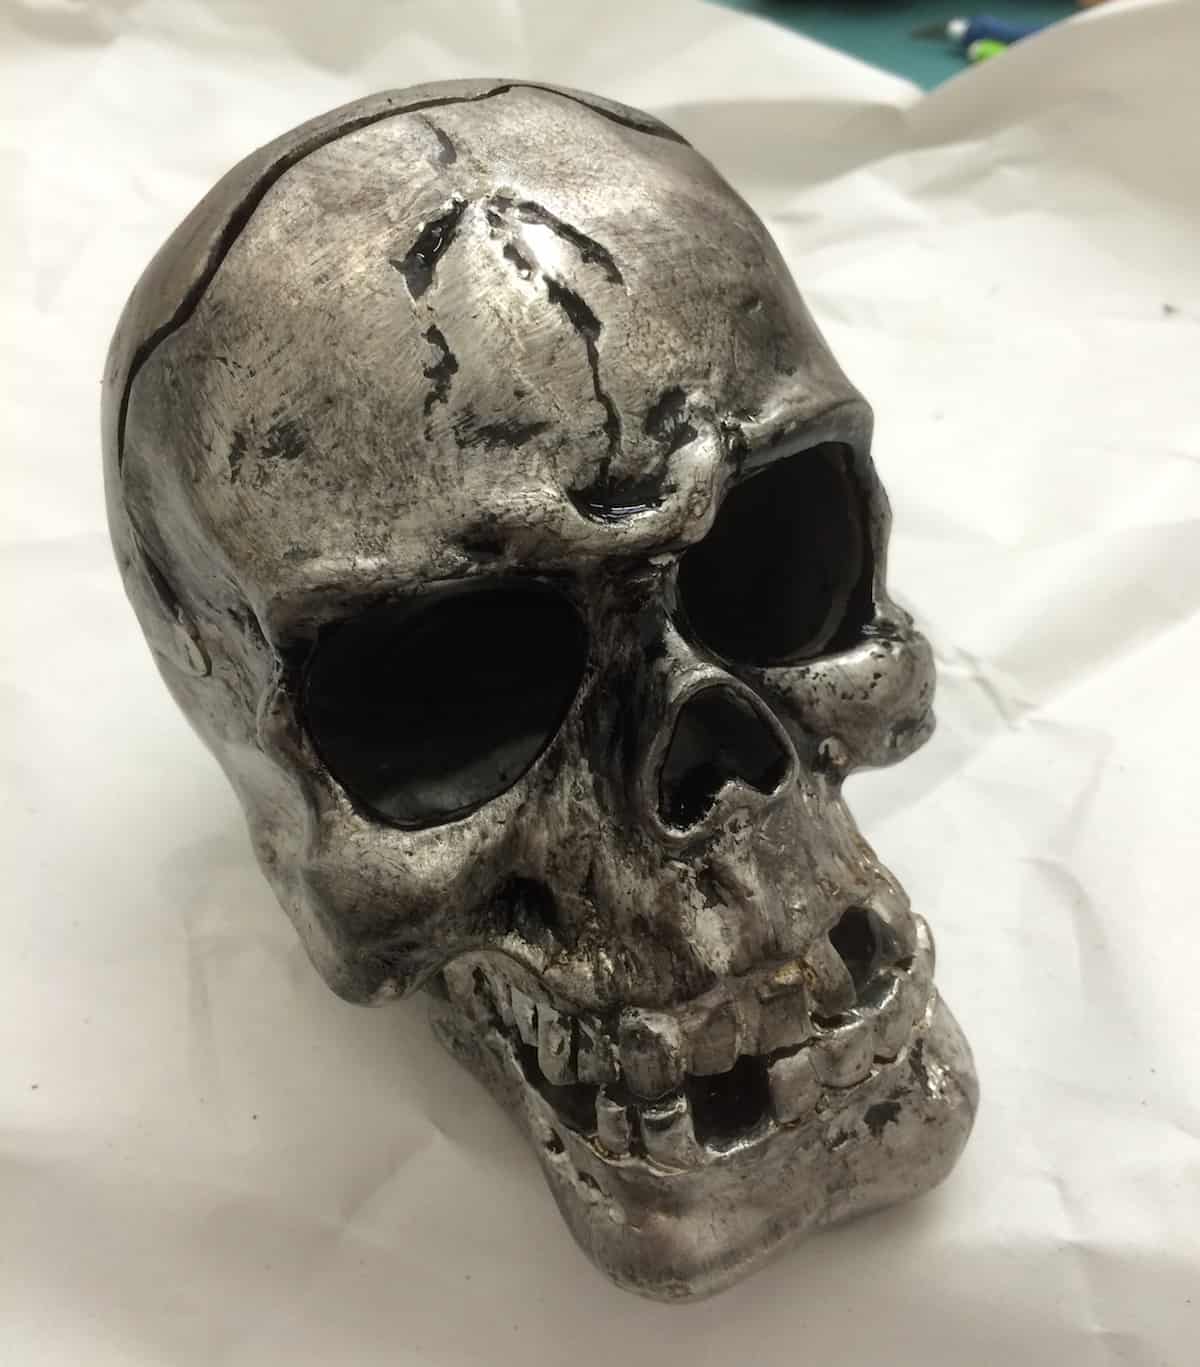
- Start by making the skull spookier. Using the paintbrush, coat the entire skull with a layer of black paint.
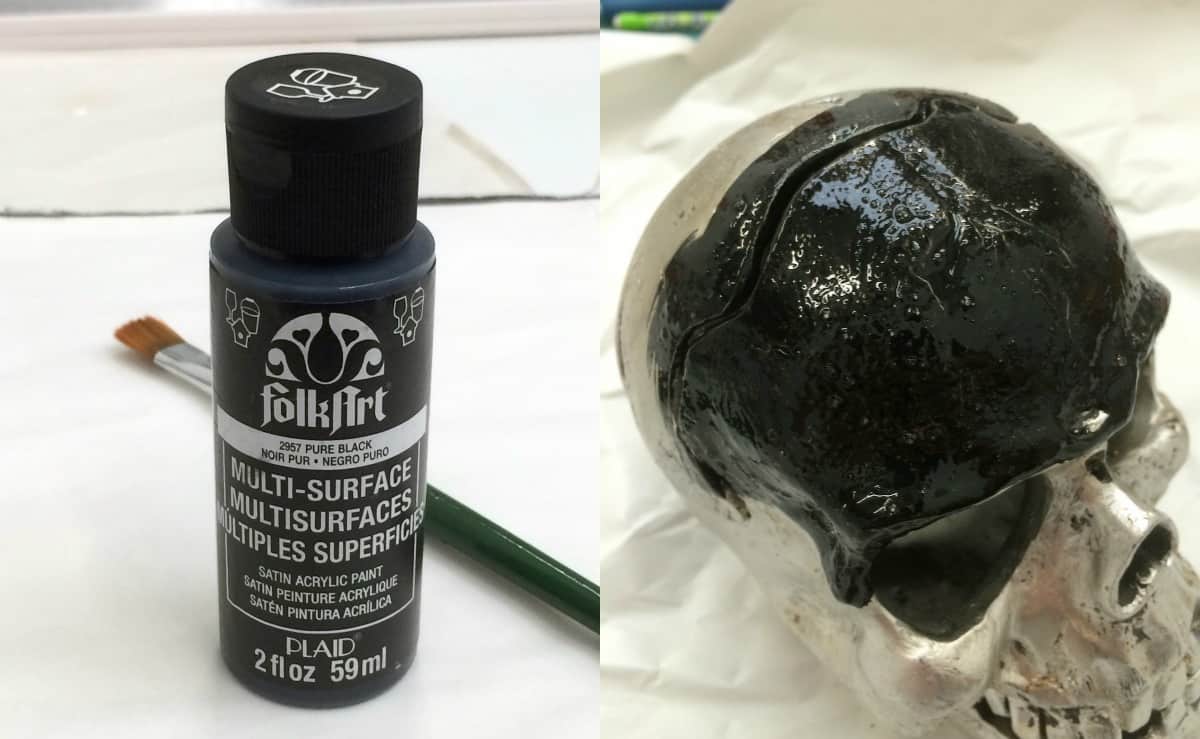
- And then before it dries, you wipe the majority away with paper towels. Wipe away as much as you like to get the spooky effect that you prefer.
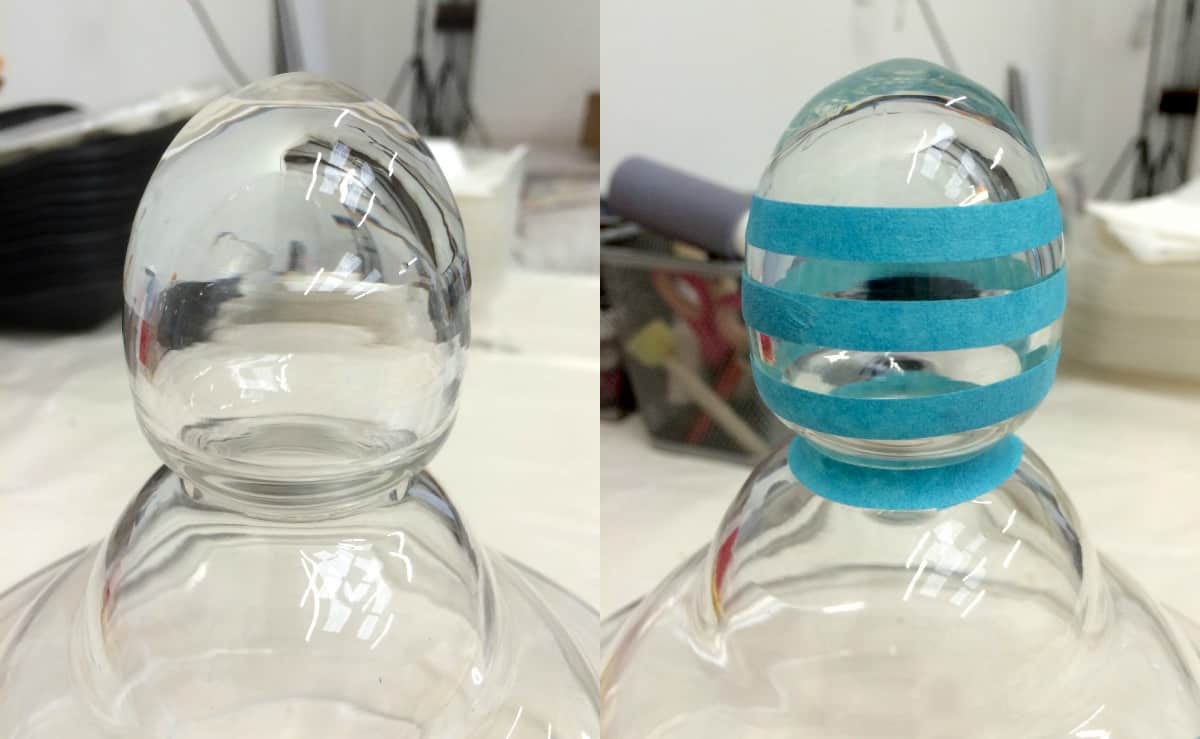
- To decorate the jar handle, wrap some 1/4" stencil tape around the knob as shown.
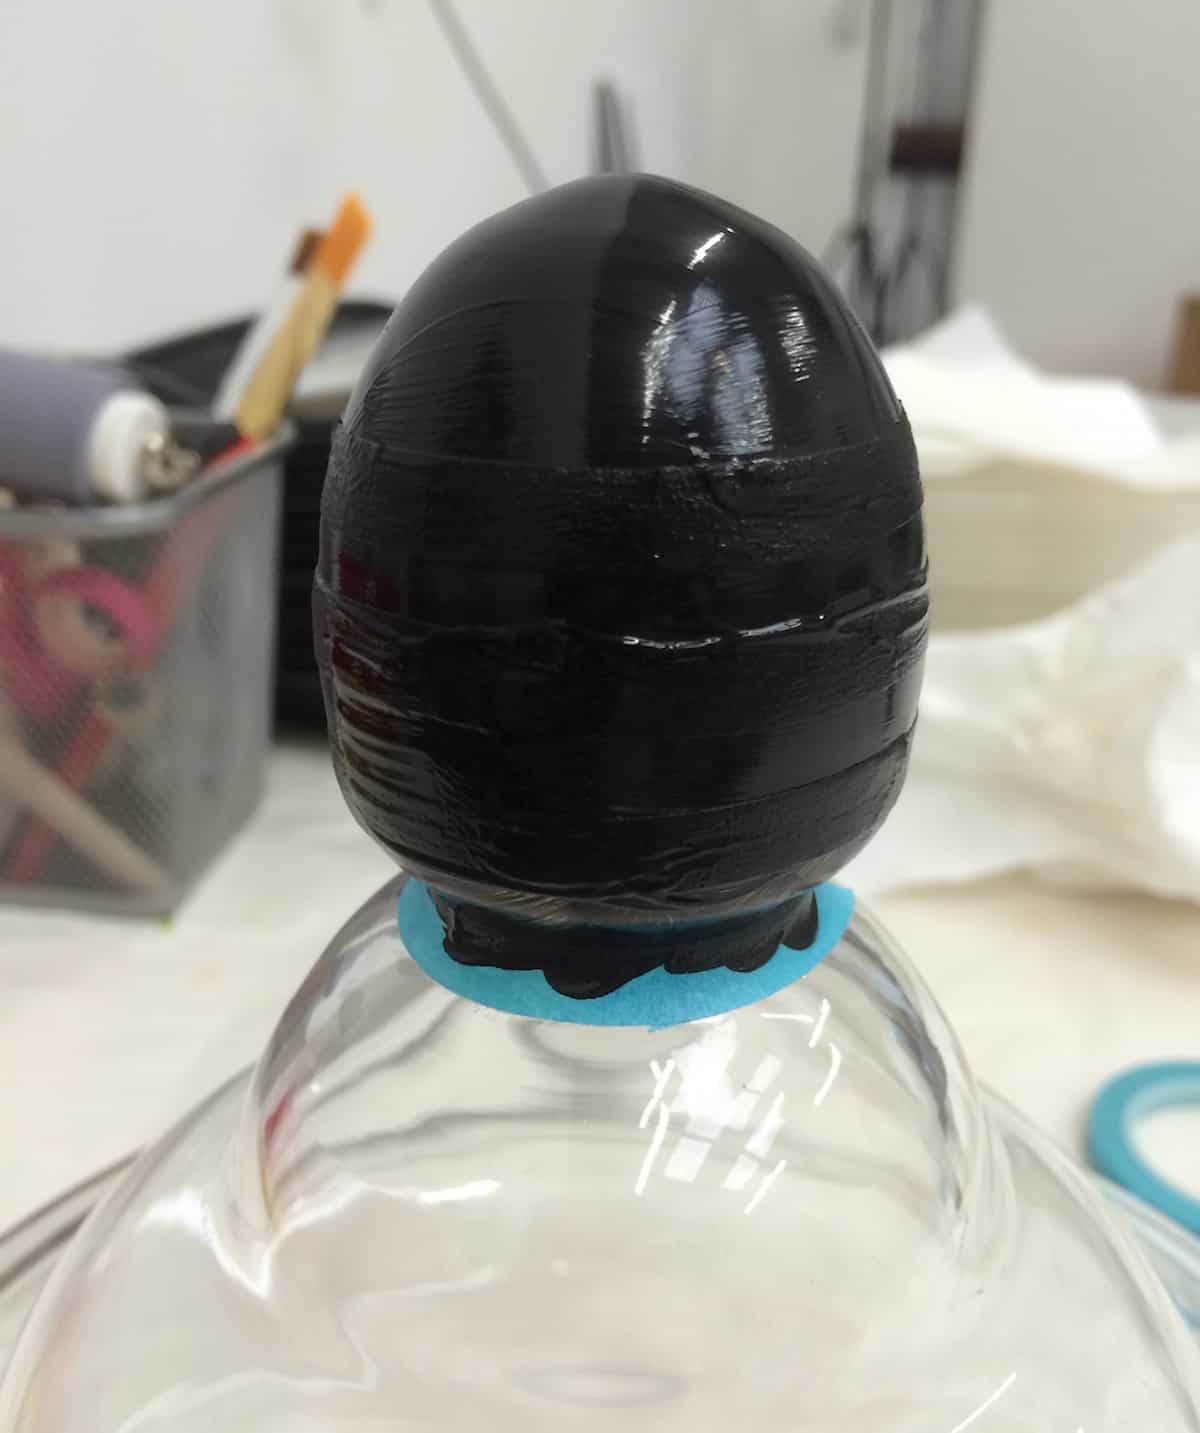
- Then paint with your multi-surface paint. Remove the stencil tape right away and let dry.
- Add the stone granules to the jar. Put the LED votive into the skull and place into the jar, then add the lid.
If you try this project, let us know in the comments. Happy Halloween. Oh, plus check out these other ideas!
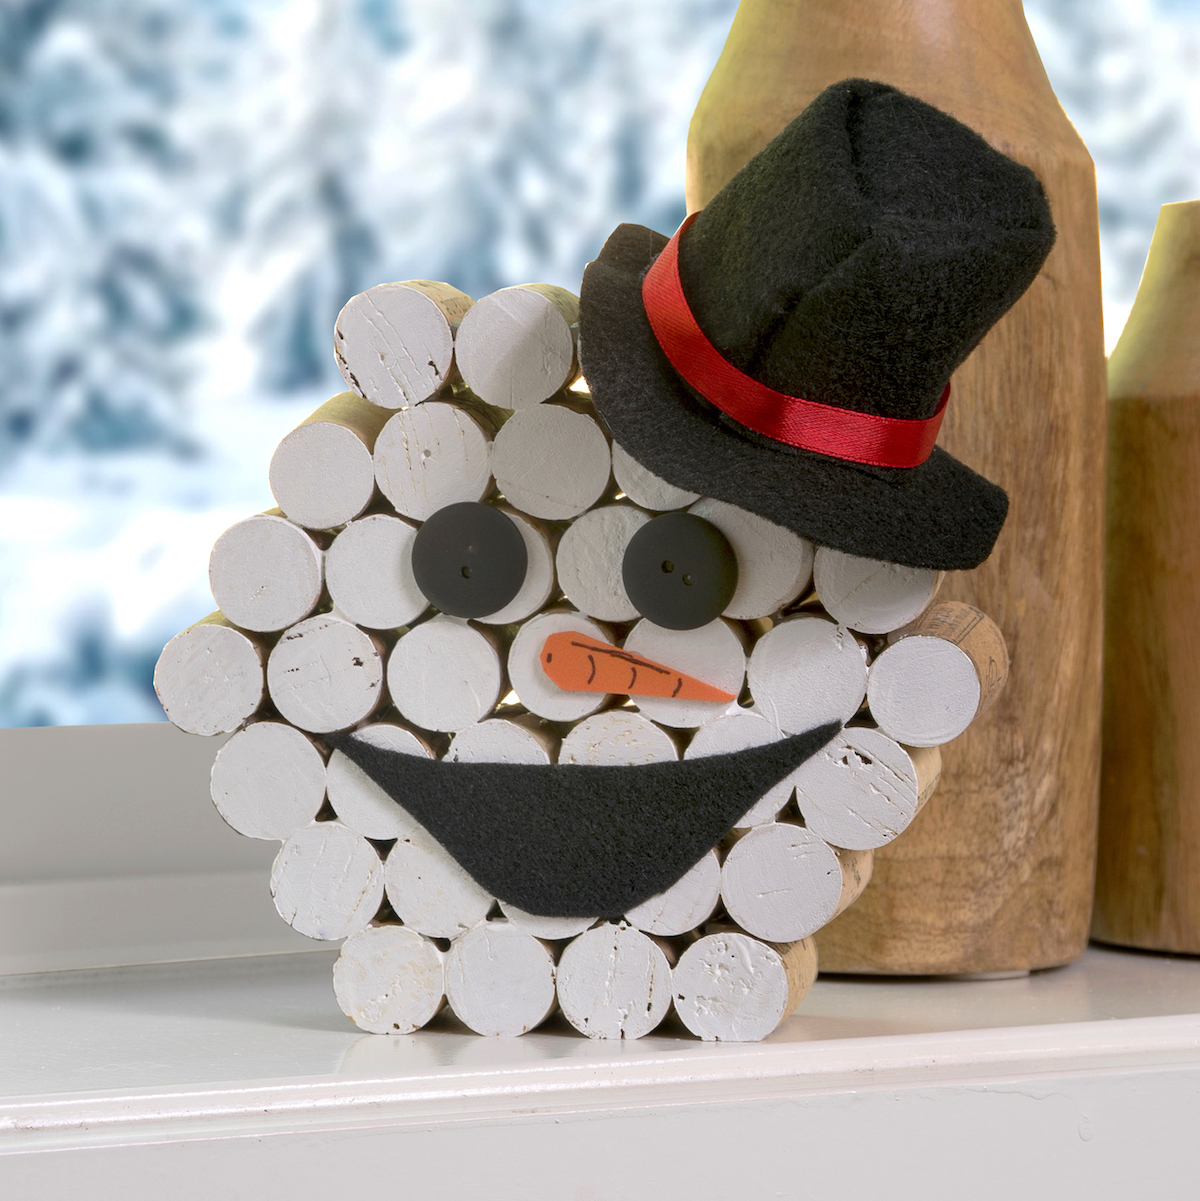
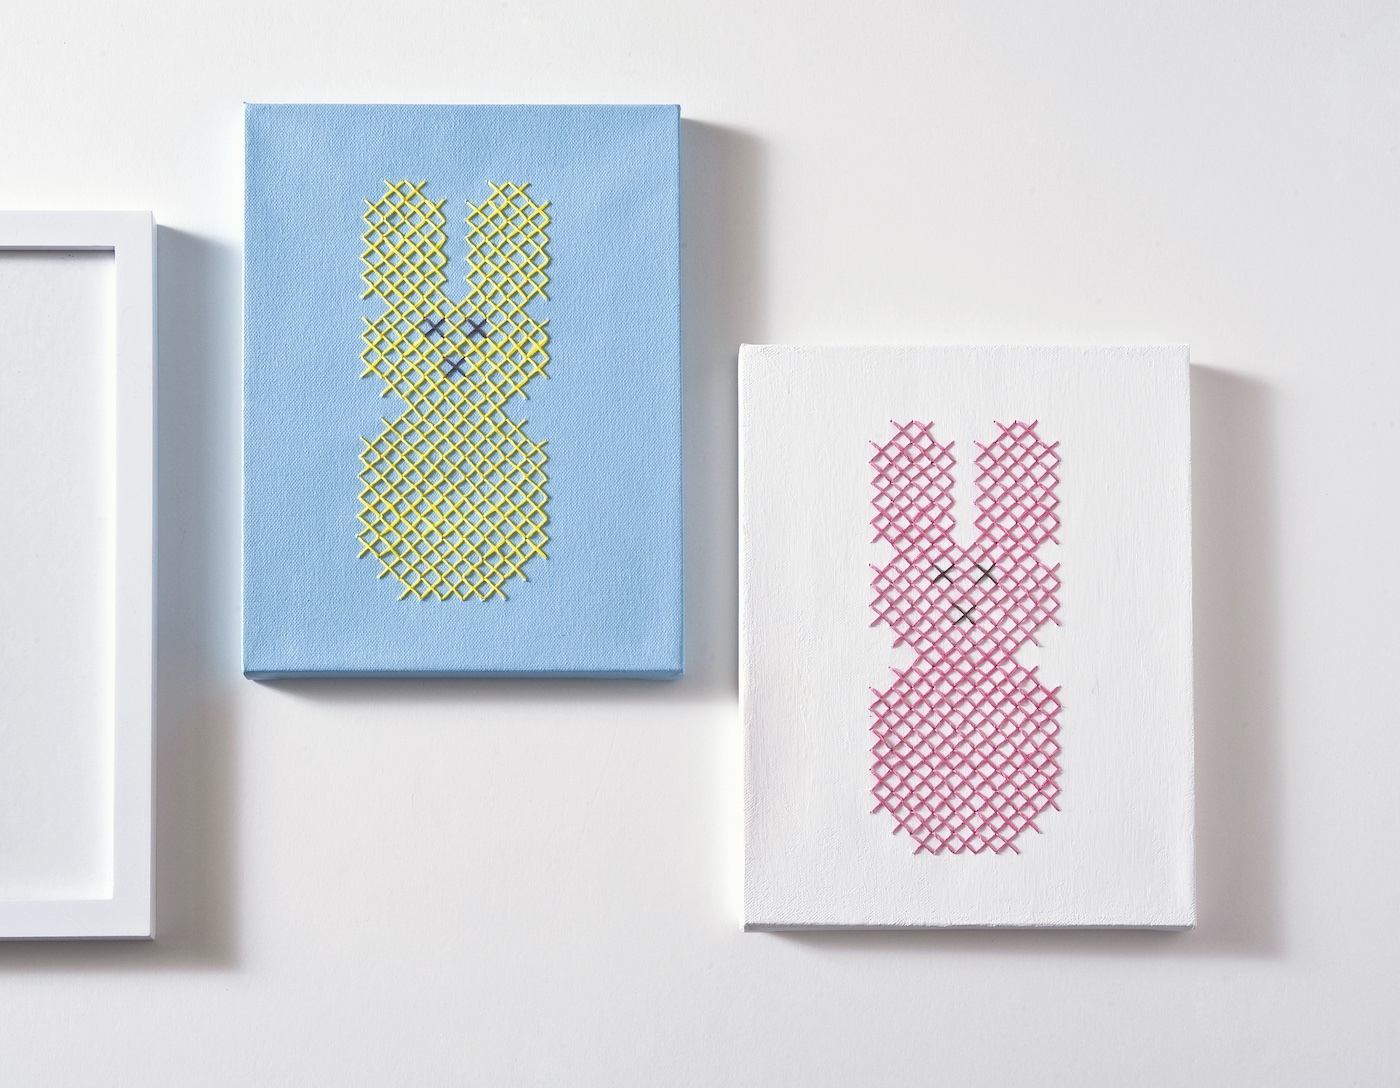
Borax Crystal Skull • Cross Stitch Canvases • DIY Halloween Doormat • DIY Skull Earrings • Felt Ball Garland • Home Sweet Haunted Home • Lighted Pumpkin Topiary • Jack O’ Lantern Jars • Mesh Halloween Wreath • Pumpkin Terrarium • Shrunken Apple Heads • Skull Bean Art • Skulls Makeover • Spooky Apothecary Jars • Wine Cork Skeleton • Witch Hat Wreath
These skulls are perfect for some last minute Halloween decor!
Paige
https://www.thehappyflammily.com/
Love this crafts!
Please an you tell me where I can get the bowl with the birdclaw holder? ( left side on the photo)
Greets from a halloween-maniac from germany.
Stef
Hi Stef! I bought it at Michaels several years ago! I would check out Amazon: https://amzn.to/3WFqvwB
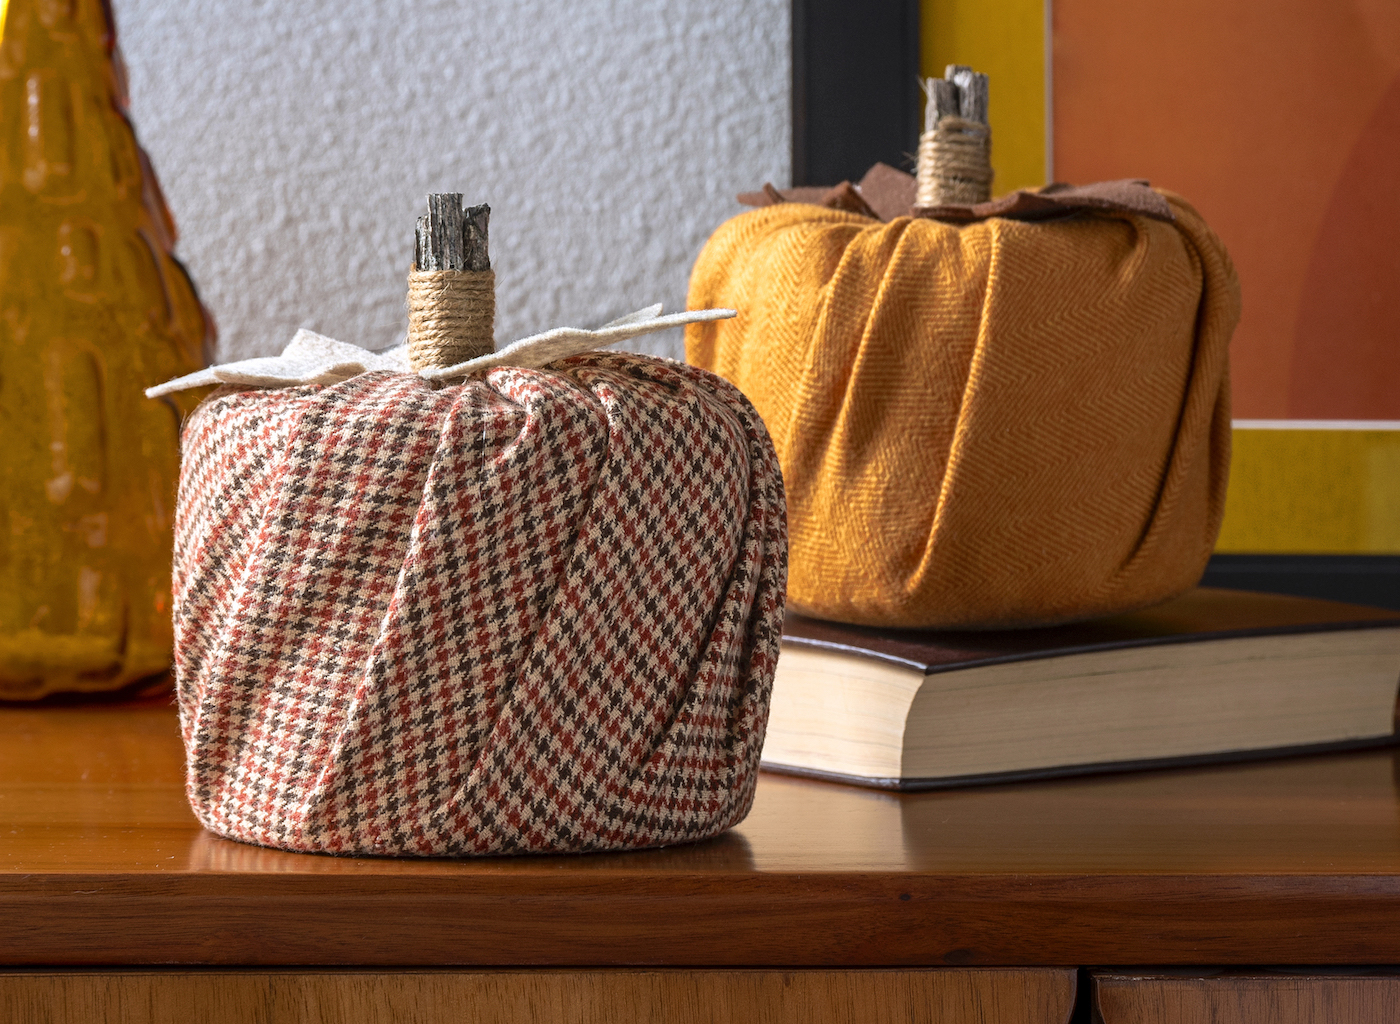
Can you tell us more about the twine/rope pumpkin on the right? TY
Hi Kelly! That was from Target a few years ago. But it would be cool to duplicate!!