Make DIY Photo Ornaments That Capture Holiday Joy
Create a DIY photo ornament to personalize your Christmas tree! This easy craft is perfect for cherishing holiday memories in a unique way.
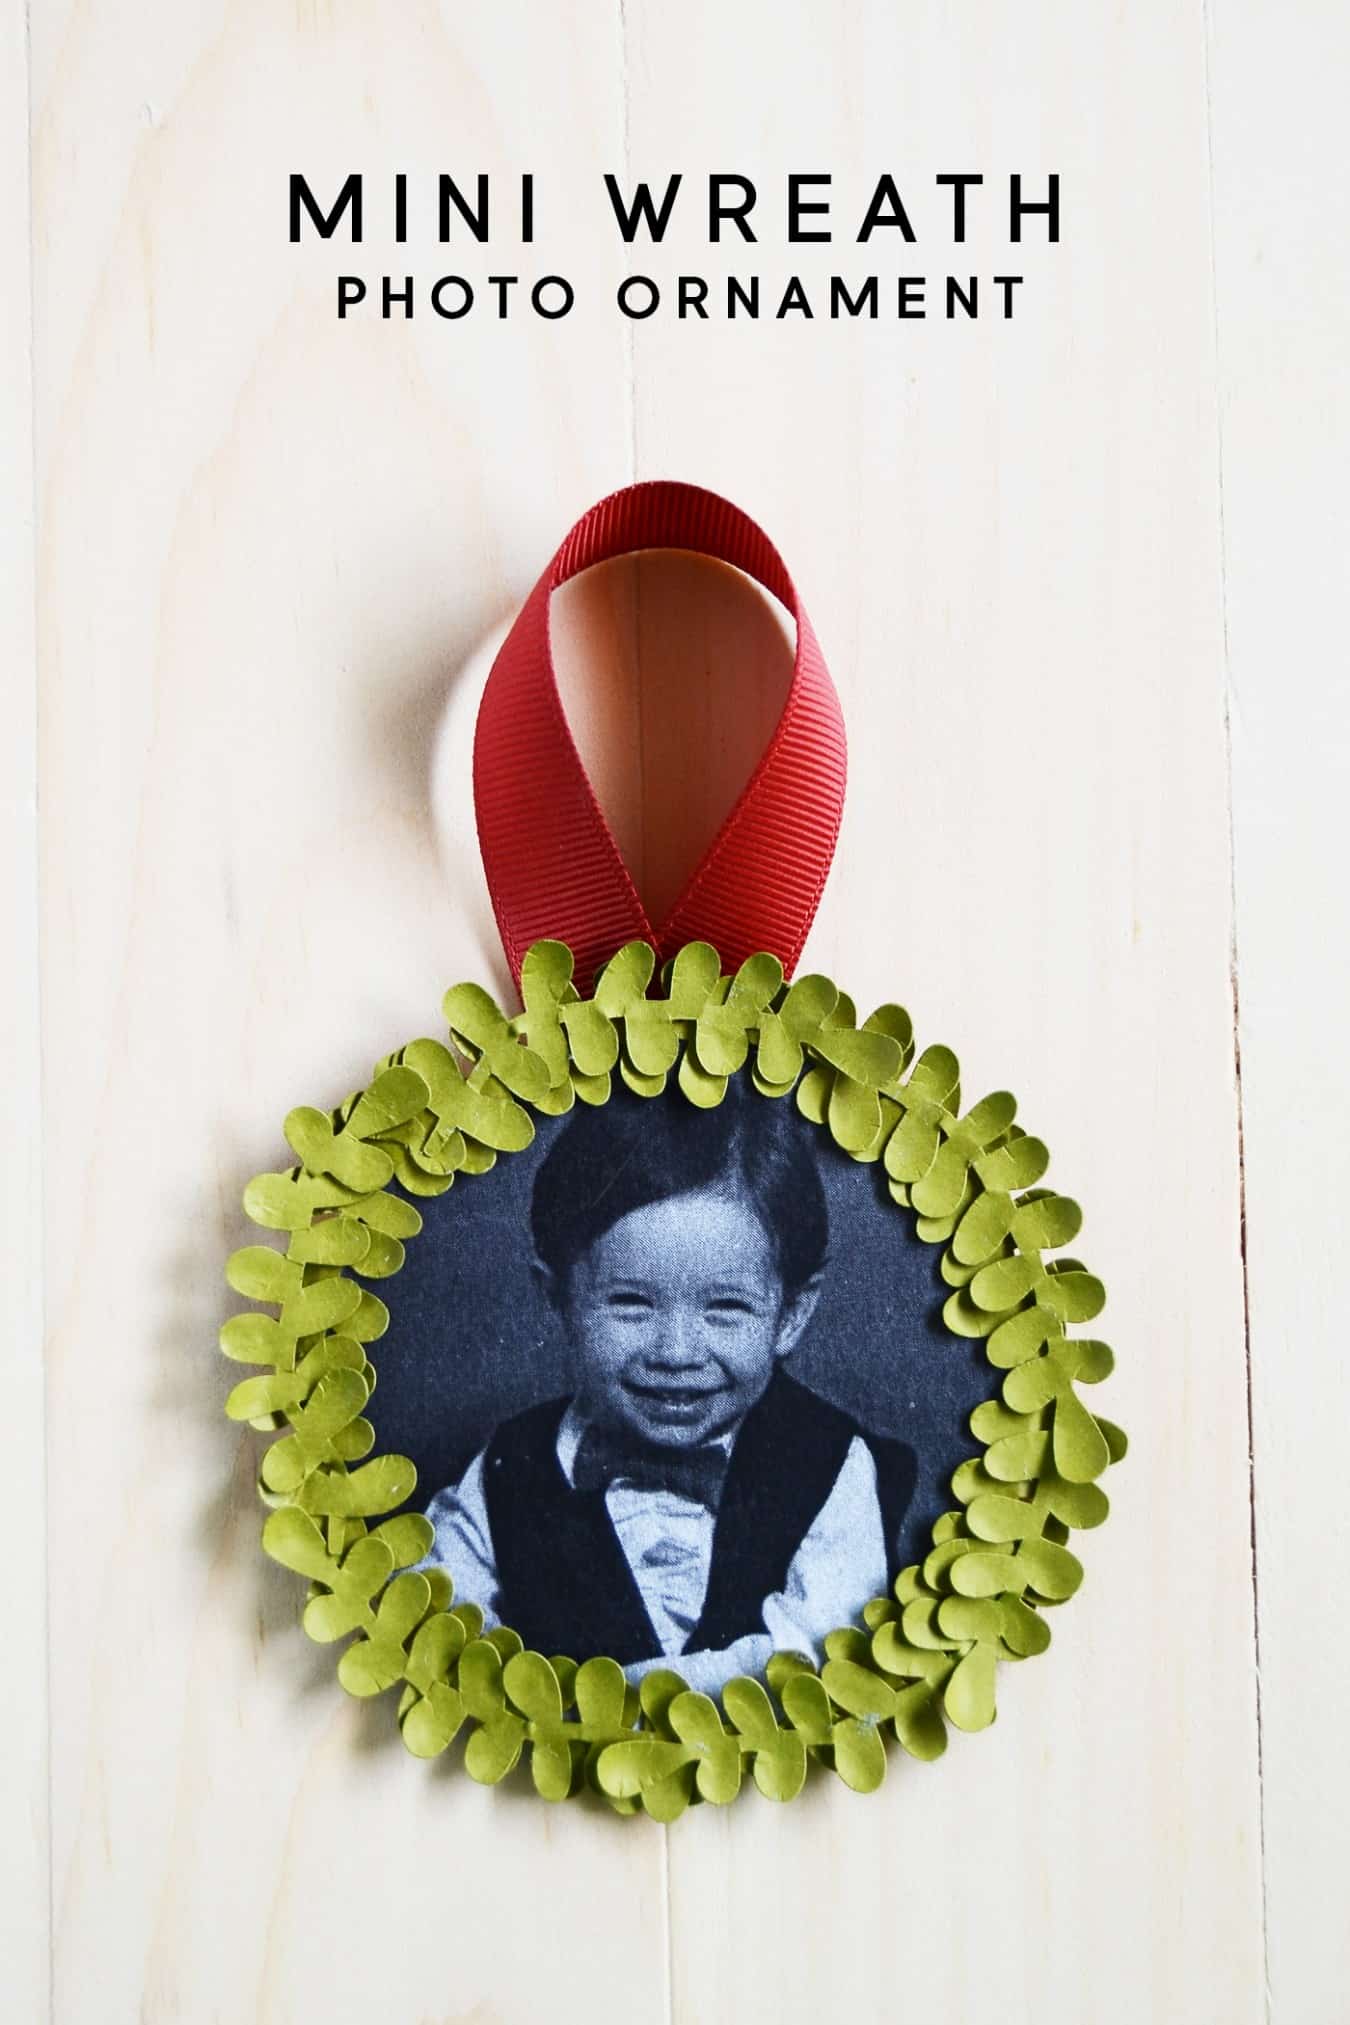
Mini wreaths are all the rage this holiday season, popping up in everything from door decor to gift toppers. But why not put a fresh twist on this trend? That’s exactly what I did by turning the concept into a DIY photo ornament!
This simple project combines the charm of a miniature wreath with the sentimental touch of personal photos, creating a one-of-a-kind keepsake perfect for any Christmas tree.
These ornaments make meaningful gifts for everyone on your list! Grandparents will love seeing their grandchildren’s smiling faces hanging on their tree, while newlyweds can capture the magic of their first holiday together.
Beyond gifting, these ornaments are a fun and creative way to personalize your holiday decor. Imagine a tree filled with tiny moments from the past year, or a set of matching ornaments that bring a cohesive, handmade touch to your festive theme.
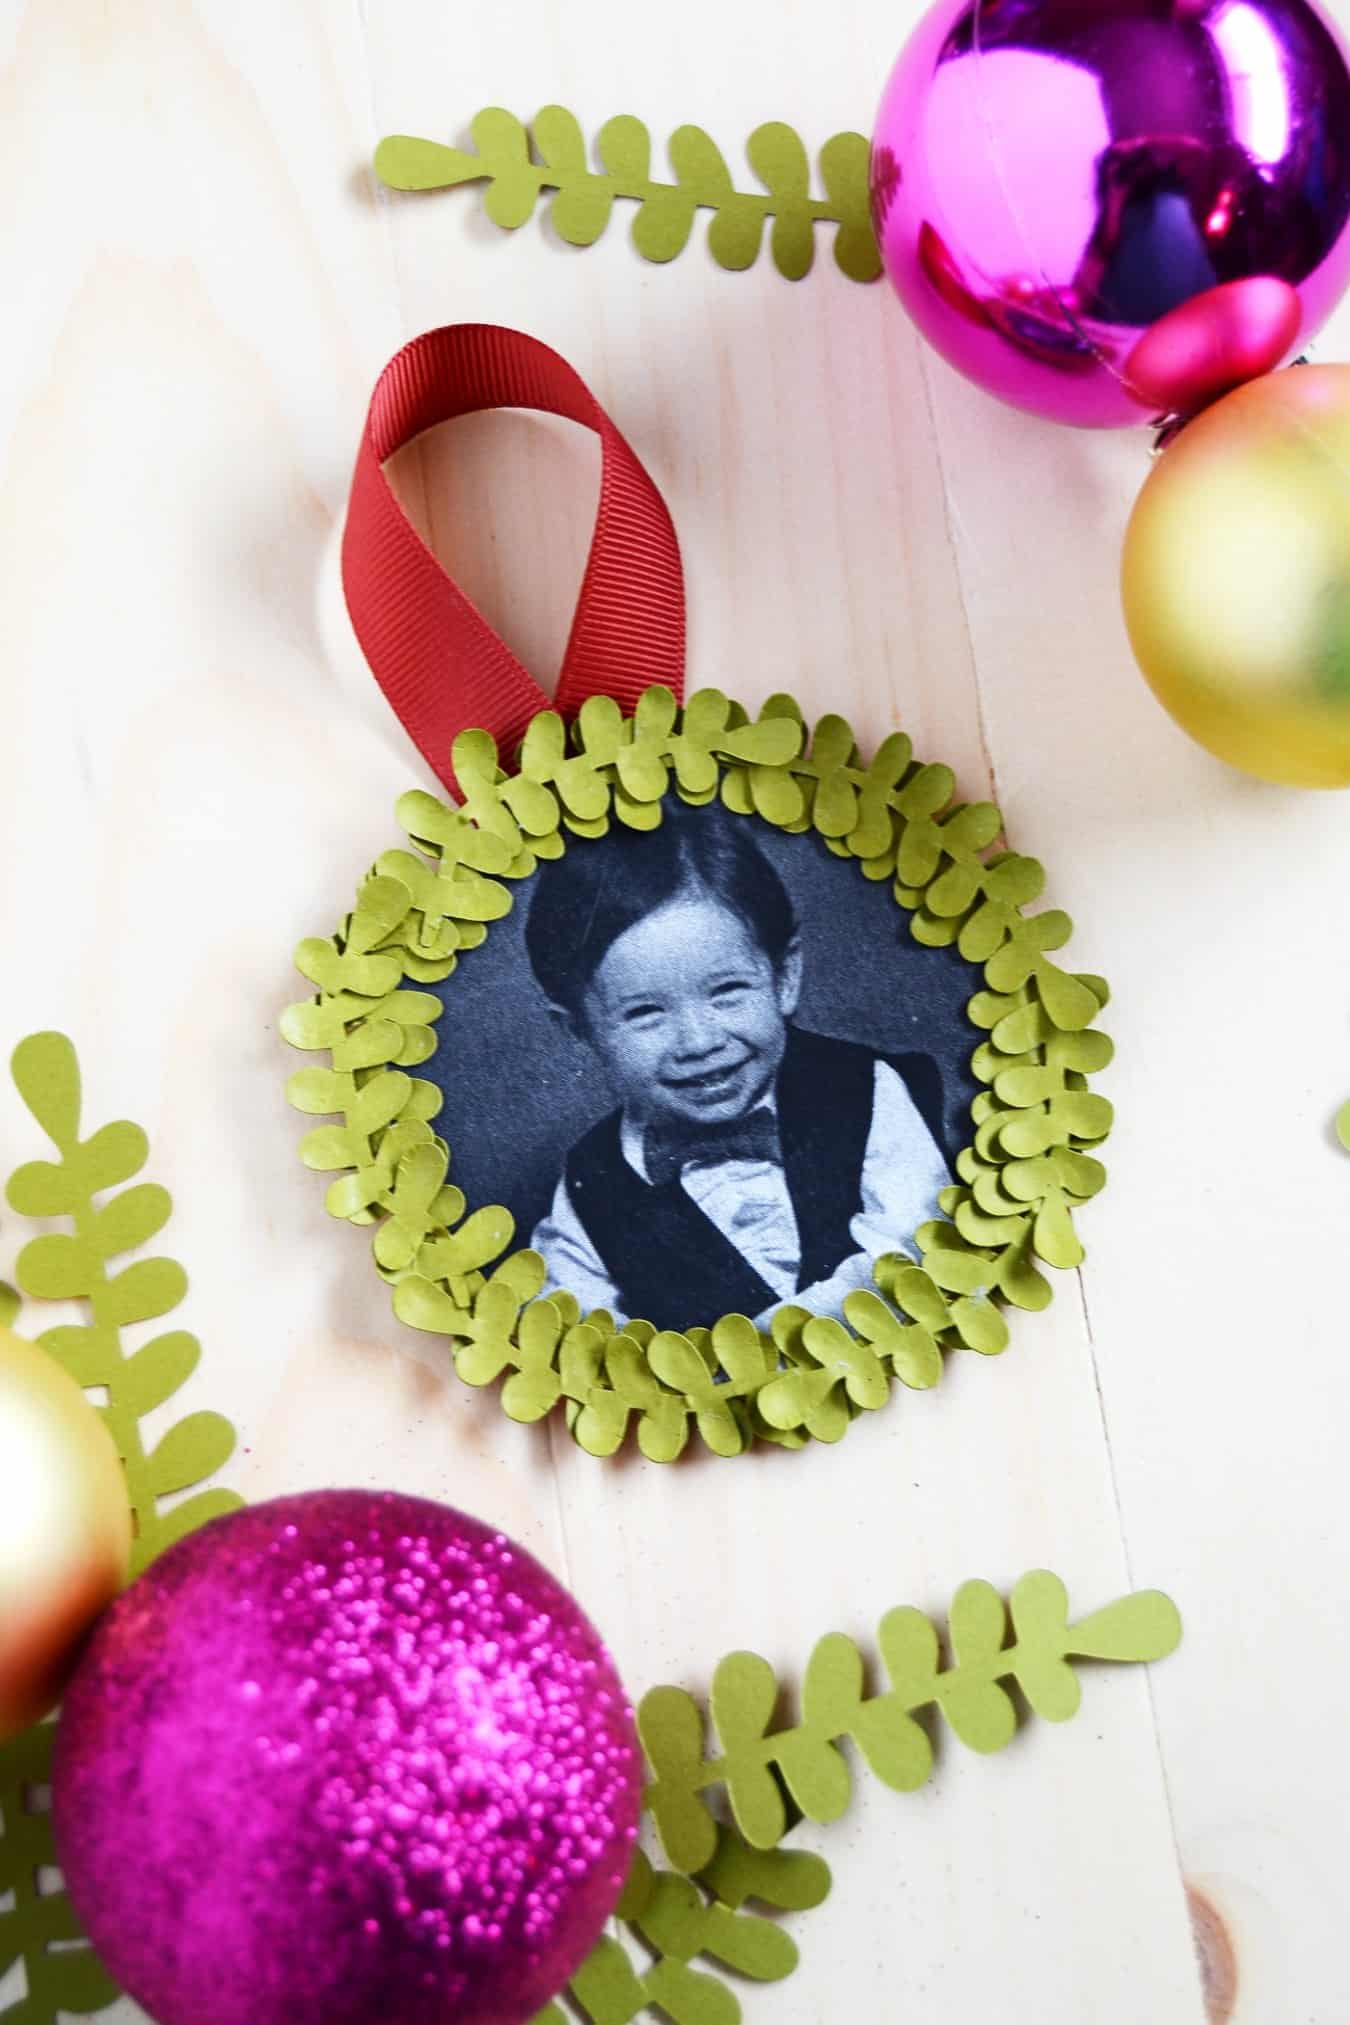
Ready to get started? Below you’ll find all the supplies and step-by-step instructions you need to create your very own DIY photo Christmas ornaments.
They’re as easy to make as they are fun to gift – and they’ll become treasured keepsakes for years to come!
Supplies
- Flat wooden rounds
- Pictures
- Scissors
- Glue or Mod Podge
- Template for wreath leaves – download them here
- Green cardstock
- Ball-tip tool or similar tipped object
- Red grosgrain ribbon
A bunch of these would look perfect on grandma’s tree with a picture of each of her grandkids. In fact, these are great Christmas ornaments for kids to make and gift.
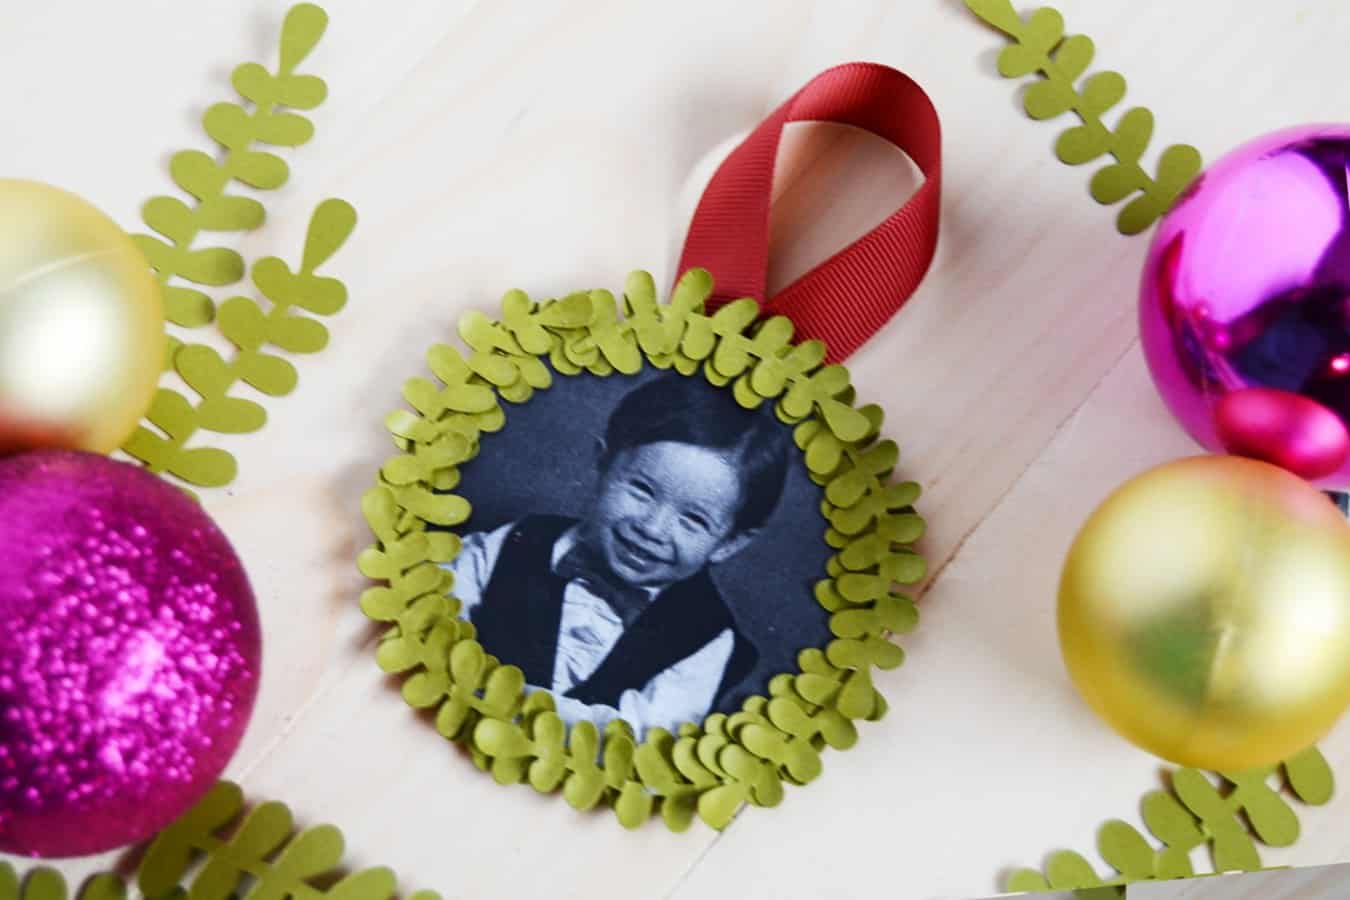
Get the printable how to for this project below:
DIY Photo Ornament
Equipment
- Pen optional
- Ball-tip tool or similar tipped object
Materials
Instructions
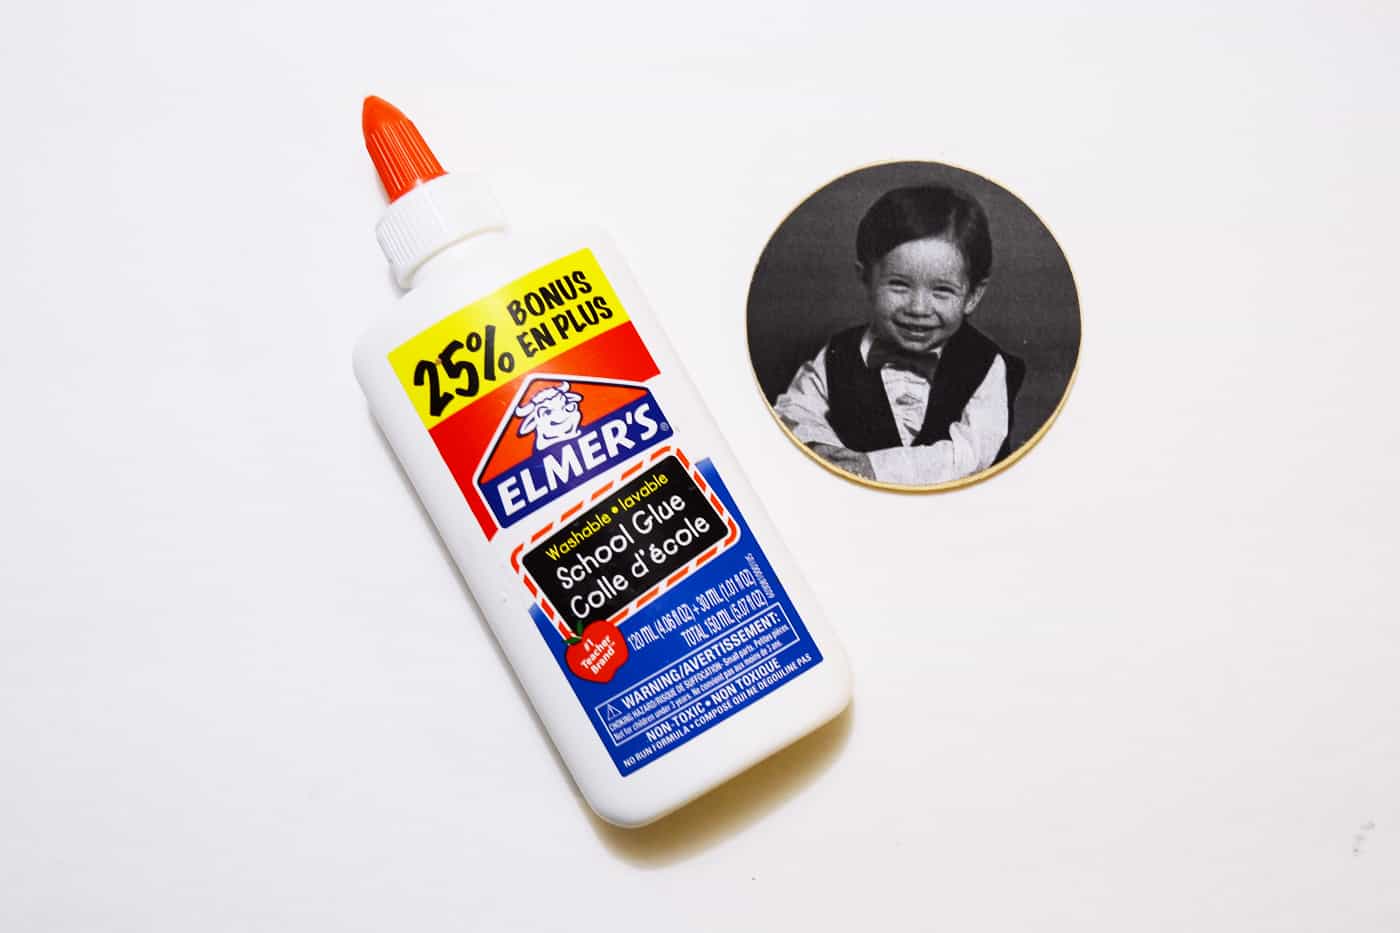
- Cut out the photos – use the flat wooden rounds (mine was about 3" in diameter) as a guide. Make sure your photos are centered on the ornament.
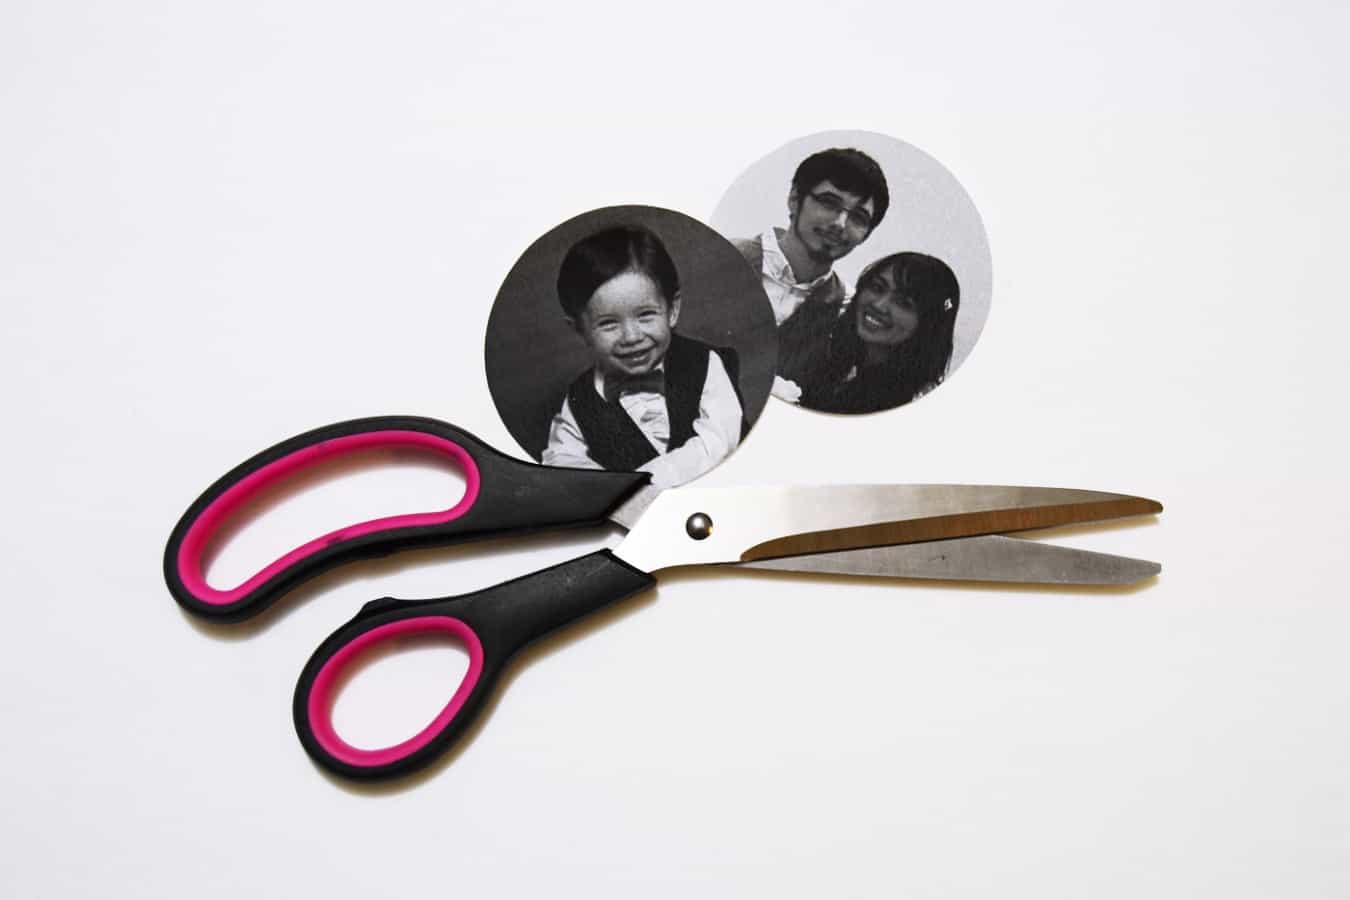
- Adhere the photo onto the circle round with glue and smooth. Let dry for 20 minutes.
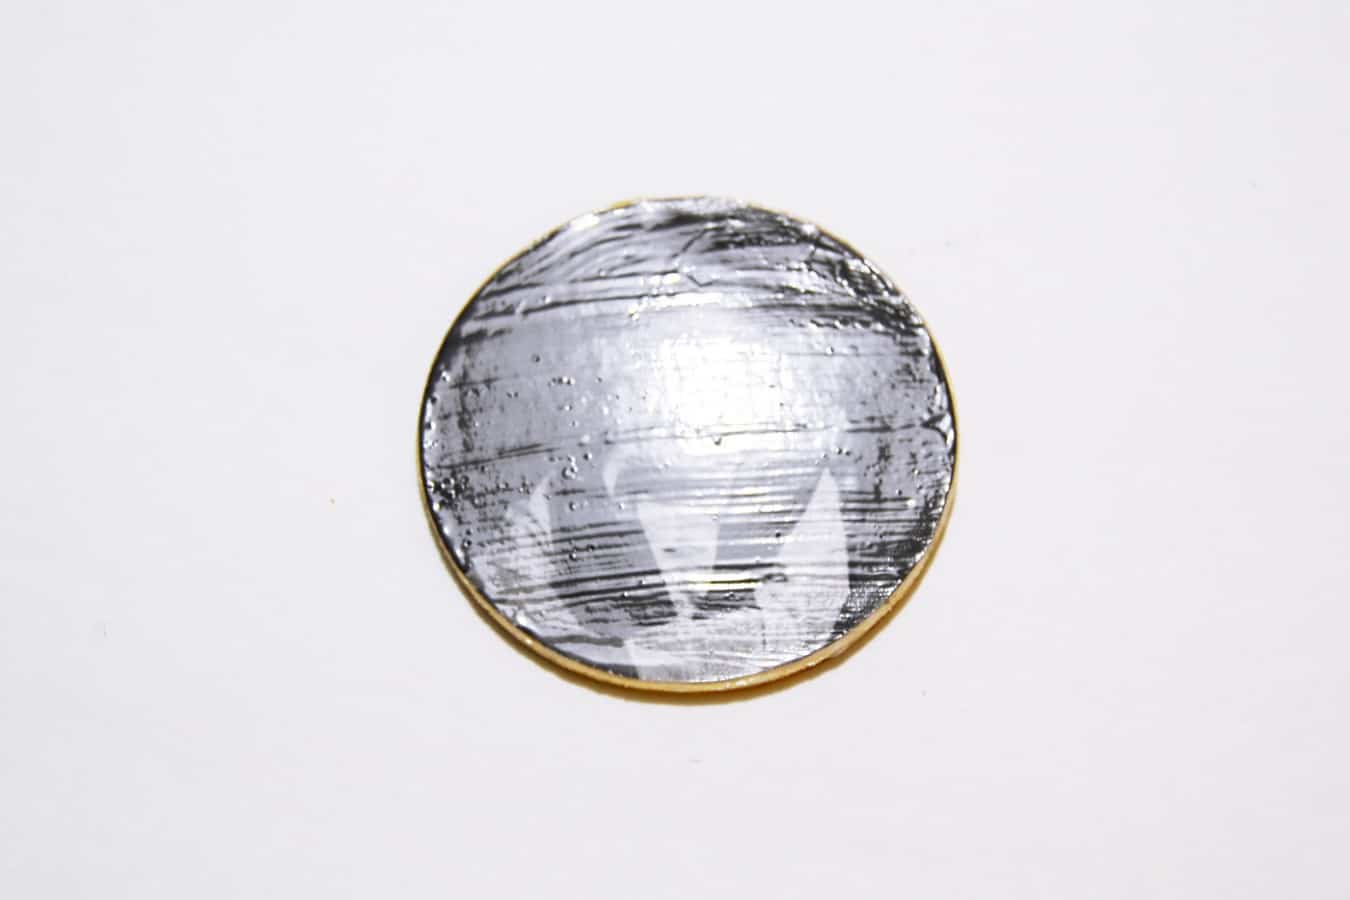
- Apply a layer of glue on top to secure your photo and to further protect it from elements (this is specially important if you just printed your photos using a home printer).
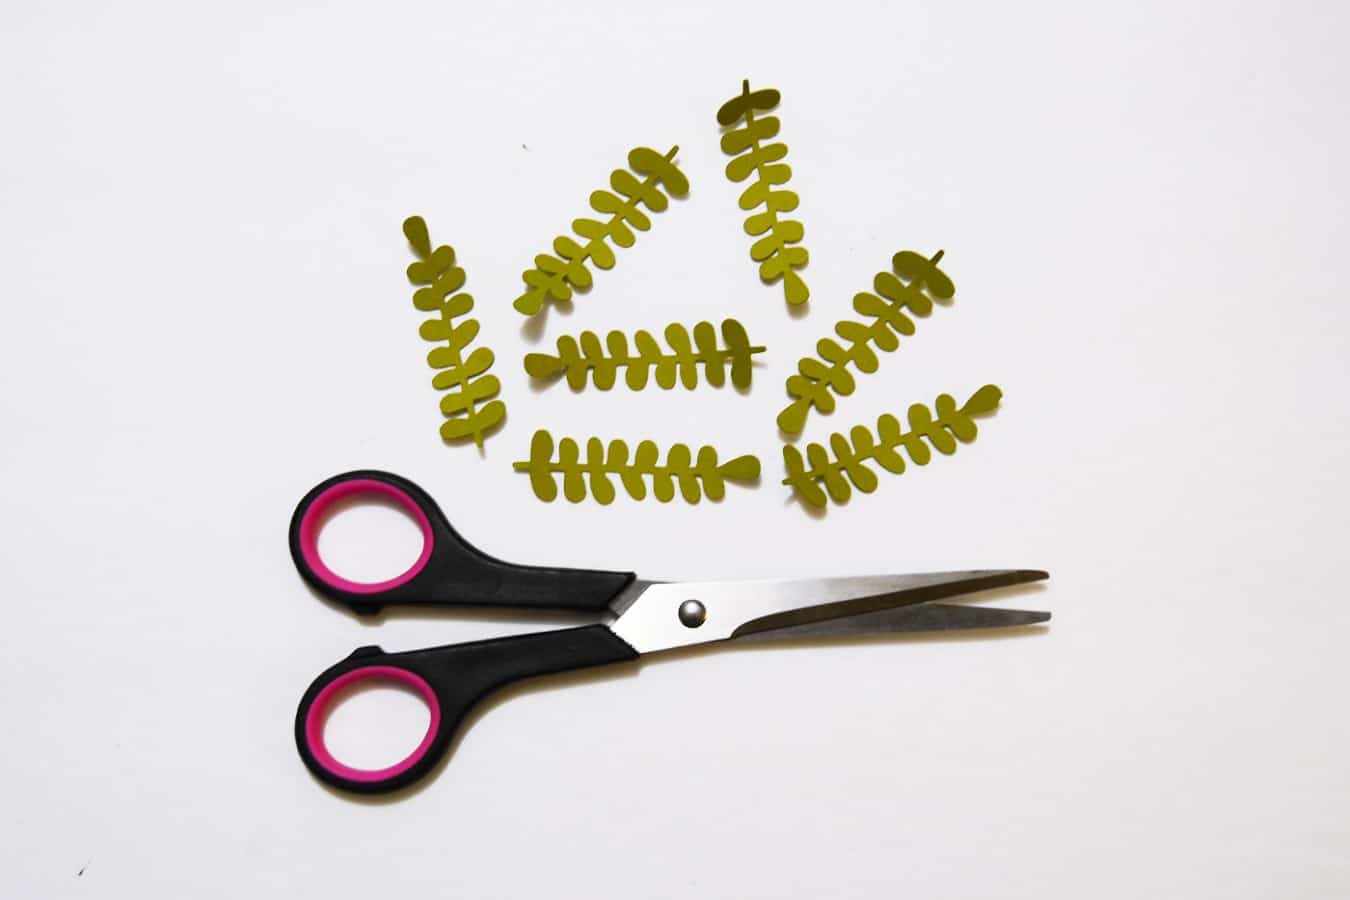
- Cut out your leaves on green cardstock paper – you can definitely cut this by hand, or use a die-cutter for convenience. You can trace the template provided! Alternatively, you can purchase leaf embellishments at the craft store or online.
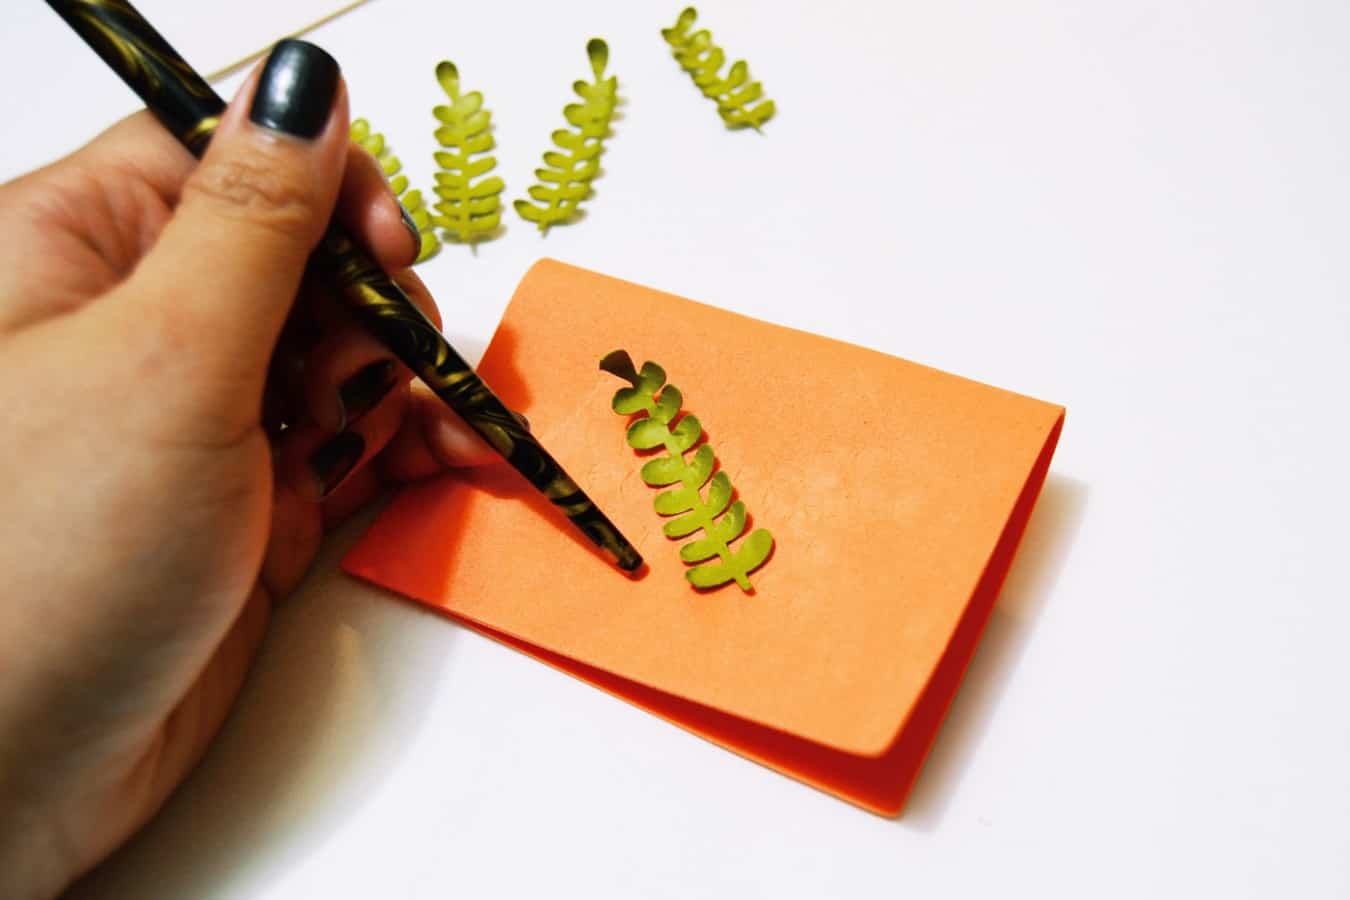
- Burnish your leaves to give them a more natural feel, using the ball tip tool. I used the tip of my calligraphy pen to burnish my leaves. You also want to burnish it on top of something smooth, such as fun foam.
- Adhere the leaves around the photo using the glue.
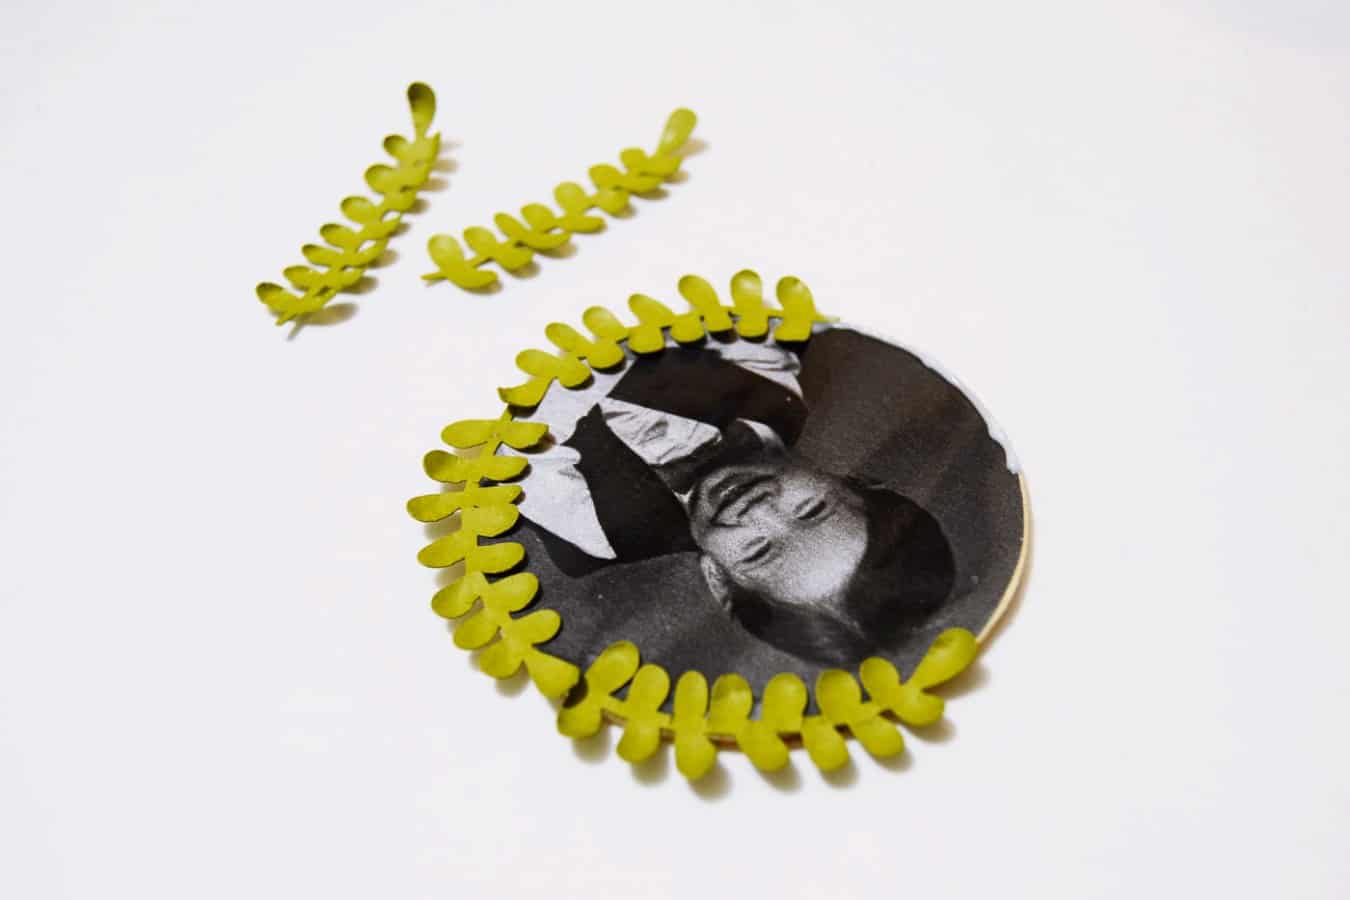
- Adhere a second layer of leaves going the opposite direction of the first layer to add more dimension and a natural feel to your wreath.
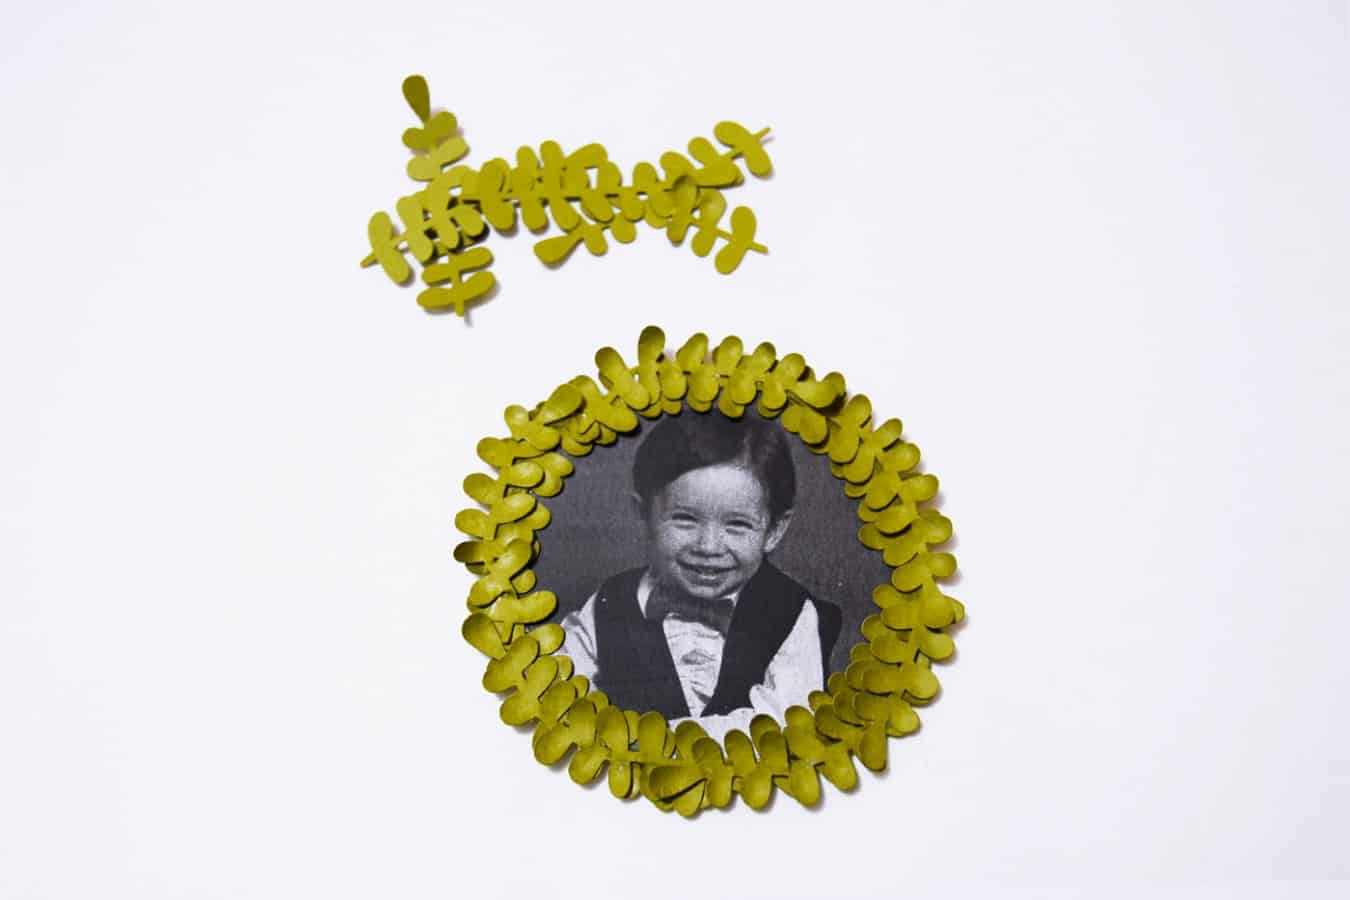
- Attach a grosgrain ribbon on the back of the ornament to hang.
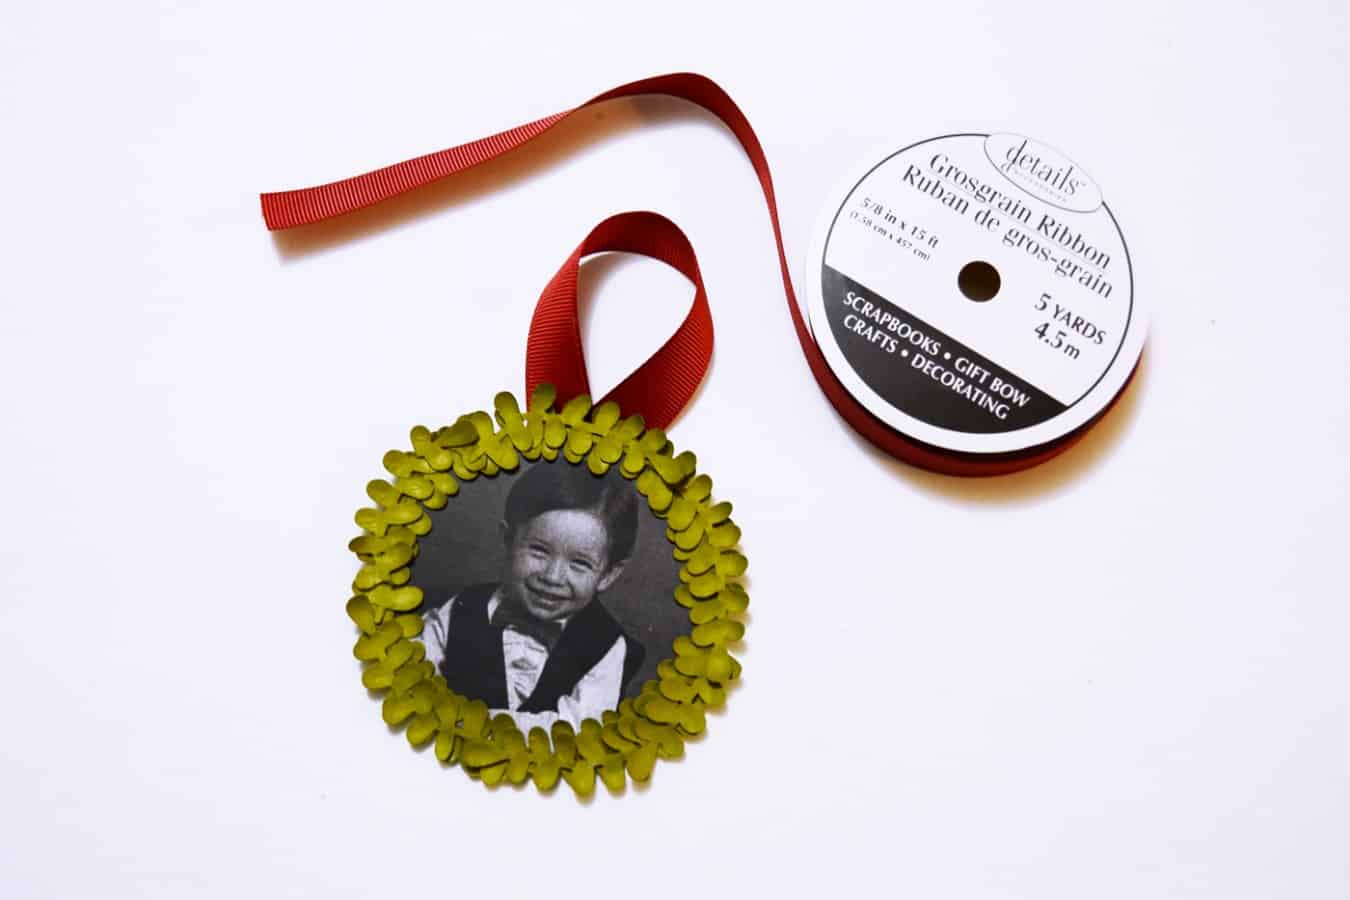
Notes
- If you only have an inkjet printer, use hairspray or acrylic sealer on both sides of the printed photo so the Mod Podge doesn’t bleed.
- To give the ornament a more finished back, add a felt circle with craft glue.
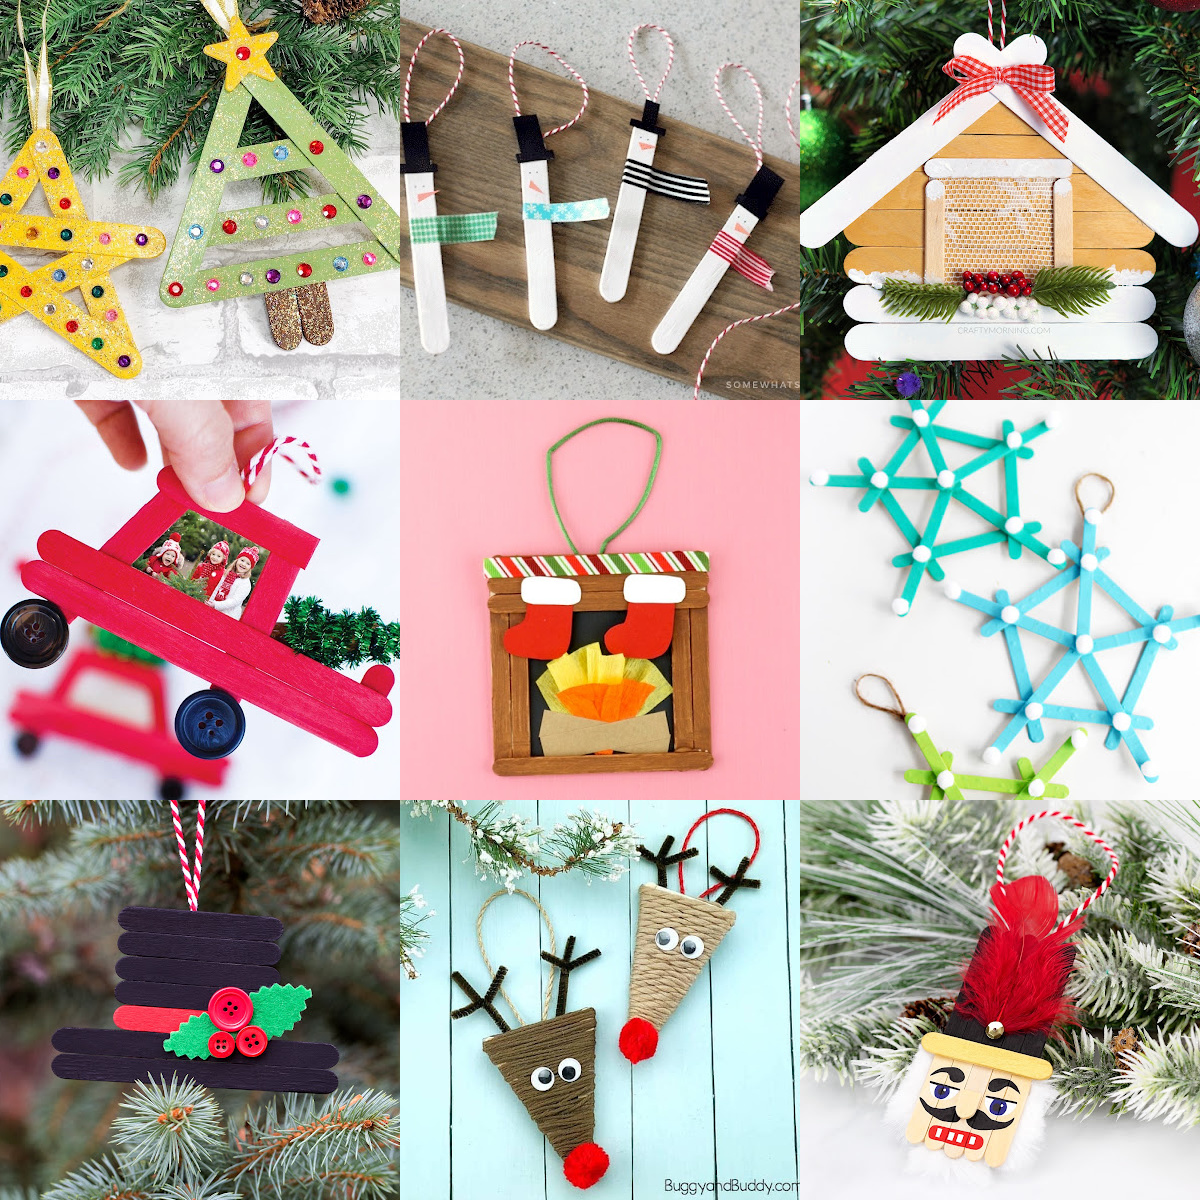
I hope you enjoyed this photo ornament tutorial – and I hope I see you visiting my blog or social media for more crafty inspiration, free downloads and more! Happy crafting, friends! Check out some of our other easy Christmas ornament ideas below:
Candy Cane • Cookie Cutters • Crochet Angel • Crochet Bell • Cross Stitch • DIY Gnomes • DIY Snow Globe • Mandala • Metallic Keys • Origami • Poinsettia • Polymer Clay • Temporary Tattoos • Washer Star • Wood Bead • Wood Bead Snowman • Wood Bead Star • Wood Slice • Yarn Wrapped





These ornaments are way cute!
Paige
https://www.thehappyflammily.com/
Thank you! 🙂