Felt Poinsettia Christmas Ornaments You Can Make Today
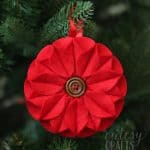
Make a gorgeous felt poinsettia ornament for your Christmas tree with this easy tutorial! Perfect for holiday decorating and gifting.
Skills Required: None. You’ll be cutting, hot gluing, and then attaching a button. You’ll need a needle and thread . . . but you can also just use hot glue.
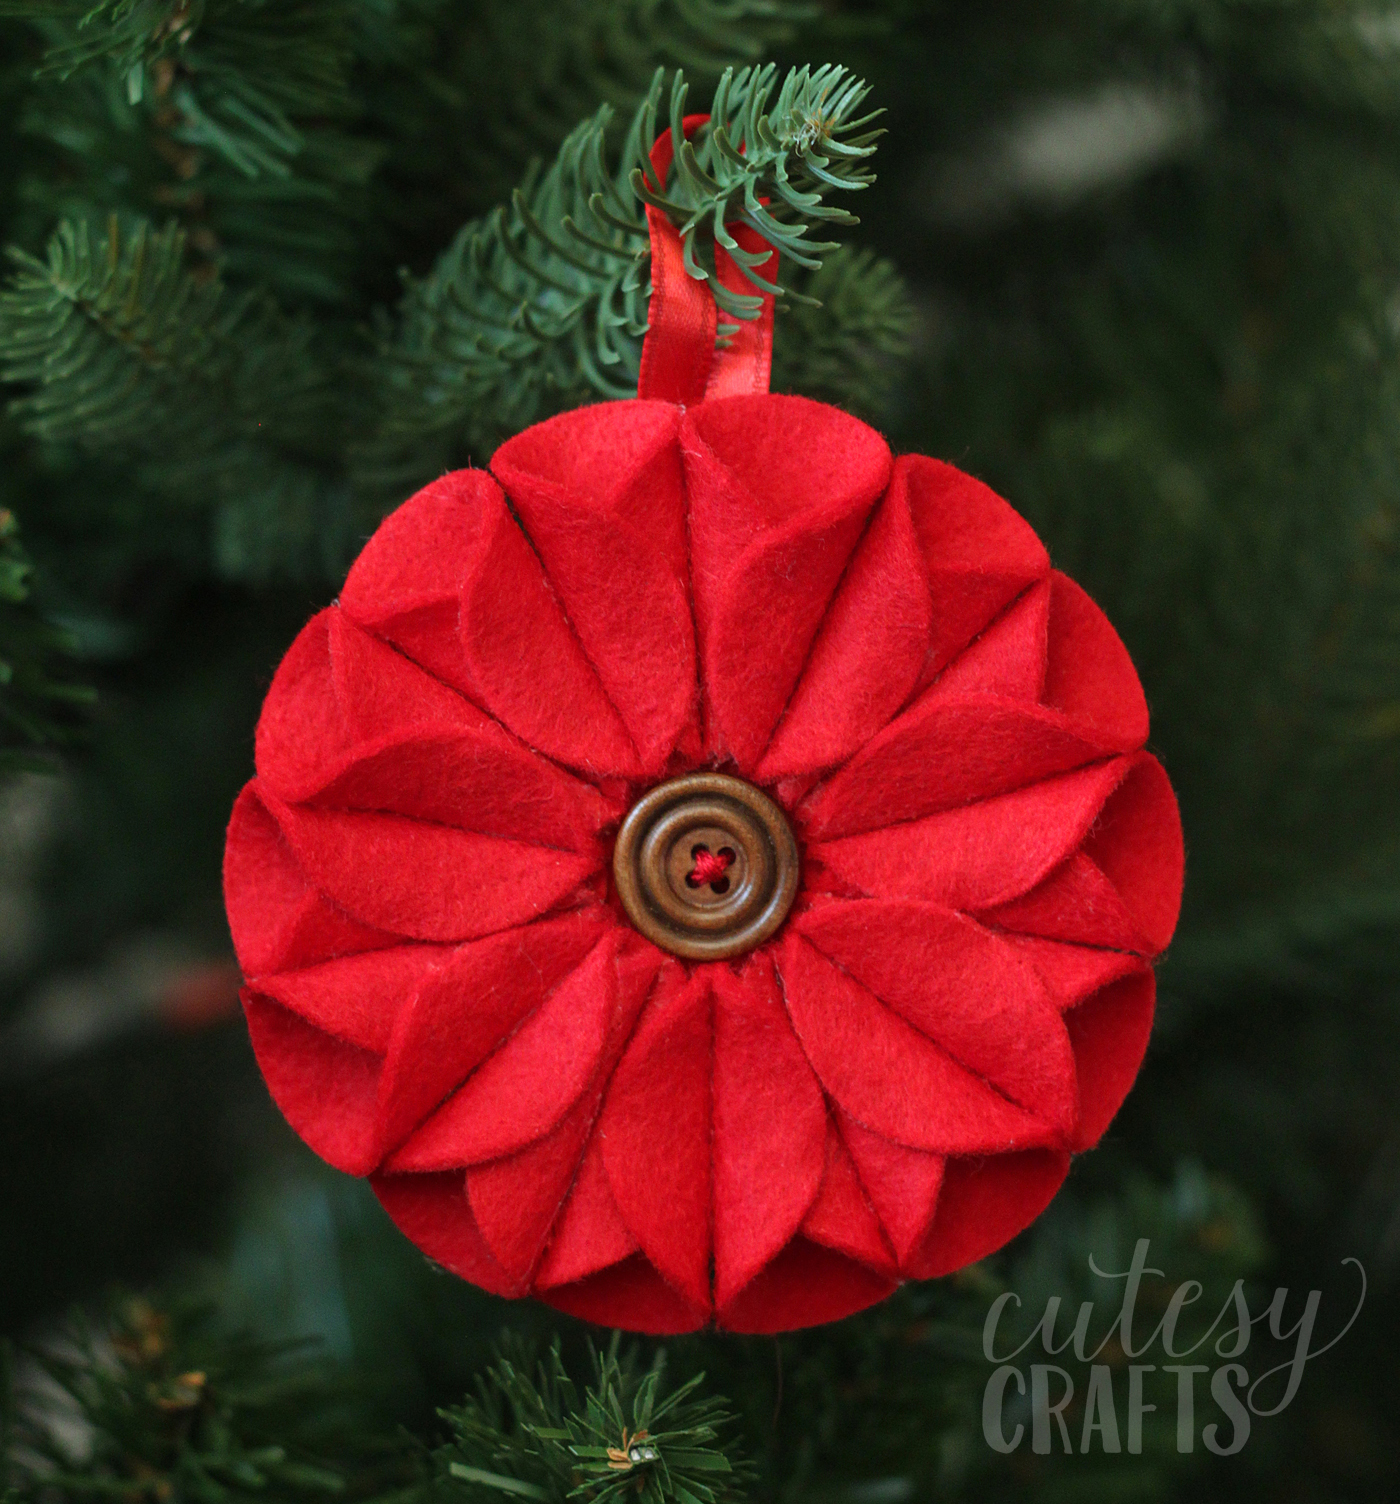
No sewing skills required, unless you want to put a little stitching on the button in the middle. It’s really neat because it’s mostly made up of little felt circles. The more you look at it, the cooler it gets!
Christmas is the season for decking the halls, and what better way to do it than with handmade ornaments? Felt poinsettia ornaments are a beautiful and simple way to add a touch of holiday cheer to your tree.
I really love the simplicity of felt ornaments. They’re simple – yet complicated (always fun to look at) – with a bit of a Scandinavian vibe. I love it.
Not only are these ornaments cute, but they’re also a fun project for crafters of all skill levels. Whether you’re creating a single centerpiece for your tree or an entire set to give as gifts, these poinsettias spread the magic of the season.
Stick to traditional red and green for a classic look, or branch out with glittery golds, icy blues, or even whimsical pastels (do you have a white tree? These would look amazing).
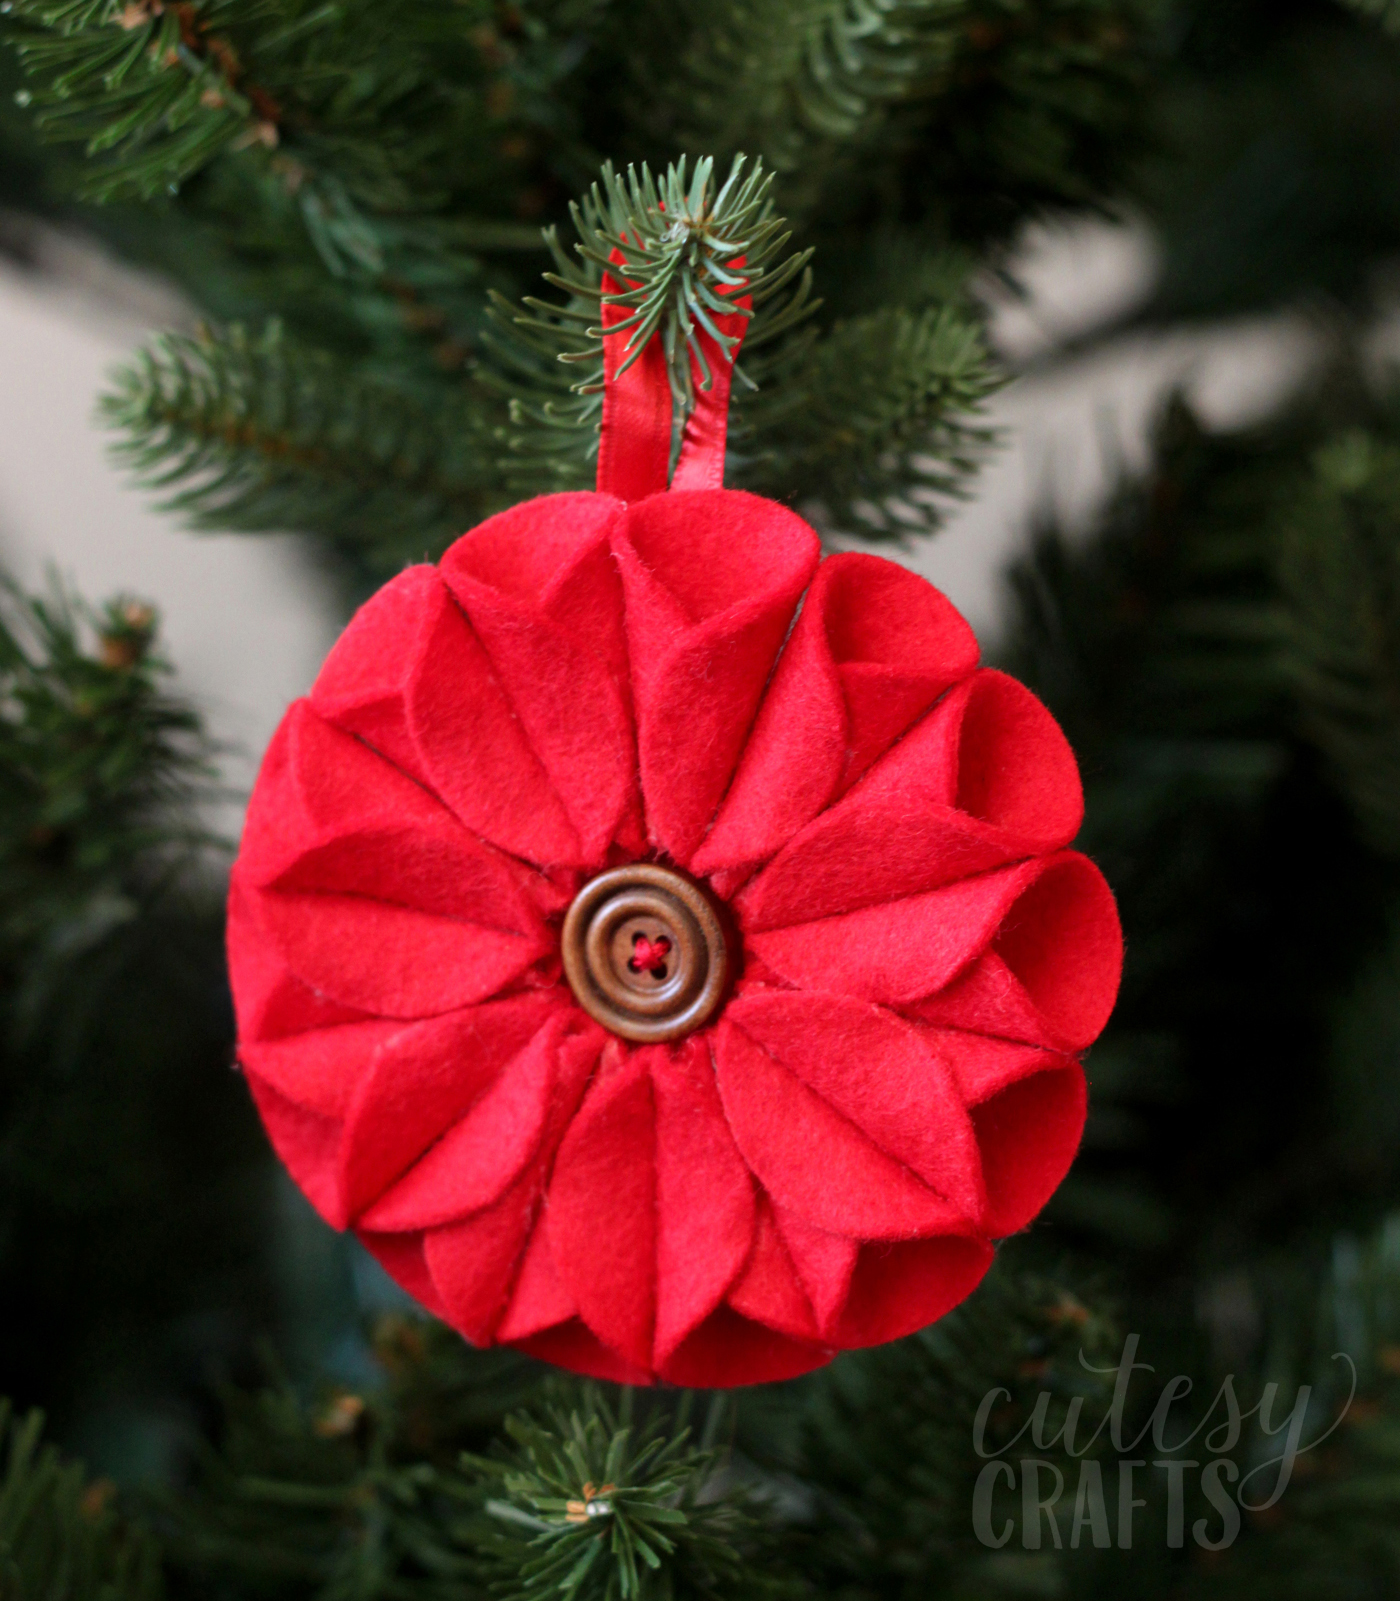
You can whip up several in an afternoon, making it a great project for family crafting time or even a holiday party activity.
Plus, handmade ornaments like these always hold a special place in your heart (and your holiday decor) because of the memories attached to creating them.
Ready to get started? Follow this simple tutorial and bring a little extra handmade charm to your Christmas tree this year! Here’s what you’re going to need:
Gather These Supplies
- Red felt cut into 14 1-1/2″ circles and one 1″ circle (you can use the template here)
- Hot glue gun and glue sticks
- 3/4″ or larger button
- Ribbon for hanging
- Scissors
- Embroidery floss or thread (optional)
Get the printable how to card for this project below:
DIY Poinsettia Ornament
Equipment
Materials
- 1 Felt sheet(s) red
- 1 Button(s) 3/4" or larger
- Ribbon(s) for hanging
- Embroidery floss or thread, optional
- Circle template
Video
Instructions
- Cut the felt into 14 1-1/2" circles and one 2" circle. You can use the template provided.
- Roll a small circle of felt into a small cone and secure with hot glue. Be VERY sparing with the glue so it doesn't make a mess. I didn't even squeeze the trigger of my glue gun, and just used the small amount that was dripping out of the front.
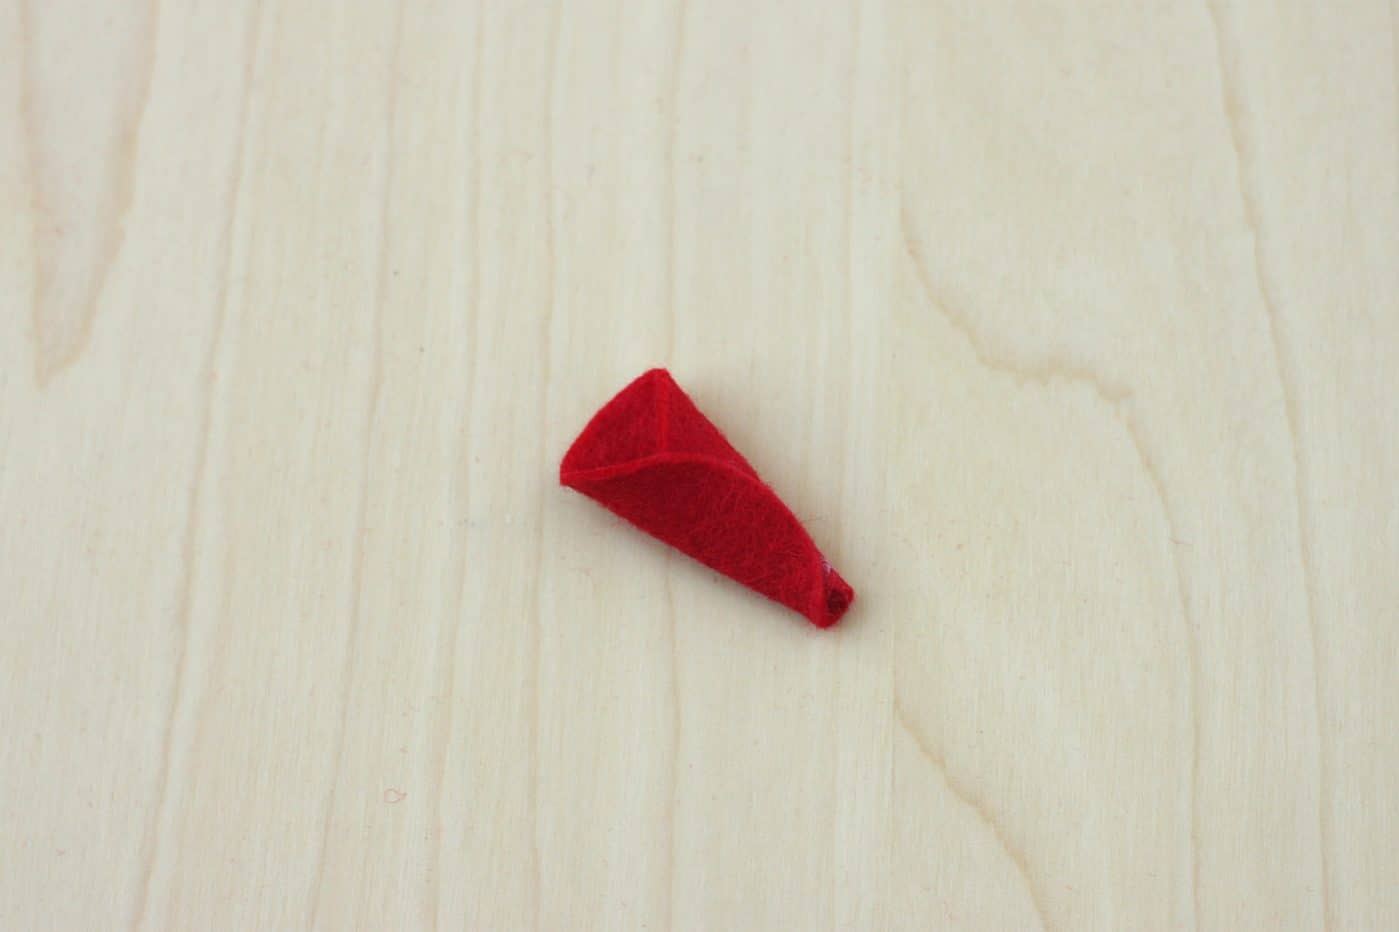
- Glue the remaining circles (minus the 2" circle) into cones. Alternate gluing left over right and right over left to make a pattern.
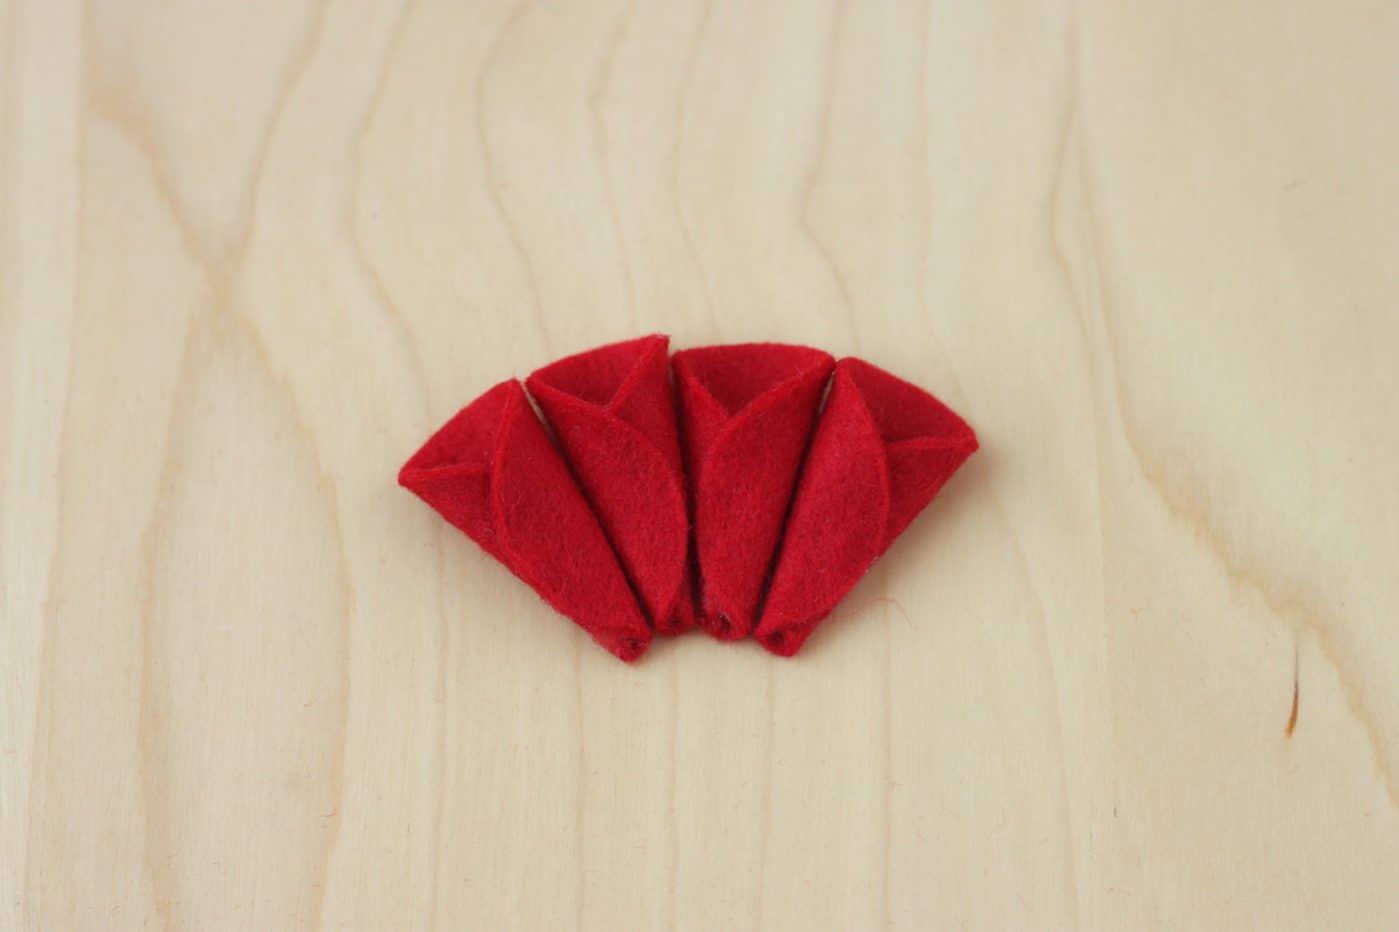
- Glue the cones into seven pairs to form the poinsettia petals.
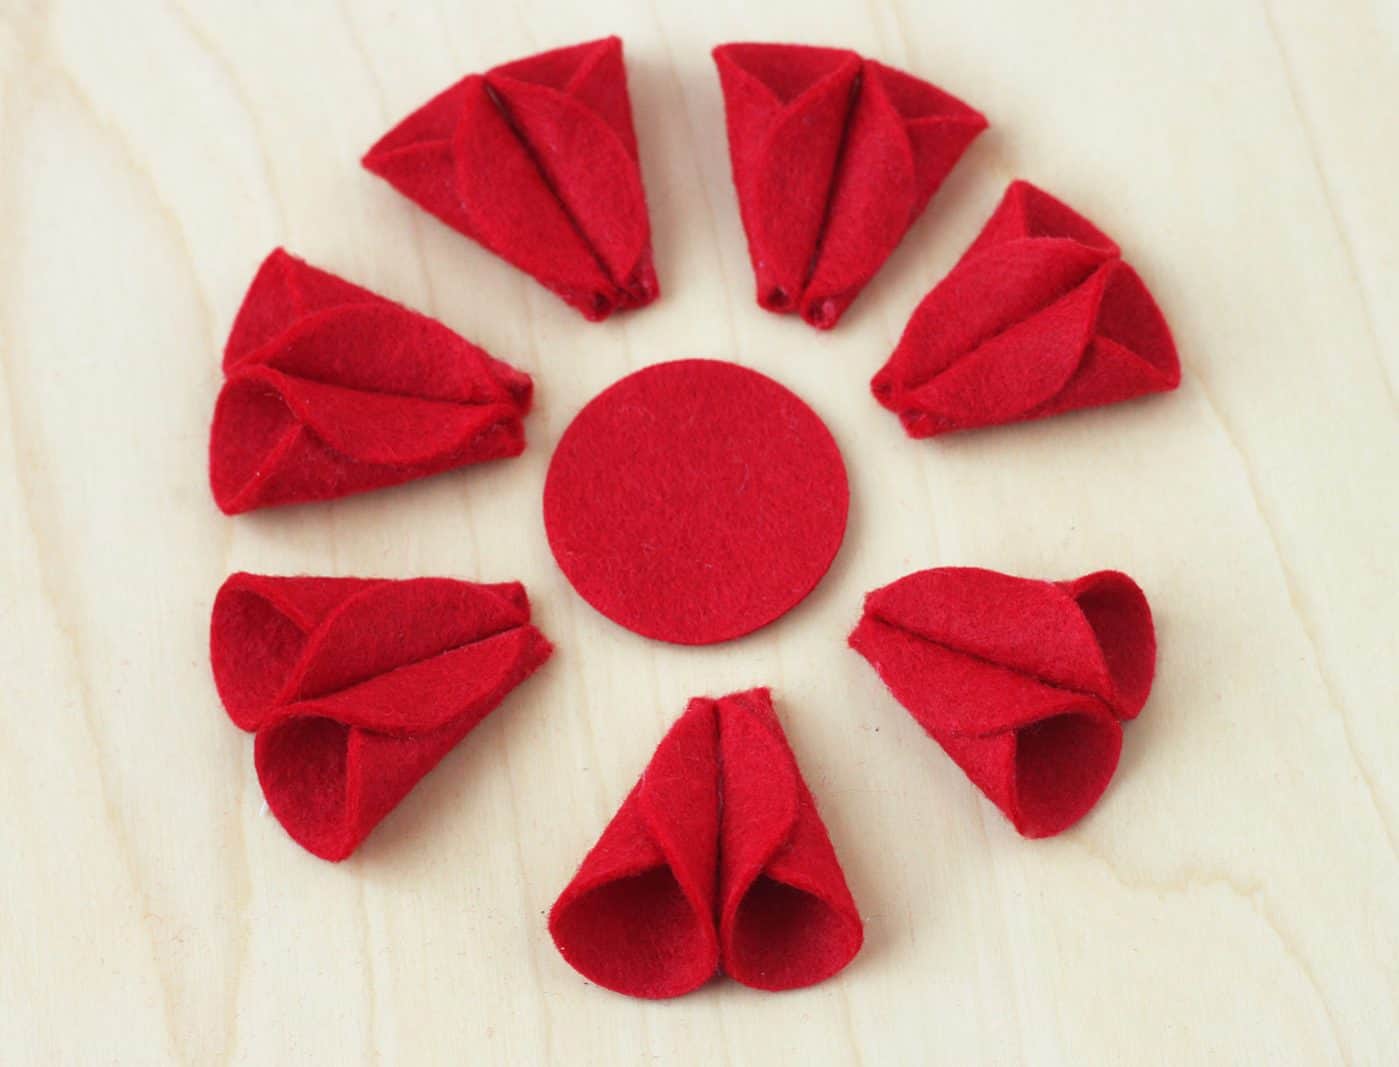
- Glue the pairs together to make a big ring.
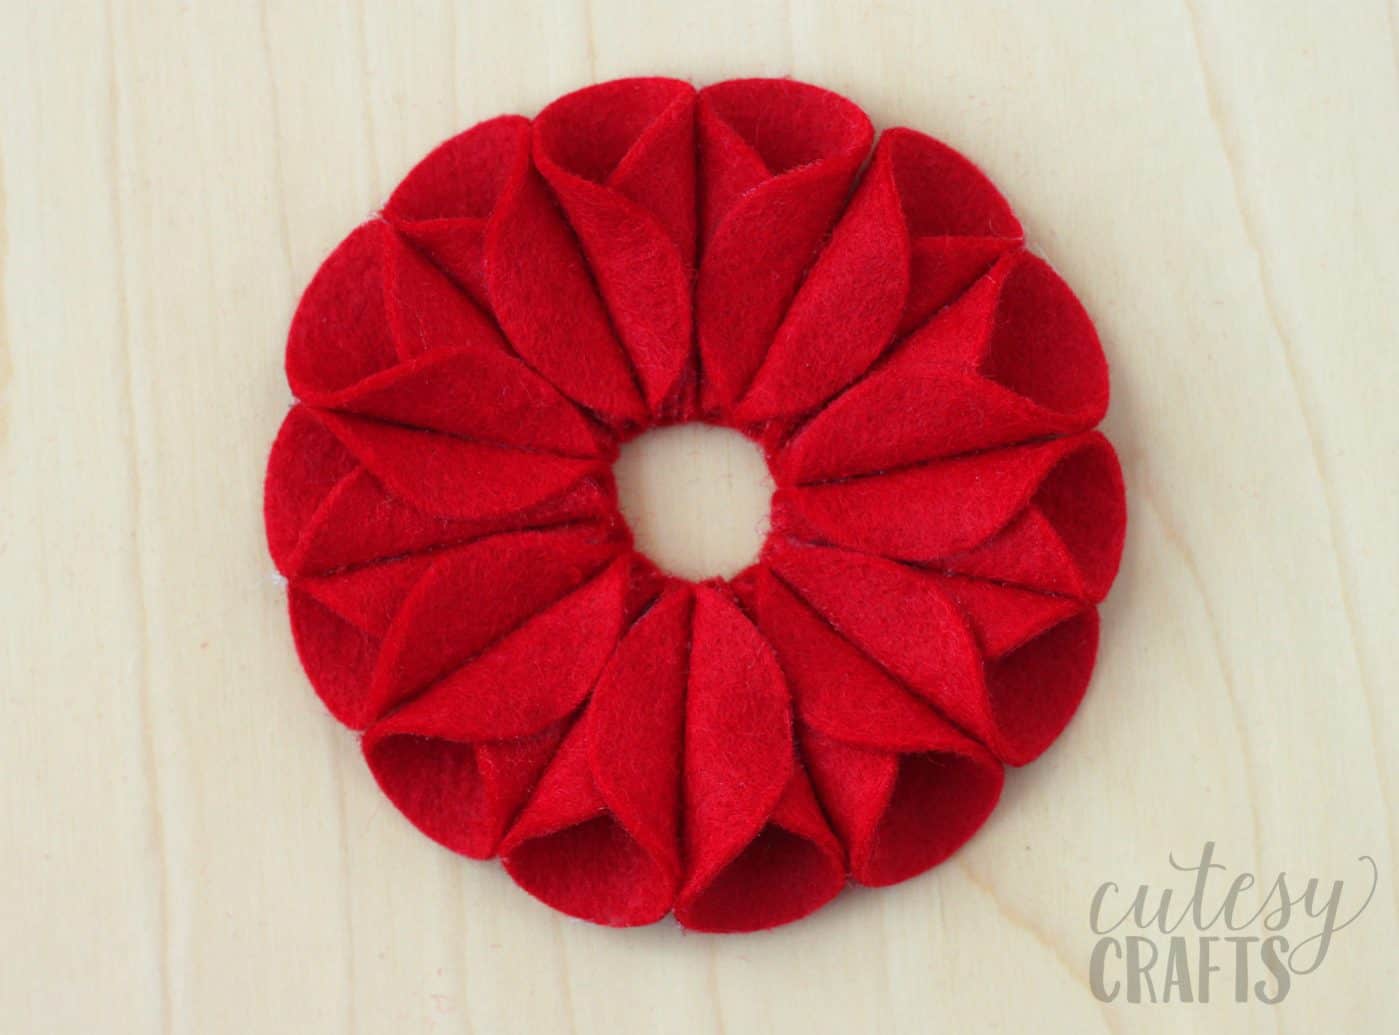
- Turn the poinsettia over and glue the large circle on the back, sandwiching the ribbon in between for hanging.
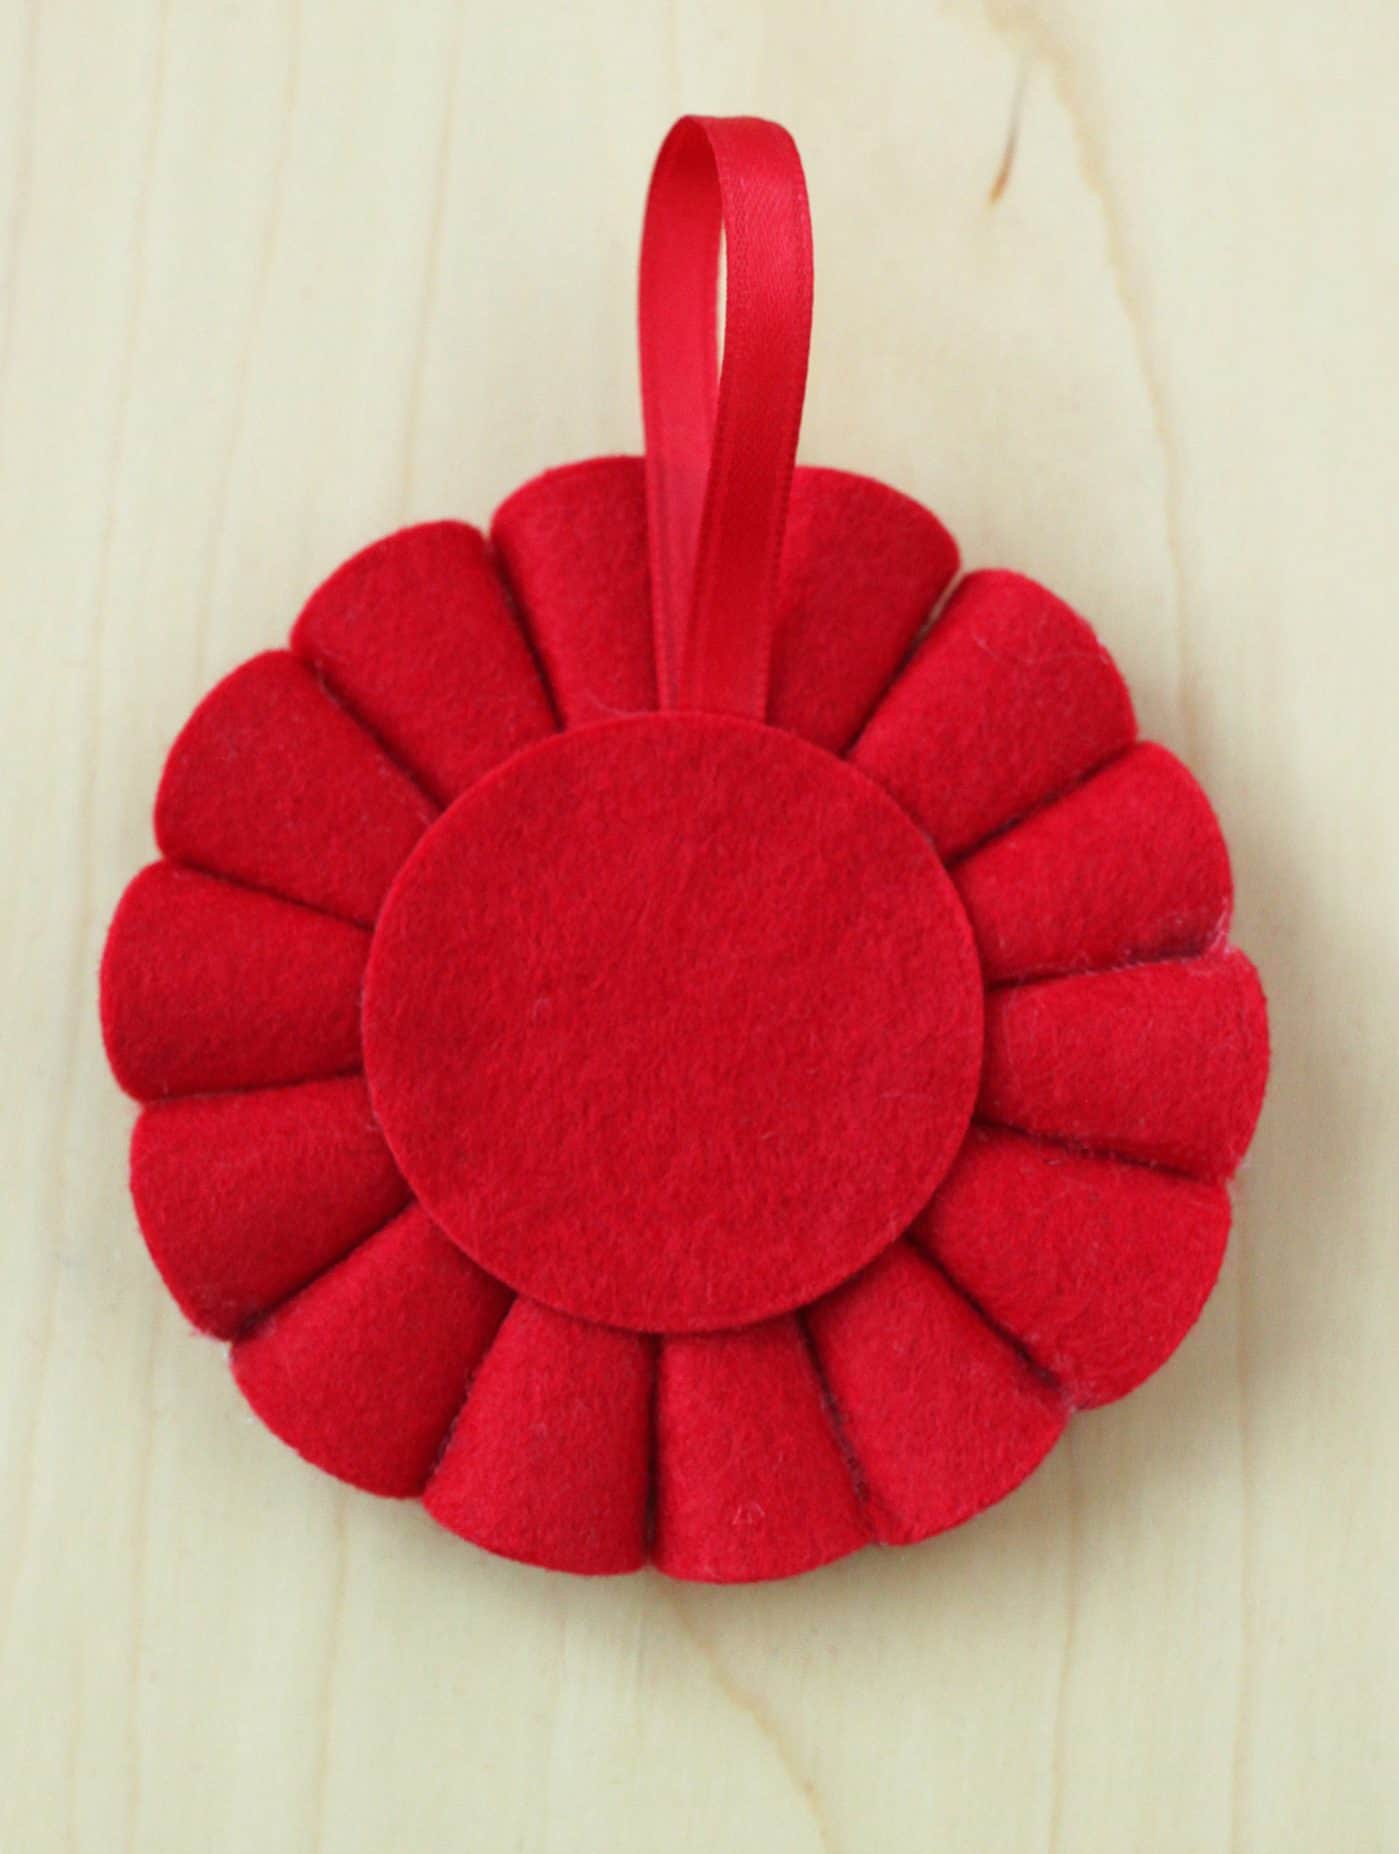
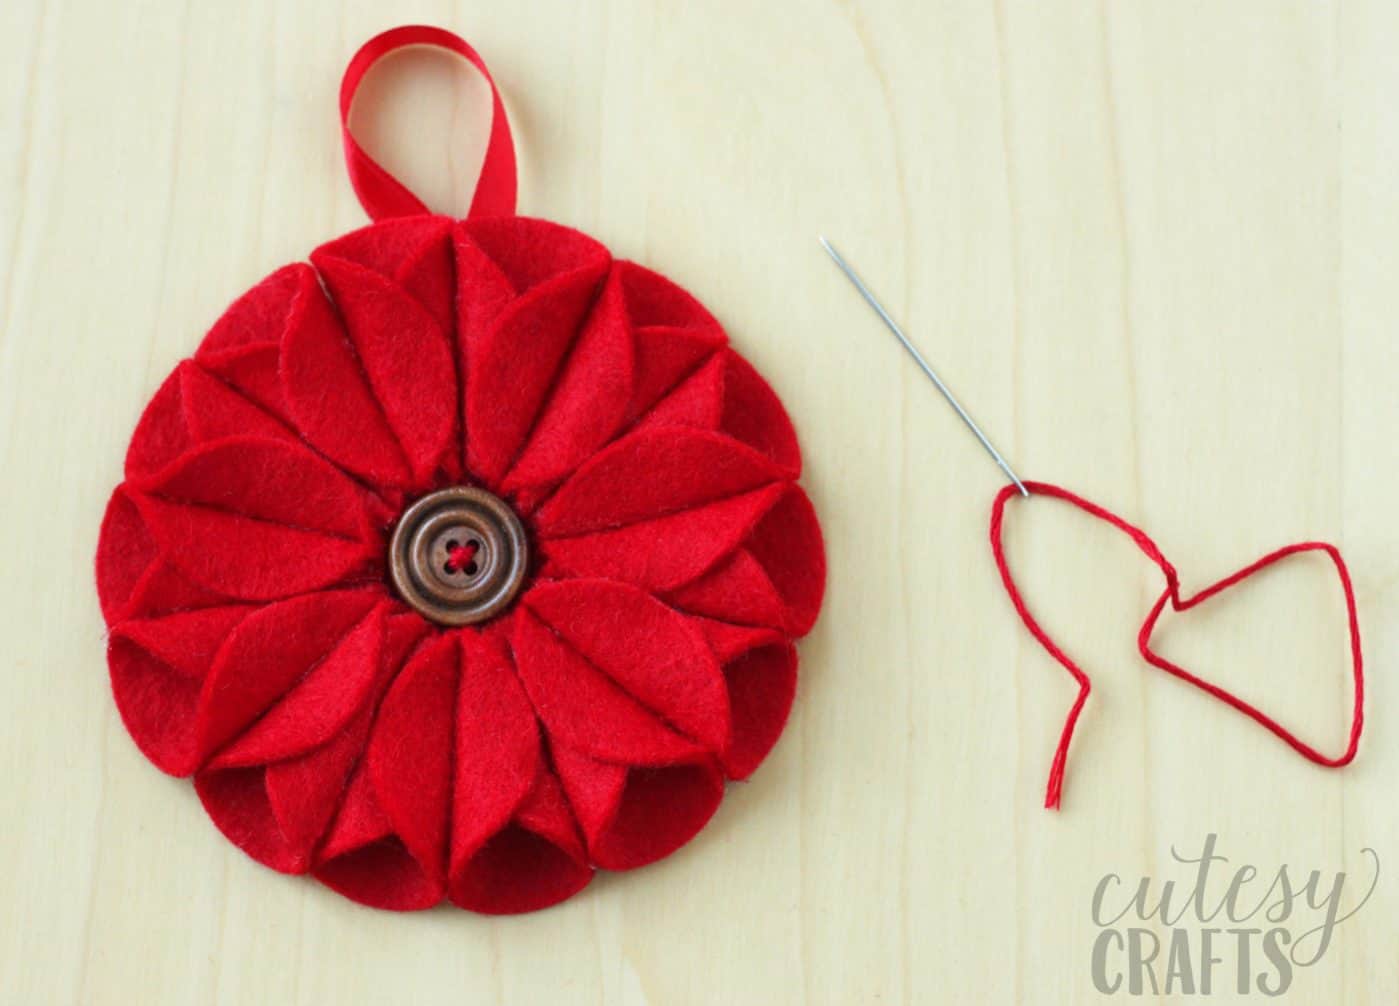
- Sew a button in the middle of the flower with a piece of embroidery floss or thread. You can also hot glue the button.
If you love making your own Christmas ornaments, try these other homemade ideas. You’re going to love them:
Candy Cane • Cookie Cutters • Crochet Angel • Crochet Bell • Cross Stitch • DIY Gnomes • DIY Snow Globe • Mandala • Metallic Keys • Mini Wreath • Origami • Polymer Clay • Temporary Tattoos • Washer Star • Wood Bead • Wood Bead Snowman • Wood Bead Star • Wood Slice • Yarn Wrapped


I will try to make the poinsettias. Love to do DIY projects. Thanks
Made one. It didn’t suck, LOL. I still got glue all over but the next one will be better.. Think I’ll make Easter colored poinsettias.
Red Poinsettia Ornament – I made a red felt poodle skirt and I was curious about what I could do with a large piece of felt left from the circular skirt. What a super idea – I plant to make one ornament for each Grandchild with their name and date embroidered on the back. Thank you for the great idea !