Quick and Easy DIY Paper Christmas Banner for Any Space
Add a little vintage holiday flair to your decorating with this easy DIY Christmas banner – all you need are a few simple supplies!
Skills Required: None. Even if you’ve never crafted before, you’ll have any easy time with this project. You’ll be using a punch, pop dots, and hot gluing.
There’s something magical about the Christmas season that sparks creativity and joy, and I don’t know about you, but I’m always looking for ways to add a little extra holiday cheer to my home.
Every store is filled with twinkling lights, festive decor, and the promise of a cozy, joyful season.
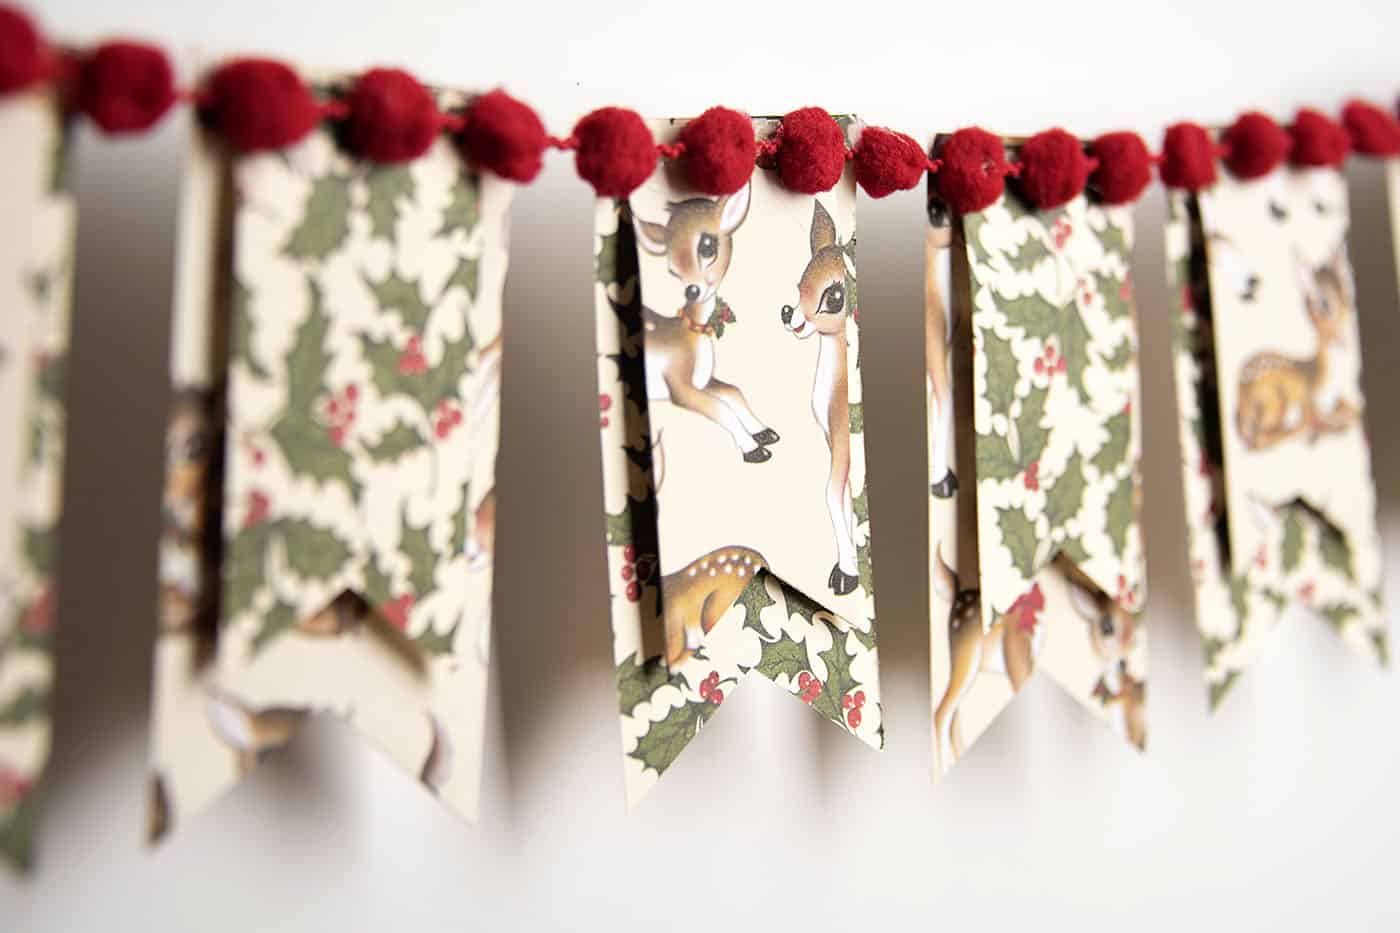
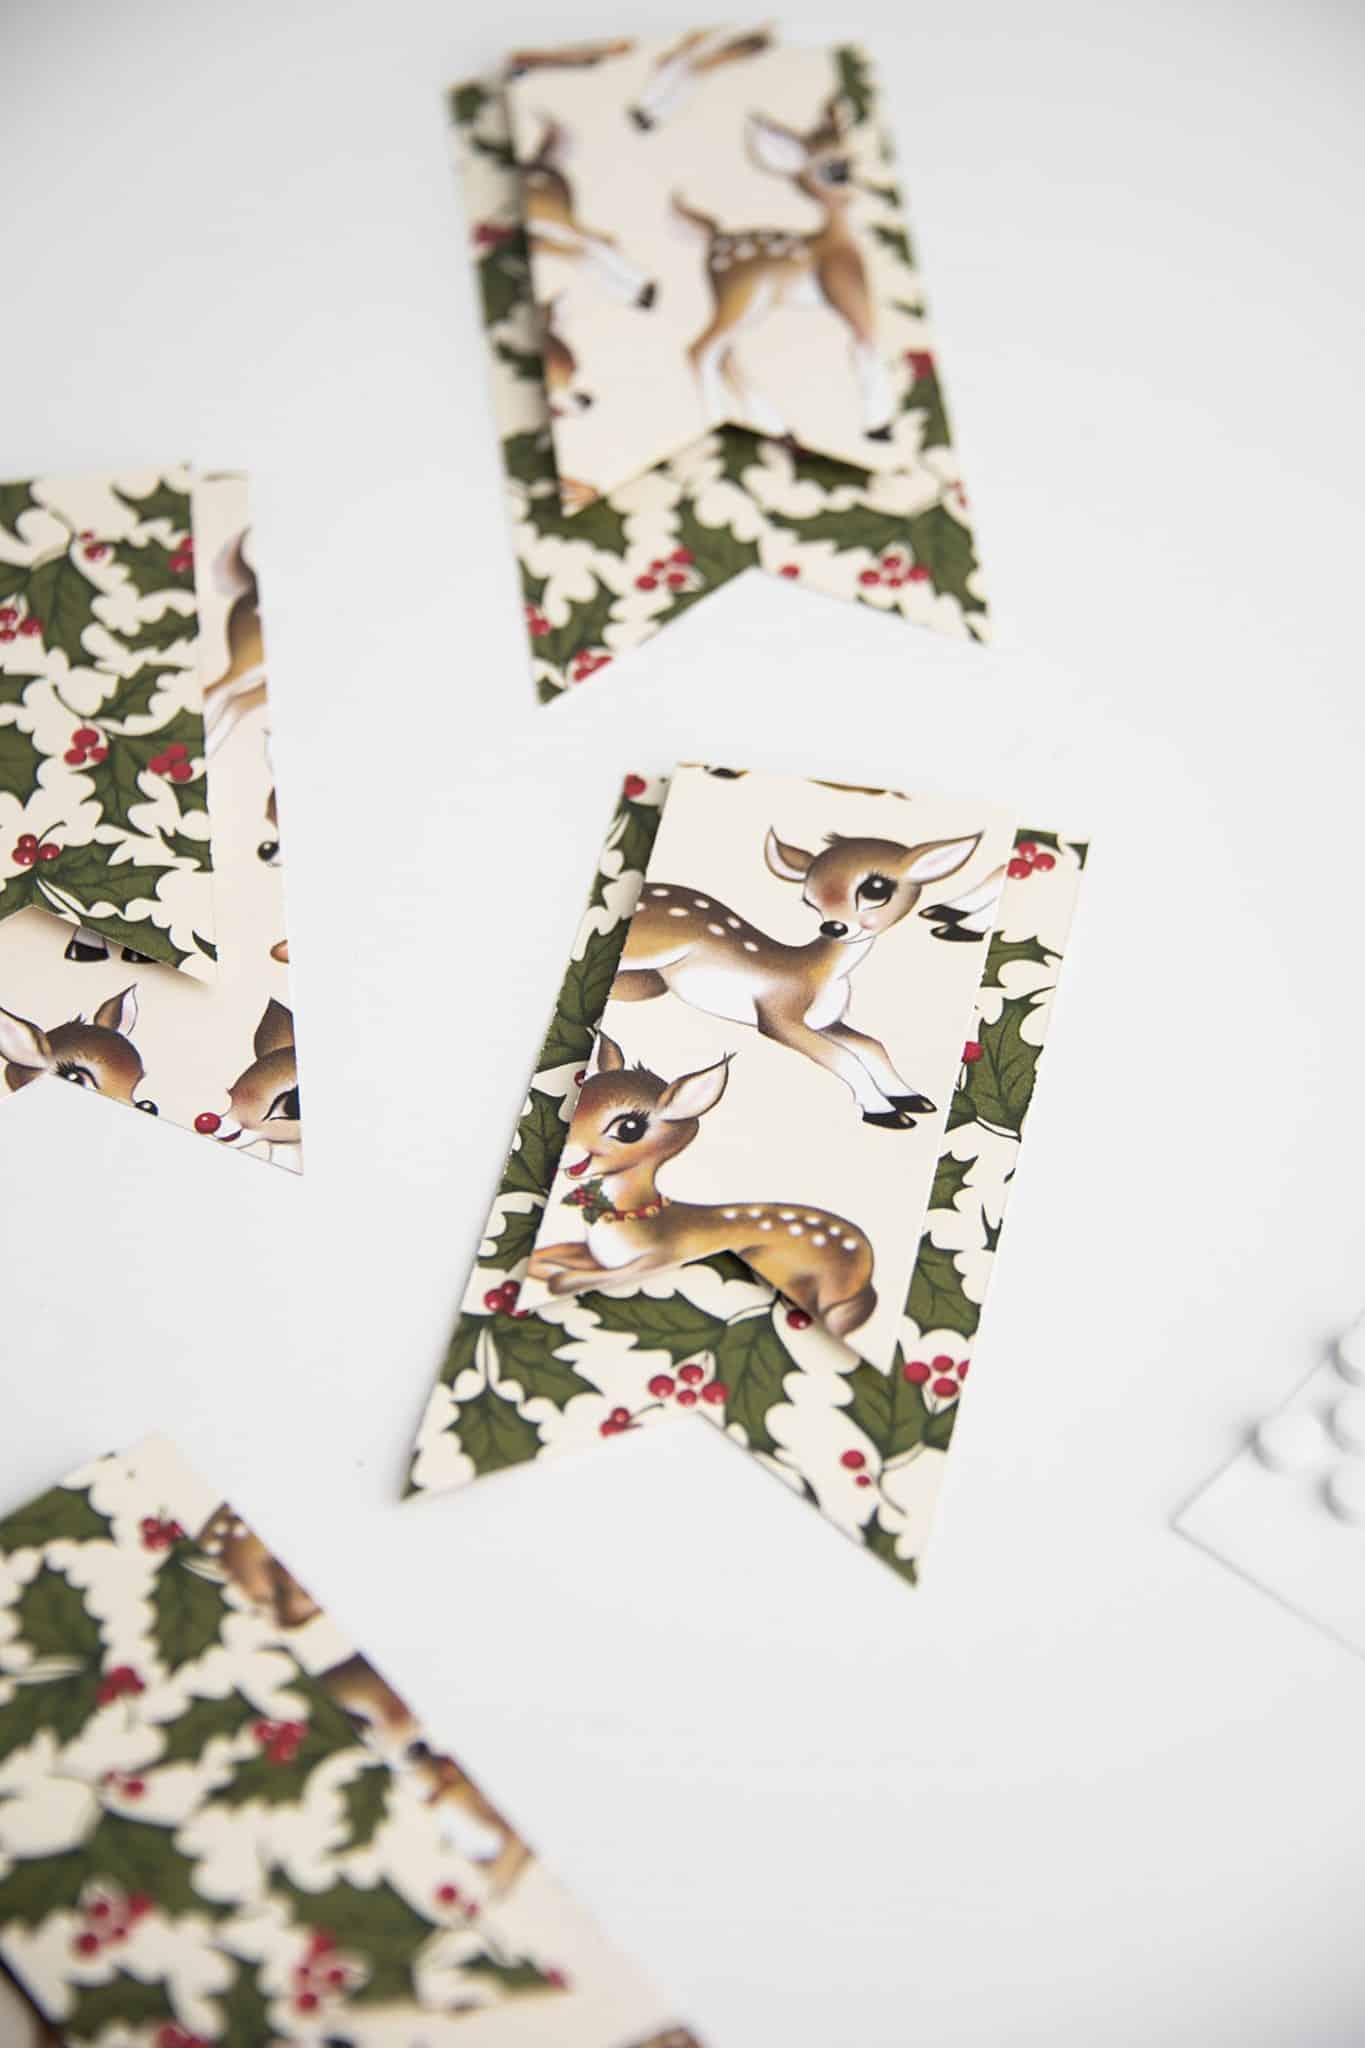
That atmosphere inspired me to start crafting my own Christmas decorations, and I couldn’t wait to share my latest creation: a DIY Christmas banner featuring the most adorable little holiday deer.
This paper project is perfect for anyone who loves adding personal, handmade touches to their holiday decor.
It’s easy to make, incredibly customizable, and can be tailored to suit your home’s Christmas theme—whether you prefer classic reds and greens, soft neutrals, or a pop of modern color.
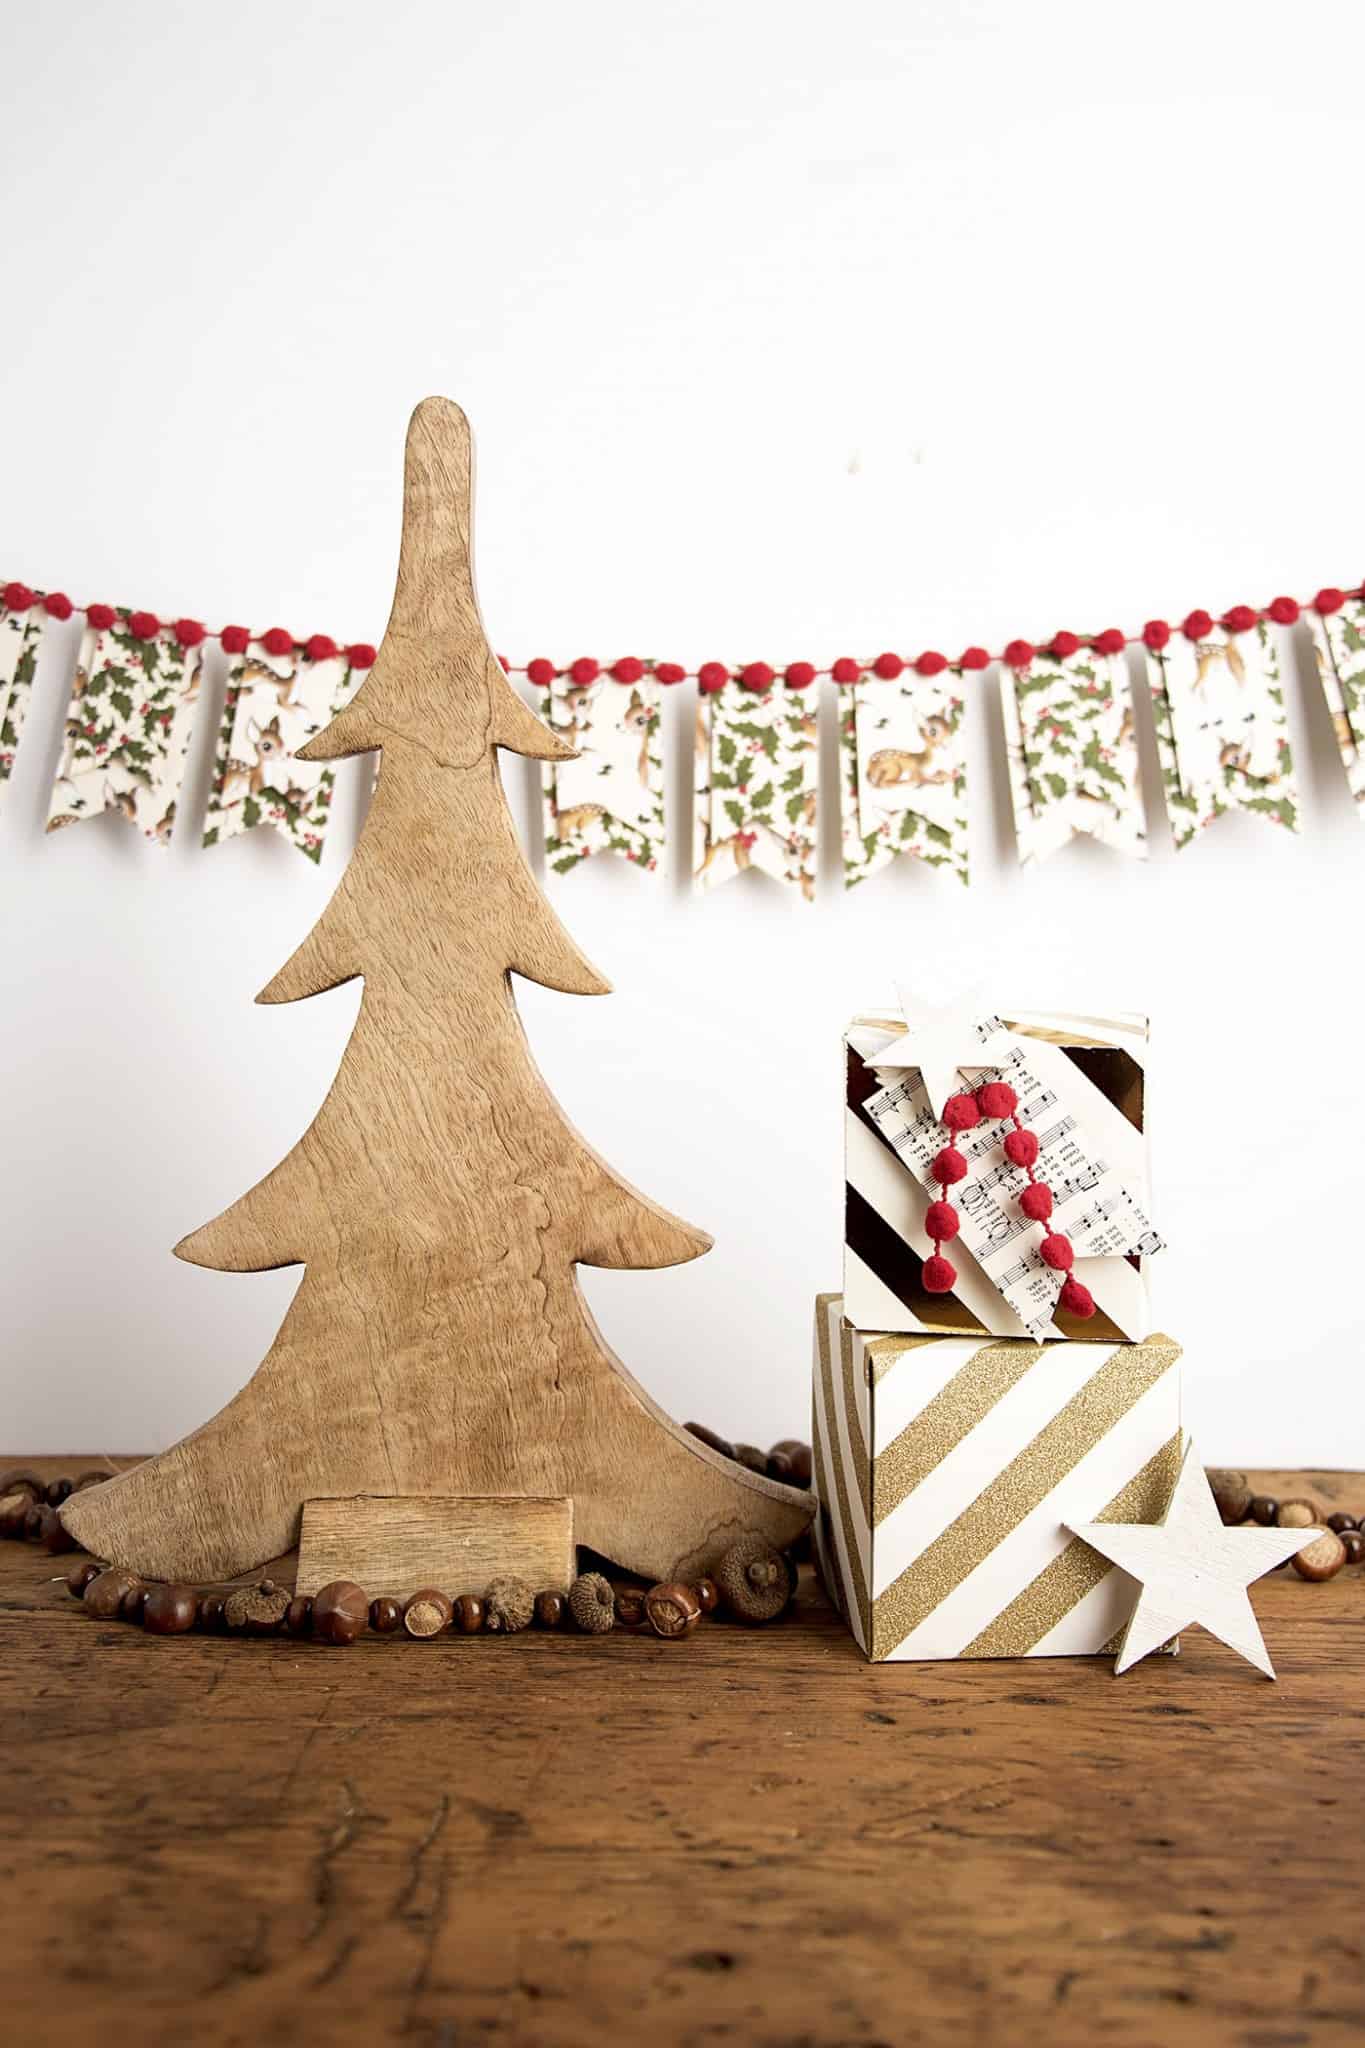
What I love most about this banner is how versatile it is. Whether you hang it on your mantel, across a window, or even along a staircase railing, it instantly adds a festive, whimsical vibe to any space.
The deer design gives it a charming woodland feel, perfect for creating a cozy, rustic holiday aesthetic. If you’re hosting gatherings or holiday parties, it’s a quick way to decorate so you can focus on other details.
This paper banner is simple enough for beginners, but the results are so beautiful that it looks like something you’d buy. You can do this in minutes!
Ready to make your own? Let’s dive into the details of this festive DIY project!
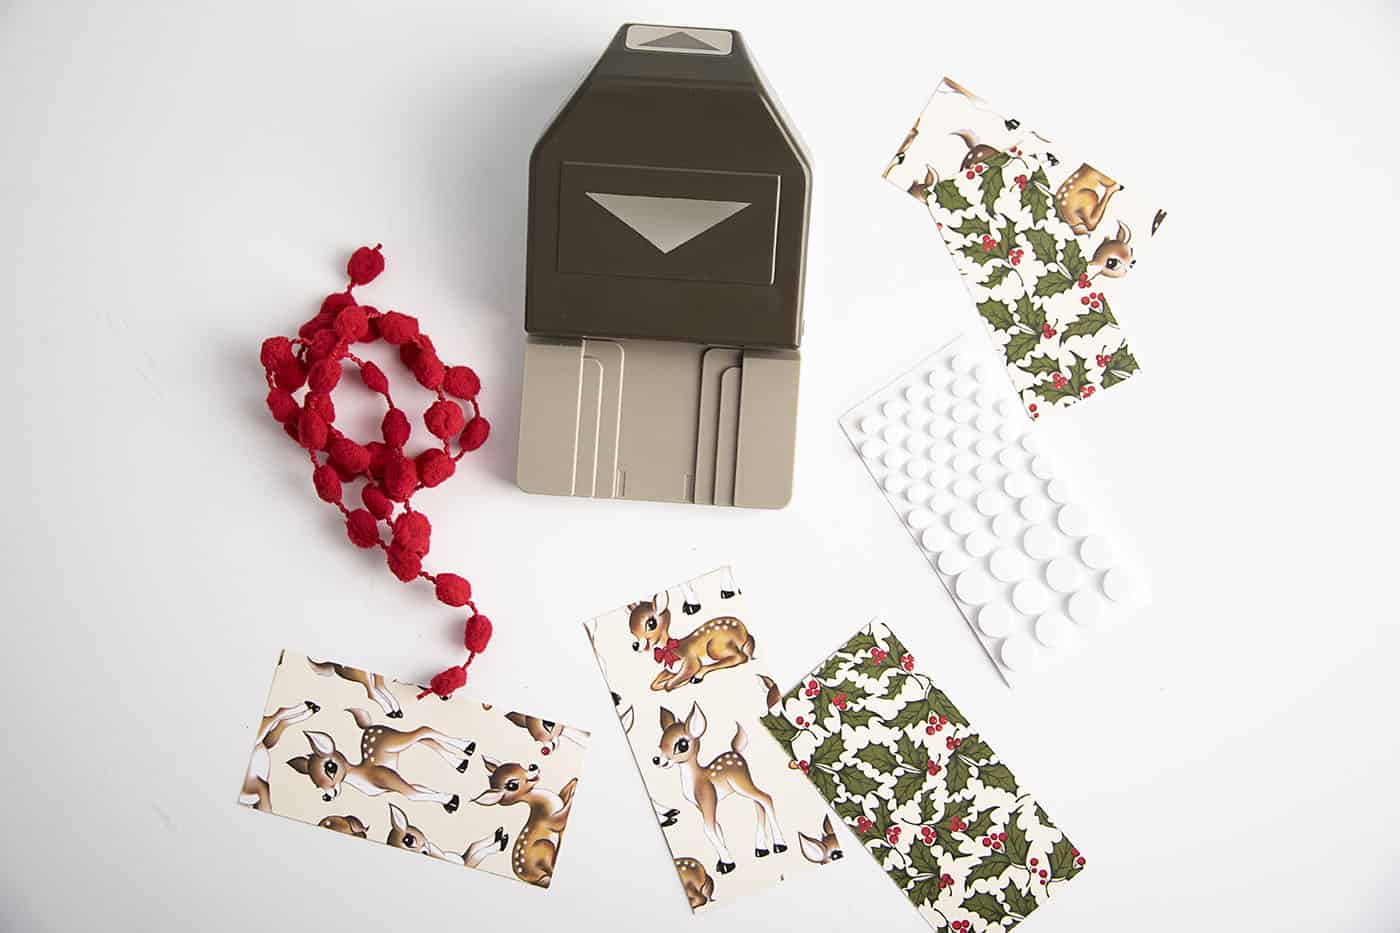
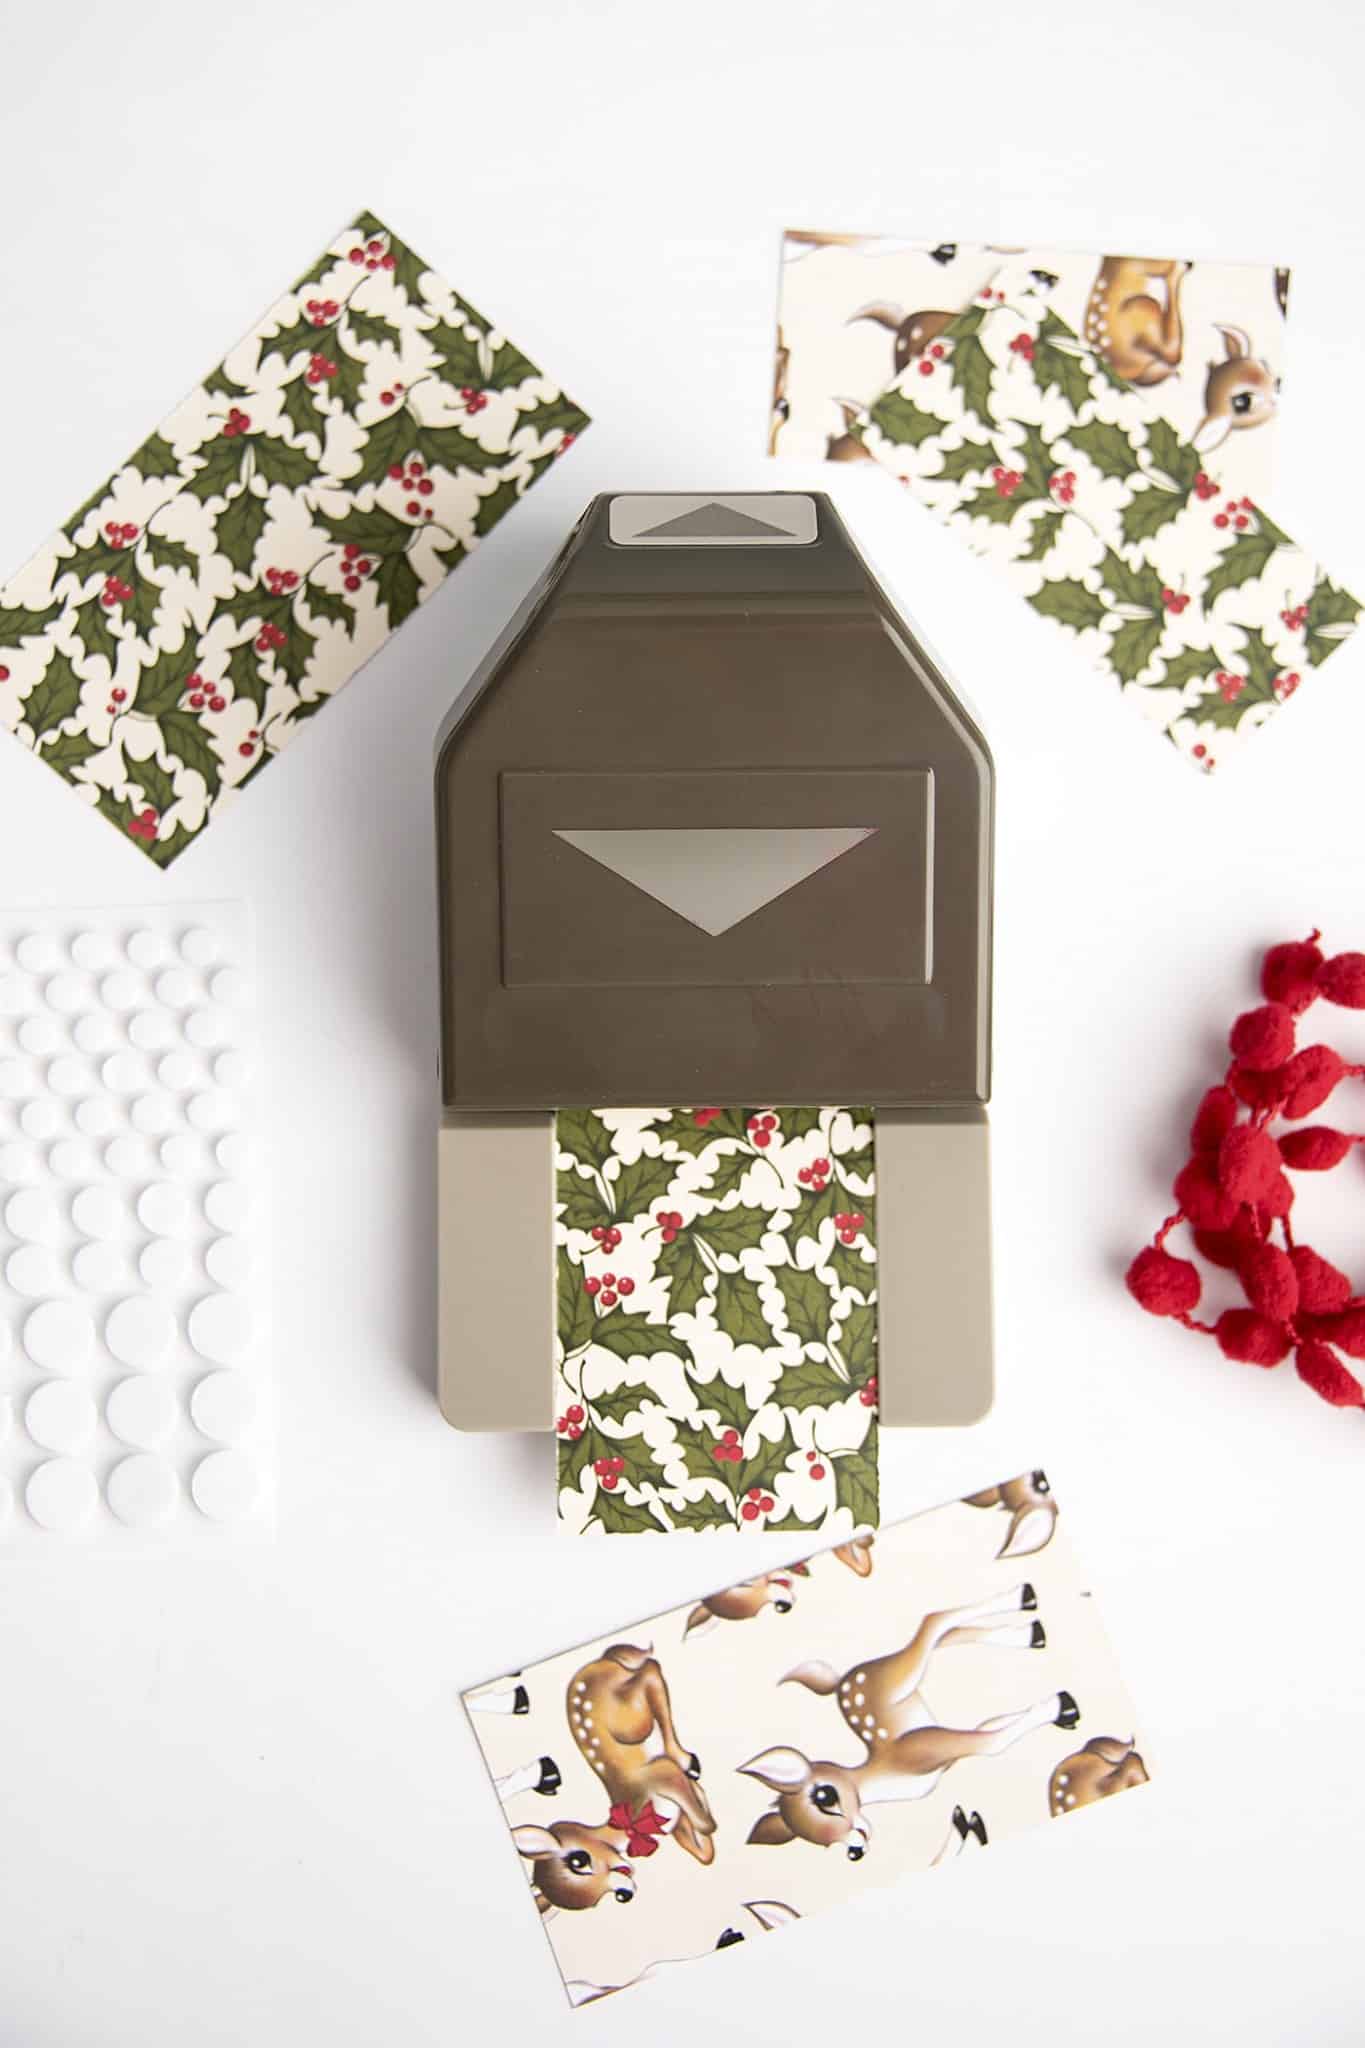
Gather These Supplies
- Scrapbook paper – several sheets of coordinating
- Banner punch
- Hot glue gun and glue sticks
- Pop Dots
- Ribbon, trim or twine to hang
That’s is all you need to complete this paper Christmas decor. Now your Christmas banner is ready to hang in your home, or be gifted to a friend!
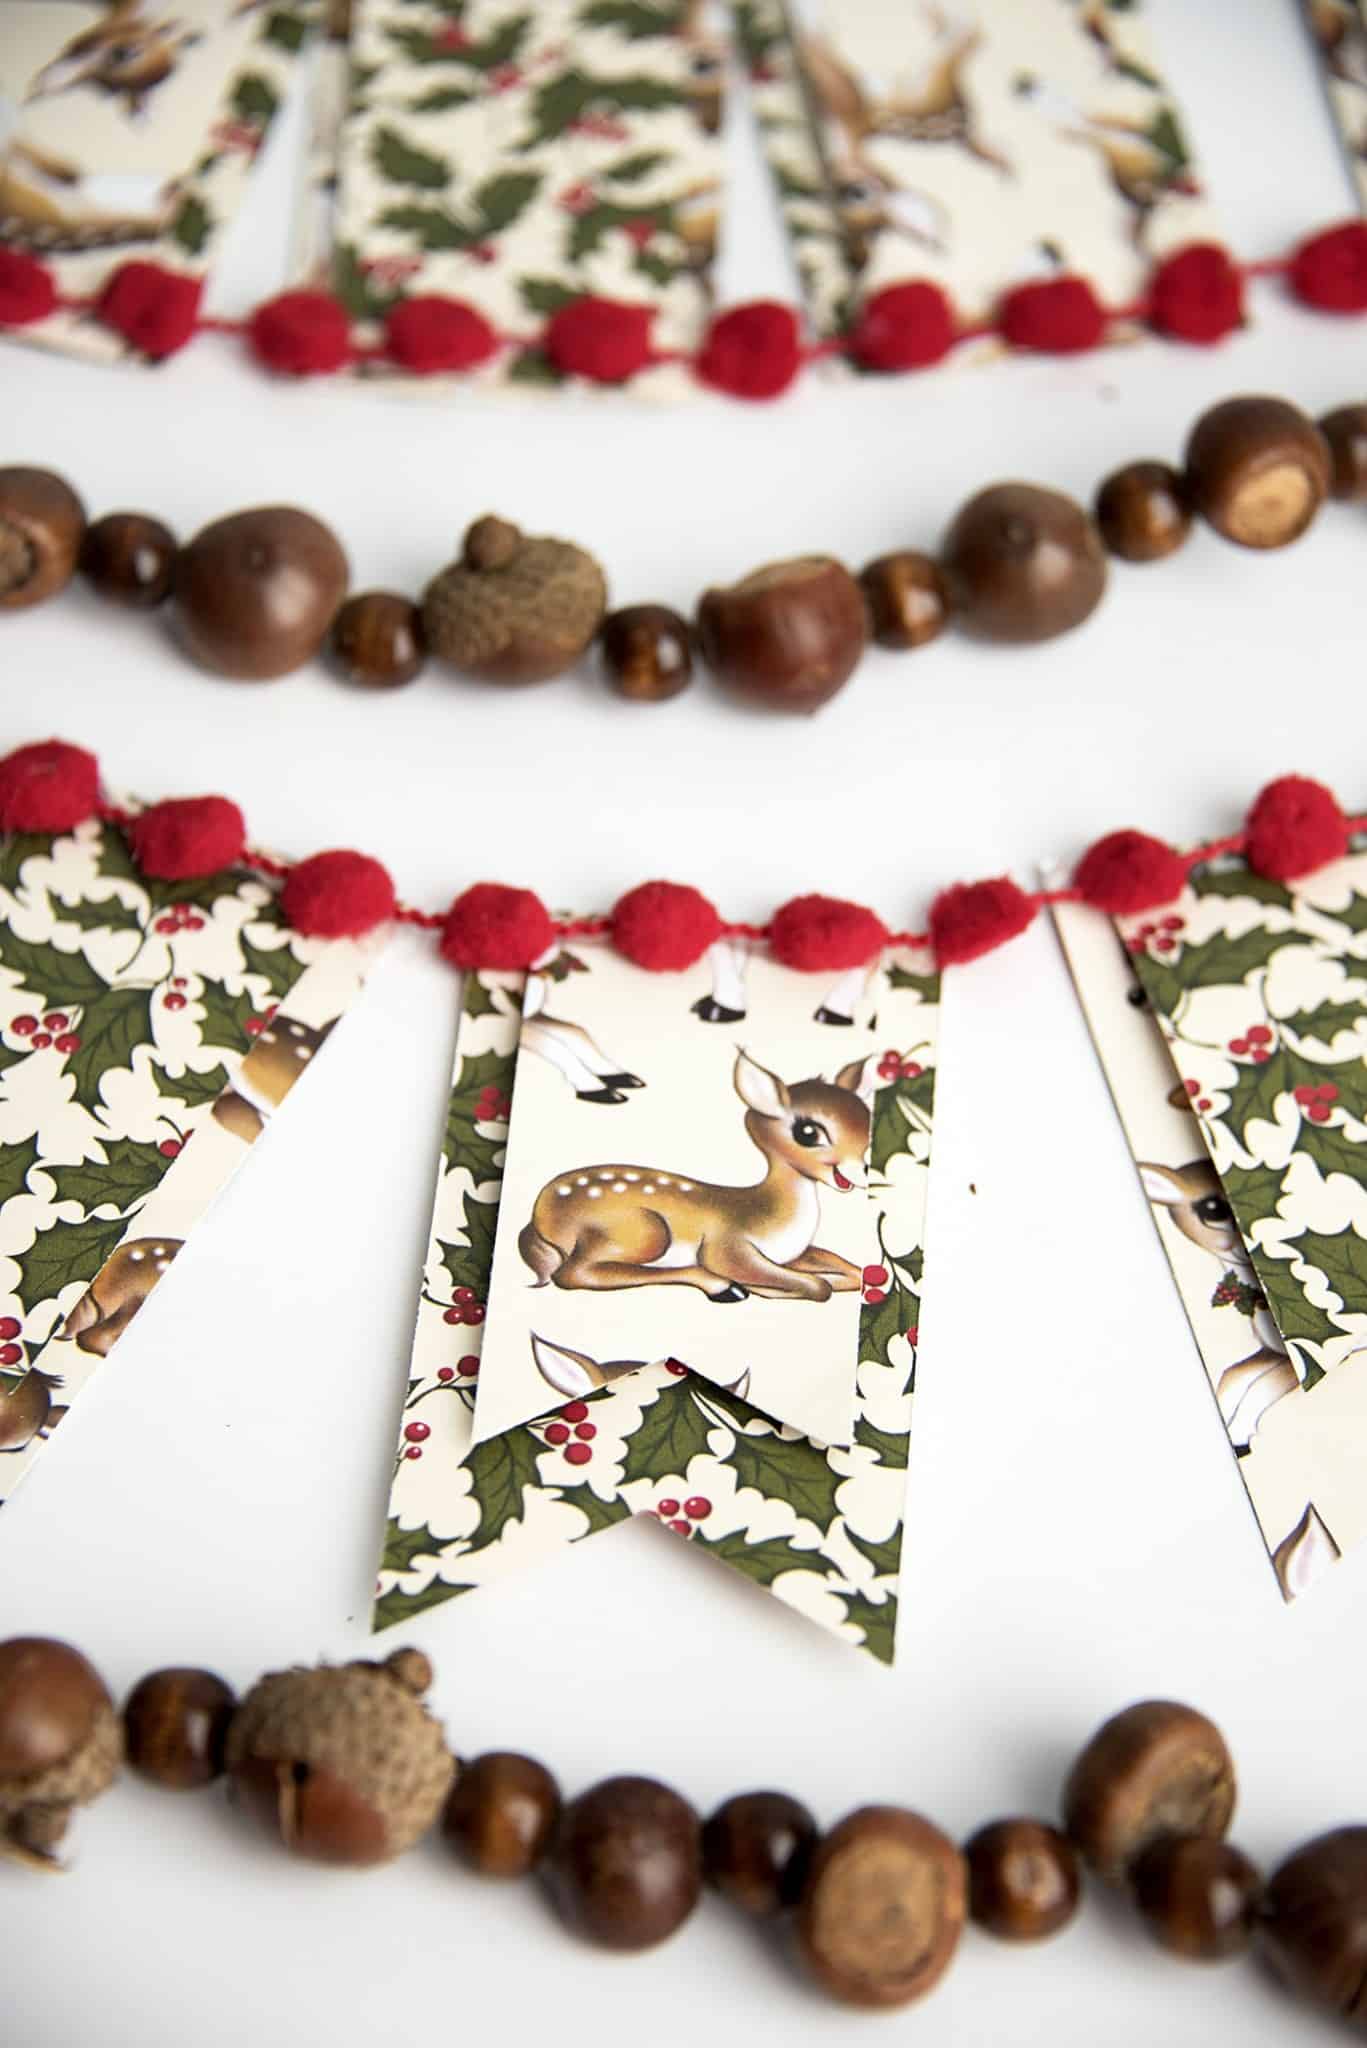
Don’t these classic Christmas colors just get you so excited for the holidays?? I think I am going to have to get more vintage Christmas paper.
Get the printable how to below:

DIY Christmas Banner
Equipment
- Paper trimmer or craft knife and mat
Materials
- 8 sheets Scrapbook paper
- Ribbon(s)
- Adhesive pop dots
- Pom pom trim
- Command clips
Instructions
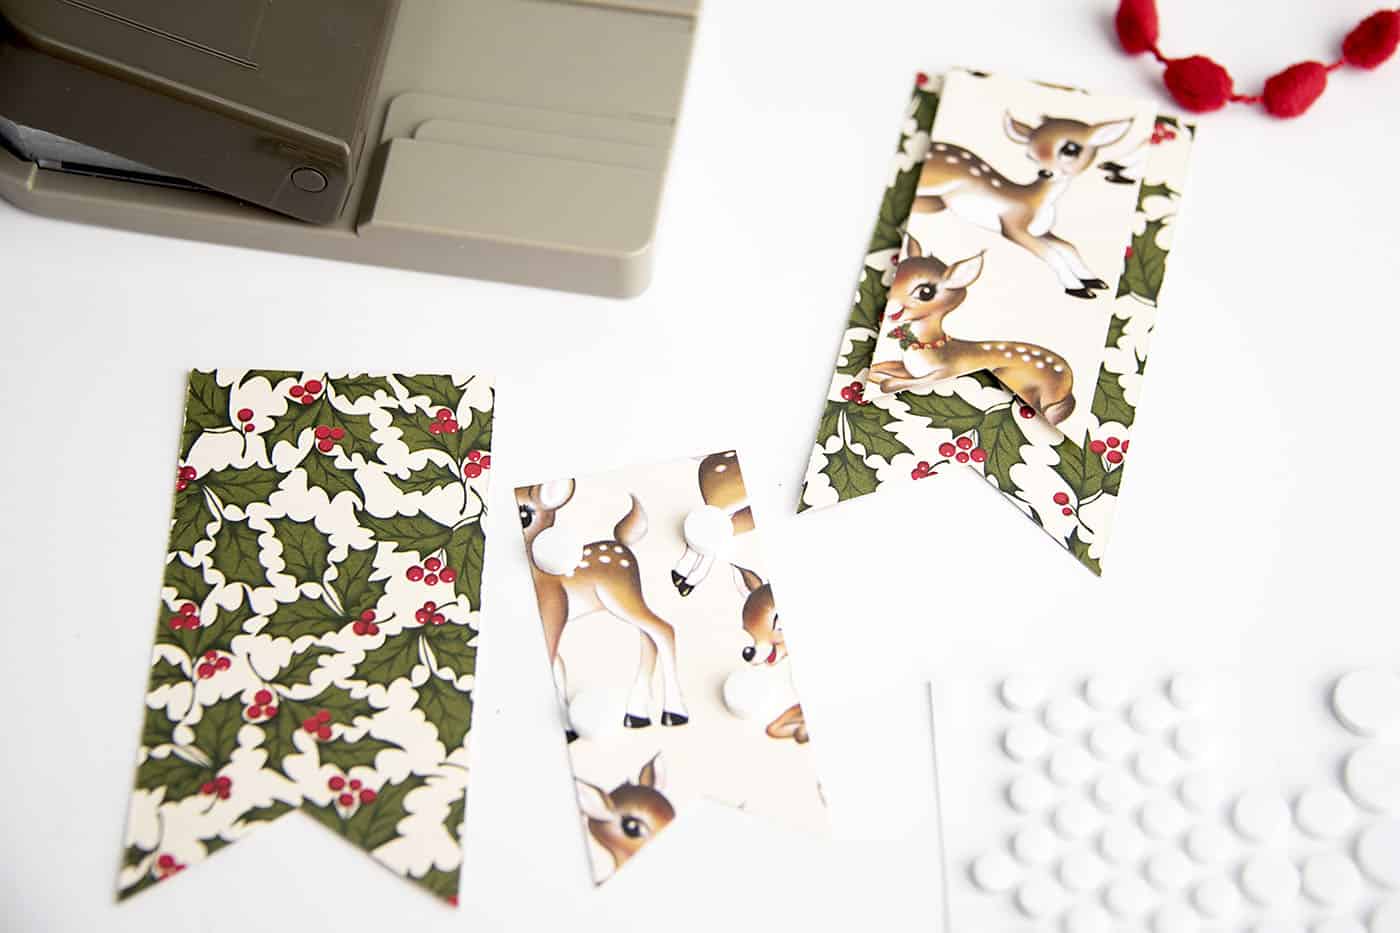
- Trim two pieces of paper for each pennant using the craft knife. Each pennant needs a 2" x 4" piece, and a 1.5" x 3.5" piece.
- After trimming your paper, punch the pennant bottom with a "v" from each piece. Do about 20 of each side.
- Use the adhesive pop-dots to layer each pennant piece.
- Use a glue gun to adhere your pennants to ribbon or twine.
- Hang on the mantel with Command clips or small nails.
Funny how creating projects just makes you want to make more and more! Well, I figure that’s what the colder season is for. Lots of warm drinks, blankets, and craftin’. 🙂
Happy holidays friends!
XOXOXO,
Nat
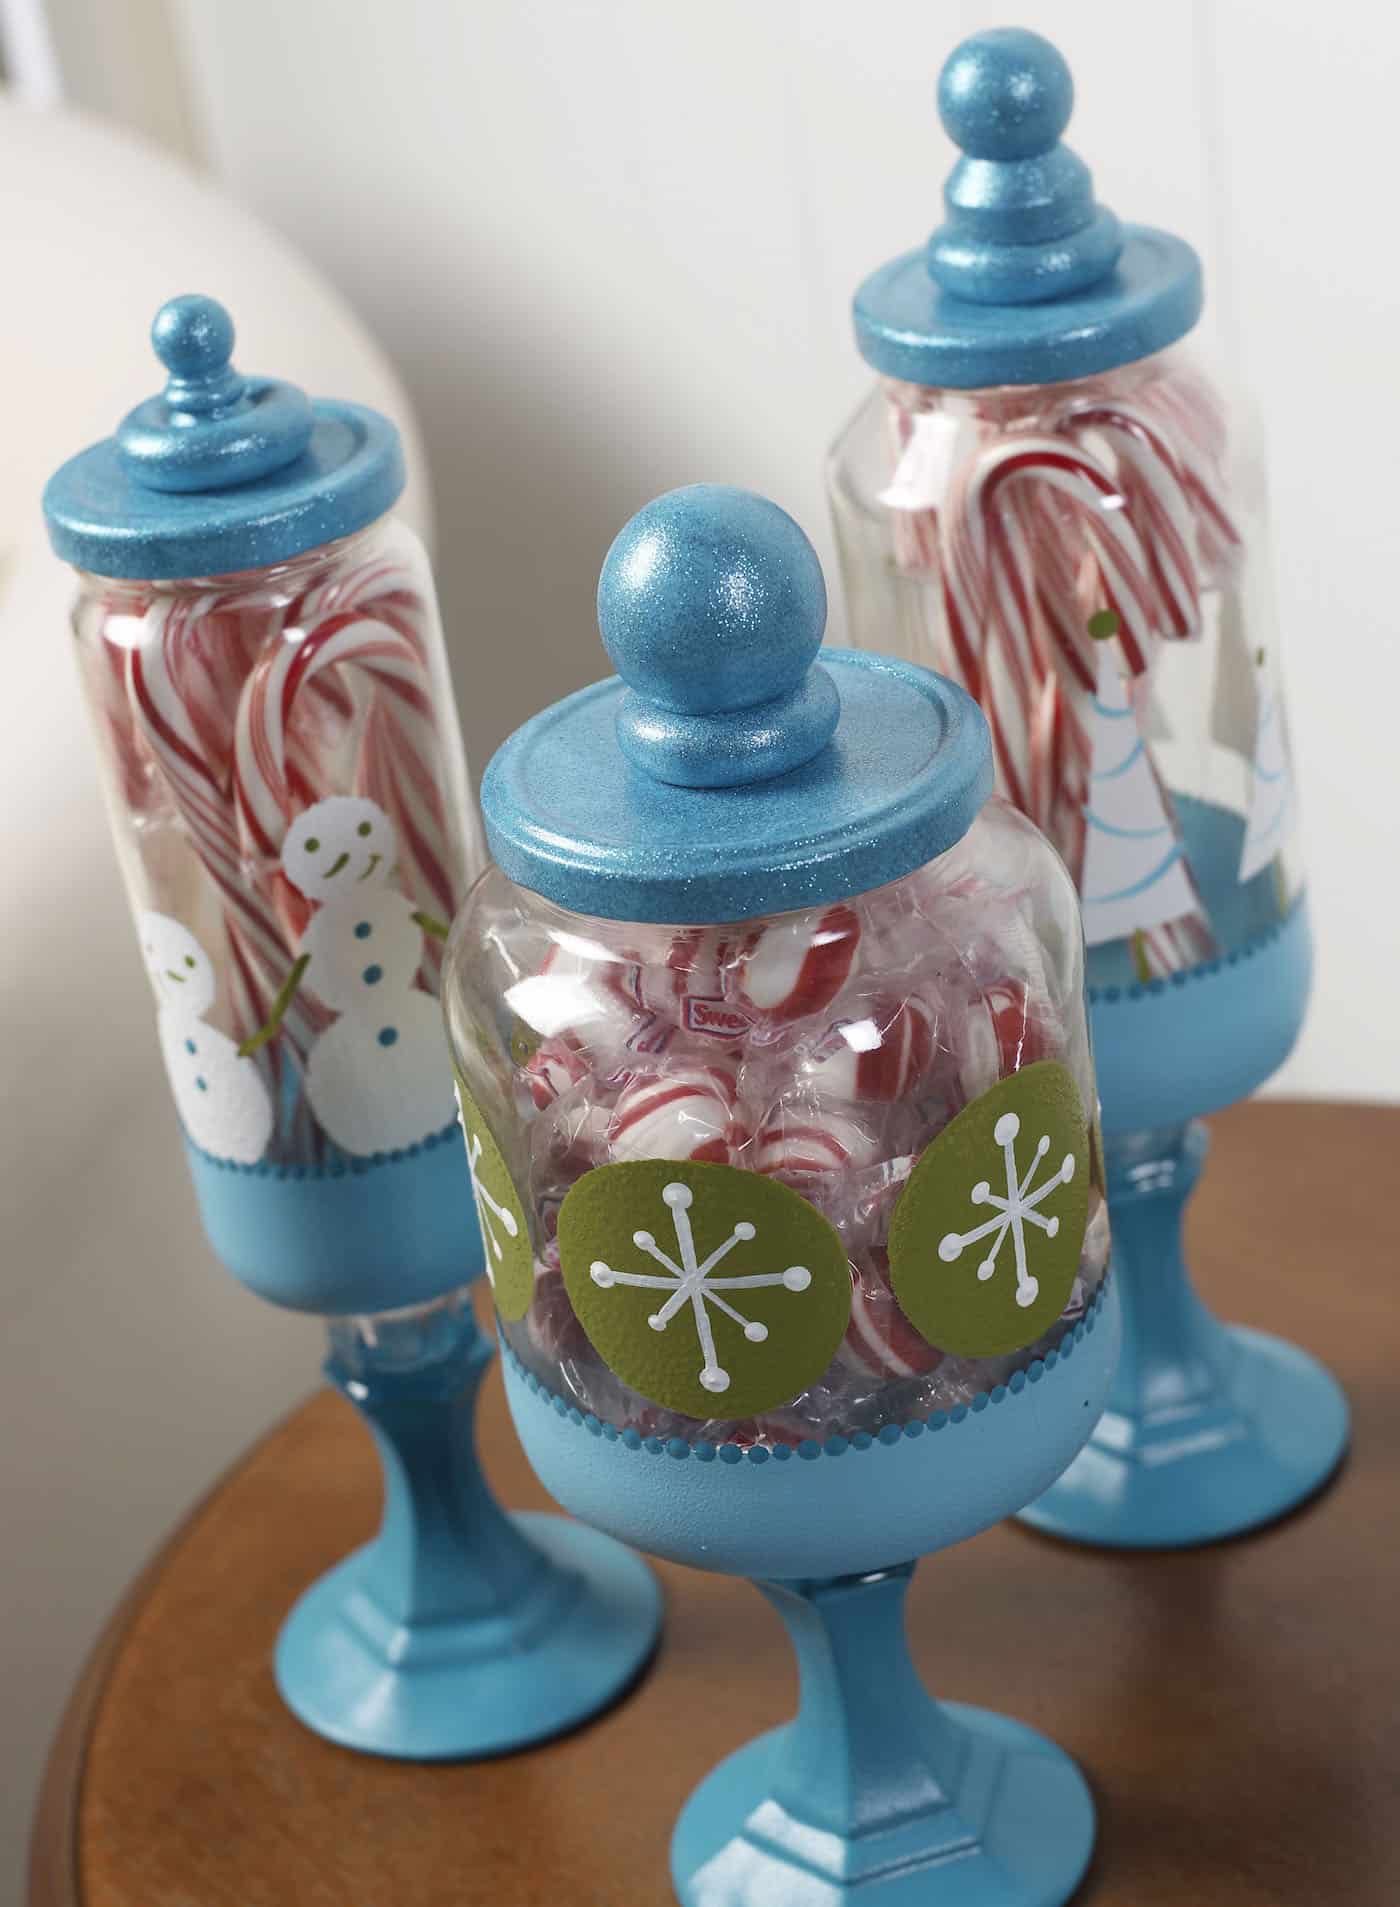
If you like this vintage themed Christmas banner, check out these vintage DIY Christmas sweater clips! I’d also love for you to check out the following posts:
Apothecary Jars • Candy Cane Centerpiece • Candy Cane Wreath • Christmas Shadow Box • Decorative Candles • DIY Nativity • DIY Upcycled Stocking • Felt Ball Garland • Felt Mistletoe • Gnome Decor • Magazine Christmas Tree • Mesh Christmas Wreath • Pom Pom Garland • Santa Hat Topiary • Santa Mason Jar • Santa Napkin Rings • Snowman Mason Jar • Wine Cork Snowman


That banner is so gorgeous!
Paige
https://www.thehappyflammily.com/