DIY Mini Pumpkin Vase for Your Fall Decor
Are you looking for an easy floral decor project that gets your home fall-ready in a jiffy? You can make a pretty pumpkin vase with this quick tutorial.
Skills Required: None. Even if you’ve never crafted before, you’re going to easily be able to do this project. The most important skill is knowing how to carve a pumpkin and remove the insides.

I don’t know about you, but when it comes to fall decorating, I absolutely love going with natural materials and textures as much as possible. I just love that sort of feel on my mantels and for table decor.
Along those lines, I really love pumpkin. I like the gourd itself for decorating and I like the recipes. What can’t you do with pumpkin in the fall? I like decorating fake pumpkins and I like decorating real ones as well.
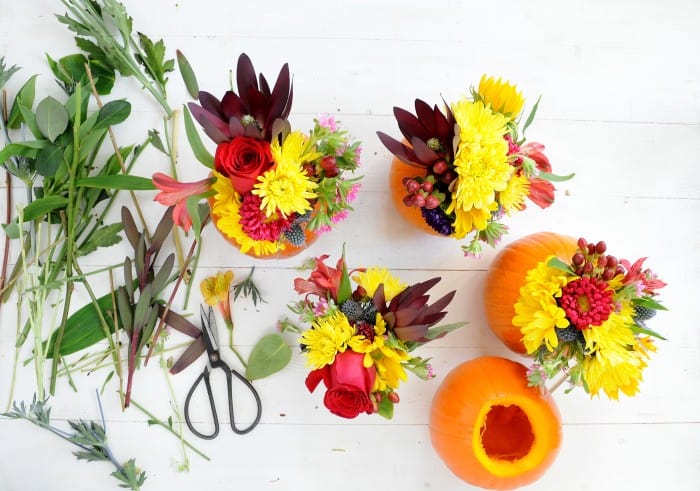
In fact, these DIY pumpkin vases are made with REAL pumpkins! Yep, I’m going to show you how to turn pumpkins into vases that make perfect autumn decor or table centerpieces. These are great for Thanksgiving decorating too.
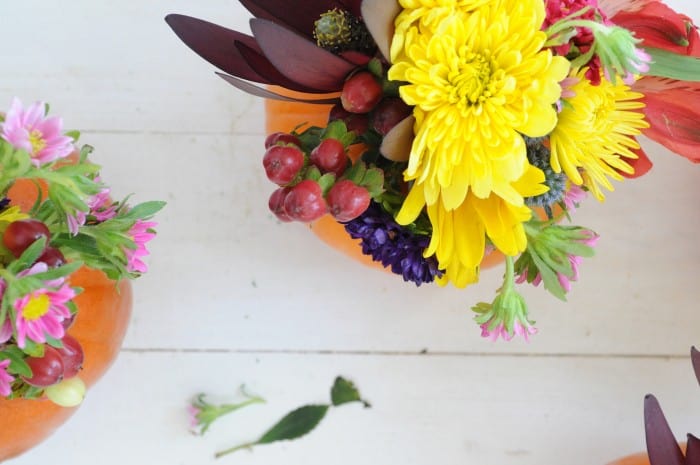
This works for any size pumpkin; the only difference is how much floral foam you use and how many flowers you use.
How Long Do These Last?
They will last about two weeks if you aren’t containing the water in a glass vessel. It can last much longer if you use a glass vessel to keep bacteria from the flowers from getting into the pumpkin.
You can help extend the life of a carved pumpkin by soaking it in a bucket of water and 2/3 cup bleach (yes, already carved). Leave there for 24 hours if you can.
Are you ready to give them a try? Get the printable how to below:
DIY Pumpkin Flower Vases
Equipment
- Pumpkin carving tools or knife
- Spoon
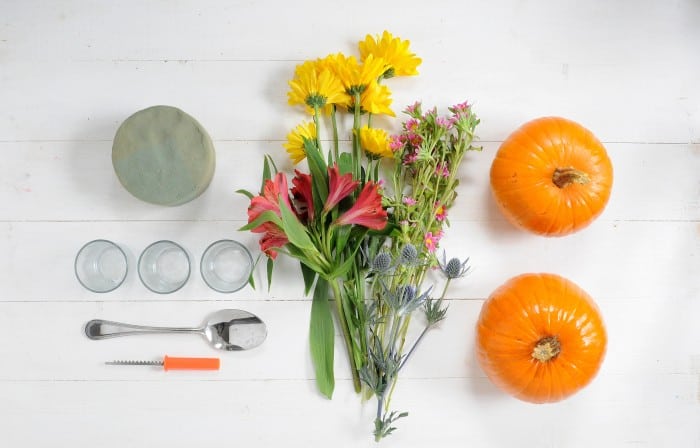
Materials
- 3 Mini pumpkins
- 1 bouquet flowers you can get them inexpensively from the grocery store or Trader Joes
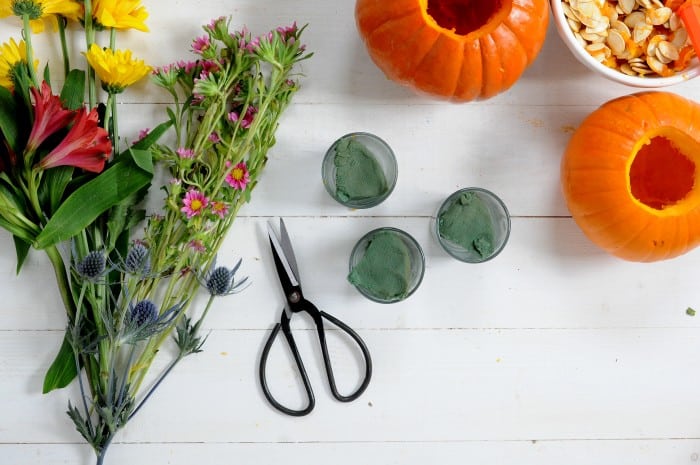
- 3 Votive candle holder
- Floral foam
- Vaseline optional
Instructions
- Wash the pumpkins to remove any dirt using mild soap. Let dry.
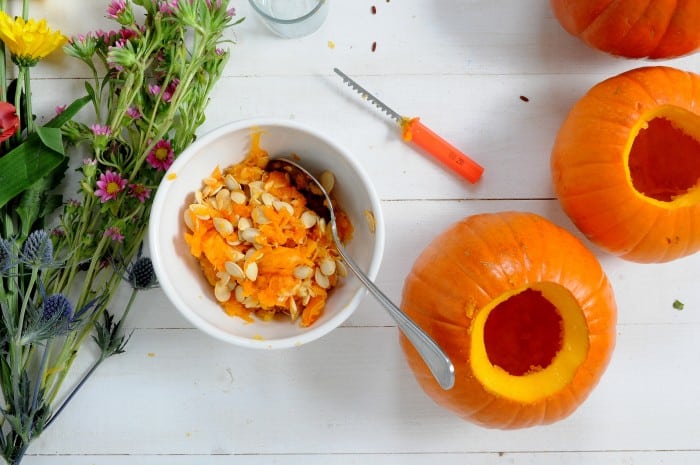
- Cut a small circle around the stems of the pumpkins, roughly the size of the votive jars.

- Pop out the stem pieces and trim the part that went into the pumpkins.

- Scoop out the seeds using a spoon and reserve for roasting.
- Soak the floral foam according to the package instructions. Then trim the foam pieces to fit the jars and press snugly inside.
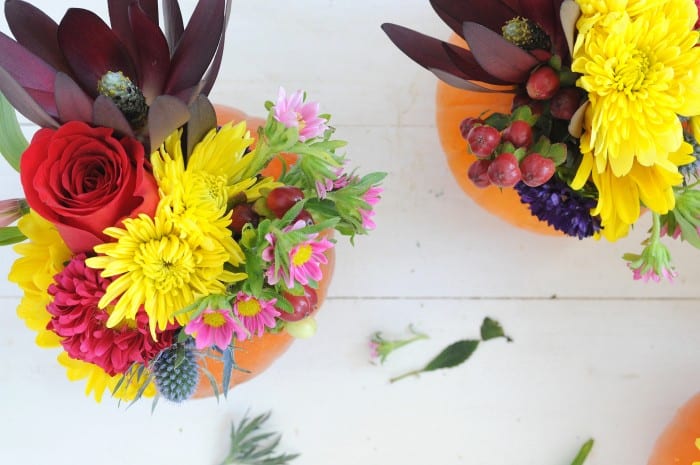
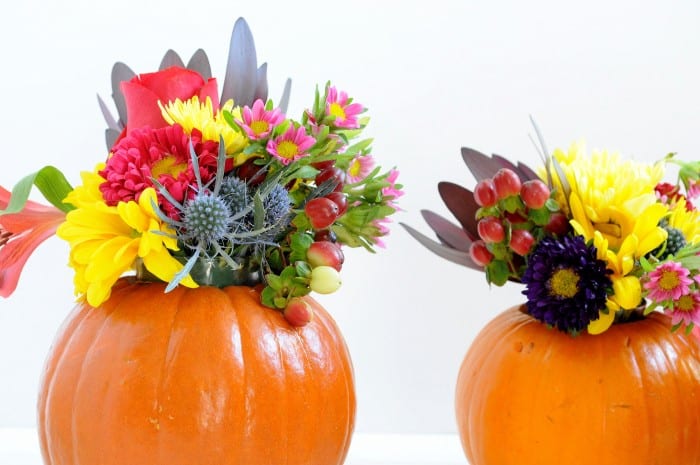
- Start arranging the jars by inserting flowers into the floral foam.
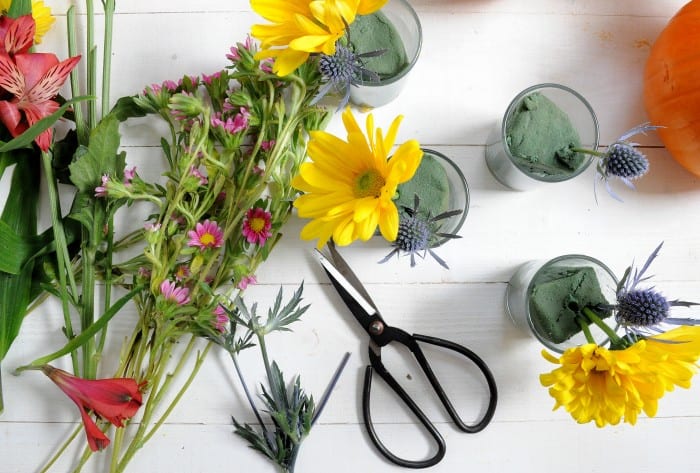
- Continue. It's easy to pull the flowers out of the foam and reinsert if you need to.
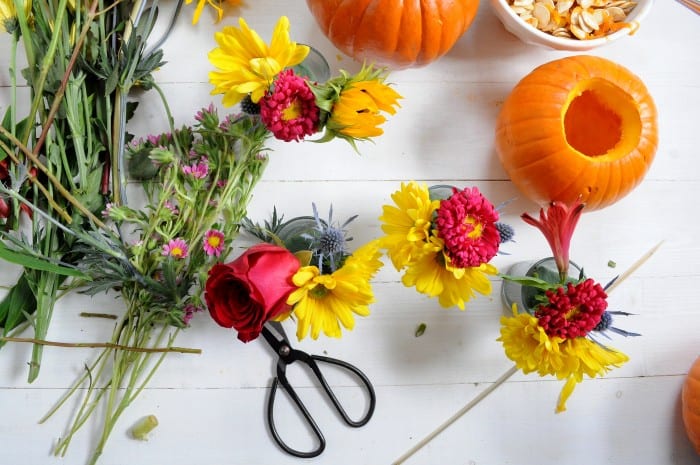
- Slip the jars into the carved pumpkins. Carefully add in any stems if the arrangements don't look full enough.
- To help preserve the pumpkins and make them shine, wipe a bit of vaseline on the outside and buff gently to a shine.
These also make lovely hostess gifts, neighbor gifts . . . I told you I can’t stop thinking of ways to use these! If you make them, I’d love to know in the comments. Plus, here are some other fall crafts to add to your table and fall decor:
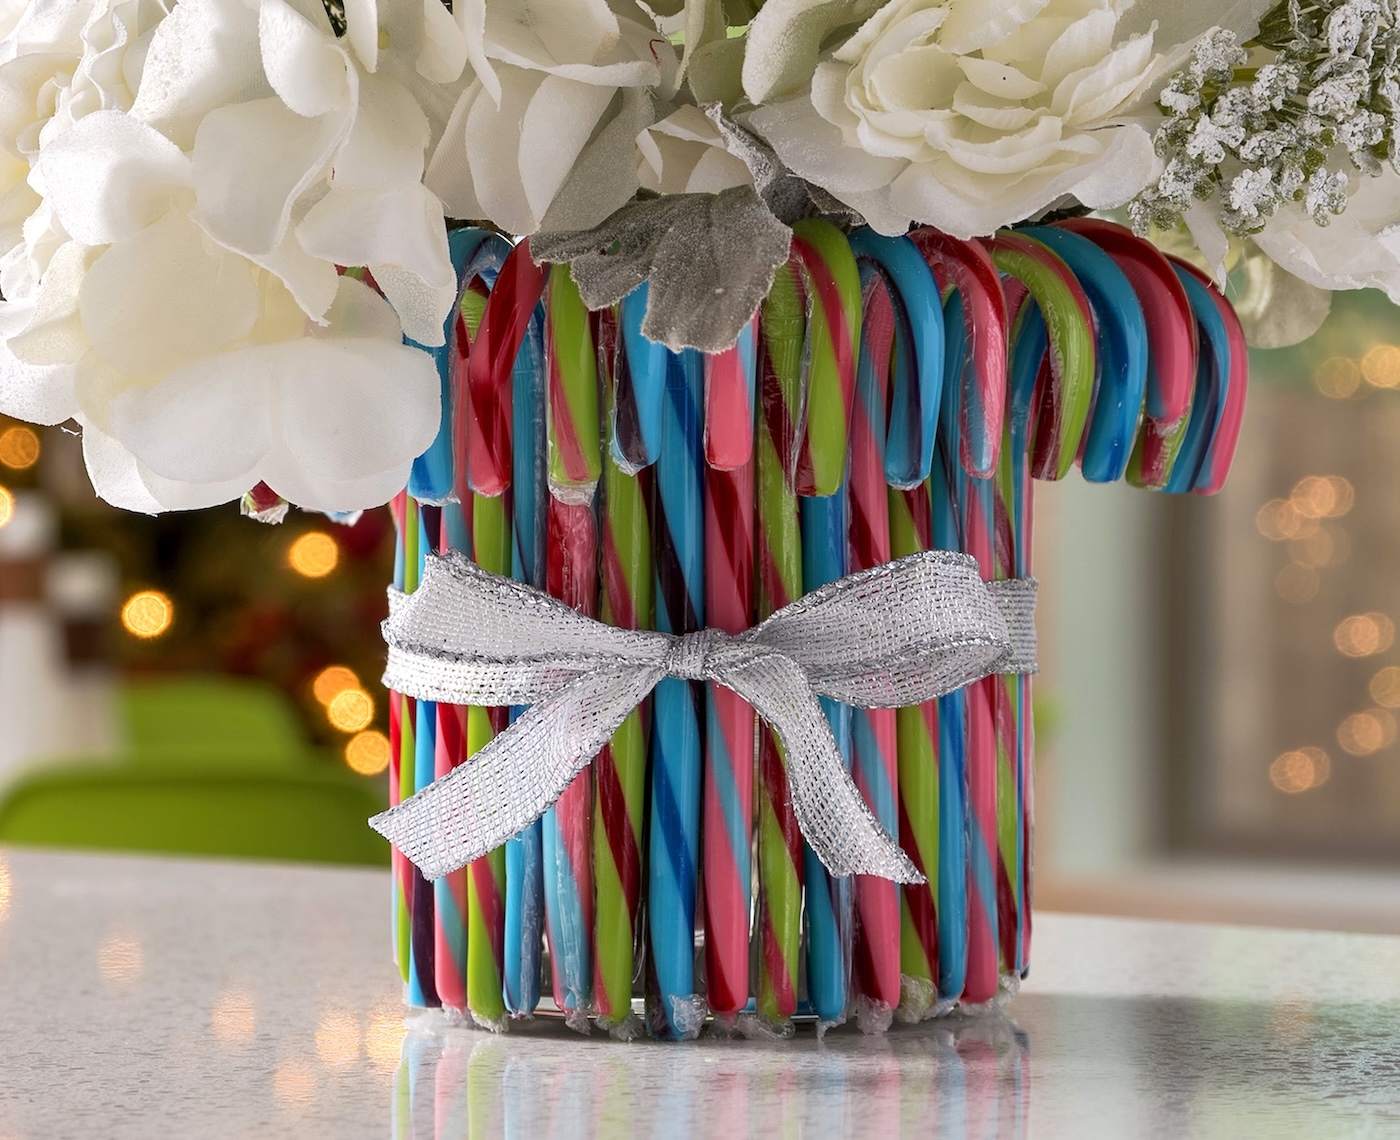
Book Page Pumpkin • DIY Fall Wreath • DIY Pumpkin Garland • Fall Gnomes • Leaf Cork Trivets • Mini Fall Banners • Mini Pumpkin Wreath • Pumpkin Mason Jar • Scrapbook Paper Leaf Decor • Toilet Paper Pumpkins • Twig Votives • Wine Cork Pumpkins


These are such a fun and great idea for the fall! I love it!
Paige
https://www.thehappyflammily.com/
Looks, amazing! thanks for sharing on craft schooling Sunday!