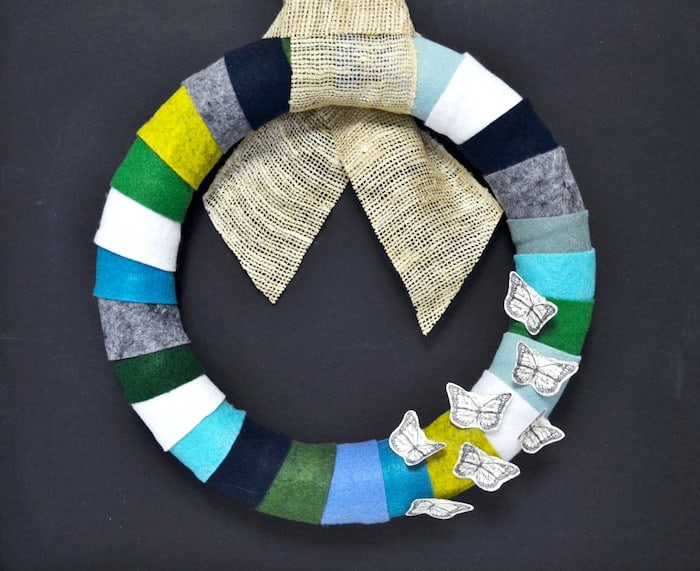
Make a Simple Felt Wreath in Three Easy Steps
This DIY felt wreath is so versatile . . . choose your favorite colors of felt, and make it in three easy steps. Add any embellishments you like!
Skills Required: None. You’re going to be cutting felt strips and attaching them to a wreath form with a hot glue gun. This is perfect for newbie crafters.
Wreaths are one of my very favorite things to craft. Not only are they fun to make, but they look so great hanging not just on the front door, but anywhere I need a little color and texture. Seriously, I probably have about five wreaths on or over various surfaces of my home.
And, now, I have one more to add to the collection! This DIY felt wreath is so versatile . . . choose any colors of felt that you’d like, and any embellishments that your heart desires!
DIY Felt Wreath
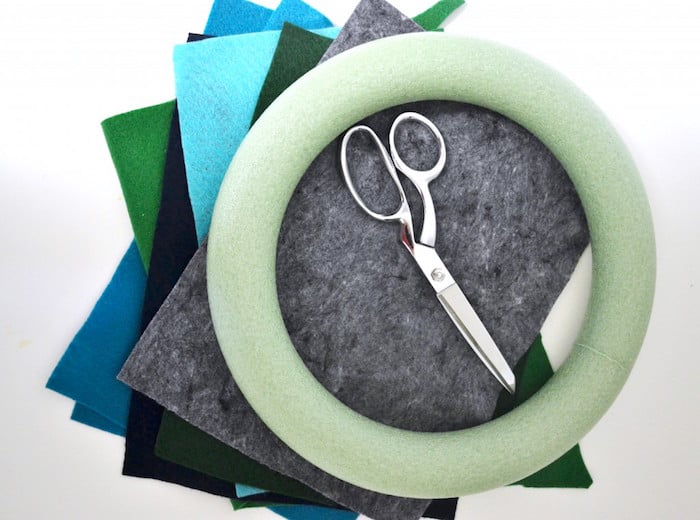
Gather These Supplies
- Felt sheets
- Wreath form
- Embellishments (I used paper butterflies)
- Hot glue gun and glue sticks
- Ribbon – length for hanging
- Scissors
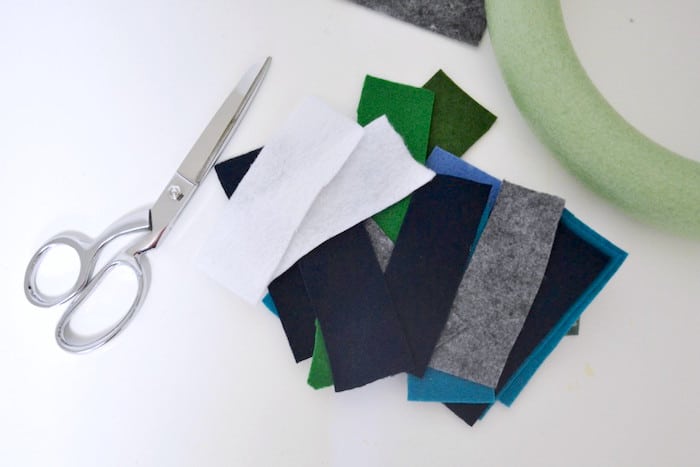
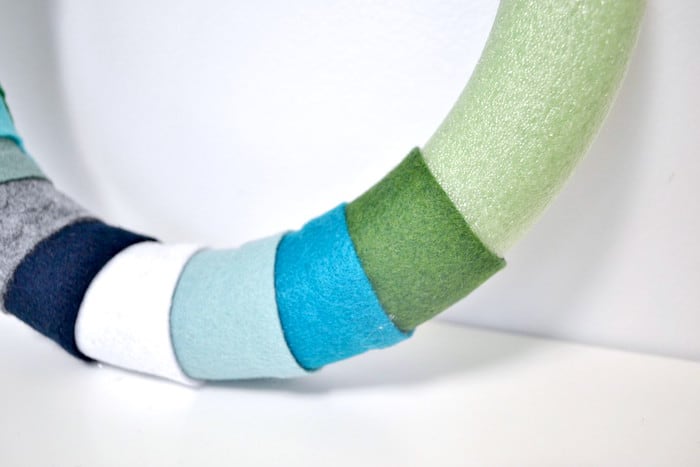
Step 1: Take your felt, and cut lengths that are approximately 6″ long x 2″ wide. I used 26 for my 12″ wreath form, but you’ll use more or less depending on how far apart you space them.
I stuck with a blue, green, and gray color palette. Wouldn’t this DIY wreath look great in oranges, yellows, and reds for fall? Or maybe lots of bright colors for a birthday? The color combinations are endless!
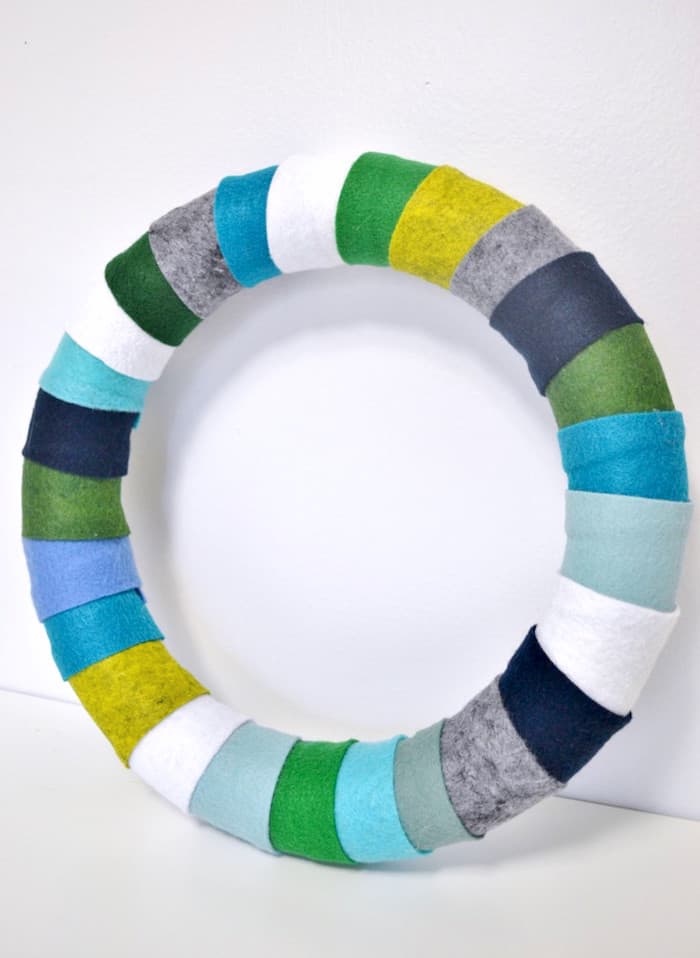
Step 2: Wrap a length of felt around your form, and hot glue it closed on the back of your form. Unlike other felt wreaths I’ve created, this one is really quick to make! It took about 15 minutes to glue all the felt to the wreath.
When you’re done, you’ll have this.
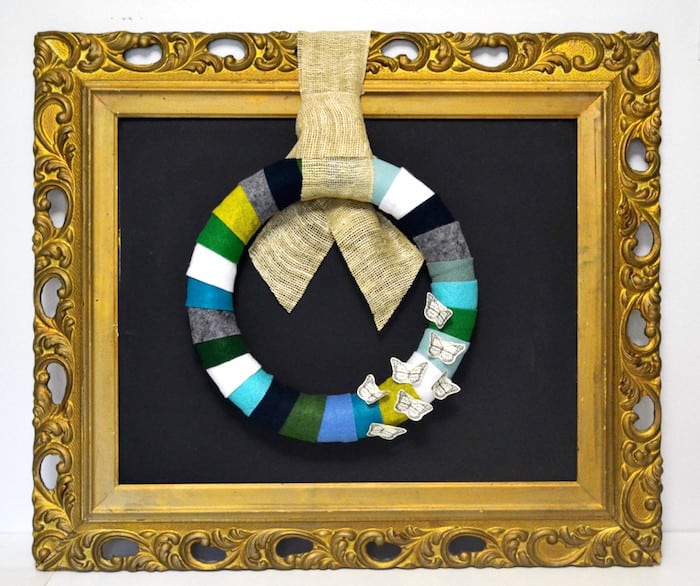
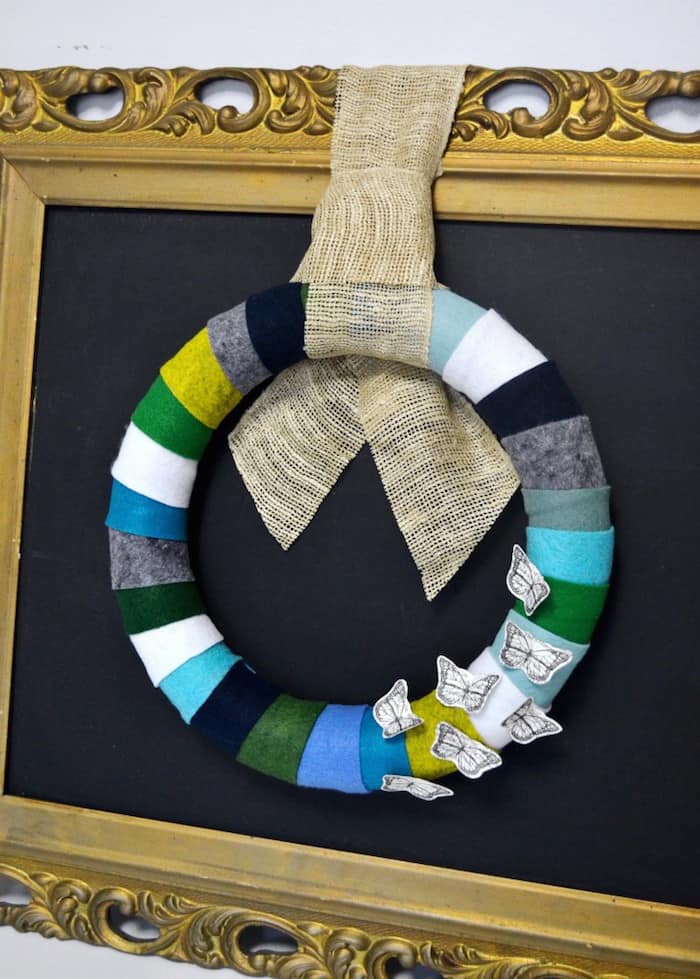
Step 3: Add some embellishments (or keep plain for a simpler, more modern look), hang, and admire!
DIY Felt Wreath
Equipment
Materials
- Felt sheet(s) various colors
- Wreath form
- Ribbon(s) length for hanging
- Embellishments optional
Instructions
- Cut lengths of felt that are approximately 6″ long x 2″ wide.
- Wrap a length of felt around the form and hot glue it closed on the back.
- Continue wrapping additional pieces of felt around the form, layering slightly over the last piece that you wrapped.
- Work your way around the entire wreath form. Put the final piece of felt into place and let cool.
- Add embellishments if necessary. Cut ribbon or fabric for hanging and wrap around the top.
Thank you so much for letting me share with you today. You can find lots of other tutorials and inspiration on my blog. I’d also love for you to check out these other wreaths with various themes/holidays:
4th of July Door • 4th of July Fireworks • 4th of July Mesh • Candy Cane Mesh • Christmas • Christmas Mesh • Christmas Pom Pom • Coffee Filter • Easter Mesh • Fall • Halloween Mesh • Halloween Ornament • Pinecone • Mini Pumpkins • Pool Noodle • Pool Noodle Floral • Pom Pom • Ribbon • St. Patrick’s Day Mesh • Valentine Mesh • Vintage Valentine • Wine Cork • Witch Hat

I love the bright blue color scheme of this wreath!
Paige
https://www.thehappyflammily.com/