How to Make Cork Trivets in Four Easy Steps
It’s so EASY to make DIY trivets with cork! This tutorial shows you how to make cork trivets in four easy steps – adapt it to any design you like.
Skills Required: Beginner. You’ll need to know how to use a craft knife and a hot glue gun. You’ll also need to be able to resize an image in a word processing program and print it, if you choose to use the one provided.
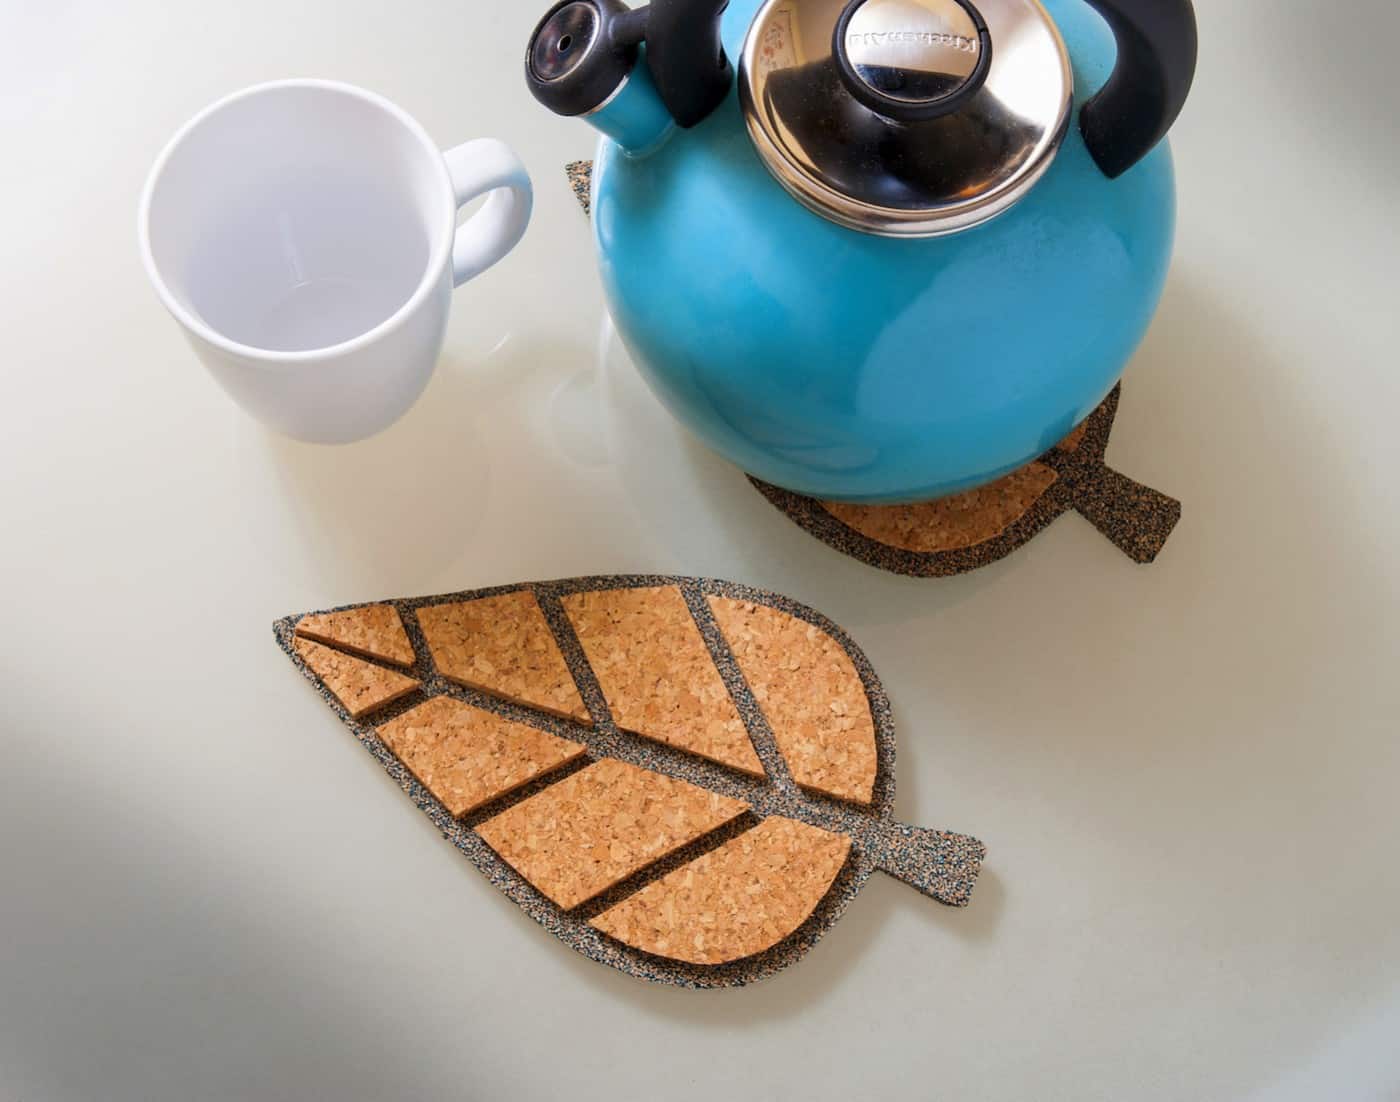
I love making crafts with cork, and it’s the perfect material for getting creative during the fall. Natural materials never seem to go out of style, and of course shades of orange and brown are always in for autumn decor.
I realized on a recent shopping trip to the craft store that not only do they have cork, but they have it in multiple shades. The various colors really thrilled me if I’m being honest. I felt inspired to layer the cork together and make a set of modern, leaf shaped cork trivets.
Making Trivets from Cork
This tutorial is amazingly simple – you can make cork trivets in four easy steps. The only thing you have to decide is the shape you want (I provide a free template if you want to try leaves) and the size you want.
So you know what you’ll be doing, the steps for these DIY trivets are as follows:
- Download the image, resize (optional), and print two copies
- Cut the template out of the bottom layer of cork
- Cut the template out of the top layer of cork
- Hot glue the two layers together
Seems reasonable, right? I promise you that you can do it. Before we jump into the tutorial, there’s a concern that always comes up when readers find out that these are made of cork. Here’s the question I always get:
Are Cork Trivets Heat Resistant?
It’s a valid concern that if you are going to be making these cork trivets, you want to make sure they are going to withstand high temperatures from dishes or other items that you might be putting on them. Cork doesn’t start to burn until 392ºF.
Cork has natural properties that make it fire resistant, plus it doesn’t release toxic gases when it burns (not that you are going to burn it, but just in case). That makes these cork trivets quite perfect for hot items.
For hot mugs and tea kettles – water boils at 212ºF. Once your water boils, and you remove the tea kettle, it starts cooling down immediately. You are absolutely fine to use these trivets with mugs or tea kettles just off of the burner.
For dishes out of the oven – I mentioned that cork doesn’t start to burn until 392ºF. Once you bring a dish out of a hot oven, it starts to cool immediately.
If the dish was in an extremely hot oven (450ºF or above), I’d leave it on top of the range for a few minutes before placing it on your cork trivet. That’s just me being extra cautious!
Now that I’ve told you more than you probably want to know about cork, are you ready to get the tutorial for this easy adult craft? Keep reading.
Gather These Supplies
- Printer and paper
- Leaf Image Template (download)
- Cork tiles – dark brown, 12” x 12”
- Cork tiles – light brown, at least 6” x 6”
- Craft knife and mat
- Scissors
- Tape
- Hot glue gun and glue sticks
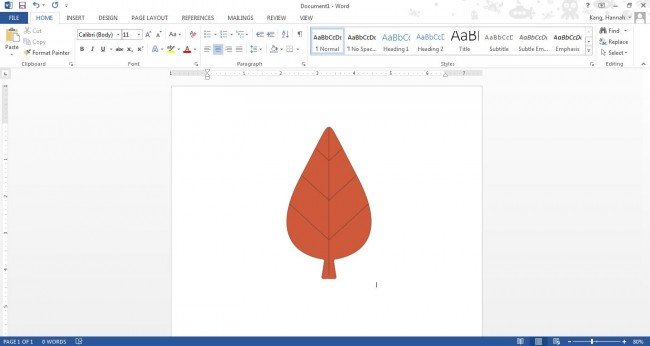
Download the leaf image (download) and insert into a word processing program.
Enlarge to approximately 5” wide and then print. Enlarge that same image again to approximately 6.5” wide and print a second time. This will provide your two templates for the layered cork trivet. Of course you can print it to the size of your choice, which is why I’ve offered it as a freebie!
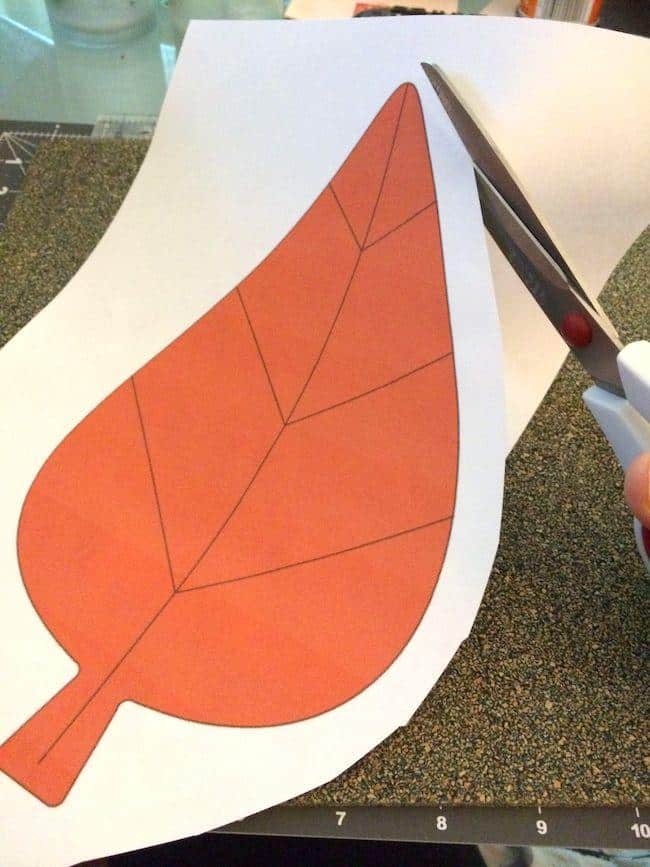
Trim the excess paper from the outside of your larger leaf, but leave a white edge around the design for now.
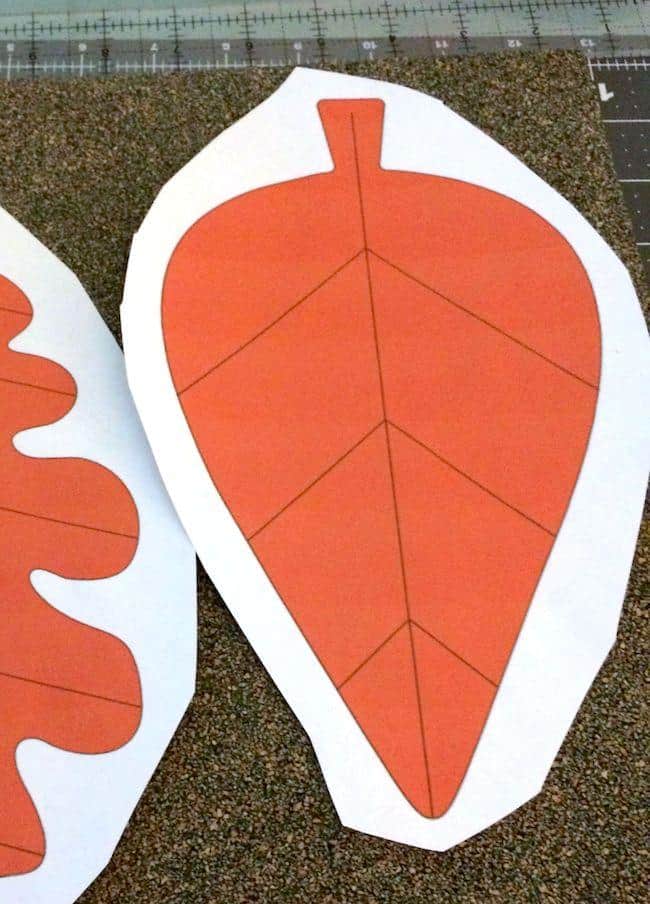
Tape the LARGER leaf shape(s) down to the darker, larger piece of cork using your tape.
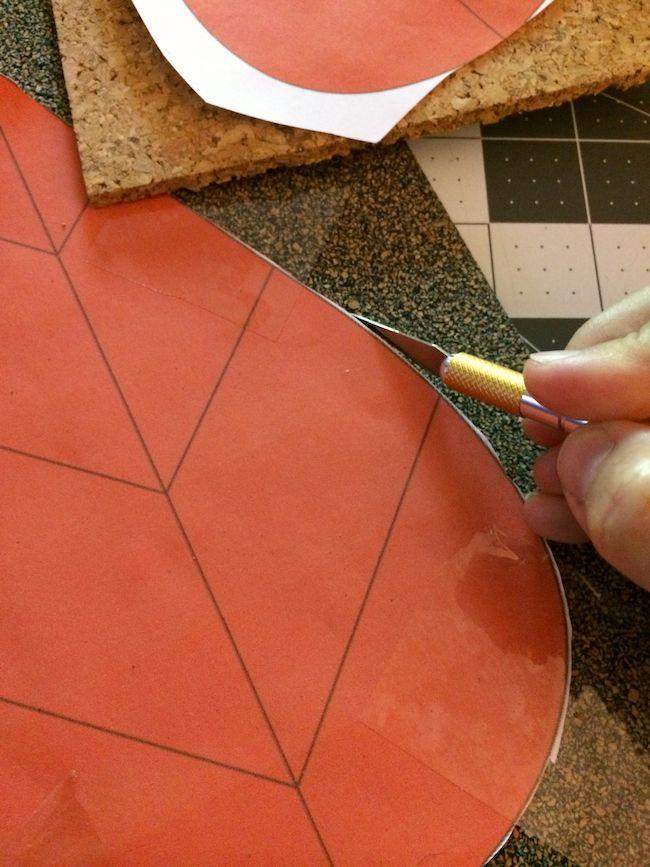
Trim all the way around the edge of the larger leaf template using a craft knife (on top of the mat). As you trim away the white part of the paper, you will also be cutting through the cork. Now onto the smaller piece.
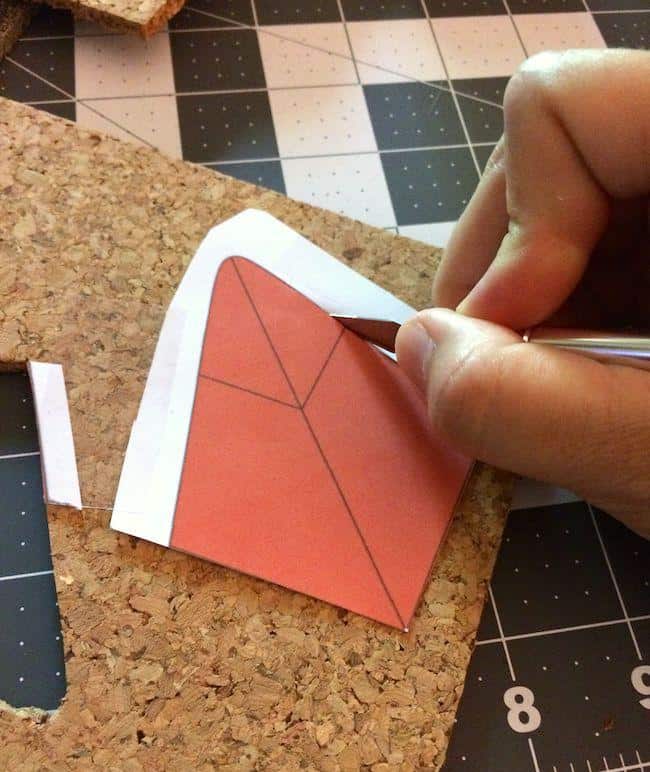
For the smaller leaf print out, cut it into two pieces so that you fit it on the smaller, lighter cork sheet. Tape the pieces to the cork and cut out each portion of the leaf individually using the craft knife.
Unlike the larger piece where you only cut around the outer edge of the leaf, you will need to cut out each of the pieces along each of the lines. You do not need the stem (just cut that portion off).
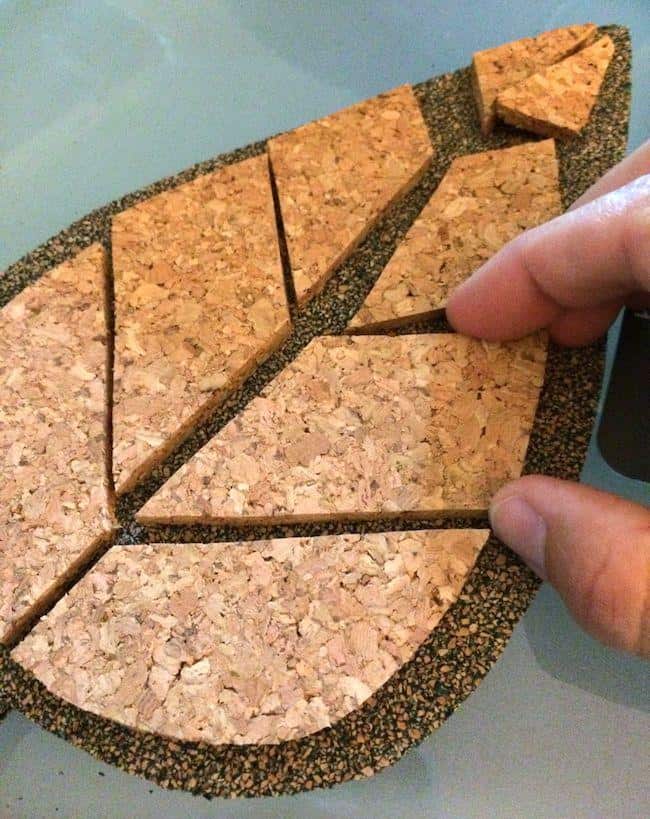
Organize these smaller cork pieces on top of the darker piece of cork, making sure they are in the right position to glue. Your DIY trivets are almost done!
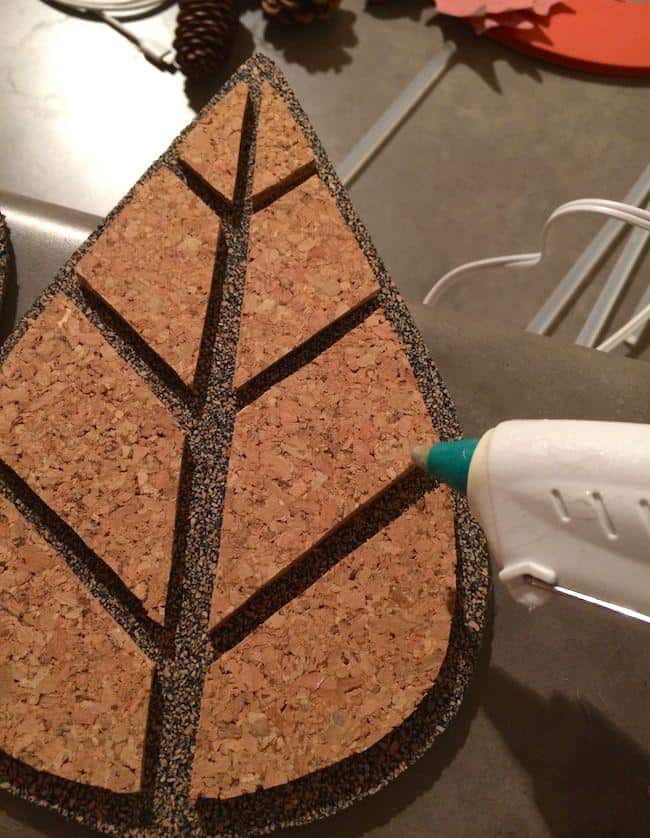
Hot glue each piece down – make sure to use quite a bit of glue to secure the pieces well. Let cool.
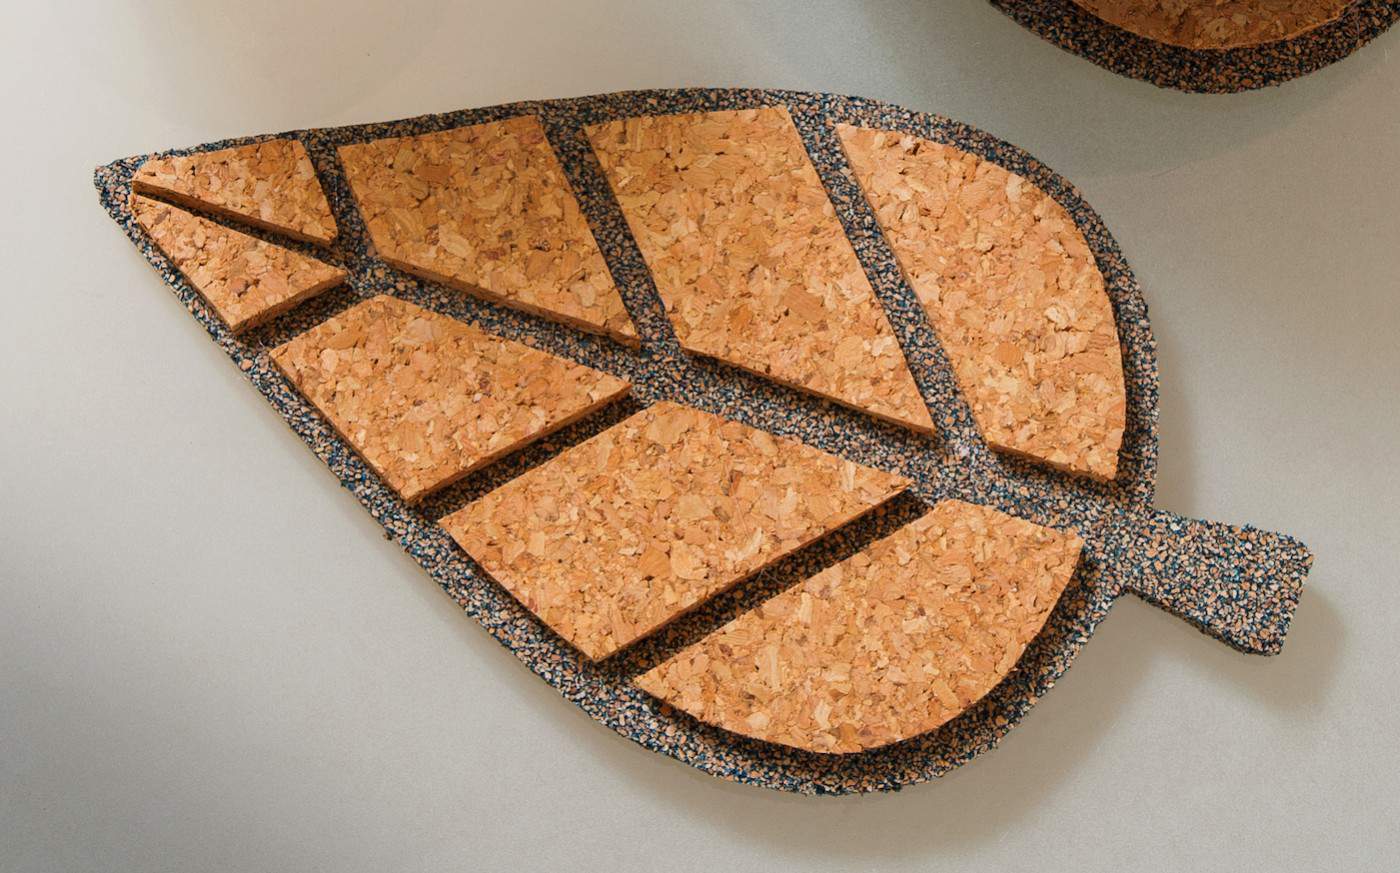
As I mentioned, these cork trivets are highly heat resistant. But if you bring items straight out of a hot oven (450 or above), let the items cool for several minutes before placing them on the leaf trivets – these are perfect for decorating a tabletop during a dinner party!
If you make these DIY trivets, I’d love to hear in the comments. Plus I have clothespin trivets you’ll probably want to check out. They’re kinda cool!
And if you love working with cork, I’ve got some tips for you. I’d also love for you to check out these other fall crafts and posts:
Book Page Pumpkin • DIY Fall Wreath • DIY Pumpkin Garland • Fall Gnomes • Mini Fall Banners • Mini Pumpkin Vases • Mini Pumpkin Wreath • Scrapbook Paper Leaf Decor • Twig Votives • Toilet Paper Pumpkins • Wine Cork Pumpkins




Are there more patterns available ? I’d love to make another one!
Bevvy just try googling leaf silhouettes and find one you like. There are so many cute ones! You can pick your favorite!!
Where did you buy the cork tiles? I’m looking for dark cork and so far have only found tiles where the cork has large chunks and breaks apart and sheds easily.
Hi Amie! I believe I bought them at Hobby Lobby years ago. You could try Amazon – there were a few that looked promising under “dark cork tiles.” But also you can paint cork if you want to! With acrylic craft paint. And you can add a little bit of water if you still want the cork to show through a bit.
@Amy, Thank you! Would painting the bottom layer lower the heat rating?
So cute! Could you tell me how thick the cork tiles were? They seem to vary in thickness. ~ Thanks!
I’m having a hard time remembering but I believe 1/4″ thick. If you use 1/4″ thick with 1/2″ or 1/8″ with 1/2″ etc you should be fine (even if they aren’t the same thickness).
@Amy,
Thanks so much! I just love your tutorial, and can’t wait to try it!