Easy Spindle Snowman Craft for Winter
Grab a wood spindle from the hardware store or a construction site and turn it into this unique snowman craft. This snowman made from wood is perfect seasonal display piece!
Skills Required: Beginner. This is a very easy project to paint, even if you’ve never painted before. The distressed style makes it nice and forgiving.
It’s finally getting cold here in Georgia, which probably has many of you laughing because you’ve already been experiencing winter for a while.
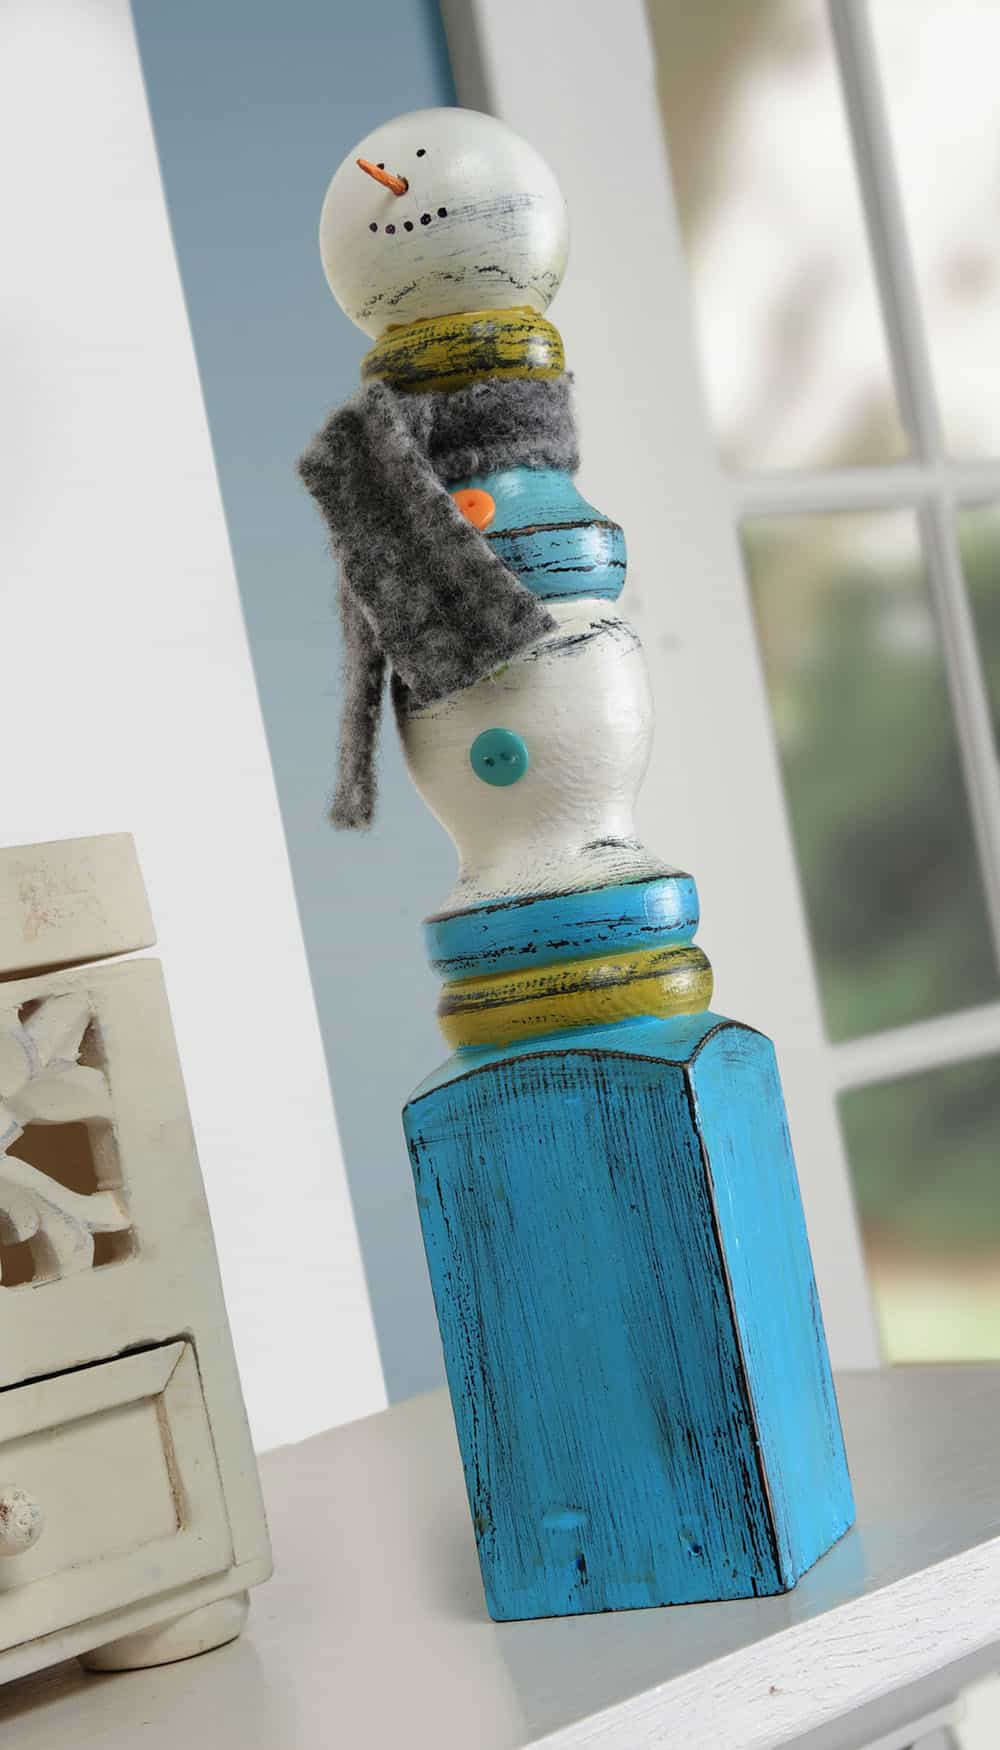
Are you looking for a craft project to brighten up those winter blues? How about a snowman craft made from a wood spindle? I love him because he’s colorful and cheery, and he adds the perfect touch to a side table or centerpiece.
He’s also a true budget craft, because the wood spindle base was reclaimed and we already had paints on hand – so not even $1 was spent to make him.
If you are looking for pieces of scrap wood to use as painted surfaces, try a brand new subdivision with houses under construction. Always ask first though!

Isn’t my spindle snowman fun? It’s great for rustic, primitive, or farmhouse Christmas or winter decor. Customize with your favorite paint colors!
Here’s how our friendly snowman craft is made.

Spindle Snowman
Equipment
- 1 Paintbrush(es) #10 flat
- Drill with drill bits optional
Materials
- Acrylic paint Black, Mango, Pear, Pool Blue, Regency Blue
- 1 Reclaimed wood spindle
- 1 wood ball Large, to fit the top of your spindle
- 1 old candle (for the wax)
- Sandpaper
- Scrap fabric or wool
- Toothpick(s)
- 3 button(s) coordinating
- Artist Varnish Gloss
- Sharpie(s)
Instructions
- Cut spindle to desired height and glue wood ball on top for head. Paint Black and let dry.
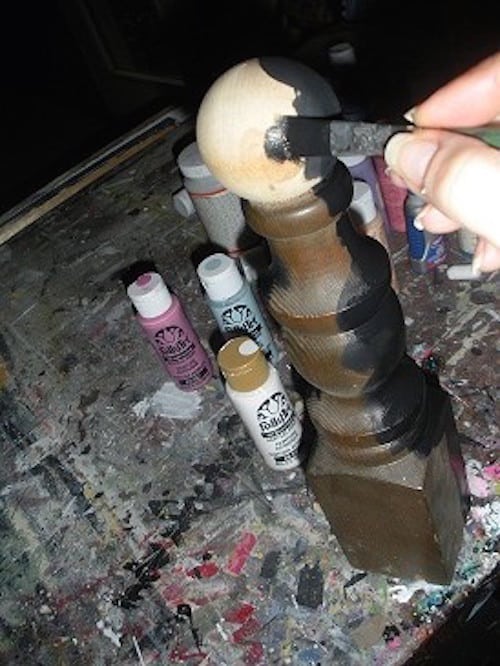
- Rub wax onto all edges of spindle.

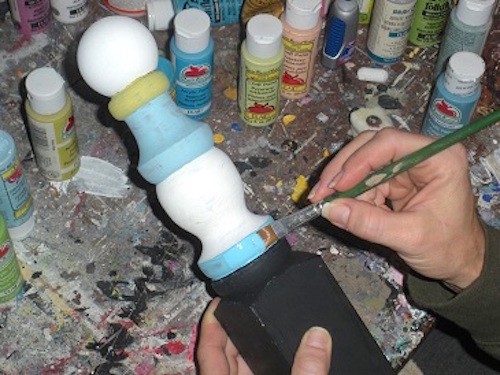
- Paint over wax with the acrylic paint colors, using white for the head and middle. Let dry.
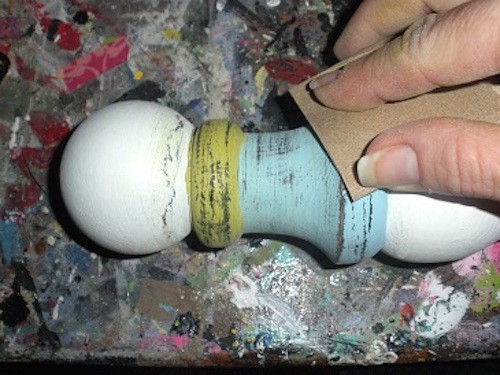
- Sand lightly, removing paint where there was wax and creating the distressed finish.
- Cut fabric or wool to desired length and tie around neck, creating the scarf. Add buttons with hot glue. Paint the toothpick with Mango; drill a hole in the front of snowman’s face and insert with glue. Add varnish and let dry, then add eyes and mouth using a black marker.

If you like this holiday decor idea, let me know in the comments! I’d also love for you to check out these other posts:
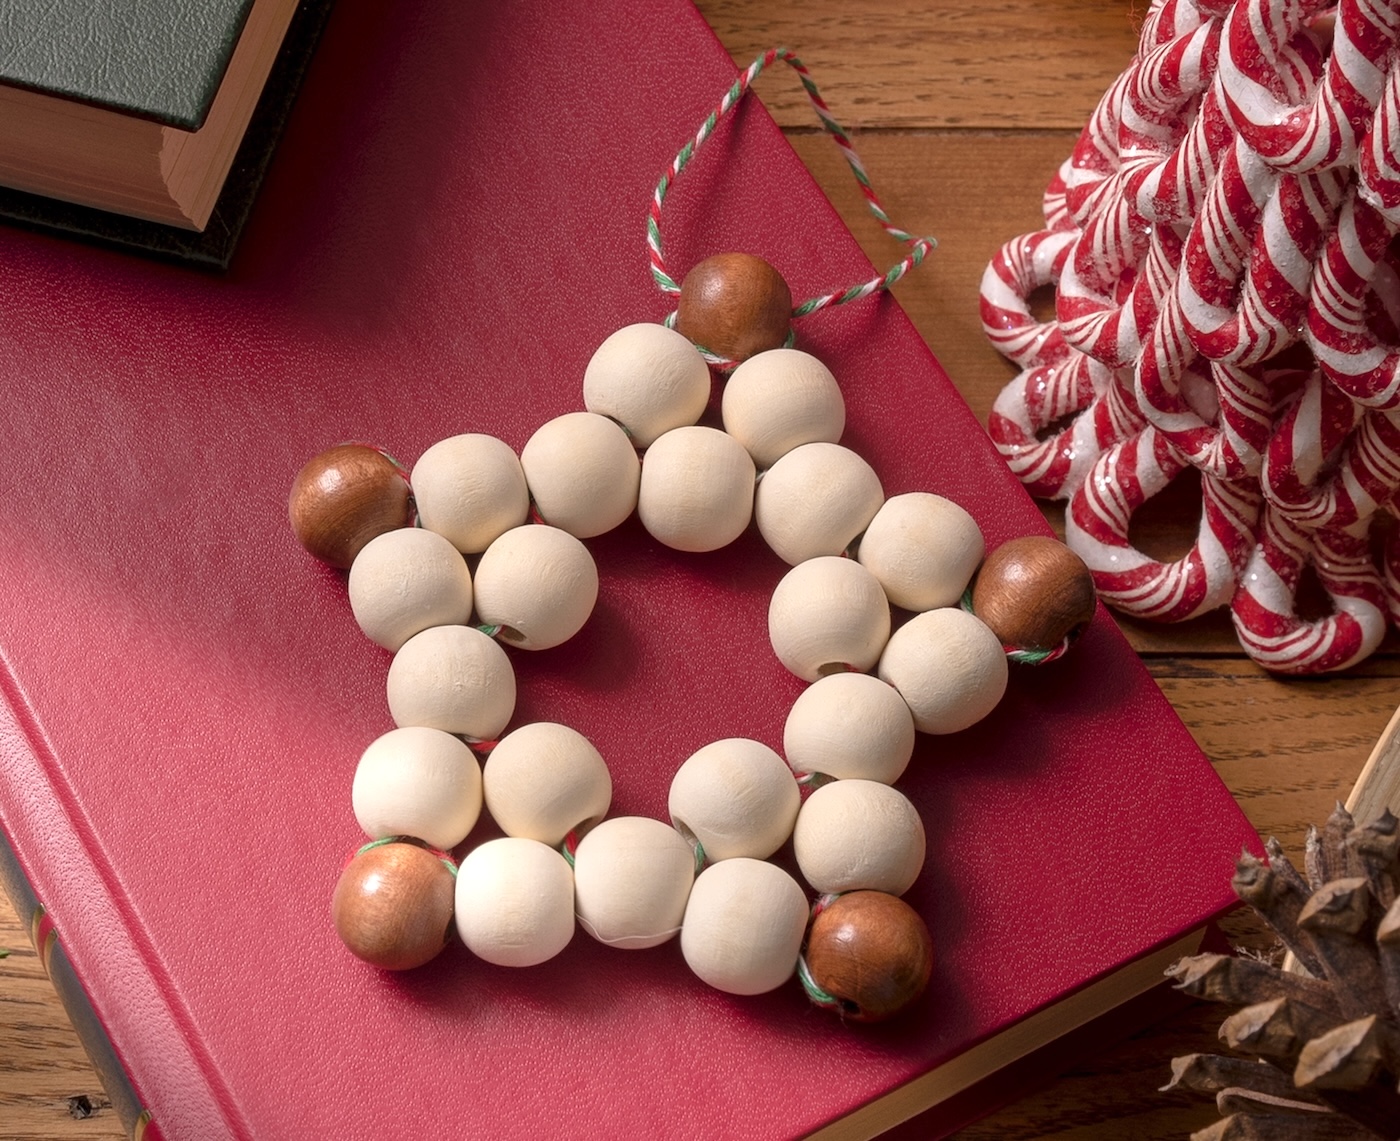
DIY Nativity • DIY Upcycled Stocking • Felt Mistletoe • Gift Card Holders • Gnome Decor • Magazine Christmas Tree • Pom Pom Garland • Recycle Cookie Tins • Santa Hat Topiary • Santa Mason Jar • Santa Napkin Rings • Snowman Mason Jar • String Art • Wood Bead Snowman • Wine Cork Snowman • Winter Wonderland Decorations • Wood Slice Magnets


This is such a fun and cute project! It will be fun to do this with my little man during the winter!
Paige
https://www.thehappyflammily.com/