Pool Noodle Wreath That Wows in a Few Easy Steps!
Turn a Dollar Tree pool noodle into a charming door wreath with this easy, fun DIY tutorial. Perfect for beginners looking for unique decor.
Skills Required: Beginner. All you need to do is create a wreath form, wrap ribbon, and then glue on embellishments. It’s relatively simple! You can make this without any prior crafting skills.
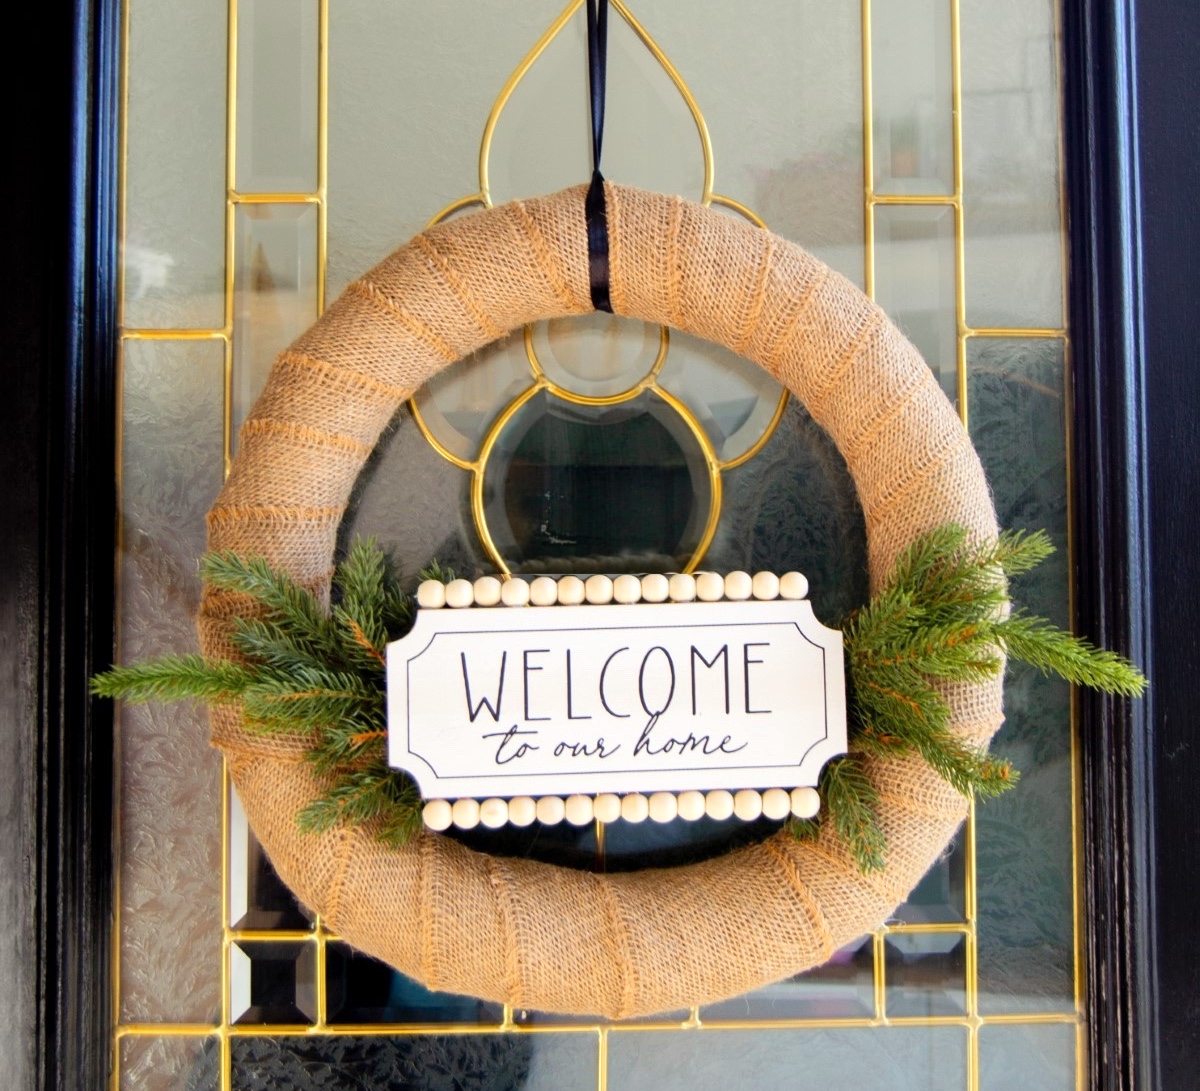
Ever stared at a pool noodle and thought, “You know what? This could make an epic door wreath”? No? Just me?
Well my friends, buckle up because I’m about to share the coolest pool noodle wreath with you – a craft so fun and easy, you’ll wonder why you’ve been spending money on fancy door decor all these years.
First off, let’s address the elephant in the room: Yes, we’re using a pool noodle. That squishy, floaty tube you never thought would see the light of day outside of a swimming pool is about to become the star of your home decor.
And the best part? You can snag one from Dollar Tree. That’s right, for just a buck, you’re on your way to creating a masterpiece.
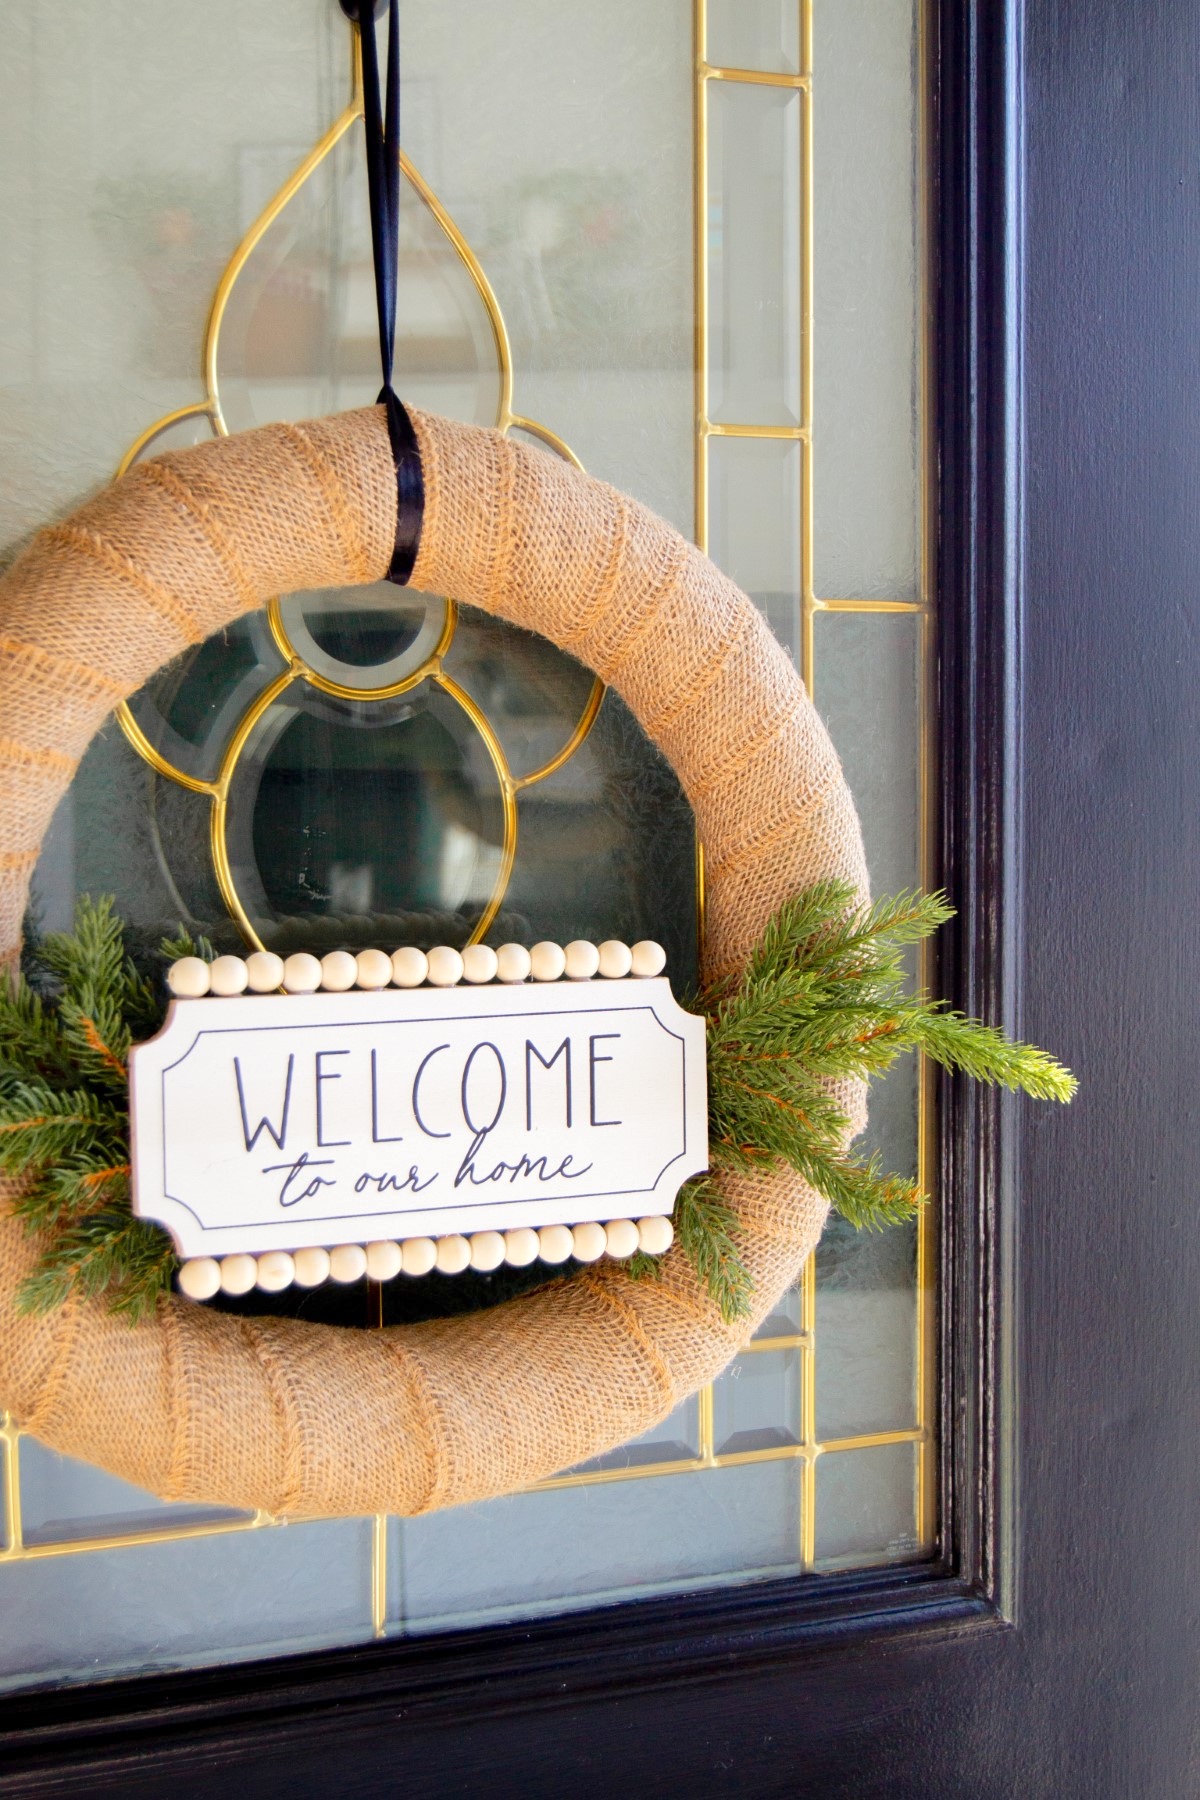
Now, you might be thinking, “But I have no crafting skills!”. If you can use scissors without injuring yourself and operate a glue gun without adhering your fingers together, you’re overqualified for this project. We’re talking beginner level, easy-peasy, lemon-squeezy.
We’re not just slapping a noodle on your door and calling it a day. Oh no, we’re going to jazz it up with burlap for a bit of rustic charm.
Throw in some faux pine branches because, why not? Add a dash of hot glue, a sprinkle of wood beads, and voila – you’ve got yourself a DIY wreath that screams, “Look at me, I’m crafty and I know it!”
And here’s the kicker: once you’re done, you get to brag about how you turned a pool noodle into a work of art. Your neighbors and friends will be at least mildly impressed, which in my book, is a win.
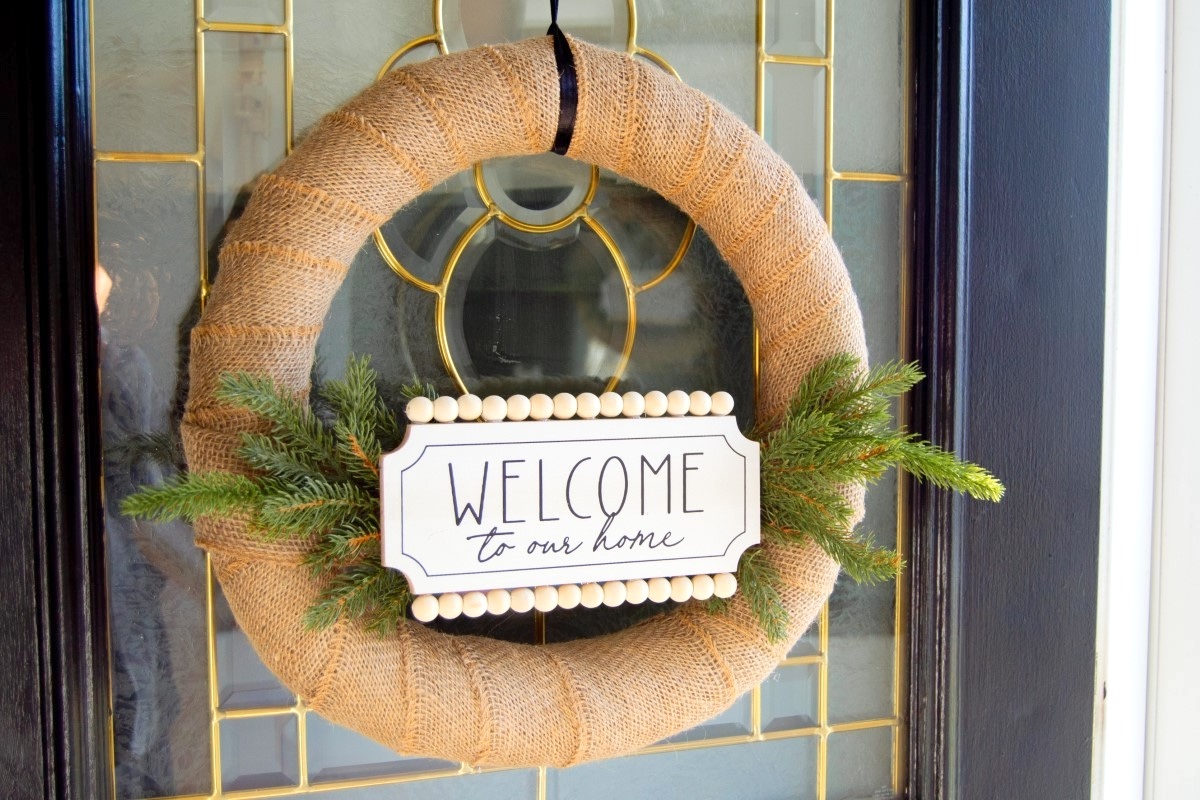
Who said pool noodles were just for summer? Let’s make a wreath that not only spruces up your entryway but also serves as a hilarious conversation starter. Because, at the end of the day, if we’re not laughing, are we even crafting?
Gather These Supplies
- Pool noodle
- Packing tape (or duct tape)
- Wide burlap ribbon
- Smaller ribbon to hang
- Faux pine branches
- Hot glue gun and glue sticks
- Wood beads
- Barbecue stick
- Wire cutter
- Scissors
- Ready-made sign
Two of my favorite places to buy small signs are the dollar store and the Target dollar spot (the bins at the front of the stores). They always have cute little plaques you can use as-is or re-do any way you like.
Another way to create a little sign is to buy a plaque from the craft store, paint it, and then add a vinyl saying on the top.
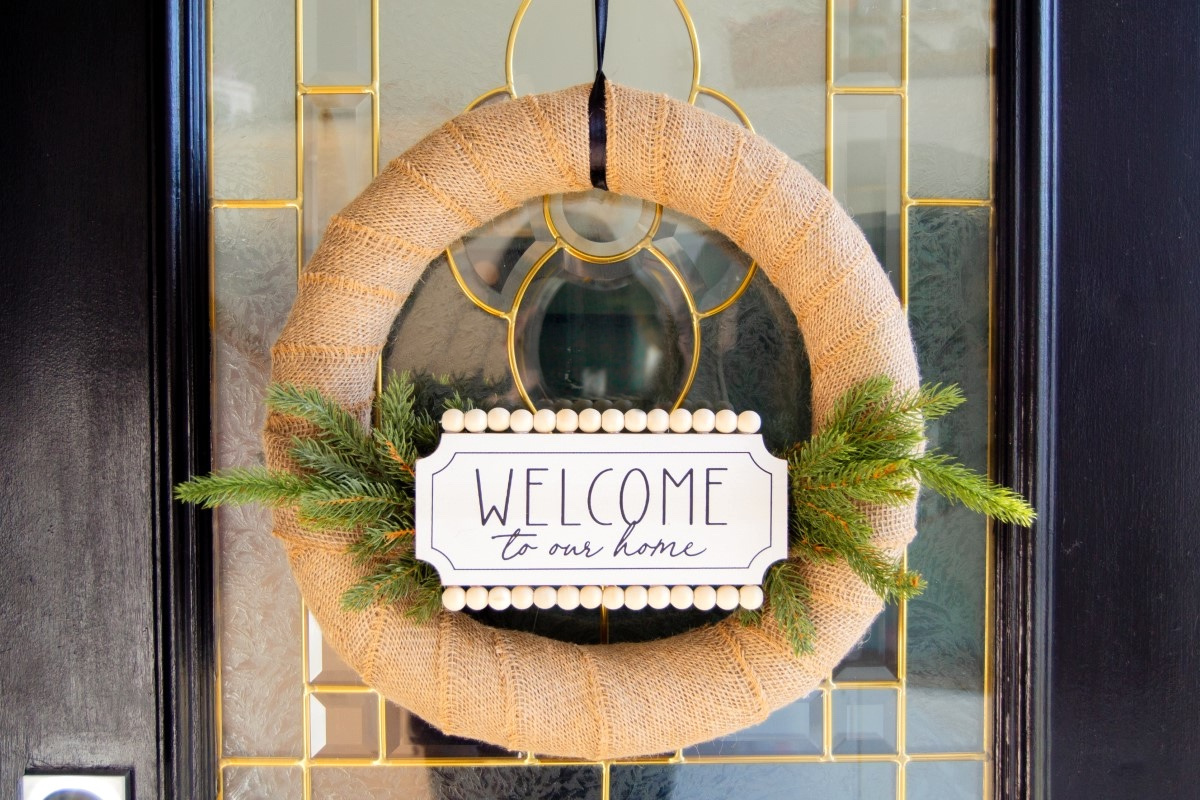
This pool noodle wreath is probably the best a foam summer swim toy will ever look! You can easily change up the ribbon depending on the holiday.
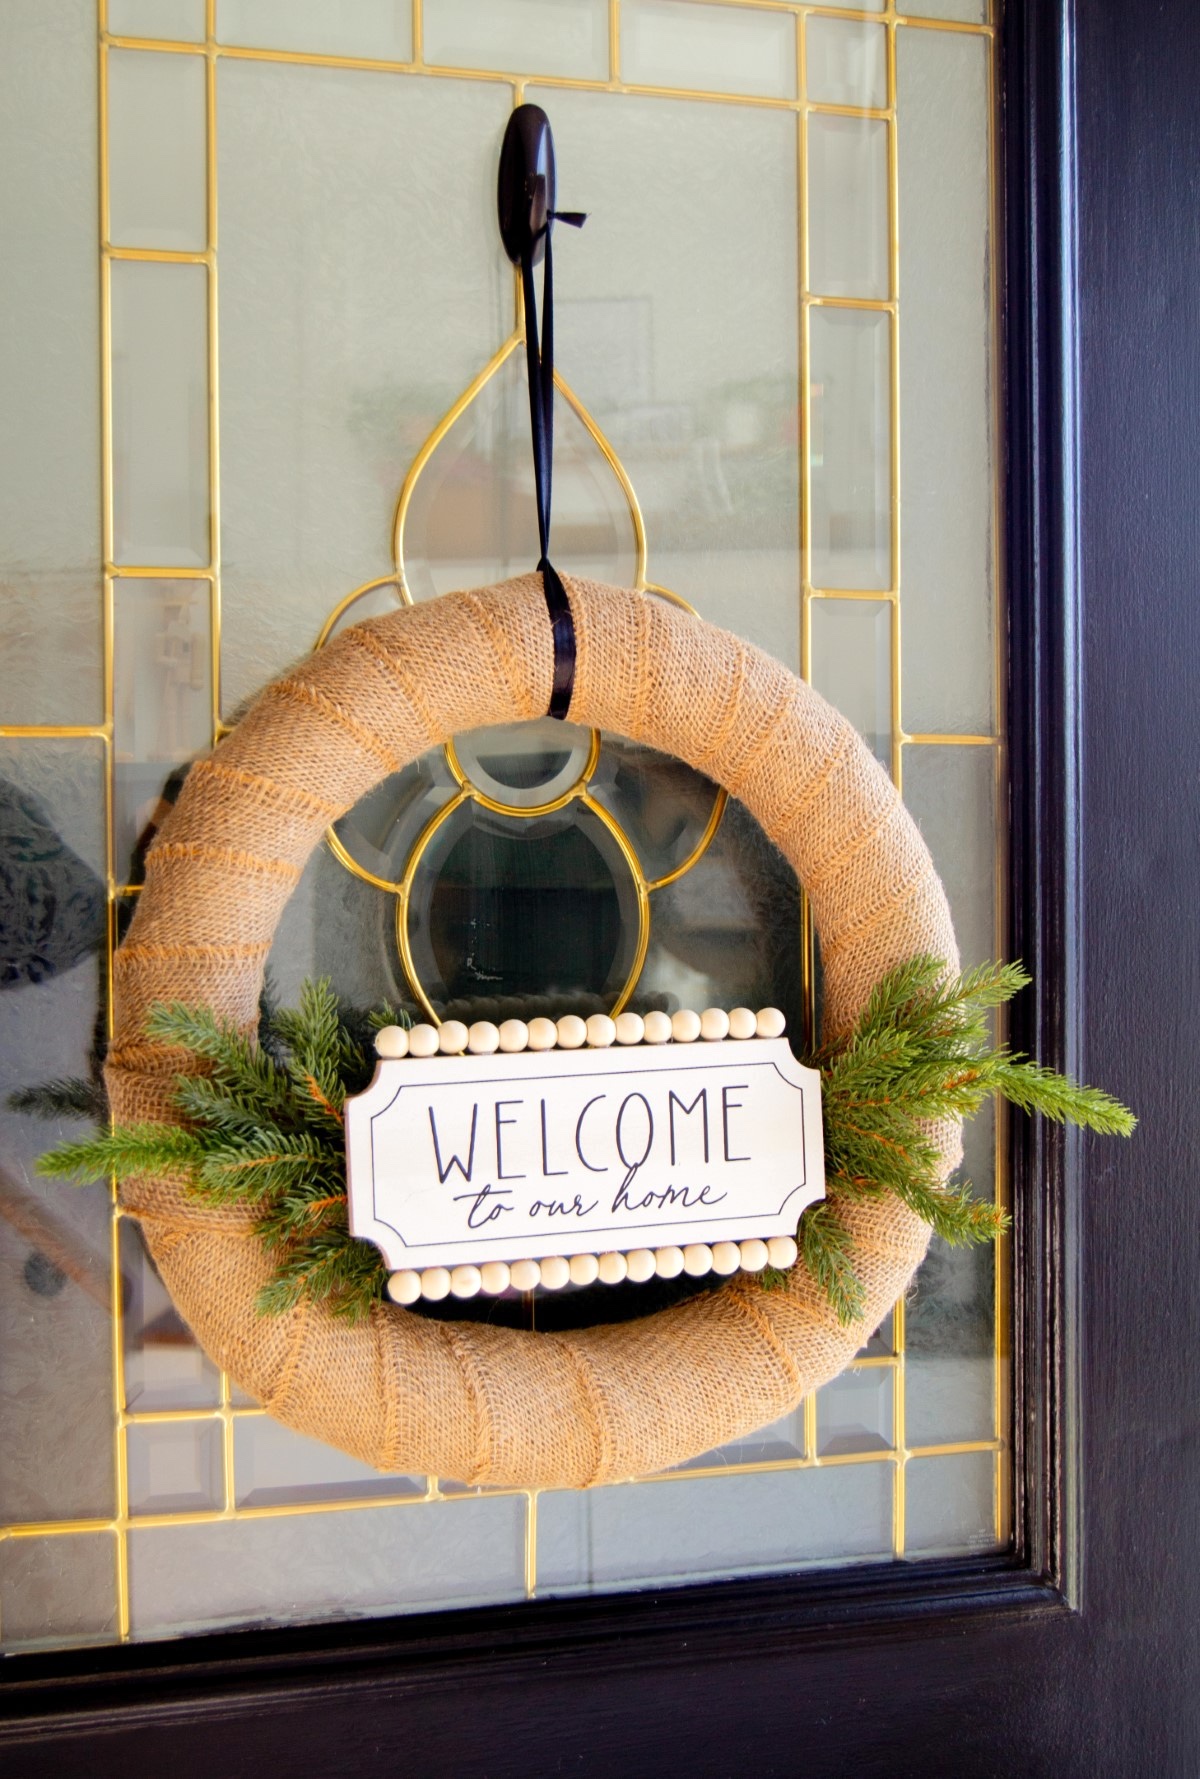
Get the how to card for this cool project below:
Pool Noodle Wreath
Equipment
- Wire cutters
Materials
- 1 Pool noodle
- 1 roll Packing tape or duct tape
- Wide burlap ribbon
- Smaller ribbon to hang
- Faux pine branches
- Wood beads
- Barbecue sticks or thin dowel rods
- 1 Ready-made sign
Video
Instructions
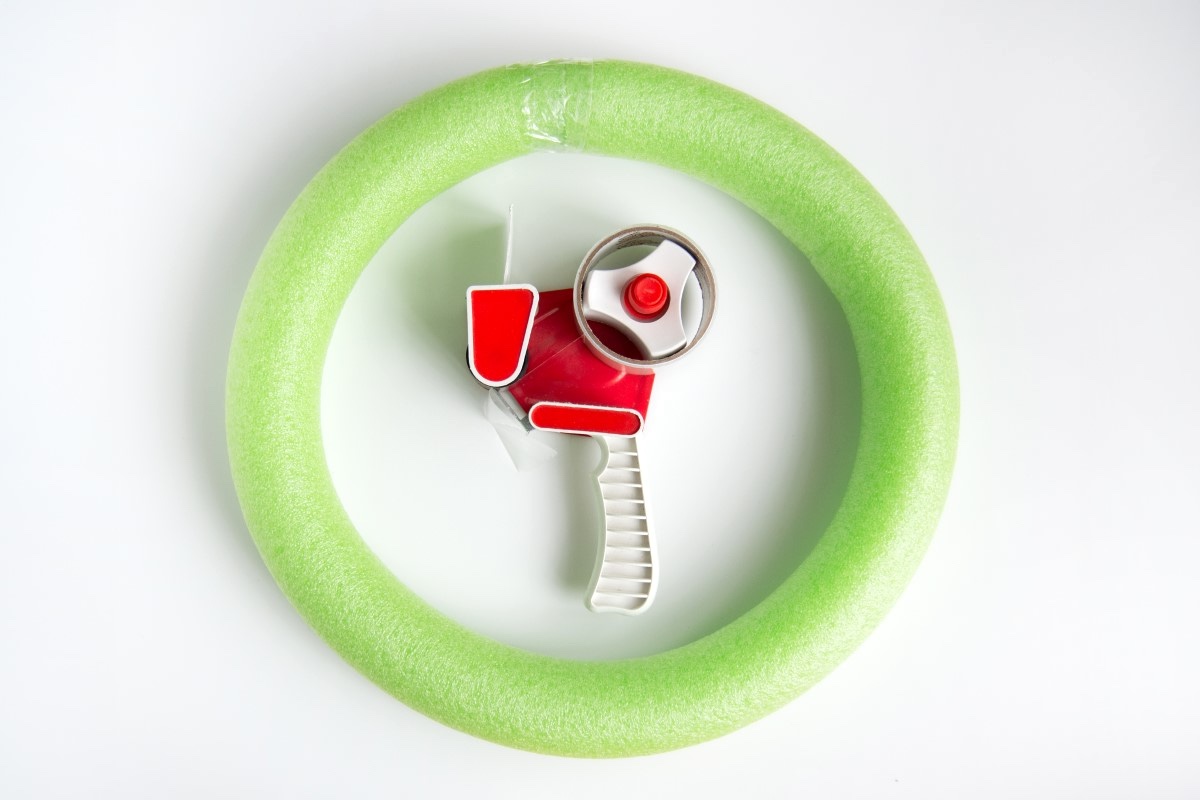
- Start by forming your pool noodle into a circle and taping the ends together using packing or duct tape. You can keep the length as is or trim it down to create a smaller wreath before taping the ends. Gently shape the pool noodle (with your hands) into a more even circle shape.
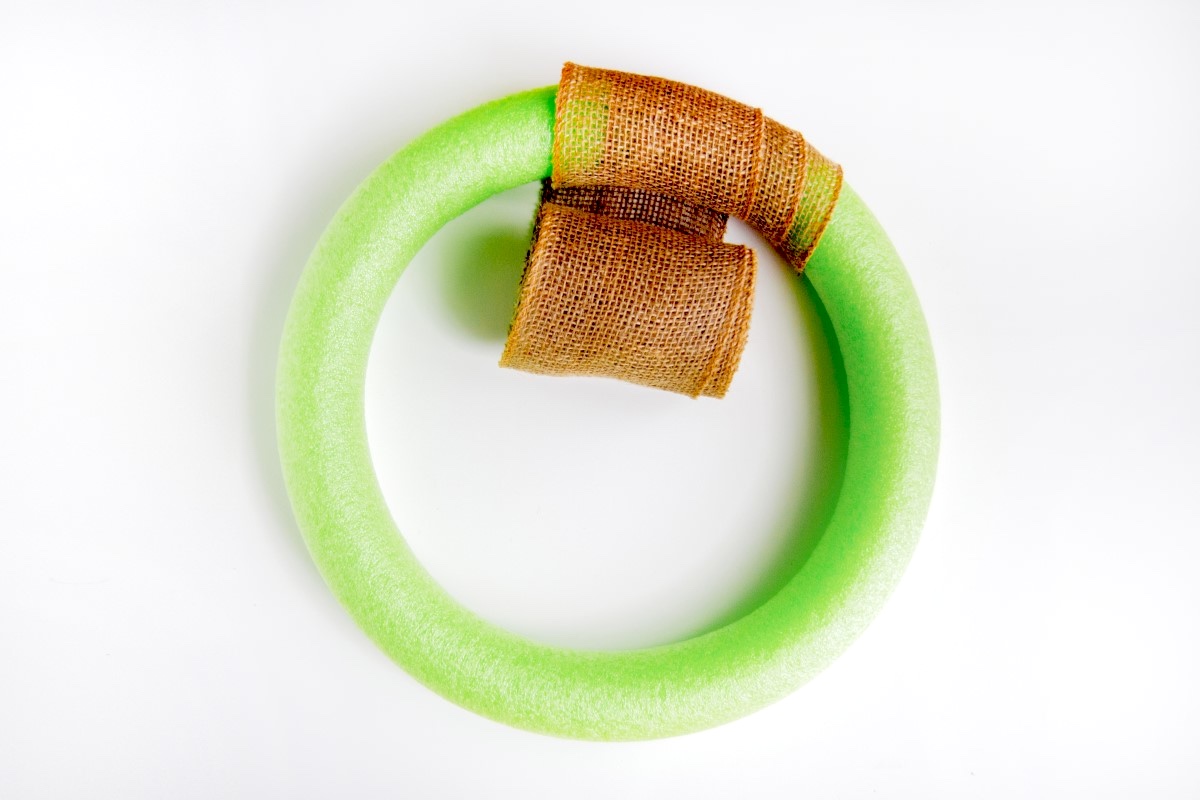
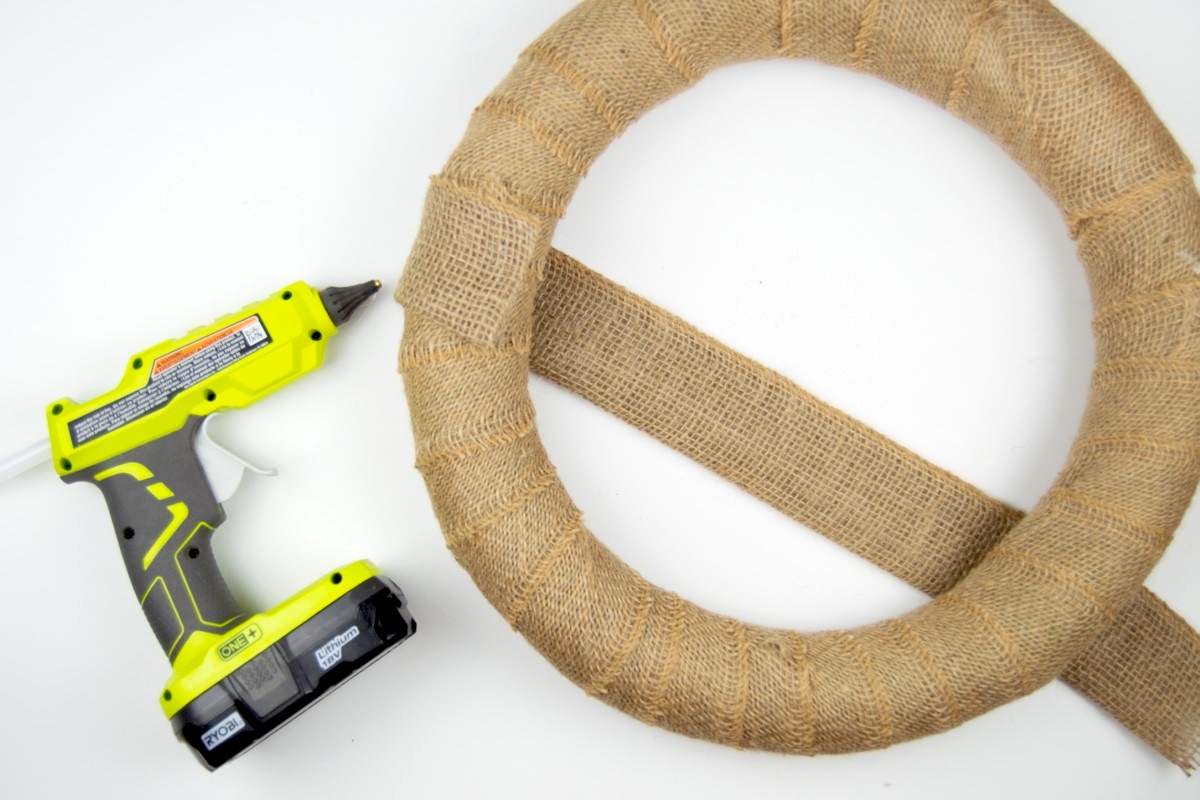
- Wrap the pool noodle with a wide burlap ribbon (mine was about 4” wide), making sure that you overlap significantly to double up the layers and hide the color. Stretch the burlap as you go around the noodle for a tighter wrap.
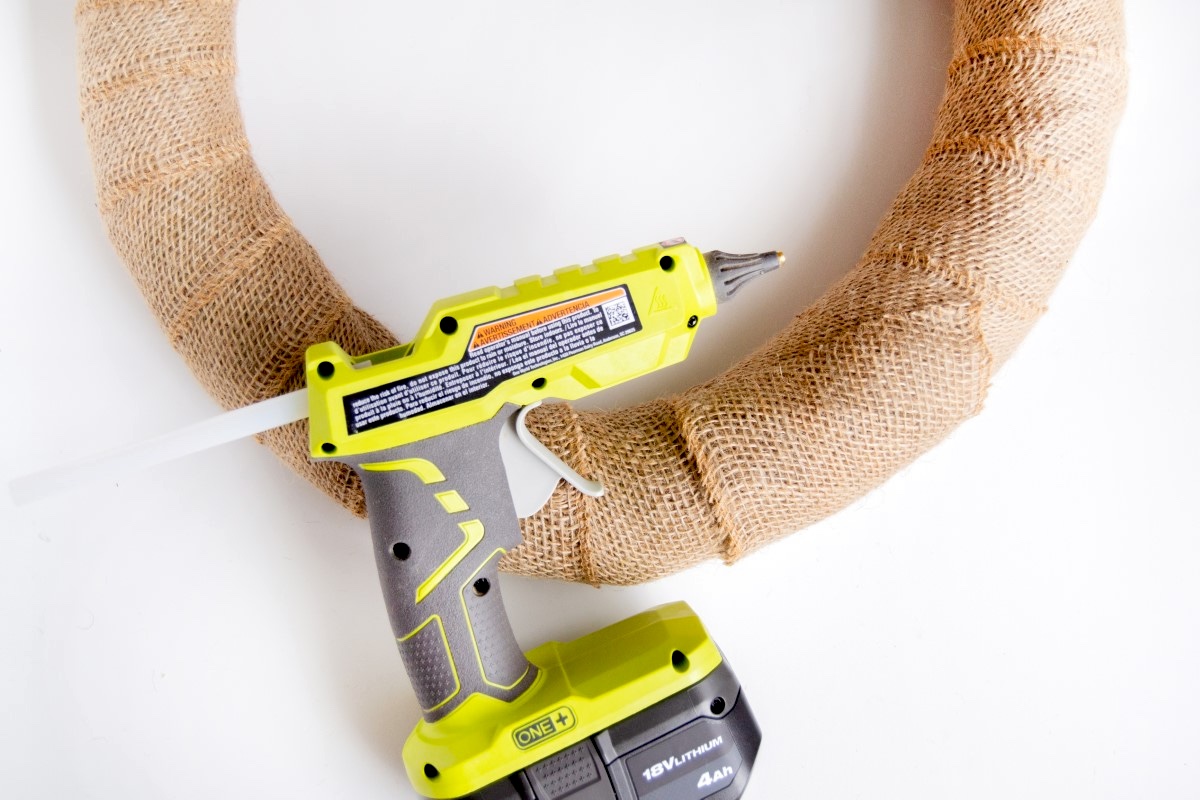
- Once done, trim the end of the burlap strip, and hot glue it in place.
- Add a burlap strip just below the center of the circle and hot glue it in place – this will serve as the background for your foliage and sign.
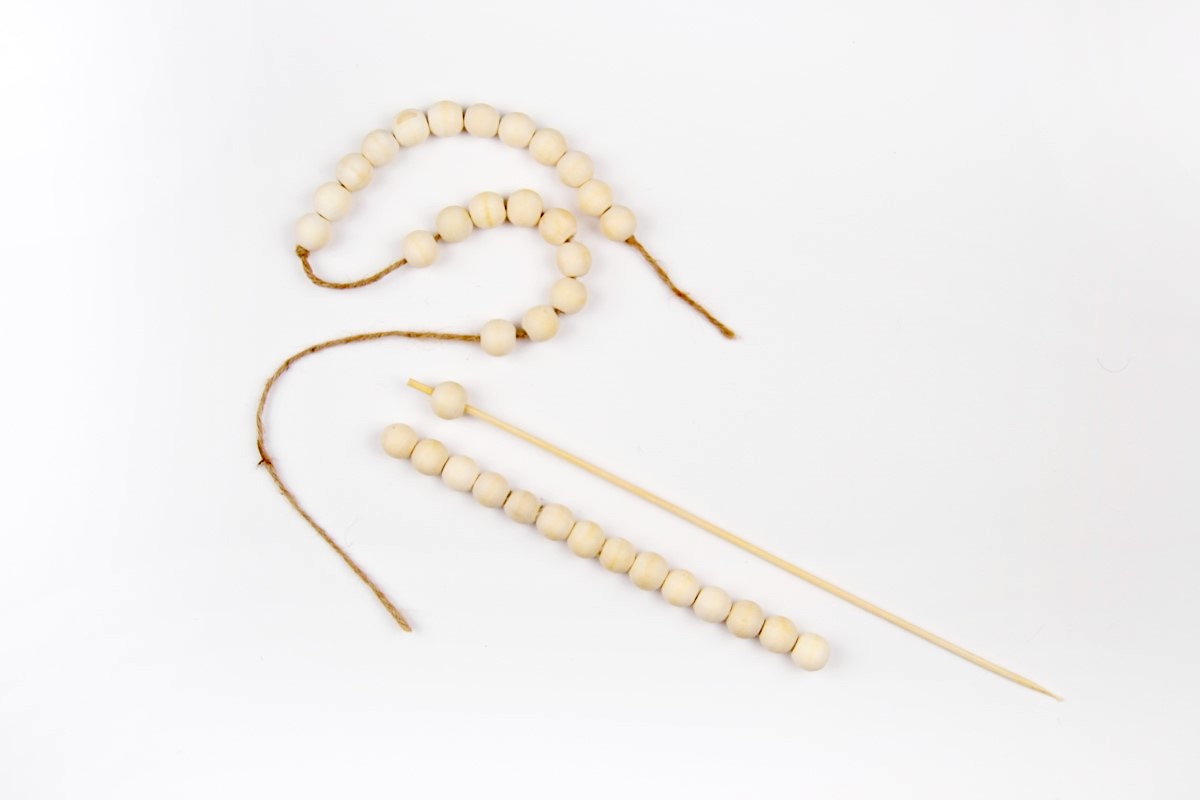
- Thread wood beads onto a barbecue stick to create a bead trim.
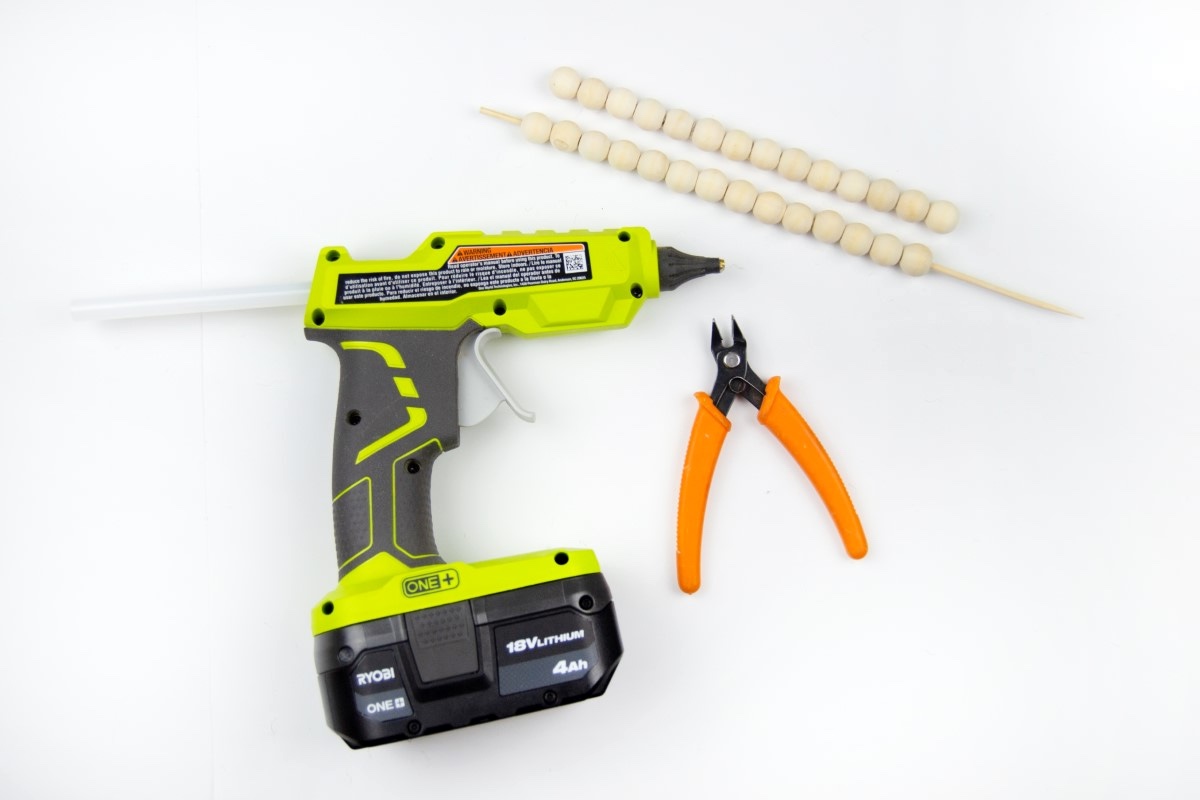
- Once you have determined how long you want your bead trim to be, glue the beads in place using hot glue and cut off the excess stick using heavy duty scissors or a wire cutters.
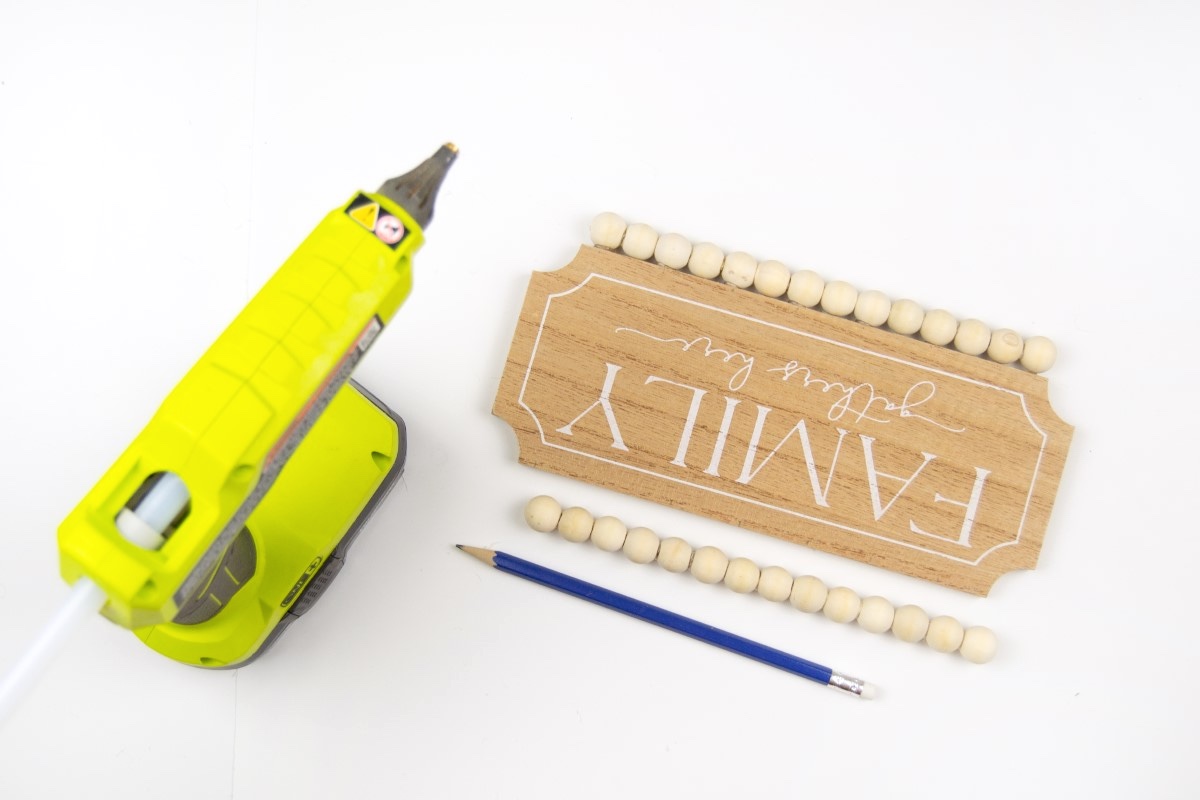
- Attach the bead trim onto your sign using hot glue. I marked the back of the sign where the beads would touch the sign so I would know where to put a dab of hot glue (to avoid excess hot glue showing on the sign. Repeat with the other piece of bead trim.
- Cut parts of your faux pine branch with a pair of wire cutters.
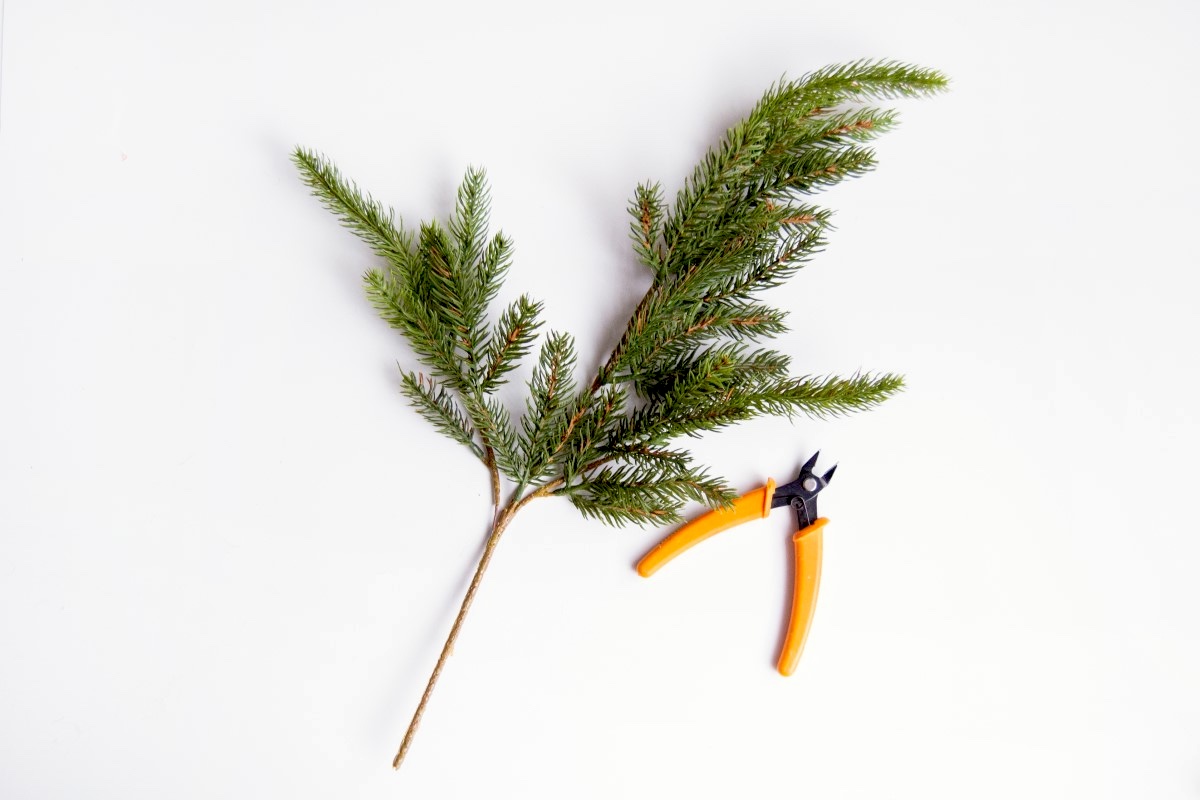
- Dry fit your sign by placing the elements (branch and sign) in place to see where you would need to adhere them. Remove the sign, and then glue the branches in place.
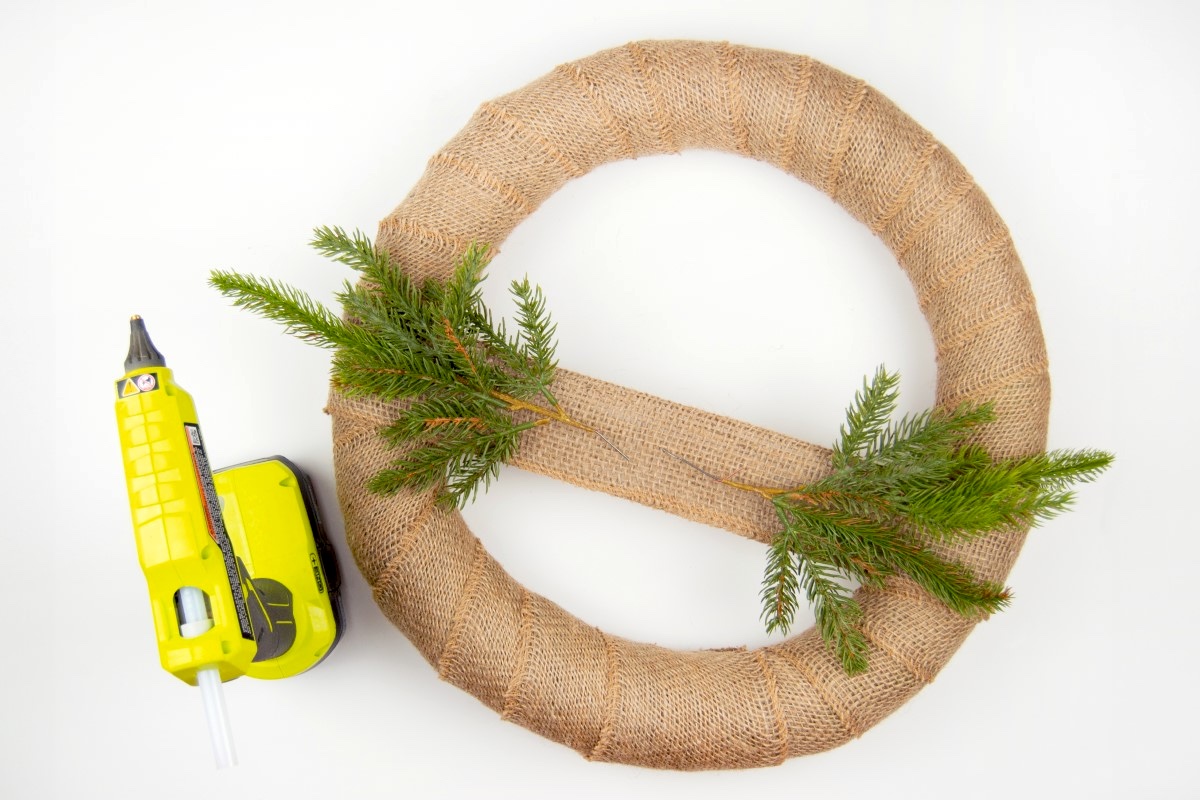
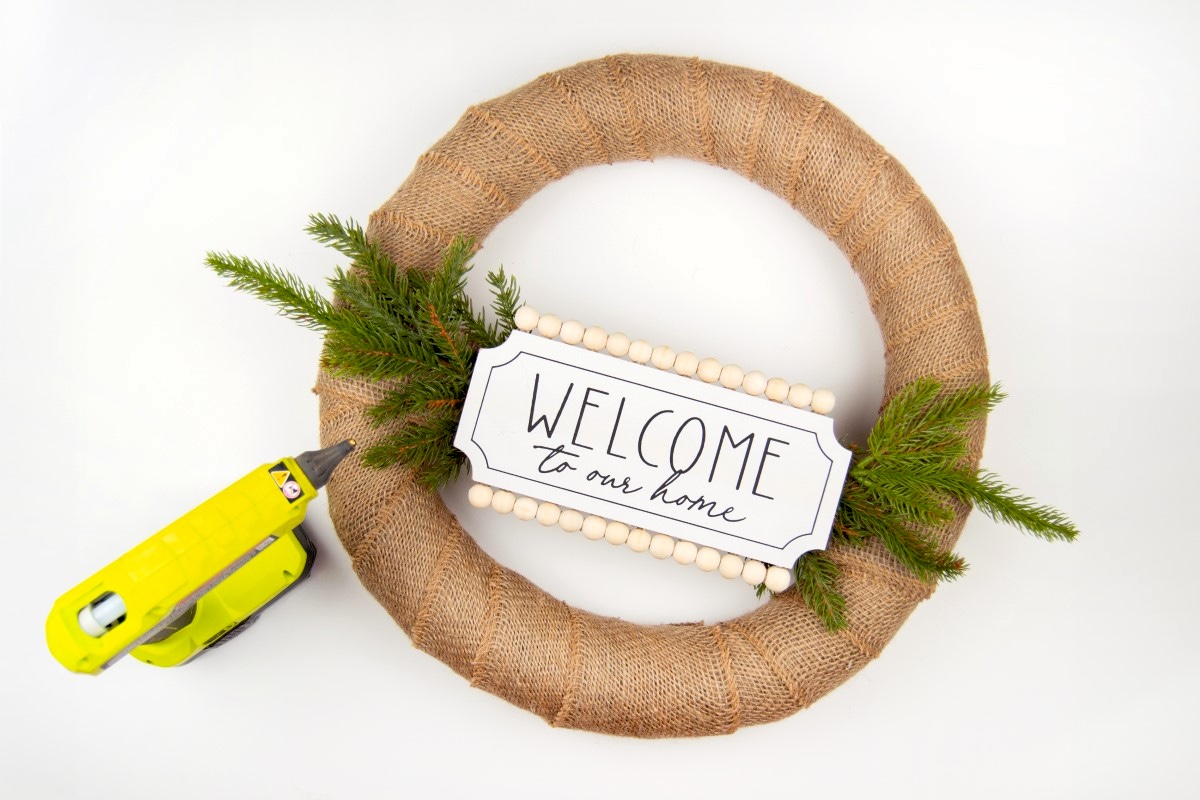
- Use an ample amount to glue your sign onto the piece of burlap strip on your wreath. Let that dry.
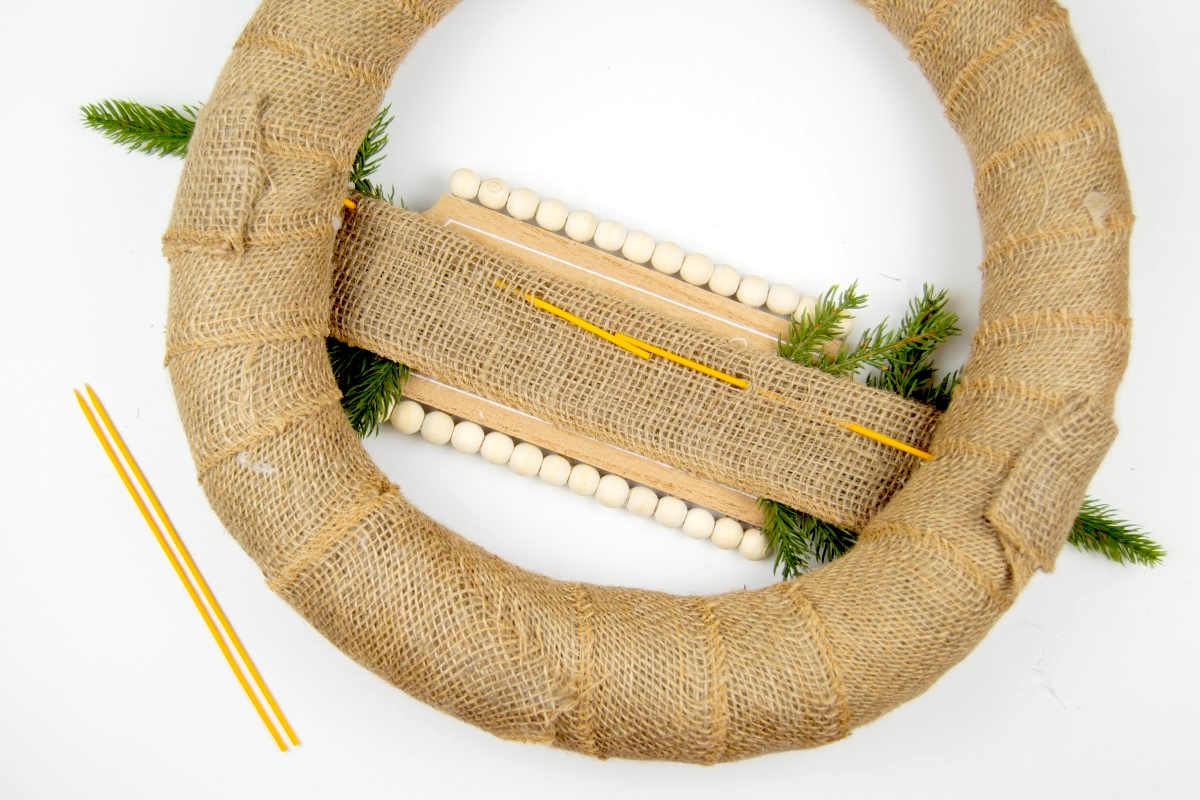
- If you find that your sign is sagging, use some barbecue sticks to reinforce it by threading it through the burlap strip and then sticking it to the side of the pool noodle wreath. This will help ease the sign’s sagging. Cover with another piece of burlap strip.
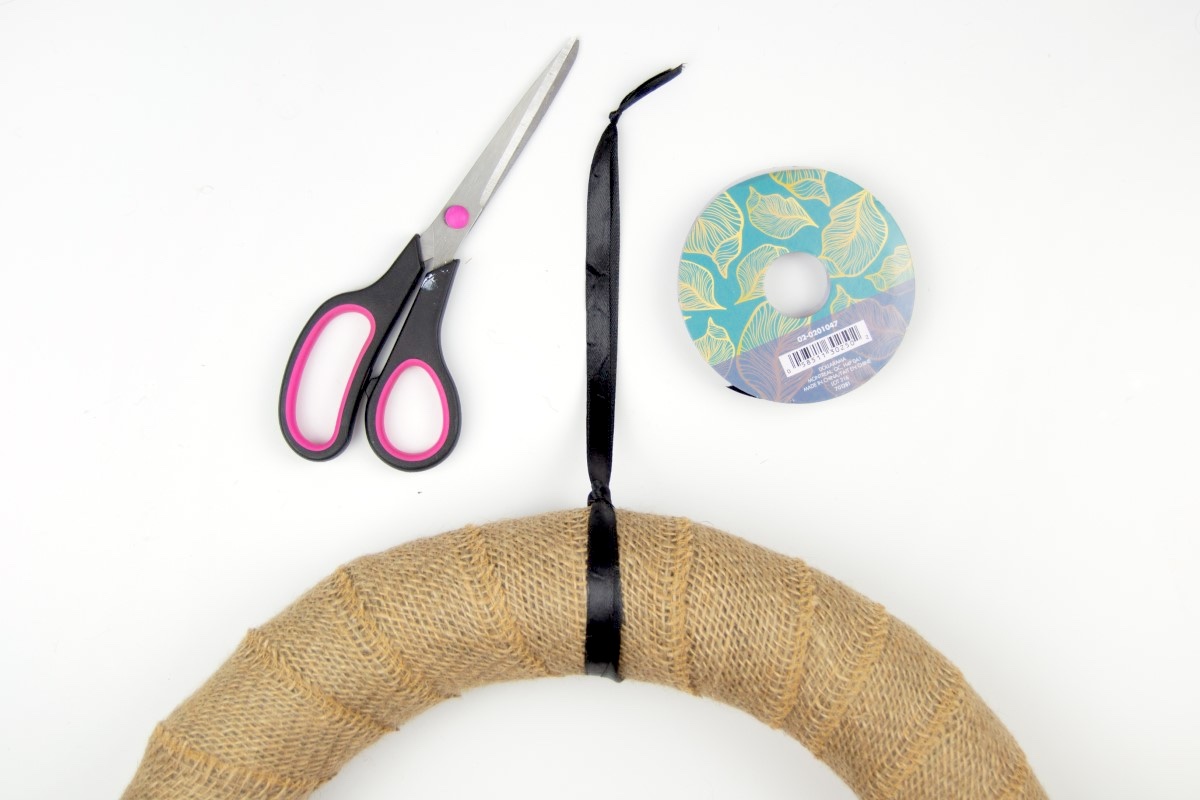
- Attach a thinner strip of ribbon to the wreath to hang. You can hang using any kind of hook or Command Strip (it's very lightweight).
If you enjoyed making this wreath please let me know in the comments! We’ve made tons of wreaths here . . . I hope you’ll check them out. They’re for a variety of holidays and themes:
4th of July Door • 4th of July Fireworks • 4th of July Mesh • Candy Cane Mesh • Christmas Garland • Christmas Mesh • Christmas Pom Pom • Coffee Filter • Easter Mesh • Fall • Felt • Halloween Mesh • Halloween Ornament • Pinecone • Mini Pumpkins • Pool Noodle Floral • Pom Pom • Ribbon • St. Patrick’s Day Mesh • Valentine Mesh • Wine Cork • Witch Hat




thank you. this is such a great idea. I was looking for something fun, that would be easy for a group of seniors to do.
How much burlap ribbon was used per wreath?
We will make this with a group of ladies and planning for supplies will help.
I can’t wait to do this in the fall!