DIY Cross Stitch Pillow That Makes Me Happy
Use a saying to make this pretty DIY cross stitch pillow cover (with the free printable pattern) – and then add a cute pom pom trim!
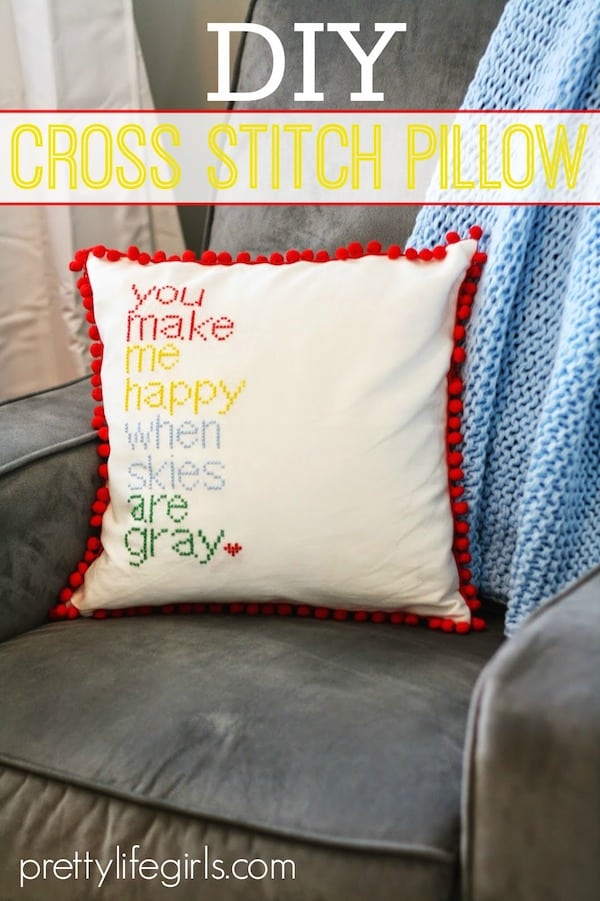
Hello DIY Candy! This is Sam from the Pretty Life Girls, and I have the funnest little craft to share with you today.
I made this cross-stitched pillow recently for my new baby’s nursery, and I love how it turned out. Also, cross-stitching is super therapeutic for me so it helped calm the major anxiety I had from having my first child!
A DIY pillow like this one is the perfect touch for a room that needs just a little sprucing, and it would make the sweetest gift for a baby shower, wedding, etc.
Anyway . . . enough about how great it is. Here is what I did to make this unique home decor.
Cross Stitch Pillow
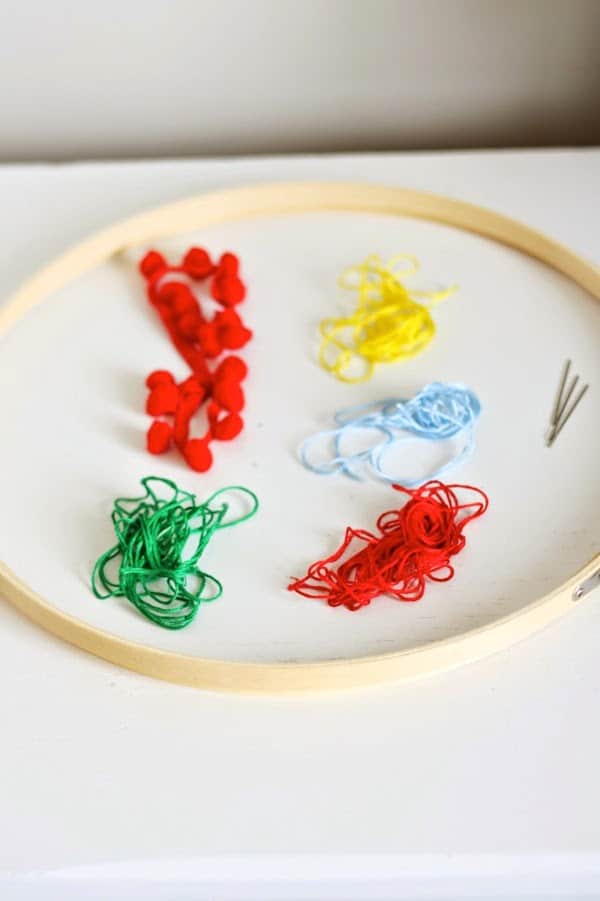
What you need:
- Blank pillow cover (I used this one)
- Cross-stitch hoop
- Embroidery thread
- Cross-stitch needle
- Pom pom ribbon
- Cross-stitch pattern
- Scissors
If you can’t find the pillow cover linked above, that’s okay! You’re looking for a cotton canvas pillow cover that you can embroider on. There are also some available here. Make sure to wash and dry before beginning so that any shrinkage is taken care of beforehand.
What you do:
1. Mark your cross-stitch pattern on your pillow cover. Or, if your pillow cover is made of a fabric that has a grid pattern, you can just look at the pattern and freehand the cross-stitch (this is what I did).
TIP: learn how to transfer embroidery patterns here.
2. Place the cross-stitch hoop on the pillow cover, surrounding the pattern area, to get the fabric nice and tight.
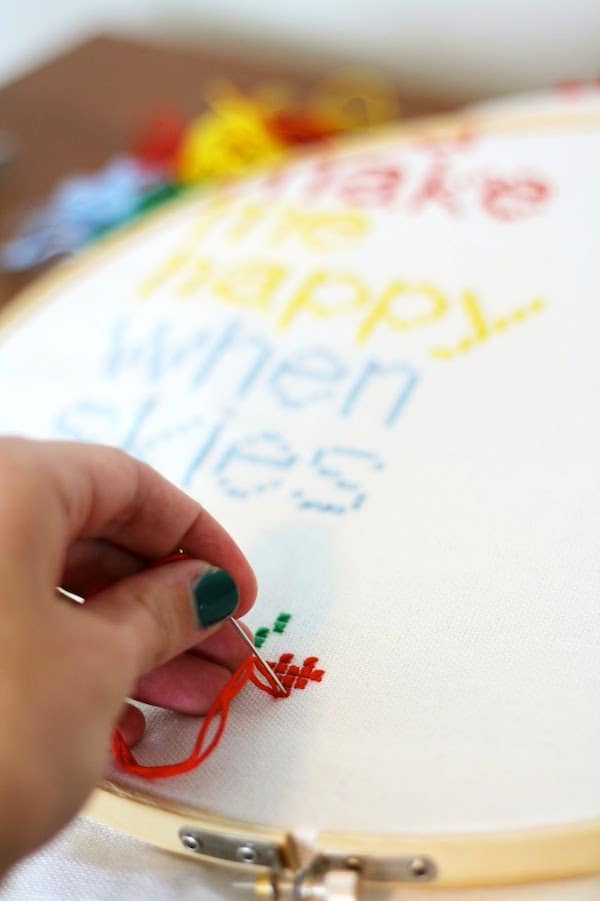
3. Cross-stitch your heart out, changing thread colors whenever you wanna.
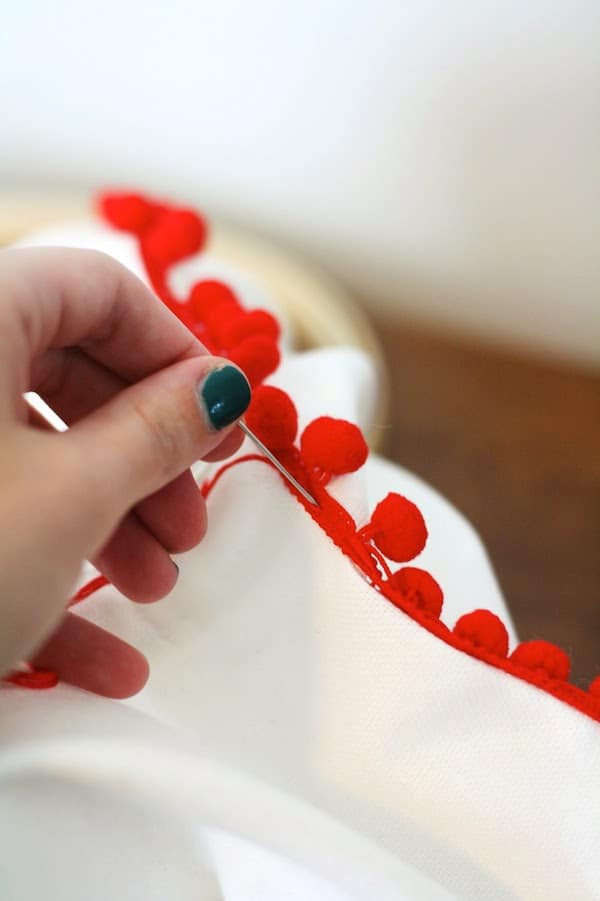
4. Pin the pom pom string around the edge of your pillow cover.
5. Stitch the pom poms in place with matching thread.
6. Put a pillow in the cover, and put it somewhere cute.
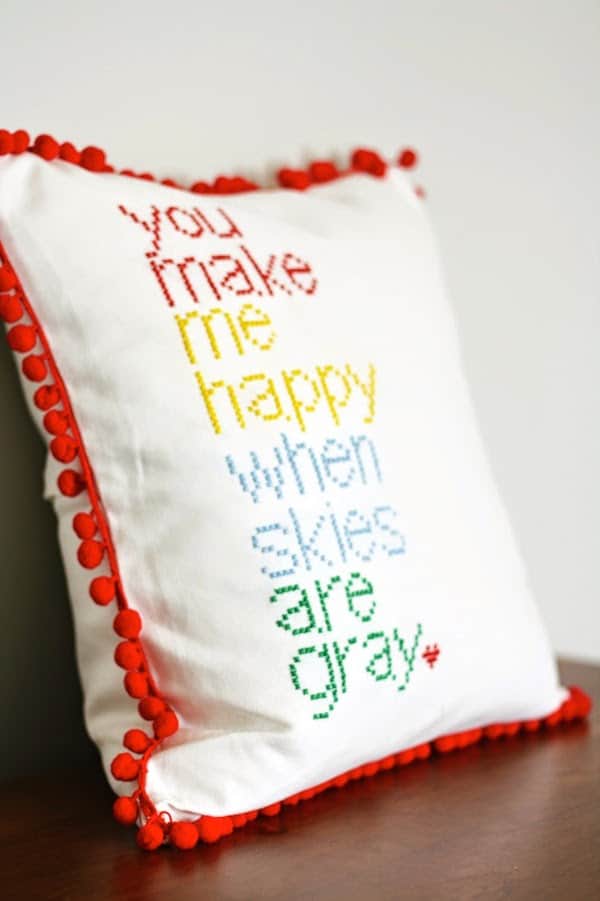
There’s no end to the possibilities in terms of quotes and song lyrics you can put on the front of your pillow.
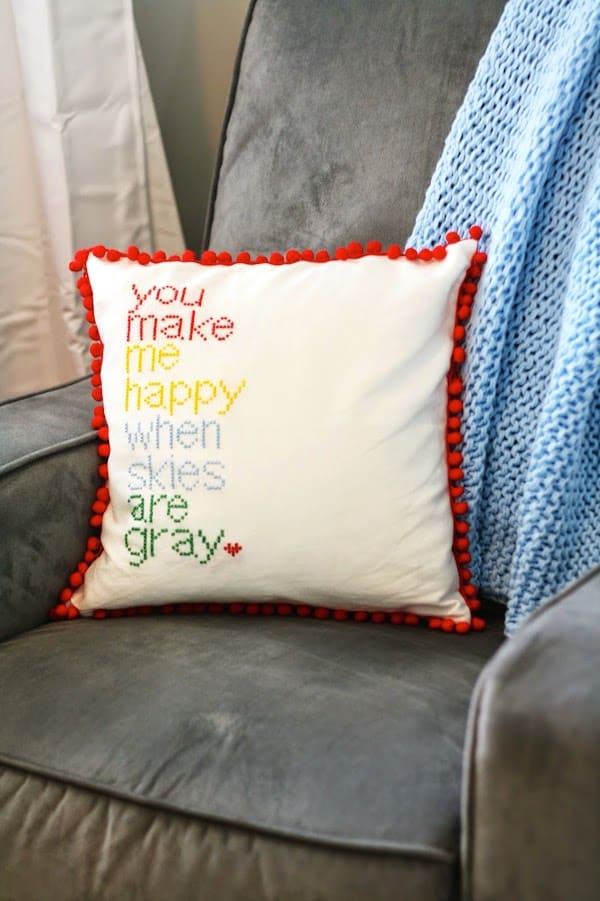
And something about the pom pom trim is so perfect – it adds the pop of color that really finishes the project off nicely.
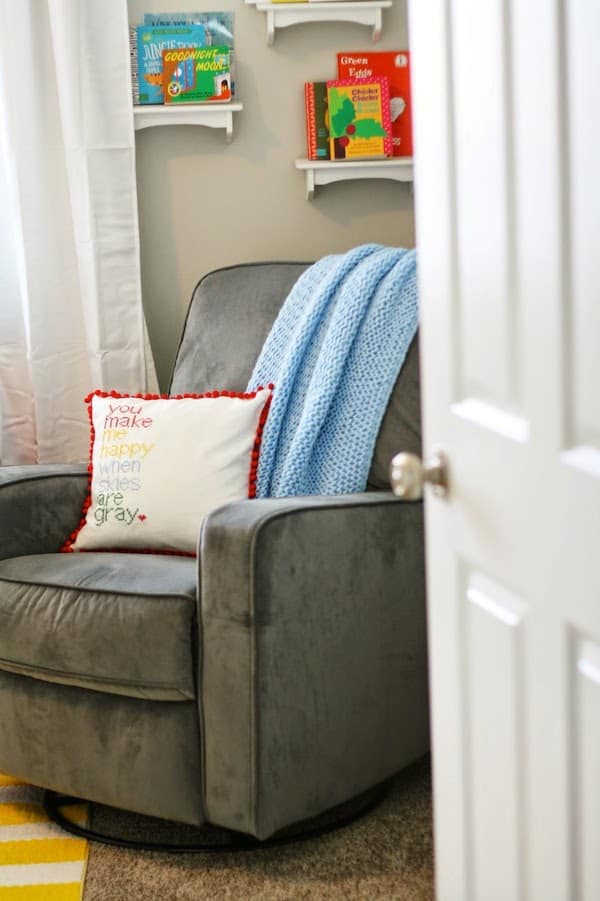
There you have it. Happy cross-stitching! And be sure to come and visit my sister and me as we blog about style, food, and the things we love over at The Pretty Life Girls.
Cross Stitch Pillow
Equipment
- Cross-stitch hoop
- Cross-stitch needle
Materials
- Blank pillow cover
- Embroidery thread
- Pom pom ribbon
- Cross-stitch pattern
Instructions
- Mark the cross-stitch pattern on the pillow cover, or freehand if the pillow has a grid pattern.
- Place the cross-stitch hoop on the pillow cover, surrounding the pattern area, to get the fabric nice and tight.
- Cross stitch the design using the needle, switching colors as shown.
- Pin the pom pom ribbon around the edge of the pillow cover and hand stitch in place with matching thread.
- Tie knots to finish and trim all excess thread with the inserts.
- Insert the pillow cover to finish.
Don’t forget to leave me a comment! If you enjoyed this cross stitch pillow, I’d love for you to check out these other projects:
Coffee Filter Wreath • Cross Stitch on Canvas • DIY Bulletin Board • DIY Cross Stitch Sweater • DIY Door Stop • Felt Ball Garland • Floral Hanging Frame • Mod Podge Canvas • Mod Podge Picture Frame • Pom Pom Garland • Pom Pom Wall Hanging • Ribbon Wreath • Song Lyric Art • Yarn Wall Art • Yarn Wall Hanging



I am wanting to make me own pillow using a picture that I have and the web site that I am making the pattern through needs to know the fabric count of the fabric that I am using. . Does this pillow have the square grid like the aida fabric I would normally use? and if so what would you say the fabric count is?
Wow, I adore this sweet pillow!! My only question–I am wanting to do one similar, but since this pattern is unavailalable (Oh so sad!) I’m looking at others. But how do you adjust the pattern to fit the pillow size? IE how to make a pattern designed for a 6-in hoop fit in this pillow size?
Thank you so much!
I like your ideas..
How do you stitch the pattern with the back of the cushion on? How do you attach the cover to the hoop? Thanks for any tips!
Hi Sandra! The pillow actually has a cover! So you’ll unzip it and put the hoop on the inside and outside: https://www2.hm.com/en_us/productpage.0650772006.html
Then you’ll add the pillow insert when the cover is done, then zip it up.