DIY Hanging Door Stop for a Simple and Functional Solution
Create a stylish DIY door stop with felt, string, and a brick. Step-by-step instructions for a functional and fun project!
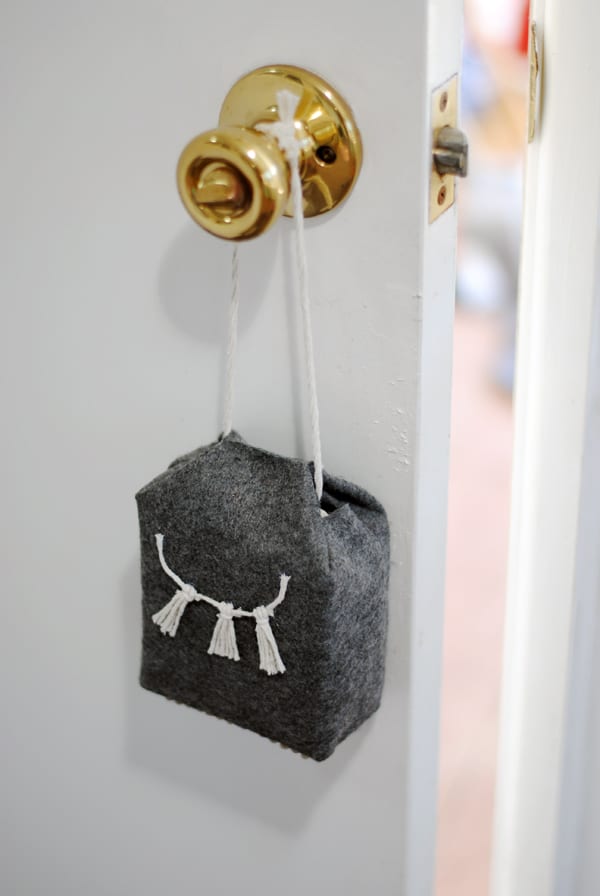
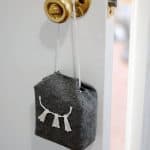
A DIY door stopper might not be the first project that comes to mind when you’re planning your next crafting adventure, but trust me, it’s a fun and functional way to add a little personality to your home.
Whether you’re dealing with kids that keep slamming your door shut or just want to keep a door propped open for convenience, this project combines practicality with creativity.
With just a few basic materials like felt, string, and a glue gun, you can transform a brick (any brick, really) into a decorative home decor item that’s both useful and chic. The best part? You can completely customize the look to match your personal style.
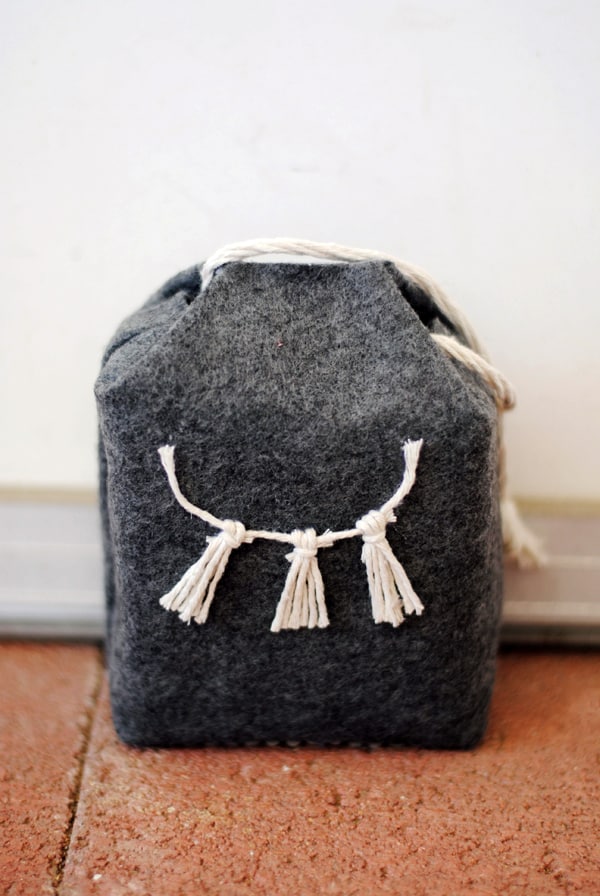
Add tassels for a playful touch, use vibrant colors for a pop of fun, or go for neutral tones if you prefer a minimalist vibe.
If your door isn’t too heavy, you can even swap out the brick for alternative weights like uncooked beans or rice, making it an even more versatile project.
This DIY door stopper is also a great way to use up leftover crafting supplies. Got some spare felt or a rug pad lying around? Perfect! You’ll not only be creating something useful but also giving your scraps a new life.
And while I’ve included steps to make this a no-sew project, if you’re handy with a sewing machine, feel free to stitch your way to door-stopping glory. Here’s what you’re going to need:
Gather These Supplies
- Brick
- Felt sheets
- Twine
- Hot glue gun or sewing machine
- Scissors
- Sheet of paper
Ready to craft a practical solution with a creative twist? Get the printable how to card for this project below!
DIY Door Stopper
Equipment
- Sewing machine (optional)
Materials
- Brick small, square
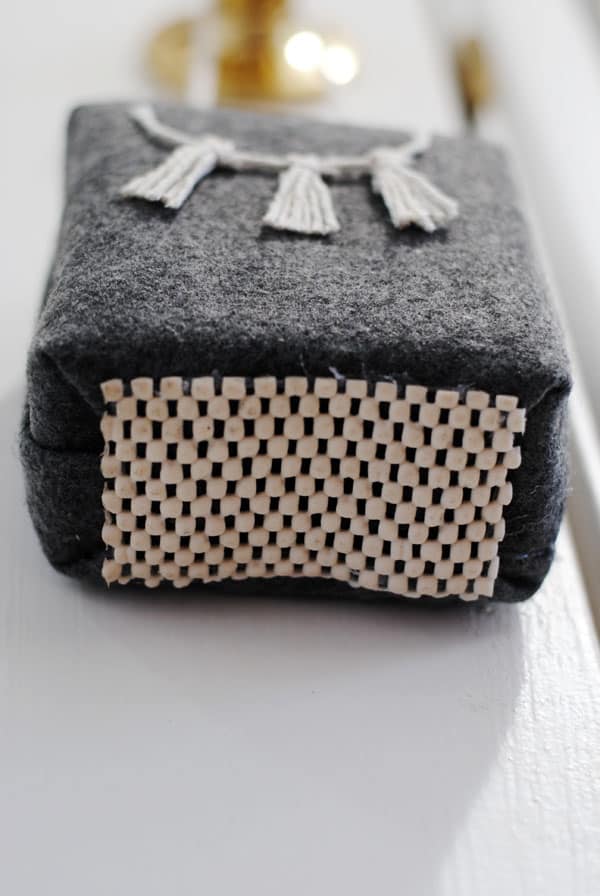
- 1 piece Rug pad or rubberized shelving liner
- Felt sheet(s) enough to cover your brick, plus extra
- 1 roll Twine white
Video
Instructions
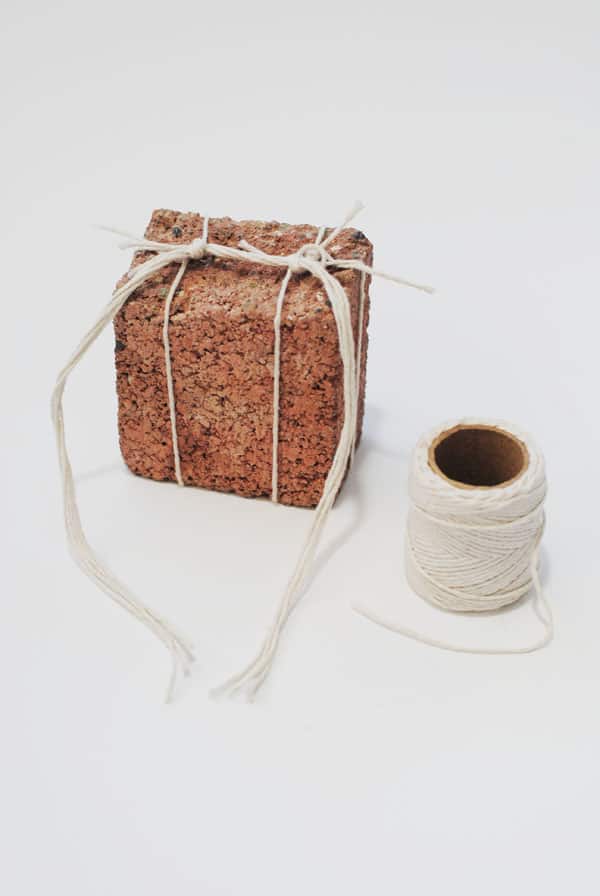
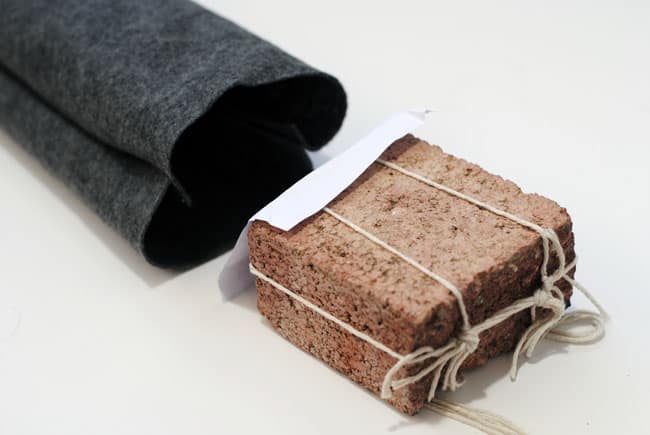
- Tie the brick using the twine. For the twine at the top that will support the weight, combine several strands for added strength.
- Create a sleeve for the brick by gluing or sewing two pieces of felt together.
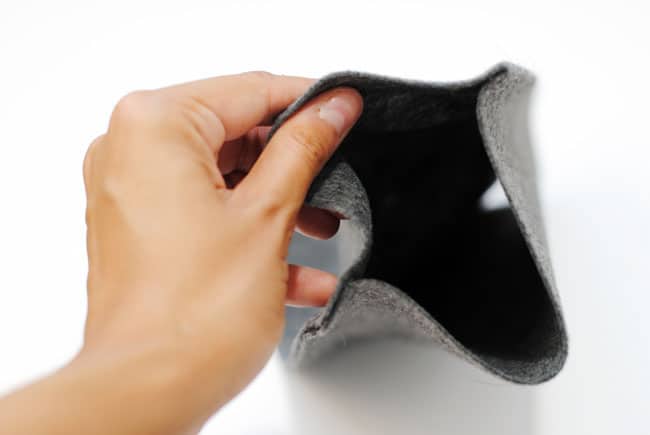
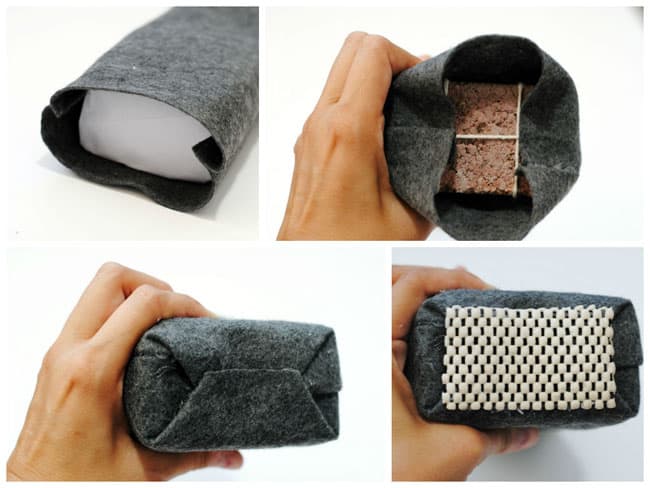
- Slide your brick into the felt sleeve. I added some paper on the bottom to avoid snags. Once the brick was down towards the bottom of the sleeve, I removed the paper.
- Close the bottom end of the felt sleeve with hot glue, trimming as necessary. Let cool and hot glue rug pad to the bottom.
- At the top end, make two holes and run the twine through for a hanger. Trim the excess felt then hot glue the top in the shape of a milk carton.
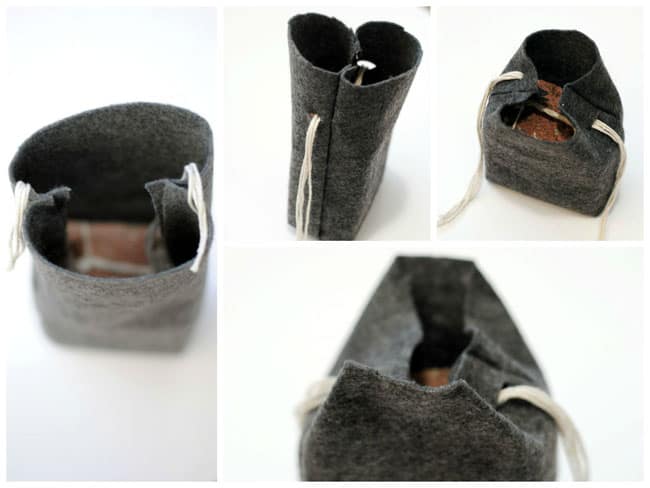
- Knot all the ends of the twine to make the loop, including those supporting the brick.
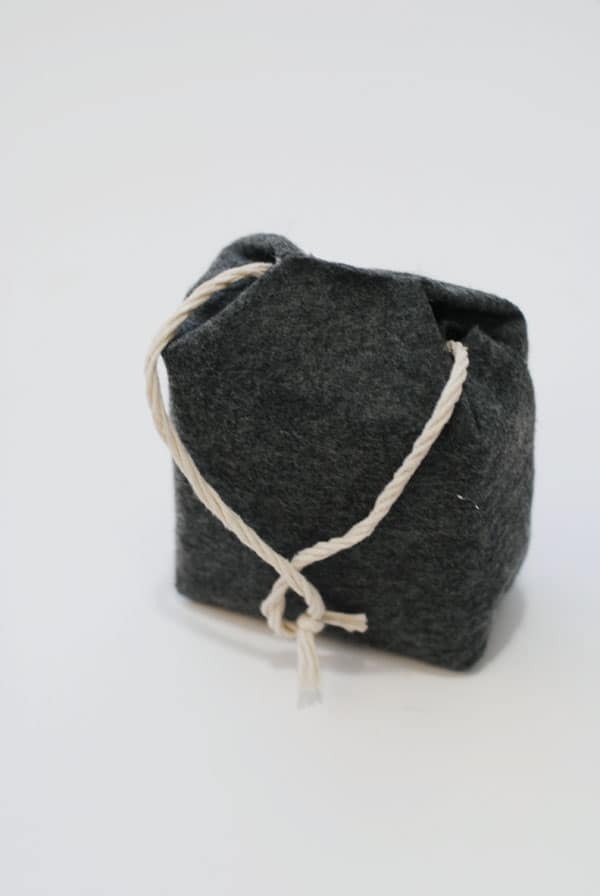
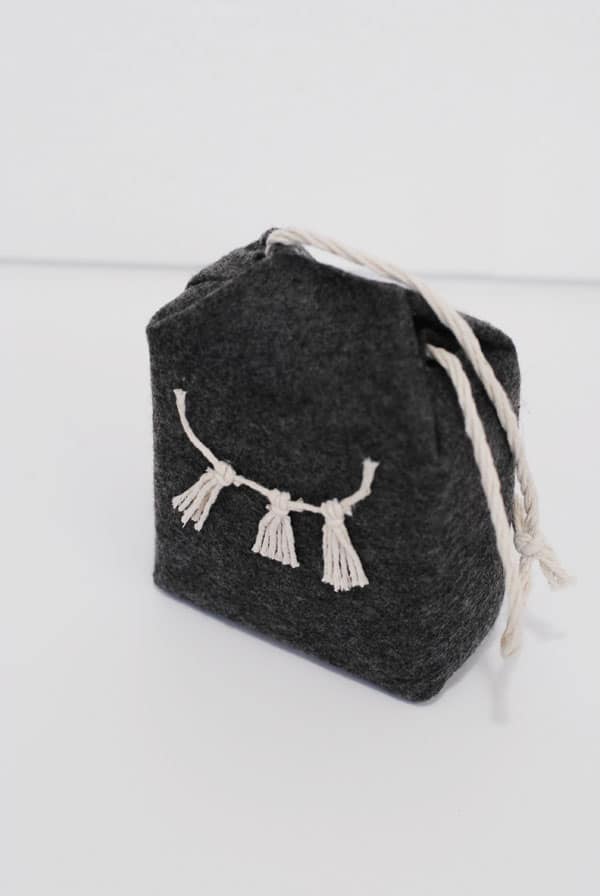
- Add mini tassels to the front if you like.
Notes
If you like simple home decor projects, check out some other things we’ve made:
Clay Photo Holders • Concrete Candle Holders • DIY Bath Mat • DIY Bulletin Board • DIY Plant Hanger • Faux Terrarium • Felt Ball Garland • Floral Hanging Frame • Glue Art • Hot Glue Mushroom Lights • Magazine Collage Art • Mini Dry Erase Board • Mini Planters • Modern Nesting Dolls • Paint Fake Flowers • Poster Hanger • Sand Terrariums • Song Lyric Art • Twig Candle Holders • Yarn Wall Art • Yarn Wall Hanging

