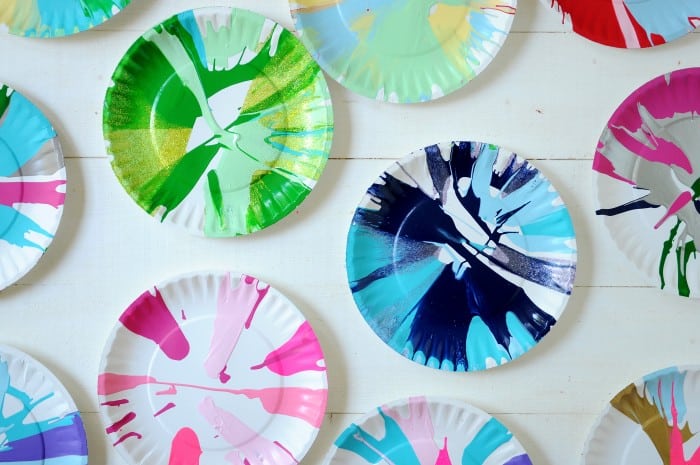
DIY Spin Art Machine with a Salad Spinner
Make your own spin painter by using a household item as a spin painter! This DIY spin art machine is so fun for kids to do – it’s budget friendly and easy to set up.
Skills Required: None. You don’t need any crafting experience to do this project. Check out the video at the end of this post to see it in action! You’ll get to see how easy it is.
We love painting with kids around here – have you seen our painted pots or our sidewalk chalk paint recipe? We decided to add another, similar craft to our repertoire: spin painting. What a blast from the past!
Did you love spin art as much as I when you were a kid?? My spin painter was one Christmas gift that really went the distance! Spin art has been around since the 1960s and there are plenty of ways to accomplish it. Most common is a spin art machine you can buy.
Spin Painter
The thing is – you don’t need to buy a spin art machine. You can make your own spin painter! And I’m going to show you how. This is a perfect boredom buster for your littles . . . and adults will enjoy it too.
If you remember trying spin art, there was always something so exciting about experimenting with different paint combinations and then dropping them in to see it splatter into cool, colorful designs. You can recreate the fun with something really basic from your kitchen . . . a salad spinner!
What Paint to Use
You’re going to want to choose a waterbased, acrylic paint for this application. Tempera paint will also work! Nothing oil based should be use as you’re looking for something that is child friendly. I recommend Apple Barrel acrylic paint or Crayola paints – both are safe for kids.
Cover Your Work Surface
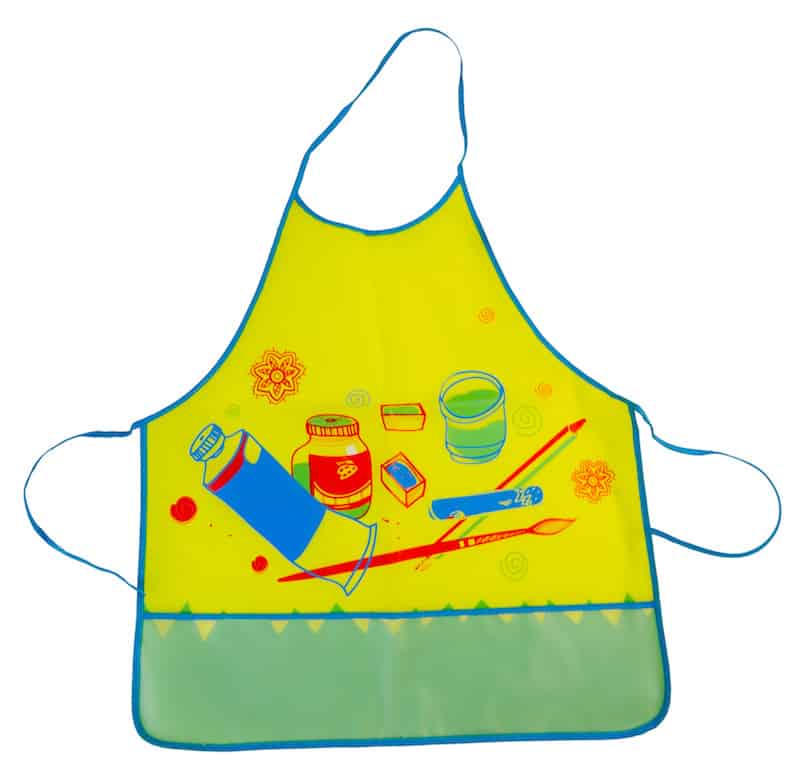
Don’t forget to cover the area before beginning. Newspaper is a great option for this, or a plastic tablecloth from the dollar store. If you want to protect clothing I’d put kids in aprons too. Better safe than sorry and no one likes collateral damage!
Salad Spinner vs. Spin Art Machine
How is the salad spinner versus a spin art machine you’d buy online? Well, the salad spinner is definitely the more cost effective choice of the two. I got my salad spinner for $.99 at IKEA, and many times you can get them for similar prices at the thrift store.
We had paper and paint on hand. It looks like spin painters online are about $13 and up, and they come with limited paint and paper.
Besides that there are two big differences.
1) With most spin art machines that you purchase, there is a clear top/splatter cover that allows children to see what designs they are making as they add various colors of ink or paint
Your salad spinner art is going to be a surprise. Having said that, you can always add more paint and close the lid again if you don’t like what you see!
2) I found the salad spinner to make thicker lines and blotches of paint while the spin painter seems more detailed. Having said that, the acrylic paint I used is thicker than the paint that comes with machines.
So you’re welcome to thin out the acrylic paint for more similar effects! We just used paint straight out of the bottle.
Either way, this spin art activity is going to be HUGELY fun for all involved! Here’s how to make your own.
DIY Spin Art Machine
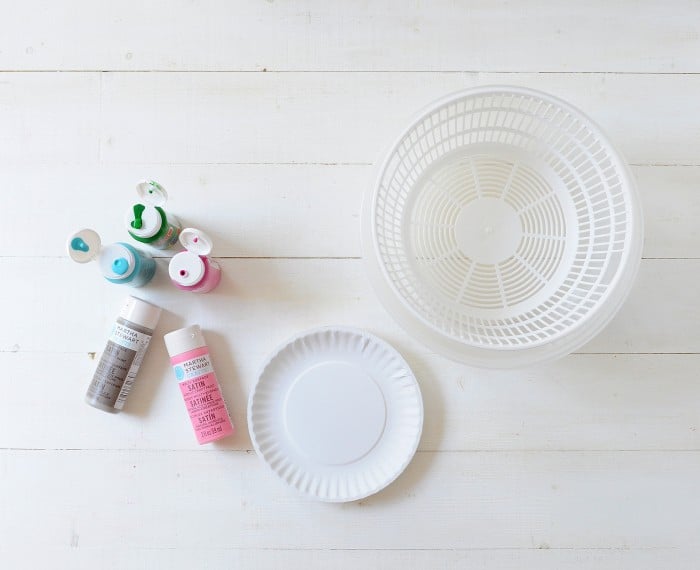
You’ll need:
- Salad spinner {mine is from IKEA . . . or can be ordered here}
- Paper plates or paper cut to fit inside spinner
- Acrylic paint

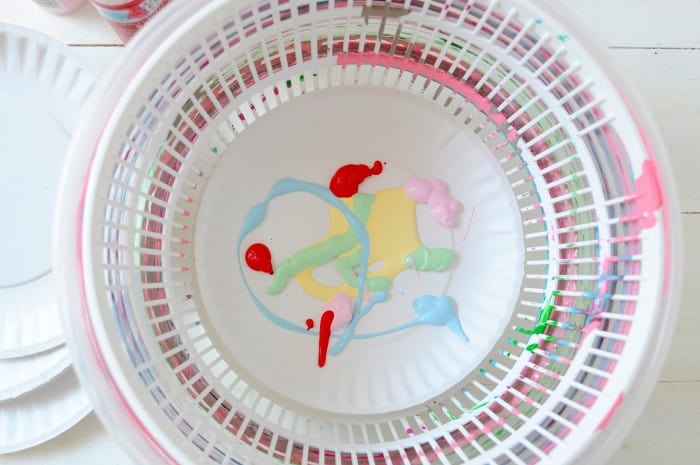
Then all you do is place a plate or piece of paper in the bottom of the spinner, add in a few squirts of paint, and give it a good spin!
If you want to use paper, simply cut cardstock to fit inside the spinner. You’ll want to use something thick like cardstock so that the paper doesn’t fold over on itself while its spinning.
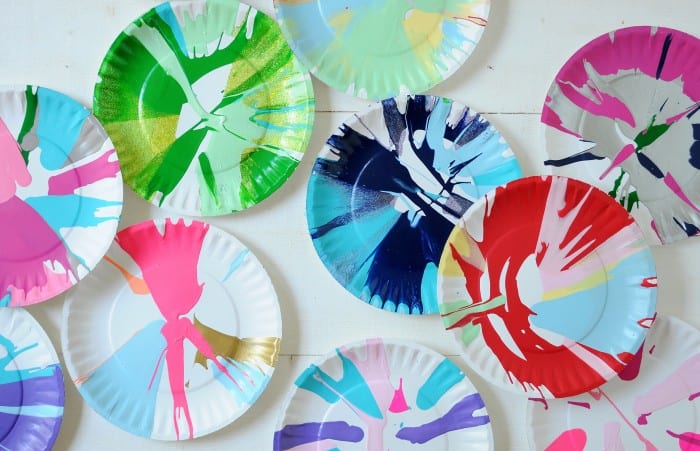
We tried so many different colors of paint. Metallics, neons, and glow in the dark are fun too. Carefully remove your spin painter art and let it dry when you’re done . . . and then create beautiful crafts with all of your work.
With a simple salad spinner, I shared my favorite 1980s craft with my littles. I think they’re as hooked as I used to be!
What Can You Do with Spin Art?
So many things! Here are just a few ideas. And there are so many more!
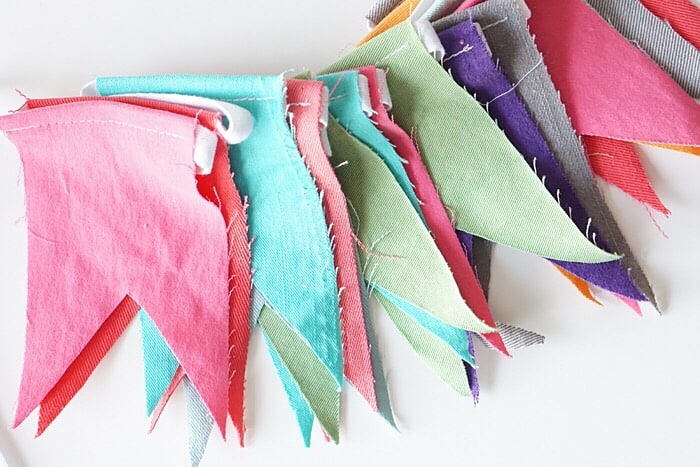
- Hang on clothespins and string to make a garland
- Make a paper plate mask
- Turn them into cookie baskets and gift to friends
- Make dreamcatchers
- Make crowns and wear to a party
Teaching with Spin Art
I mentioned that spin art has been around since the 60s. Did you know that it can be seen in the works of many contemporary artists?
Alfons Shilling was one of the first to be interested in this technique, and then in the late 60s Annick Gendron used industrial wheels to spin paint onto Plexiglas. If you’re a homeschooler or into art history, this activity could be perfect with a contemporary art lesson.
If you haven’t seen the work of British artist Damien Hirst, I highly recommend checking out his spin paintings. This craft definitely has that vibe, and he’s an artist currently making paint art. Kids will absolutely love making their own version of his work.
Don’t forget to check out the video in the how-to card to see how easy this activity is to do and how much fun we had:
Spin Painter
Equipment
- Salad spinner
- Scissors optional
Materials
- Paper plate(s)
- Acrylic paint
Video
Instructions
- Place a paper plate or piece of paper (trimmed using scissors) in the bottom of the salad spinner.
- Add in a few drops of various colors of acrylic paint.
- Give the salad spinner several spins! The more you spin, the more the paint mixes.
- Open the spin painter and remove the paper or plate. Let dry. Repeat.
Notes
We’ve got tons of children’s crafts on the blog – especially summer crafts for kids. I hope you’ll check out some of our favorites here:
Beaded Suncatchers • Bean Art Mosaics • Blow Painting • Borax Crystals • Bubble Wrap Painting • Cat Bookmarks • Cloud Dough • Coffee Filter Flowers • Duct Tape Bracelets • Felt Mushrooms • Food Coloring Art • Flower Pens • Homemade Playdough • Magic Hydrophobic Sand • Jello Play Dough • Kinetic Sand • Moon Sand • Paper Chain • Pencil Toppers • Play Doh Slime • Sidewalk Chalk Paint • Silly Putty • Weaving for Kids • Wine Cork Stamps


These plates look so fun! I love all the bright colors and that they’re easy to replicate!
Paige
https://www.thehappyflammily.com/
Are you able to clean the spinner without too much difficulty and keep using it for salad?
Elizabeth – it is easy to clean but no – don’t use it again for salad. You can buy spinners at the dollar store or old ones on eBay just for this use!
Actually, if you use non-toxic, water-based paint, and wash the spinner before the paint dries too thoroughly, you can get it perfectly clean and in salad-spinning shape again very easily. (The plastic of the outer shell is usually very smooth and rinses off easily. A vegetable or bottle brush can help get into the little holes on the interior basket, if some paint sticks a bit.) I have one that was used for spin art at a couple of different pre-school fairs, and have continued to use it for salad long afterward. You’d never know it once had paint in it.
FYI i noticed a typo on “from”
Your instructions throughout this website are terrific. Not too wordy, but complete. And your enthusiasm shows. Fun and inspiring. Thanks!
What size plates work best?
I used 9″ – but double check because all salad spinners are different sized :0
My paint was kind of thick so we wet the paper plate before putting paint on it.