Perler Bead Coasters (10+ Designs!)
Make perler bead coasters with one of over ten unique patterns! These are easy to make for gifts or decor, and perfect for crafters of all ages.
Have you ever tried making coasters? If you’re a beginning crafter, it’s a great place to start. The “canvas” of a coaster is small, so you don’t have a lot of surface area.
This gives you the opportunity to try some different creative techniques – and make mistakes as a beginner – in an area that is usually about three to four inches square.
Plus these little crafty masterpieces, once done, are perfect for handmade gifts. Who doesn’t want to receive a set of coasters? We all have furniture surfaces to protect!
After making a bunch of perler bead patterns recently, I decided it was time to make the most basic of projects that I had not tried yet: perler bead coasters.
Whether you’re just starting out with perler beading or crafting in general, you’re going to enjoy these patterns! I made a couple just for this post as well as pulled some fun patterns in from other posts we’ve done.
The result is over ten coaster perler beads to try!
There are some basic patterns as well as a few that are more advanced. But coasters are small, so none of these overwhelming.
Plus, with the plethora of bead colors available, you can tailor your coasters to fit any decor style. Make them solid, or try something bright and colorful. It’s up to you.
Perler beads are recommended for ages six and up, so this is a very fun craft to try with your elementary age kids. All children seem to love perler beads (also known as hama beads, fuse beads, or melty beads). But don’t be shy – adults love them too!
Now that you’ve had a refresher on how to melt the beads, you can get the patterns! Keep on reading.
Perler Bead Coasters
Make sure to check out these important notes:
- The coasters are heat resistant to hot drink mugs. I do not recommend using them as trivets with dishes from the oven. If you use them for cold drinks that sweat, glue felt or cork to the bottom.
- In addition to square pegboards, you’ll see round, star, and hexagon pegboards. These are fun to have in your arsenal if you plan to do a lot of perler-ing.
- You’ll see a couple of the pattern backgrounds below aren’t white – that’s simply to give contrast so you can see where all the white beads should go.
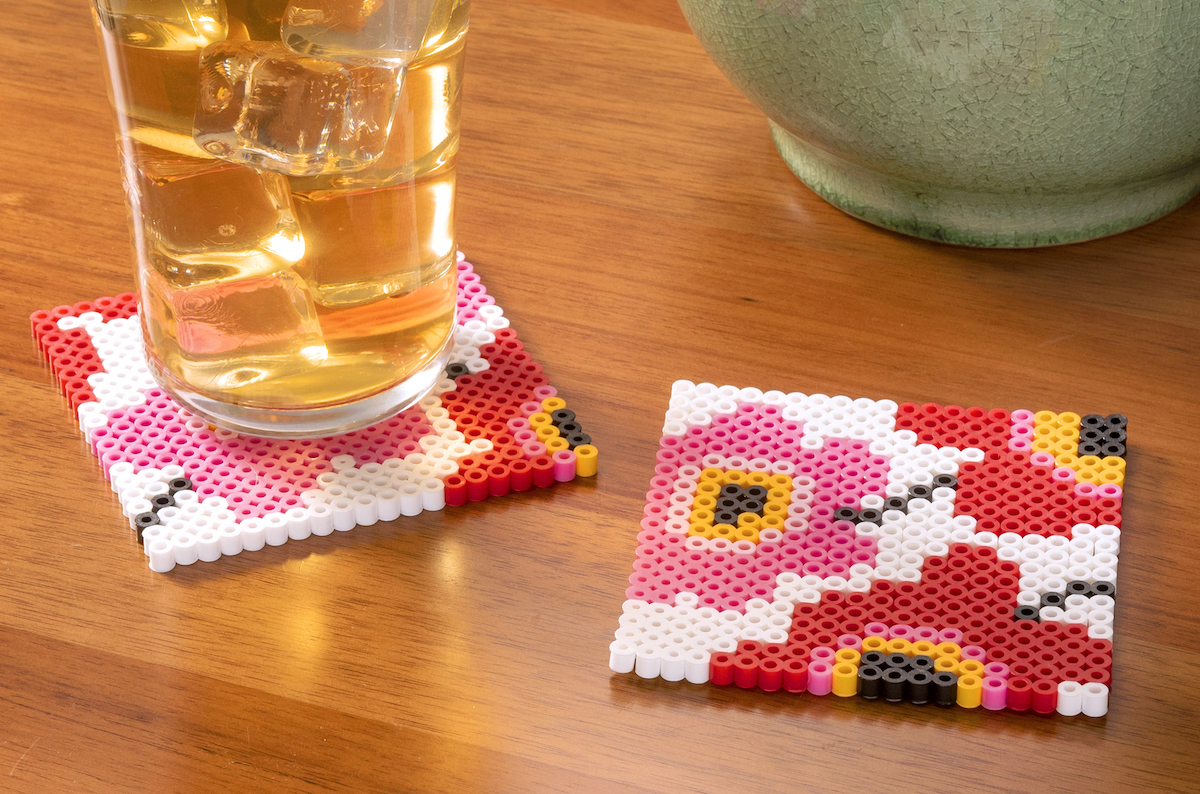
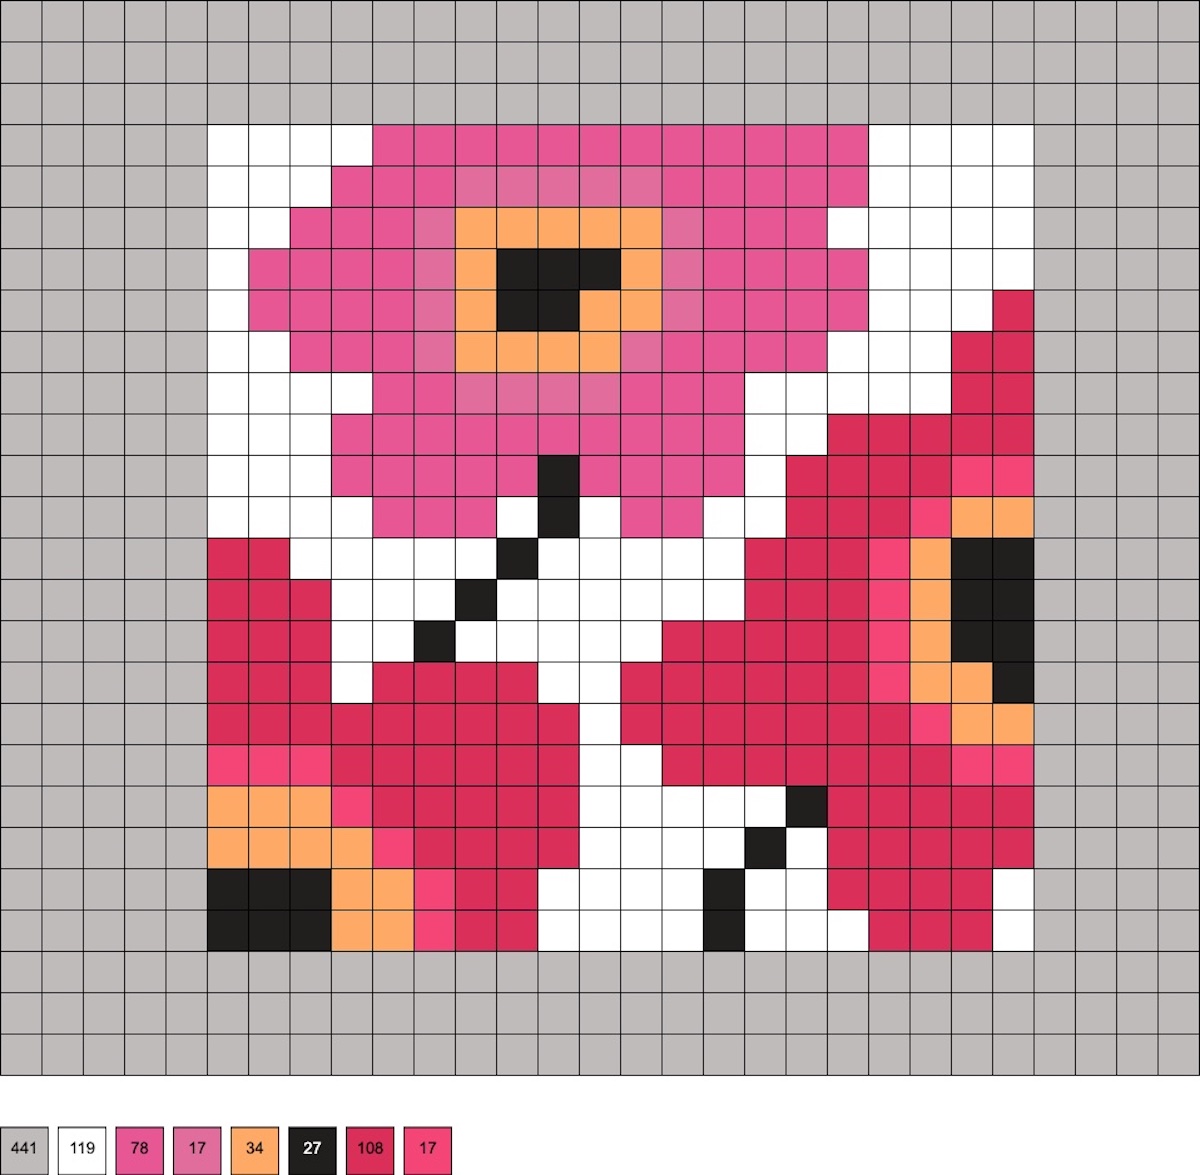
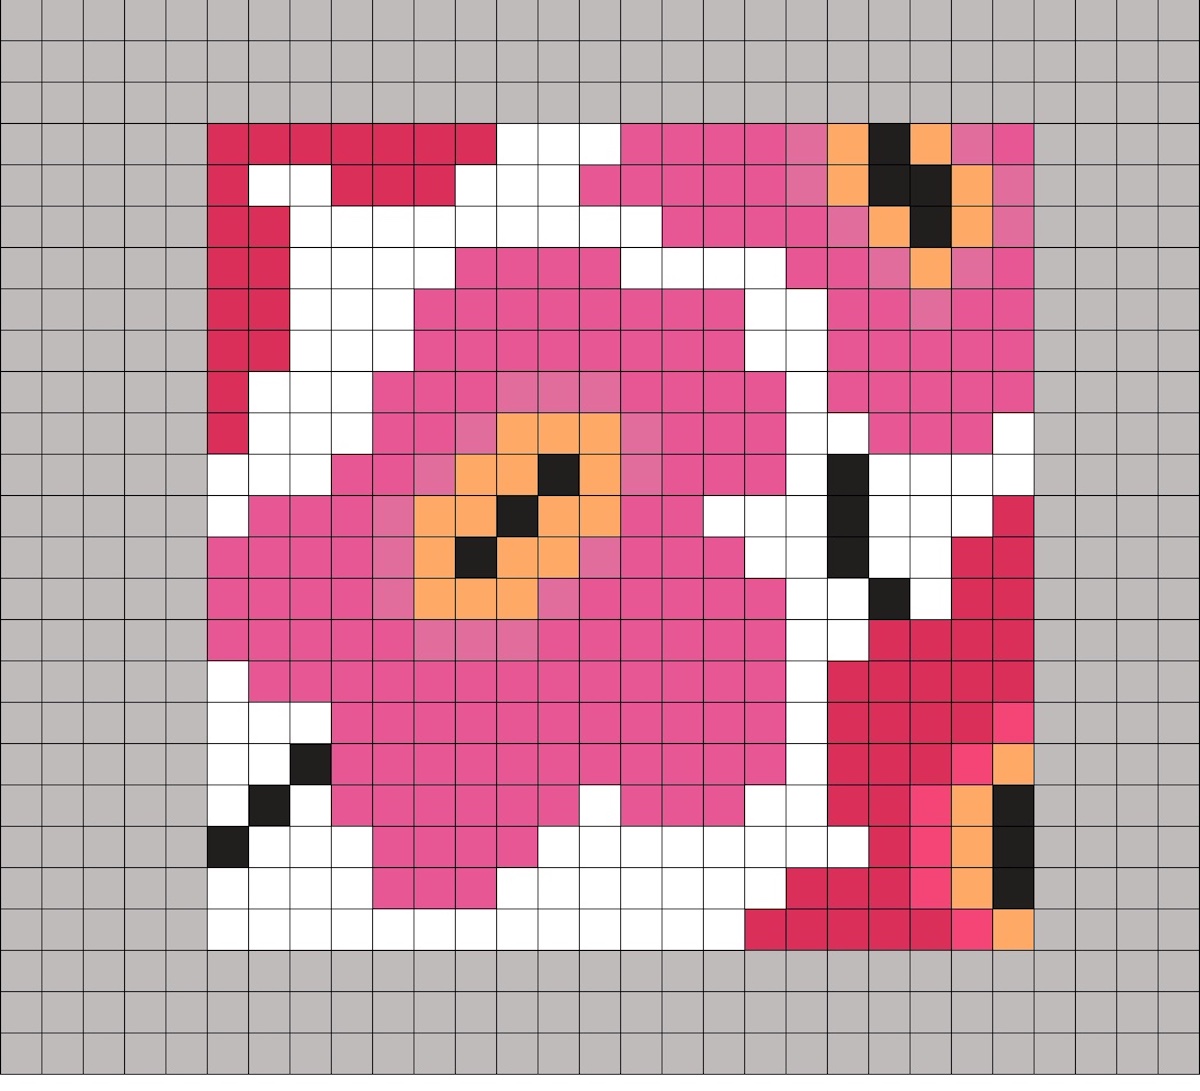
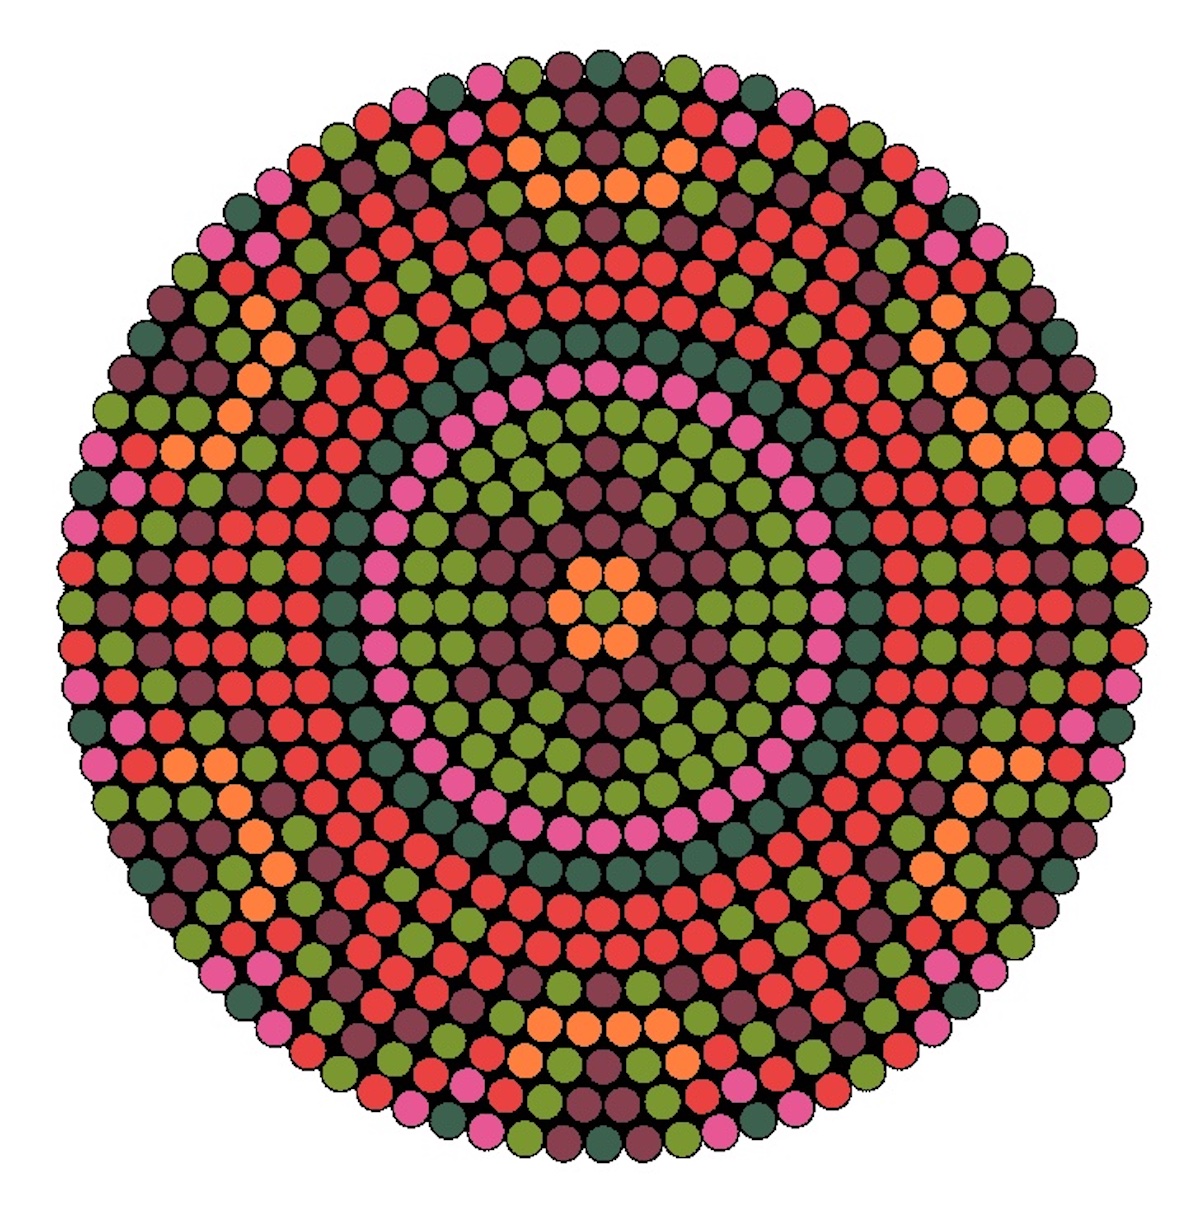
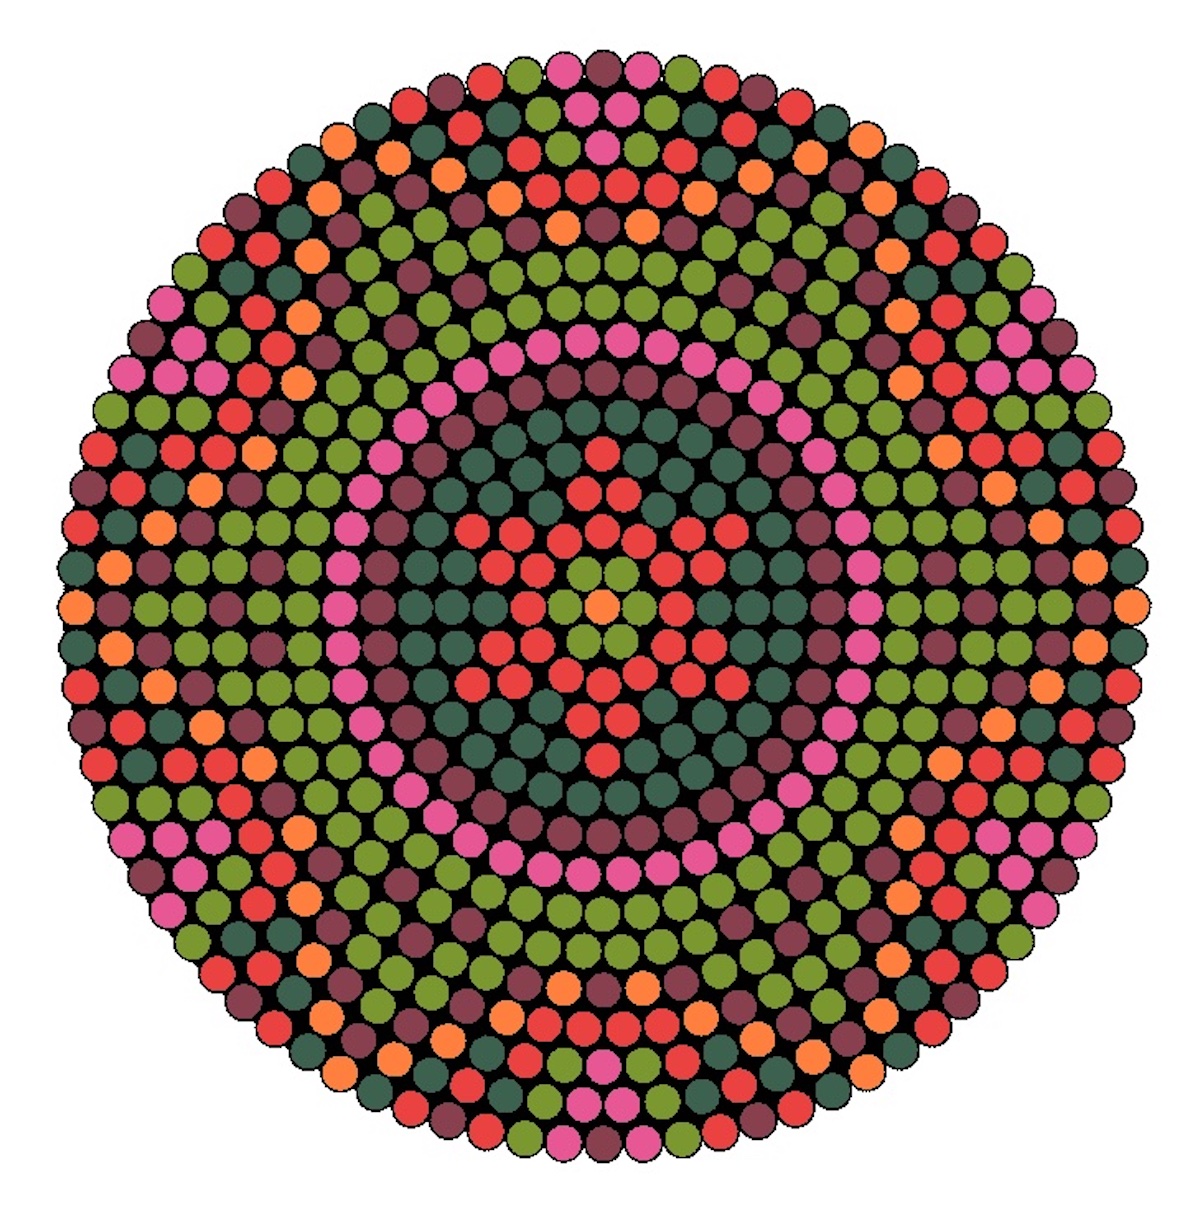
Marimekko Florals
There are two different designs, with 400 beads used in each design total. Make as many of each design as you like. (check out more flower perler beads)
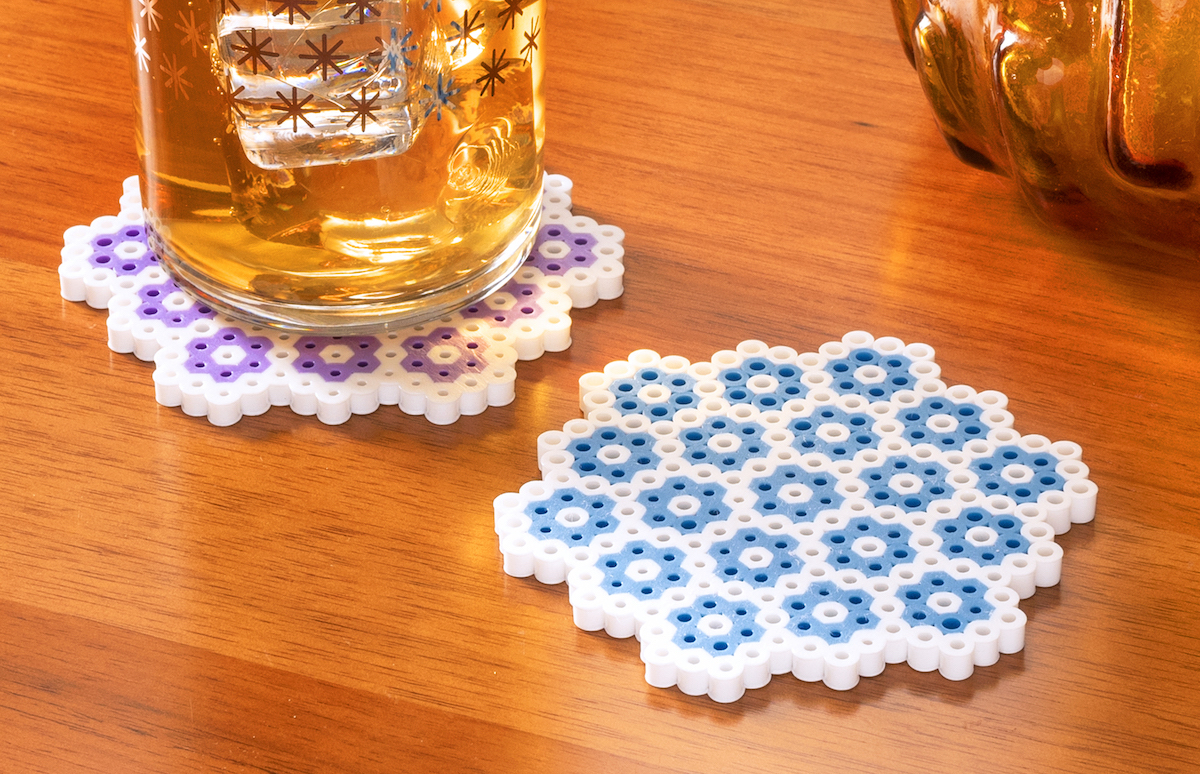
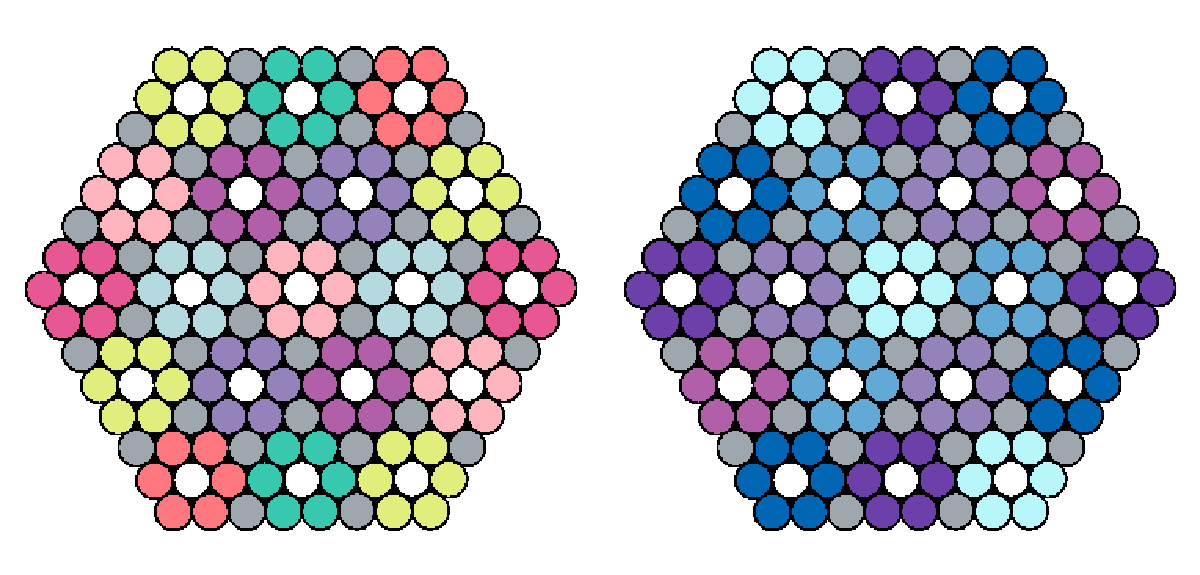
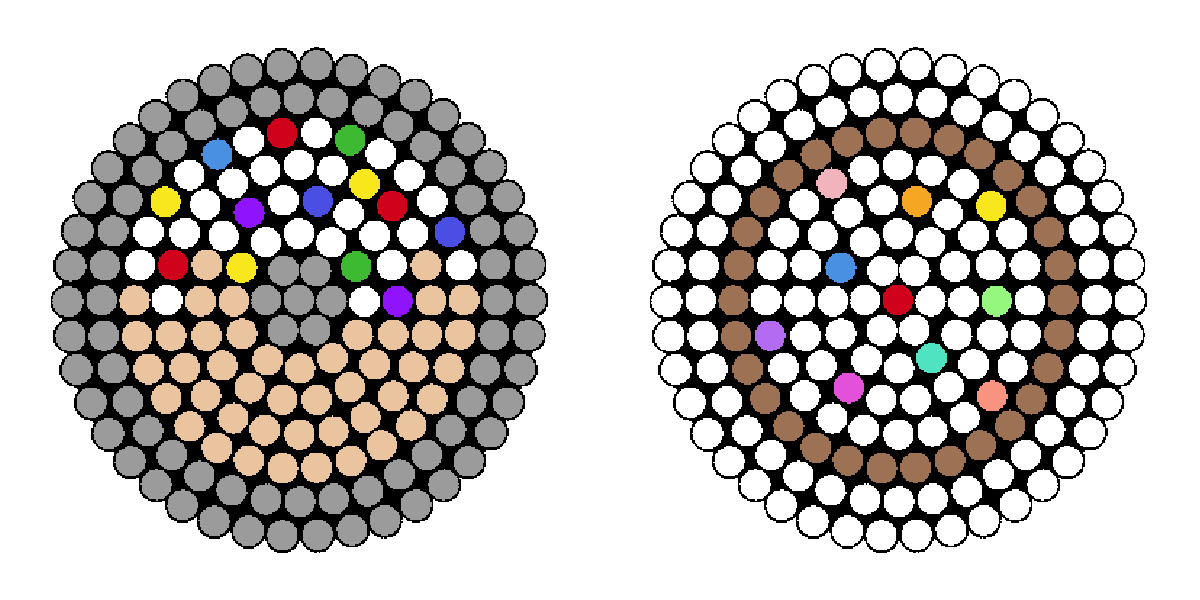
Mini Florals
Both of these patterns are done on small hexagon boards and the gray beads are clear.
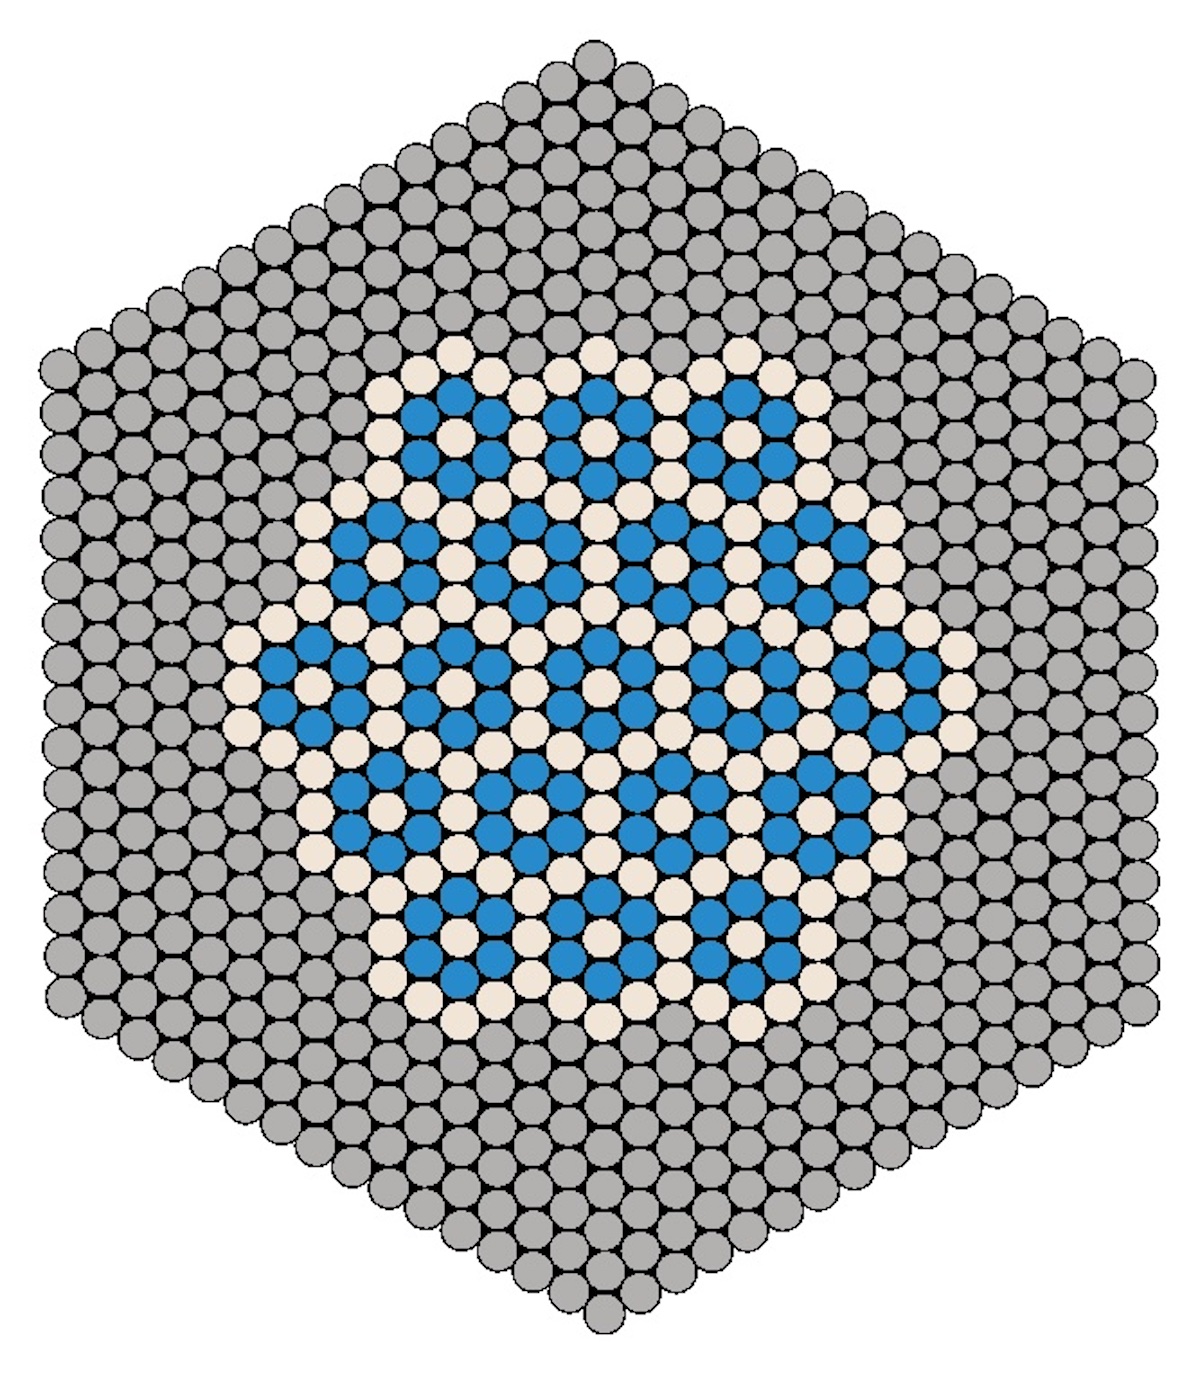
Granny Square Inspired
This pattern reminds me of a vintage crocheted or sewn quilt! It’s done on a large hexagon board and you can customize with any colors.
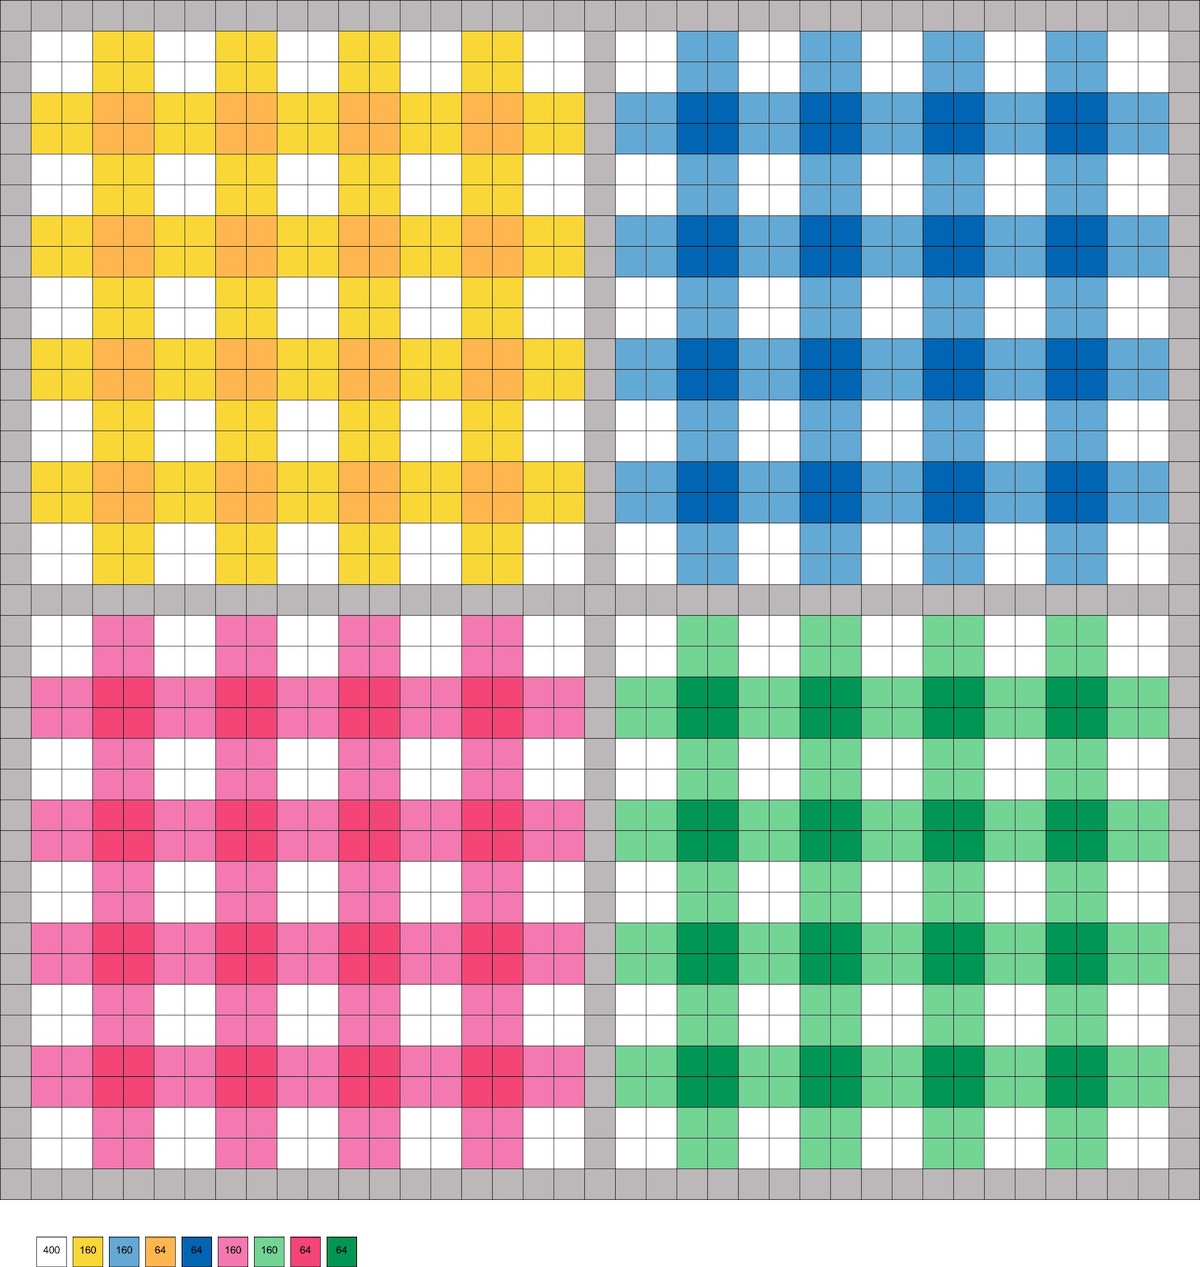
Gingham Coasters
What else reminds you of summer more than gingham? Each coaster uses 100 white beads, 160 of a main color, and 64 beads of a secondary color (I used darker shades of the primary color).
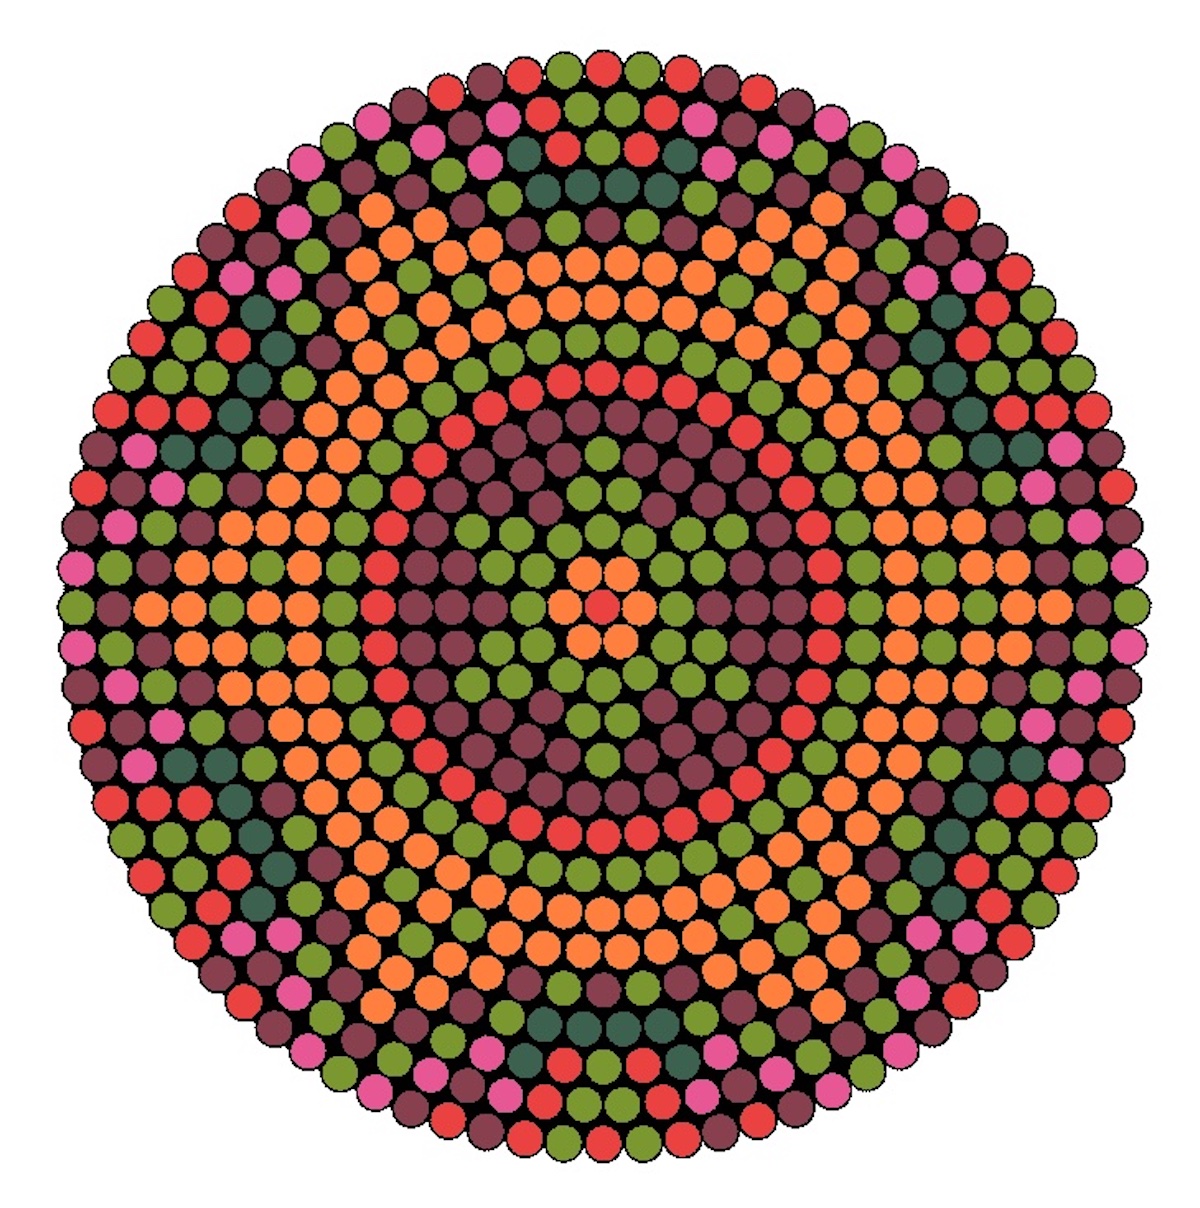
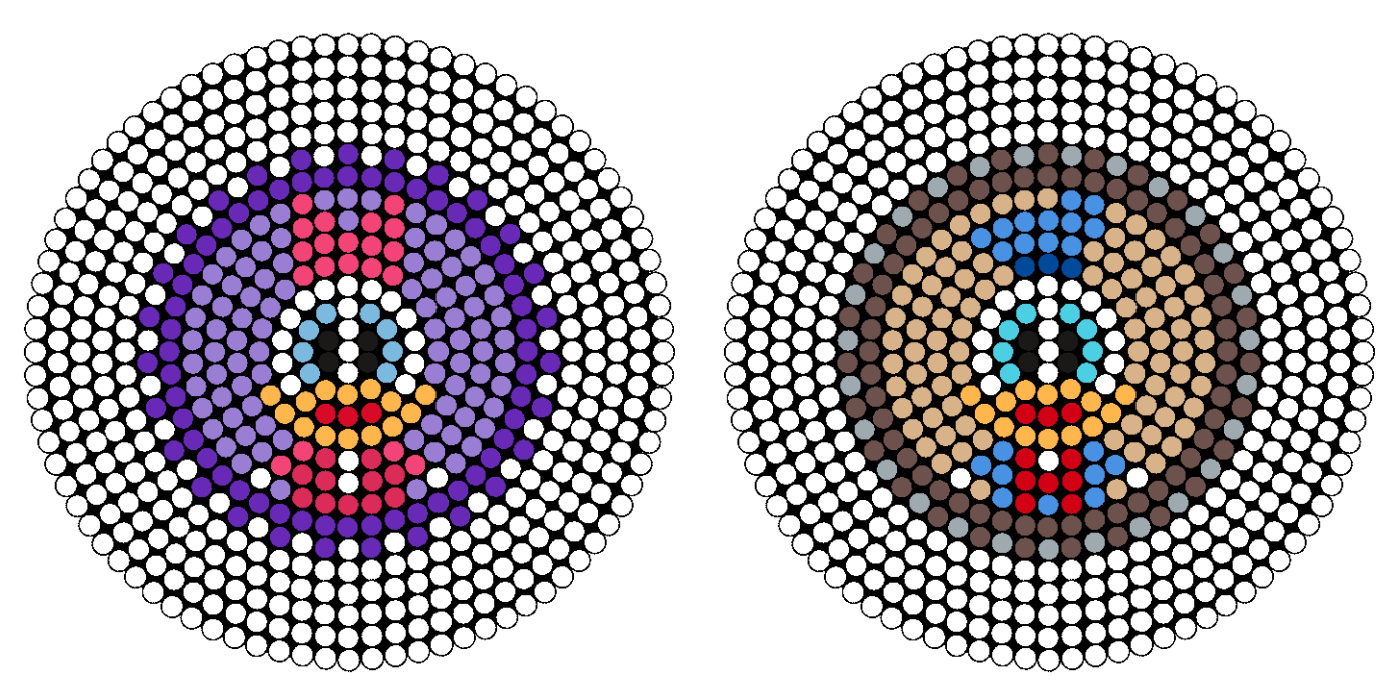
Boho Flair
These larger coasters are done on round pegboards with the resulting size being about 5.45 inches in diameter. I’ve done them in various combinations of six colors so you can see how creative you can get with this pattern.

Donut and Cookie
If you love sweets like I do, you’re going to love these donut and cookie coasters. They’re a little small, just over 2 inches in diameter. However you can extend the pattern with additional rings to fit your cups and mugs. (see more food perler beads)
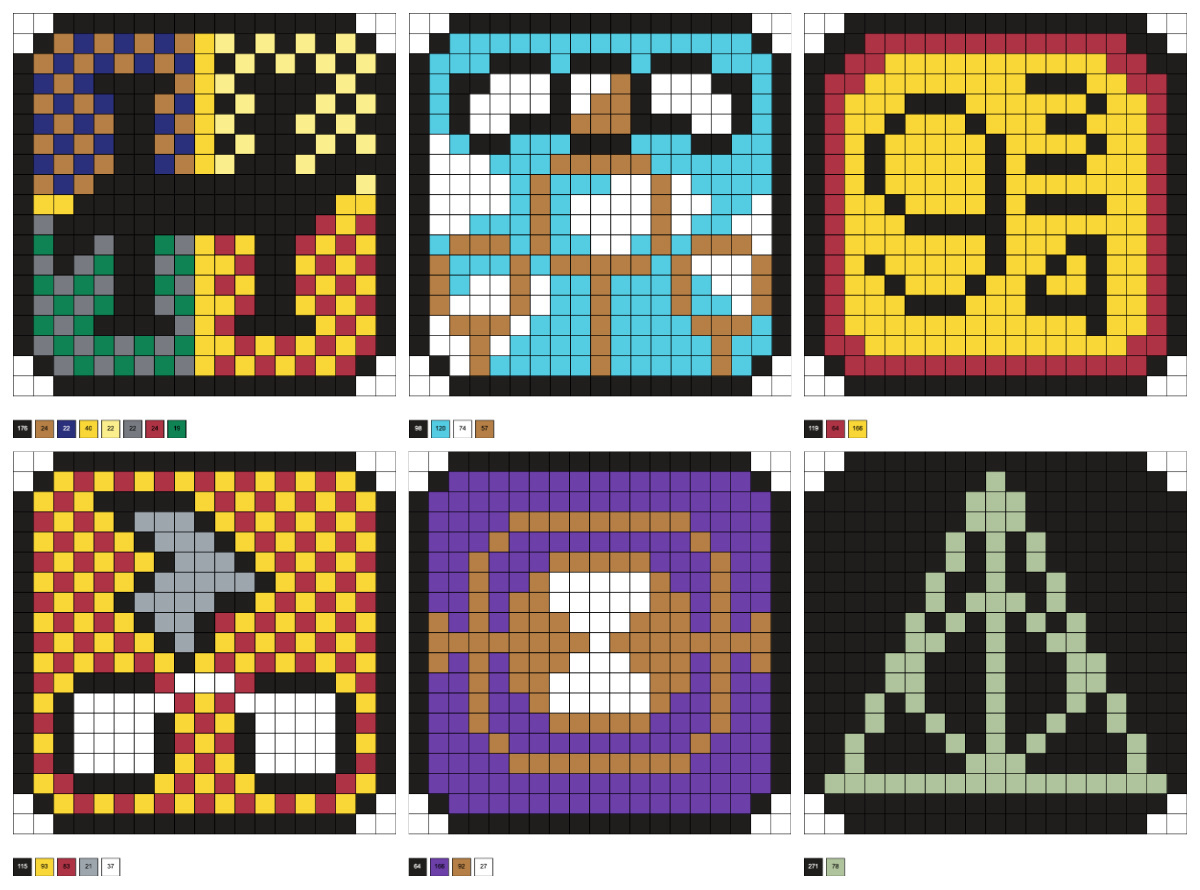
Harry Potter
We love Harry Potter crafts around here! This set of six symbols are perfect for coasters (get more Harry Potter perler beads).
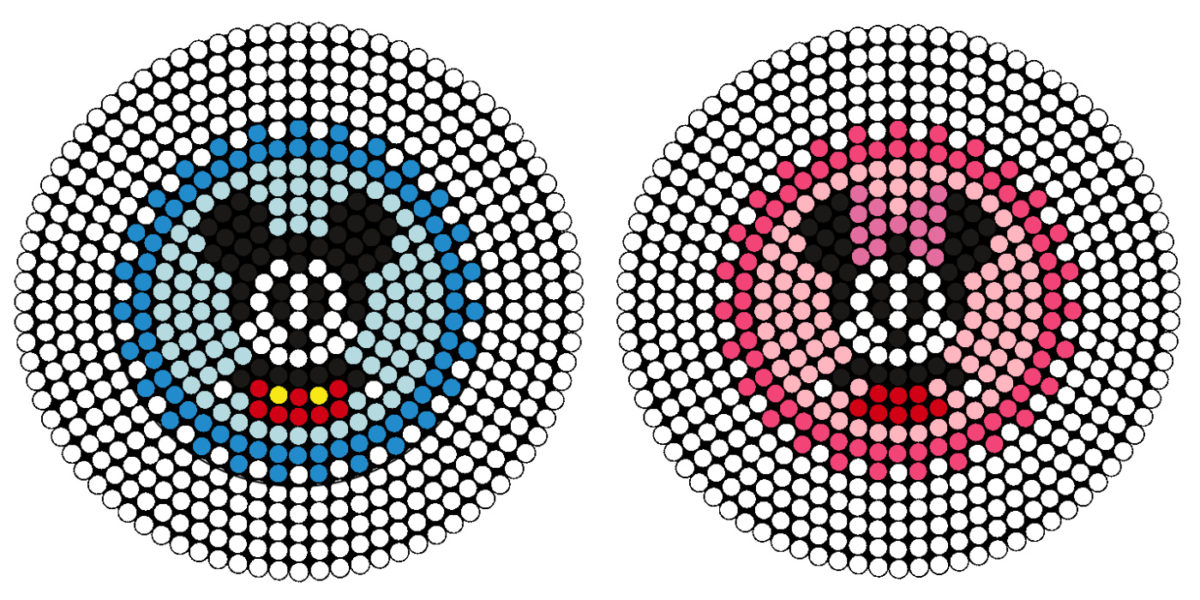
Mickey Mouse
EMMM EYEE CCCCC . . . kay ee why. If you’re looking for Mickey Mouse crafts, these are fun and make great coasters! You’ll get Mickey, Minnie, Donald, and Daisy. The border can include white or clear beads. (check out more Mickey Mouse perler beads)
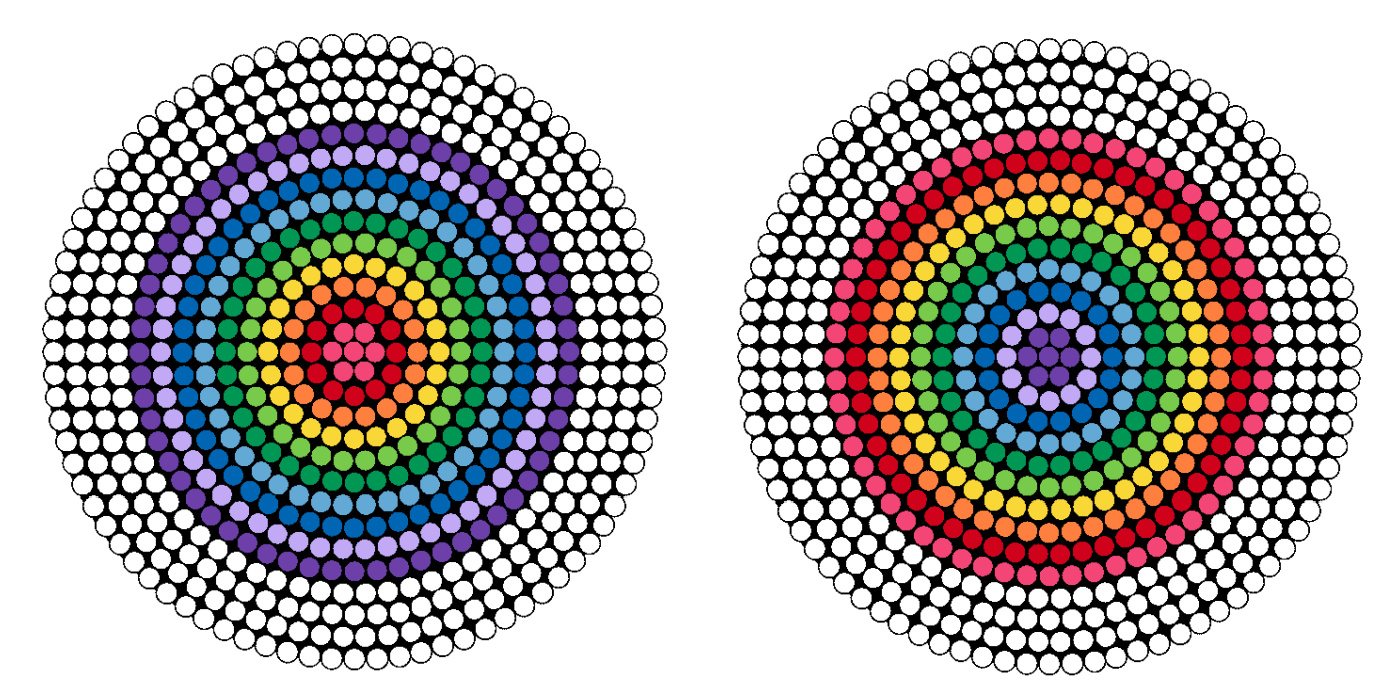
Rainbow
These coasters make me really happy because they’re just color! Make a set of six with three of each pattern.
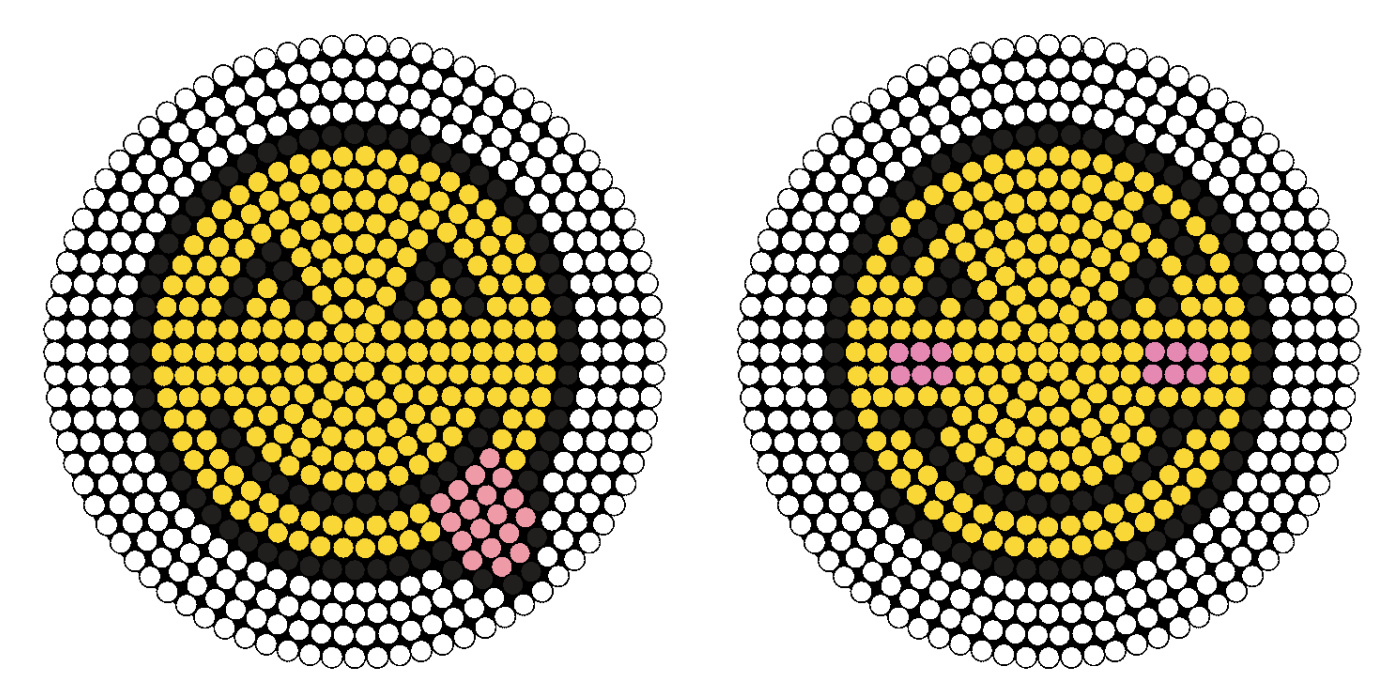
Emoji
Emojis make great coasters because they’re already circles! Get a whole bunch of coasters in our emoji perler beads post.
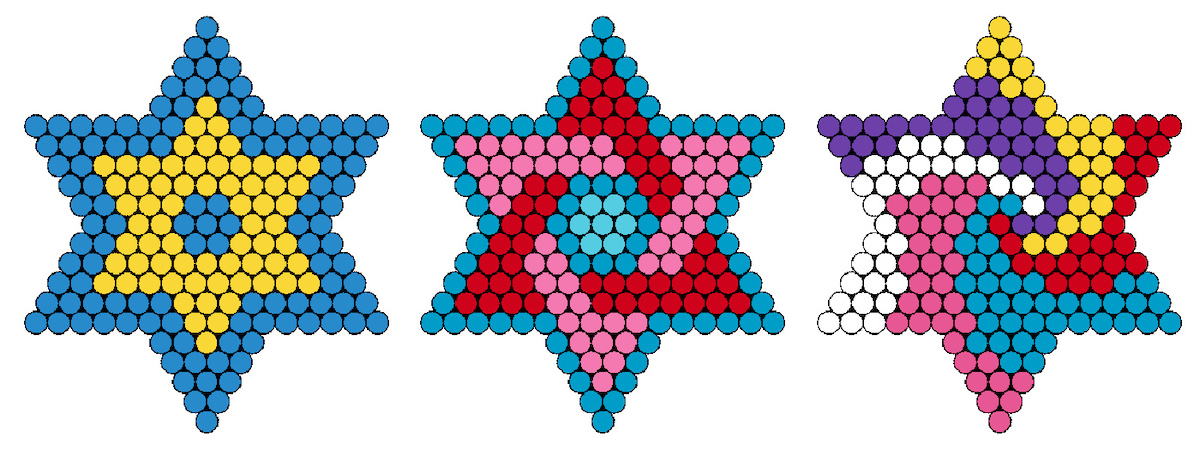
Stars
If you’re looking for coasters in a unique shape, the small star boards are where it’s at. You can make them in holiday colors, as well. (check out more star crafts and star perler beads)
If you try these perler bead coaster patterns, let me know in the comments! I’d also love for you to check out these additional ideas:
Box • Bookmarks • Bracelets • Crown • Door Hanger • Drink Covers • Hello Kitty • Key Tray • Organizer • Tic Tac Toe Game

You should make a my melody coaster