Personalized Yarn Wrapped Ornaments for a Festive Christmas
Learn how to make a yarn wrapped ornament that looks great on the Christmas tree! You can personalize this idea for gifts, decor, and more.
Skills Required: Beginner. You will use yarn to wrap around a letterform and add embellishments with hot glue.
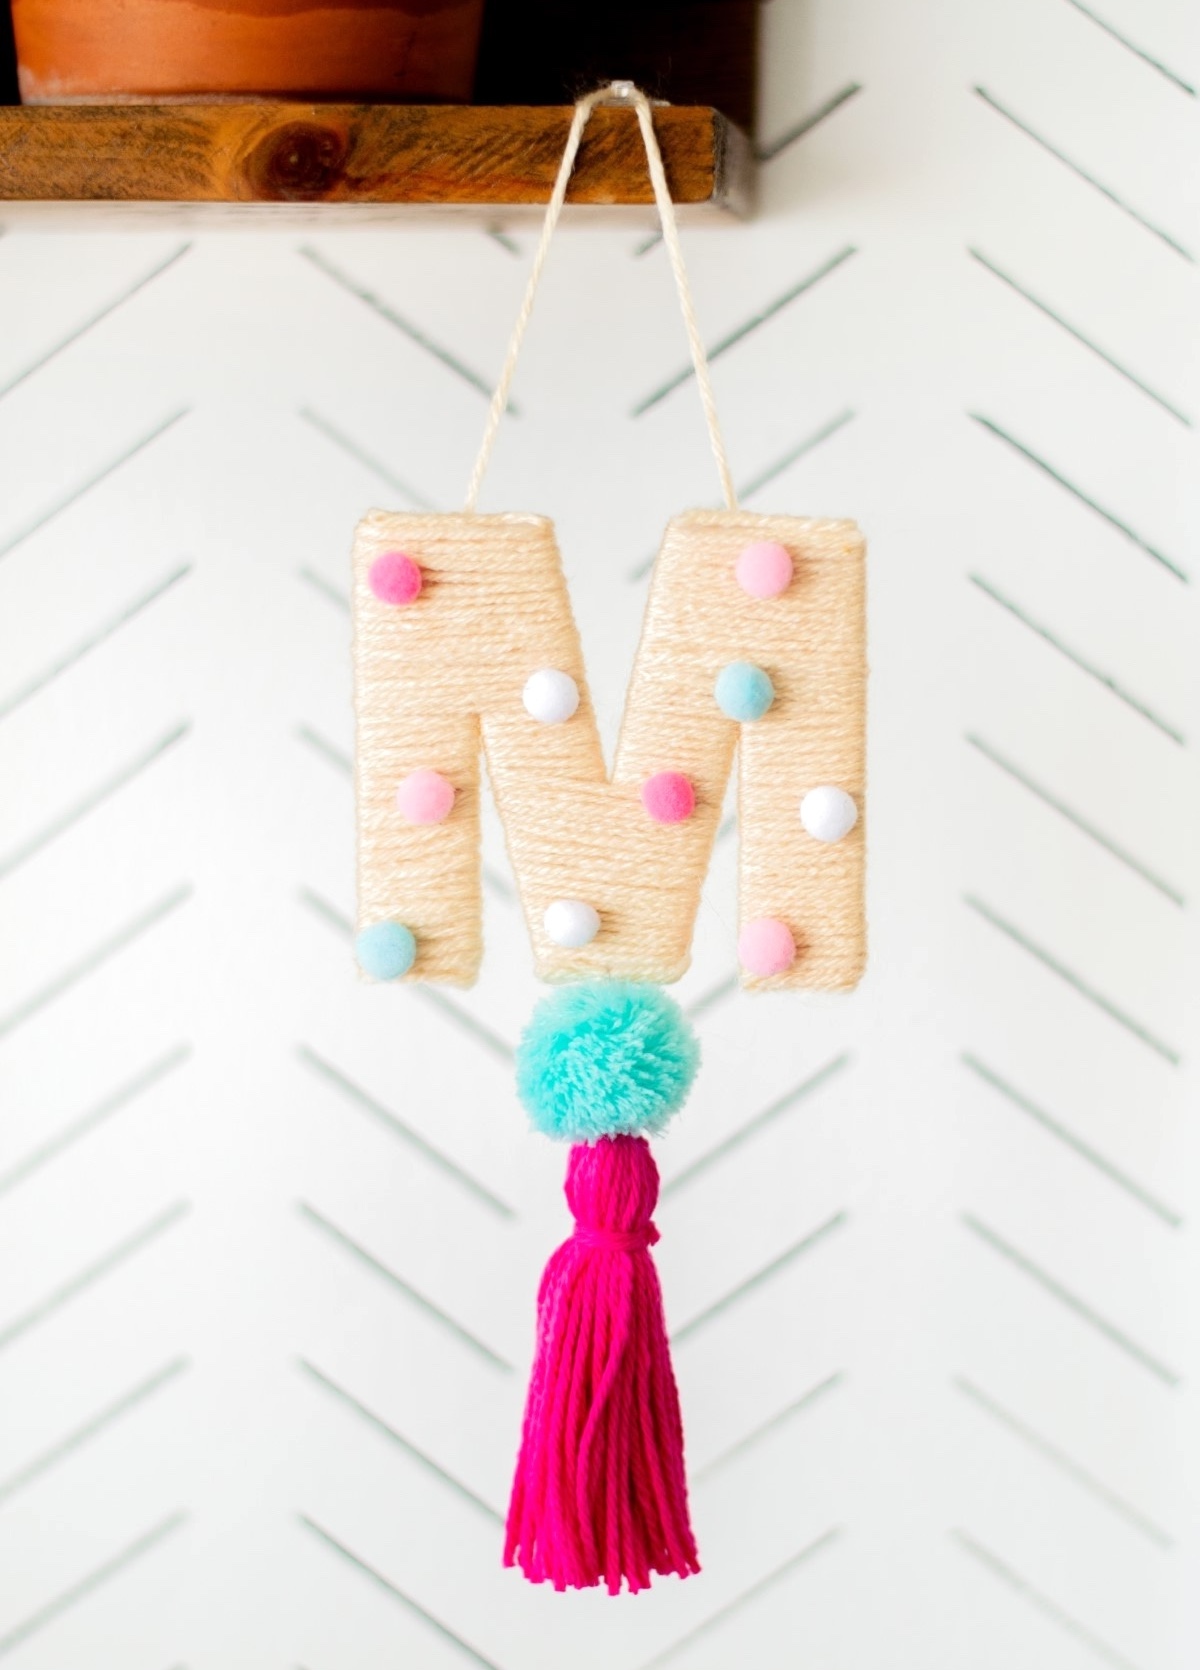
Ready to give your Christmas tree or stockings a pop of personality? This DIY yarn-wrapped letter ornament is the perfect holiday craft for anyone who loves a unique, handmade touch.
Customizable, colorful, and cozy, these ornaments add warmth to your holiday decor without costing a fortune. Plus, they’re beginner-friendly, so even if you’re new to crafting, you can whip up a few in no time!
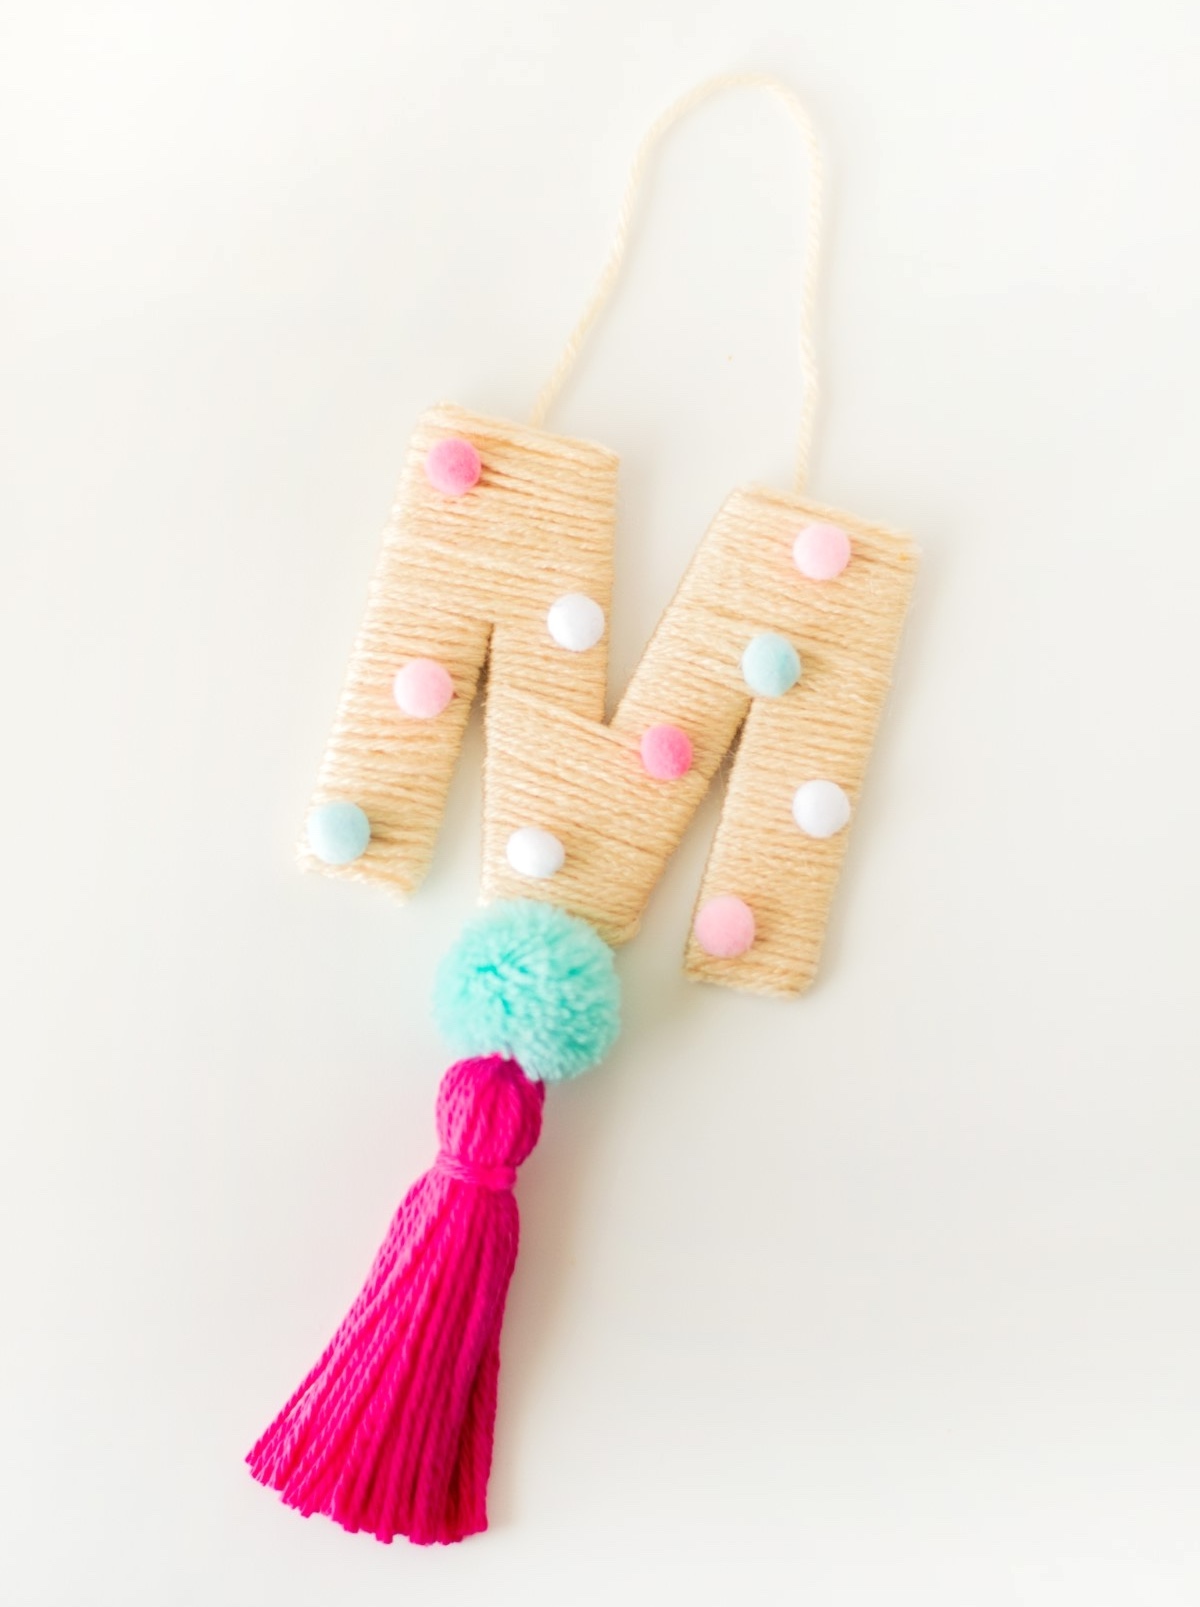
In this project the letter is wrapped in yarn, creating a soft texture that contrasts beautifully with shiny lights and tinsel.
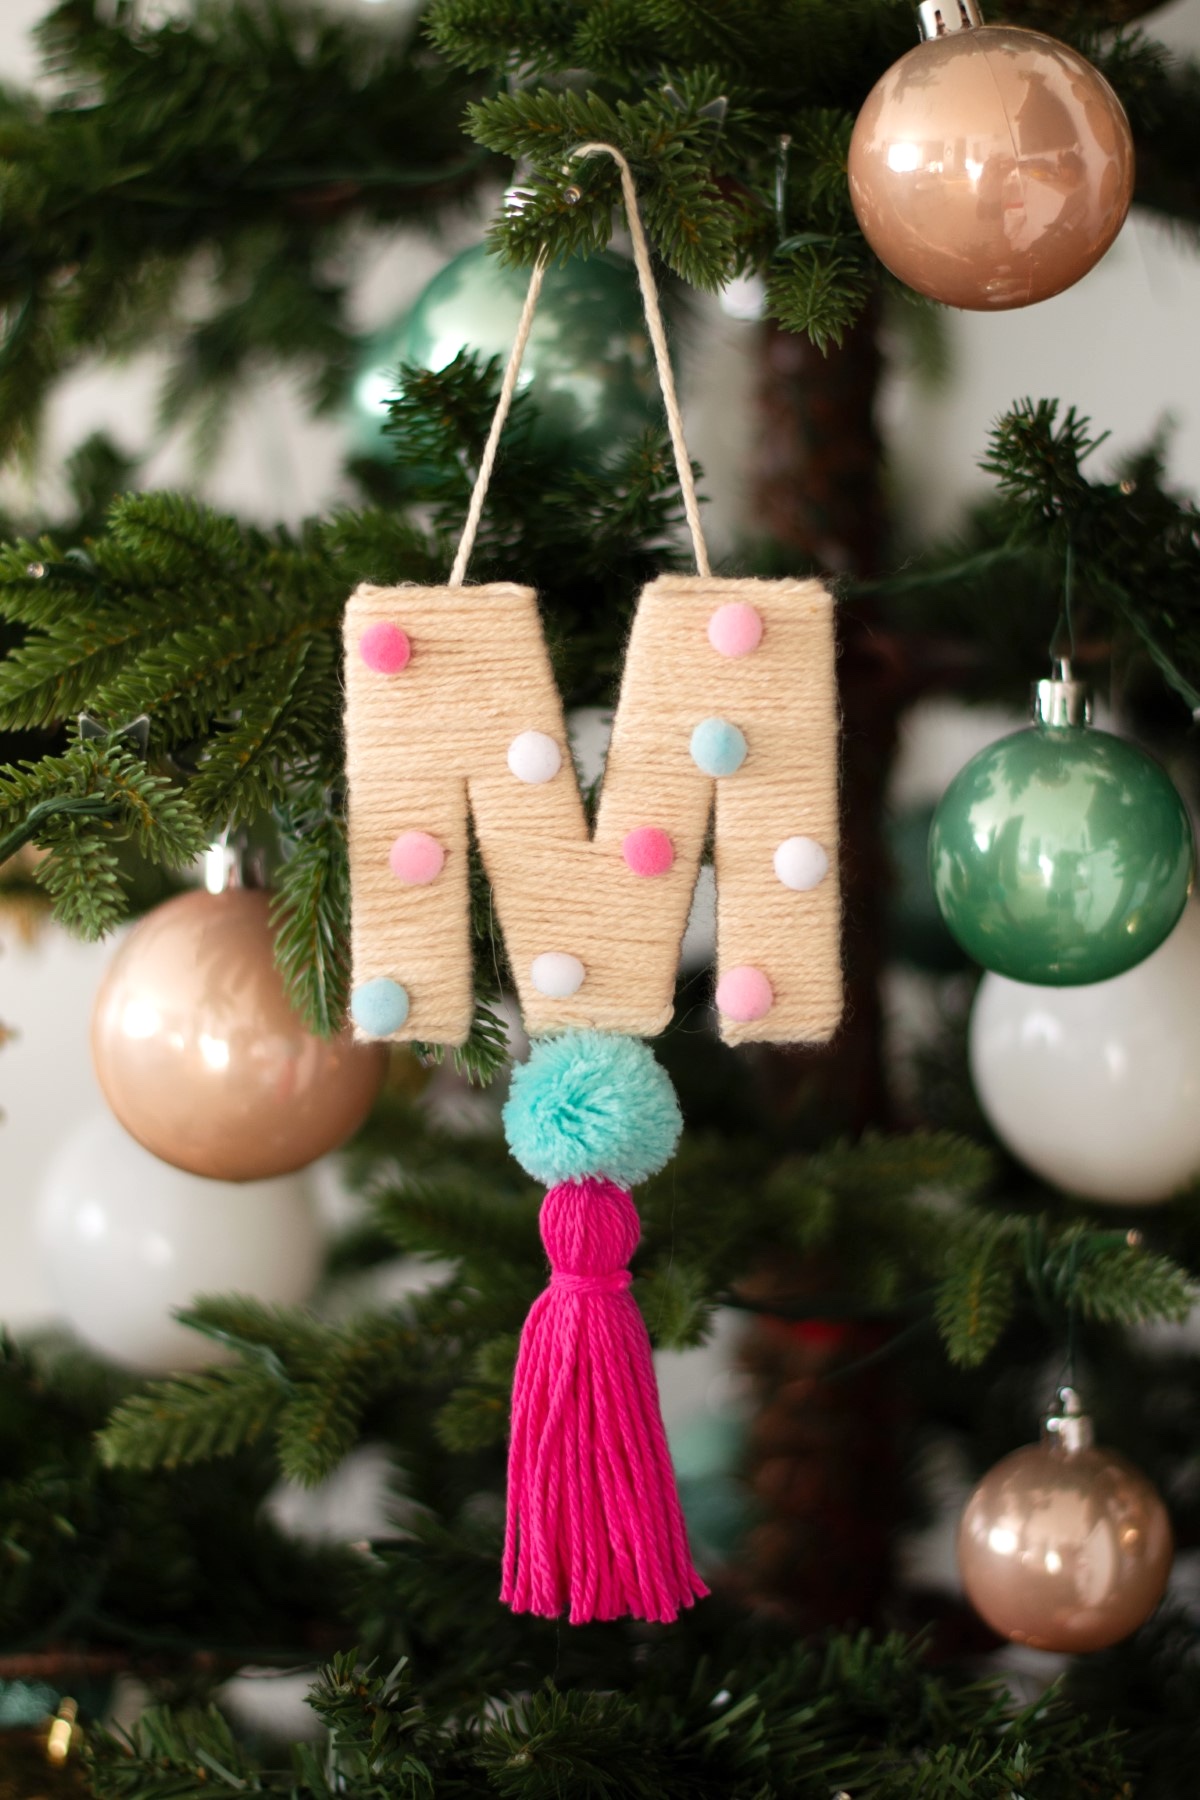
Add big and mini pom poms for an extra splash of color, and you have a playful, modern ornament that can reflect each family member’s personality.
They make lovely gifts, too—just pick letters to match your loved ones’ initials, and they’ll have a custom-made ornament to treasure each year.
This ornament tutorial is great for a cozy afternoon indoors, where you can relax and make something fun with minimal supplies. Hang your letters on the tree, use them as personalized stocking markers, or even as gift toppers.
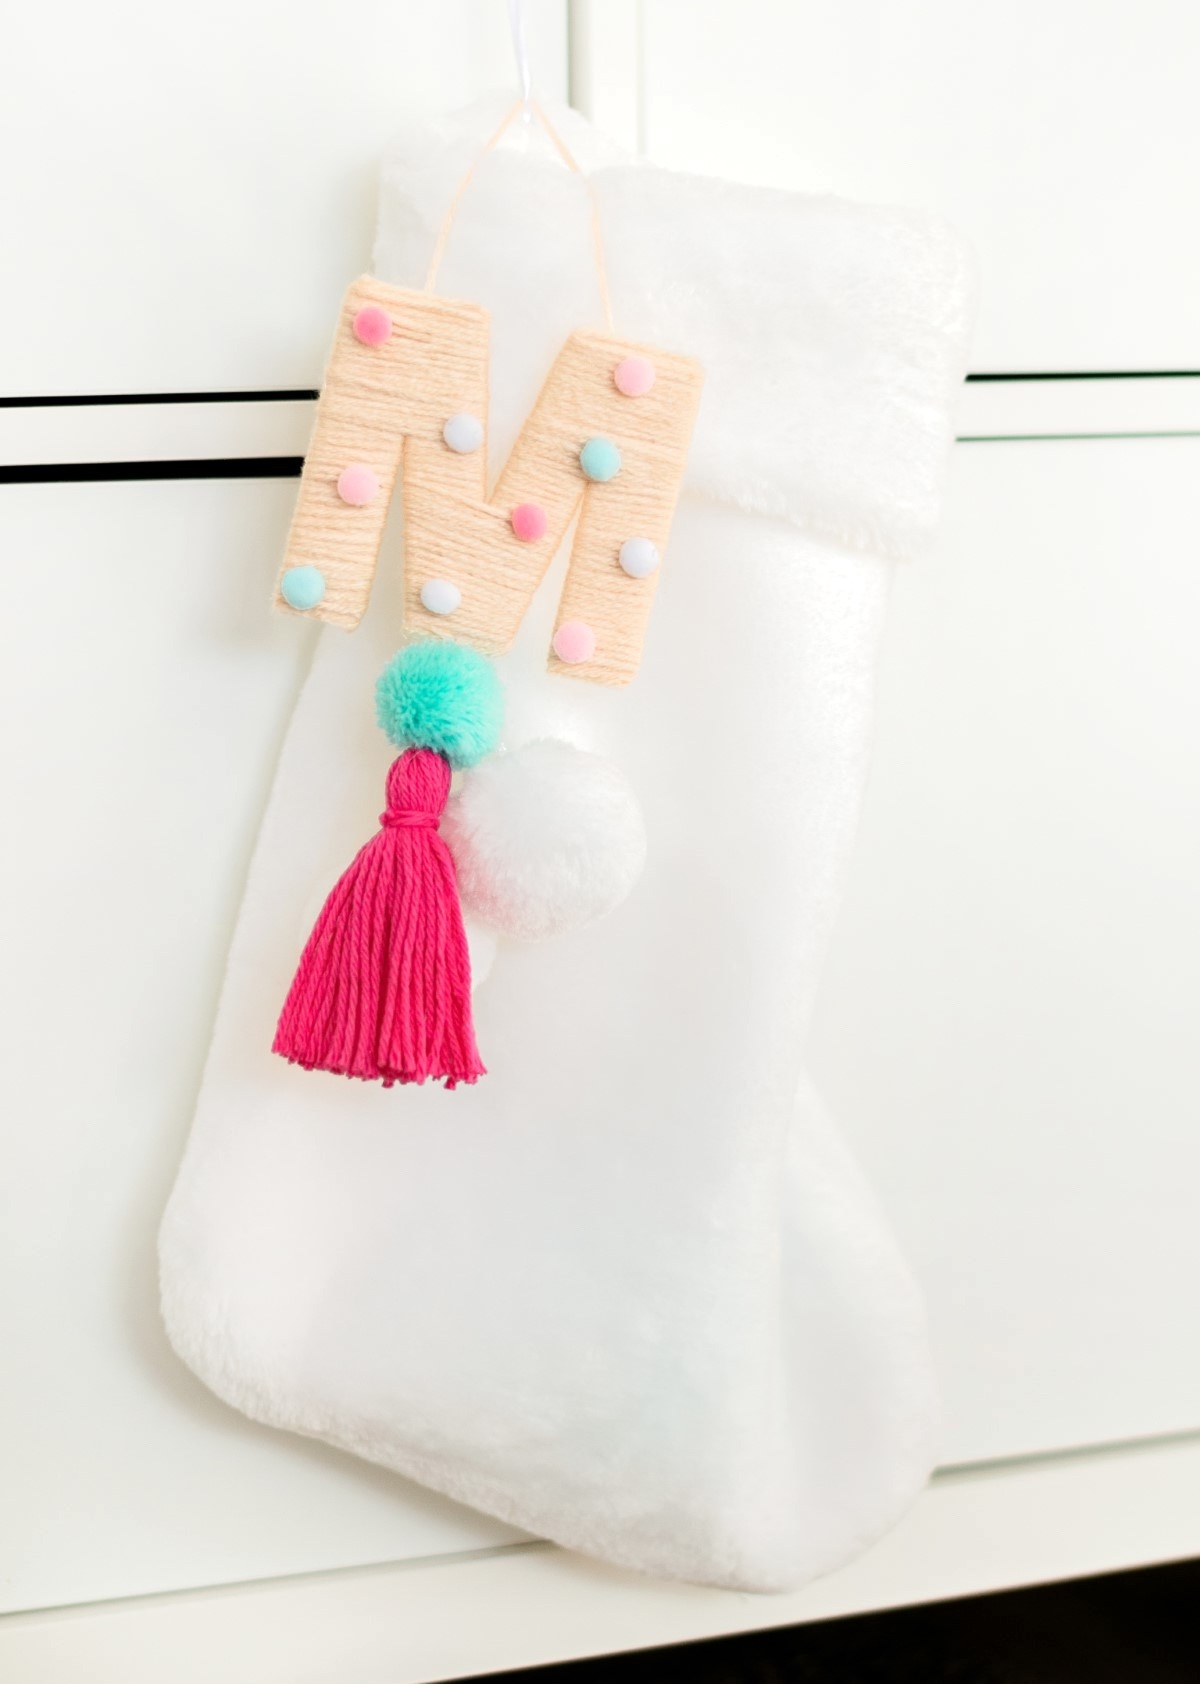
However you decide to use them, this craft will bring a unique charm to your holiday that’s both personal and festive. Not to mention . . . it’s so fun to make!
Gather These Supplies
- Letterform (buy a pre-made one or DIY your own)
- Yarn
- Big pom poms
- Mini pom poms
- Scissors
- Hot glue gun and glue sticks
- Needle
- Thread
Tips and Thoughts for This Project
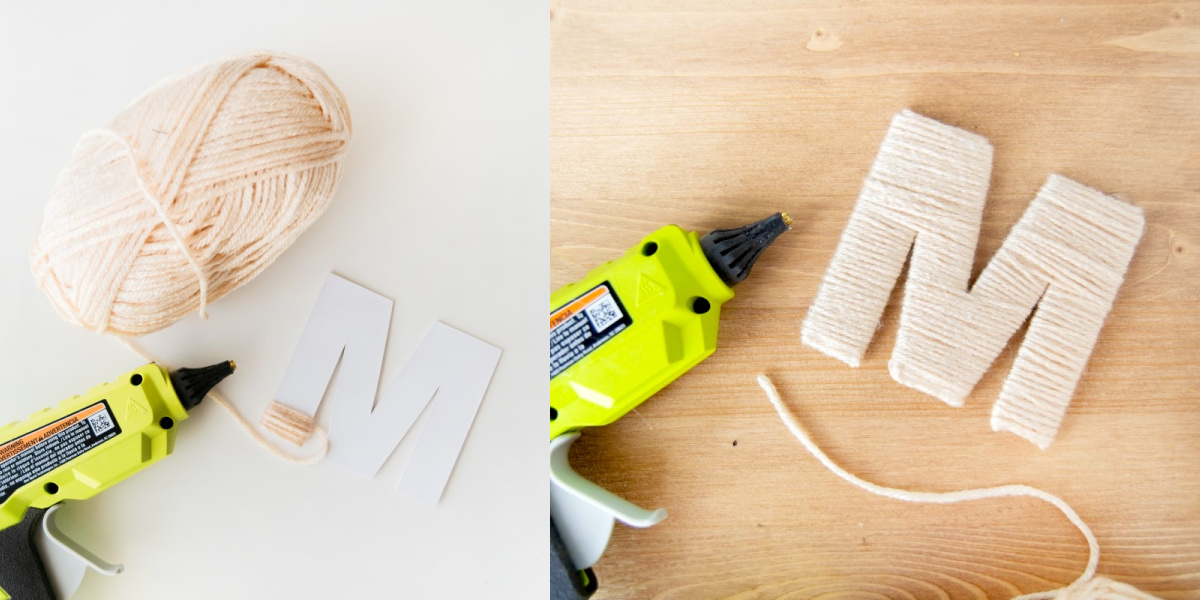
The letterform can be purchased – such as paper mache ones from craft stores. I made mine with a die-cutting machine and cardboard. I used 5 layers of thick cardstock glued together to create a sturdy letterform.
Get the printable how to card for this craft below:
Yarn Wrapped Ornament
Equipment
- 1 Scissors
- 1 Needle(s)
Materials
- Letterform buy a pre-made one or DIY your own
- Yarn – multiple colors
- Big pom poms
- Mini pom poms
- Thread
Instructions
- Wrap the letterform with yarn and attach with a hot glue gun. Carefully wrap it around each section of the letter, ensuring a tight wrap that covers all areas, leaving no underlying surface exposed. You can make the letter look slim by only wrapping a few times, or make it thicker by wrapping it around multiple times. Don’t forget to cover the edges also. Set aside.
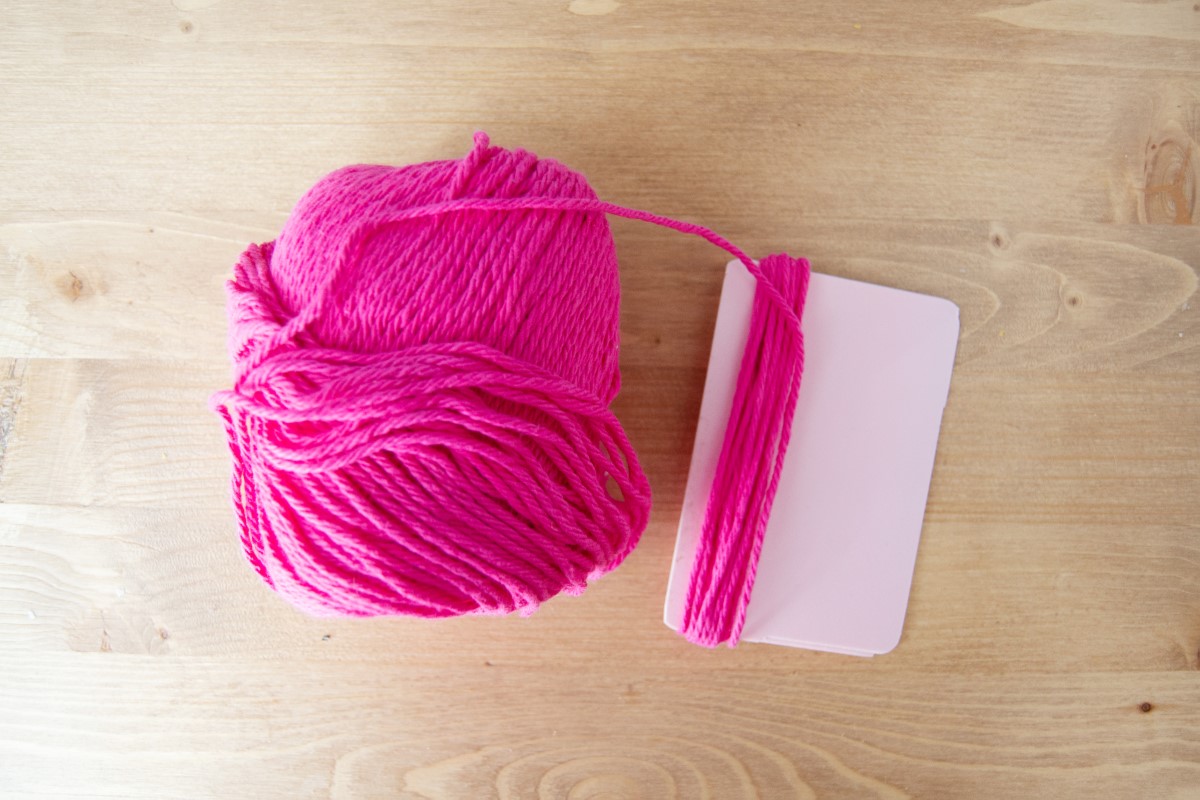
- To create a tassel, wrap a different yarn color around the long side of a card around 20 times (or more if you would like a thicker tassel).
- Cut a separate piece of yarn (at least 6 inches long) to tie off the top of the tassel. Slide the wrapped yarn off the card and keep its shape intact. Take the shorter piece of yarn and slide it underneath the wrapped yarn at the top. Tie two knots to secure.
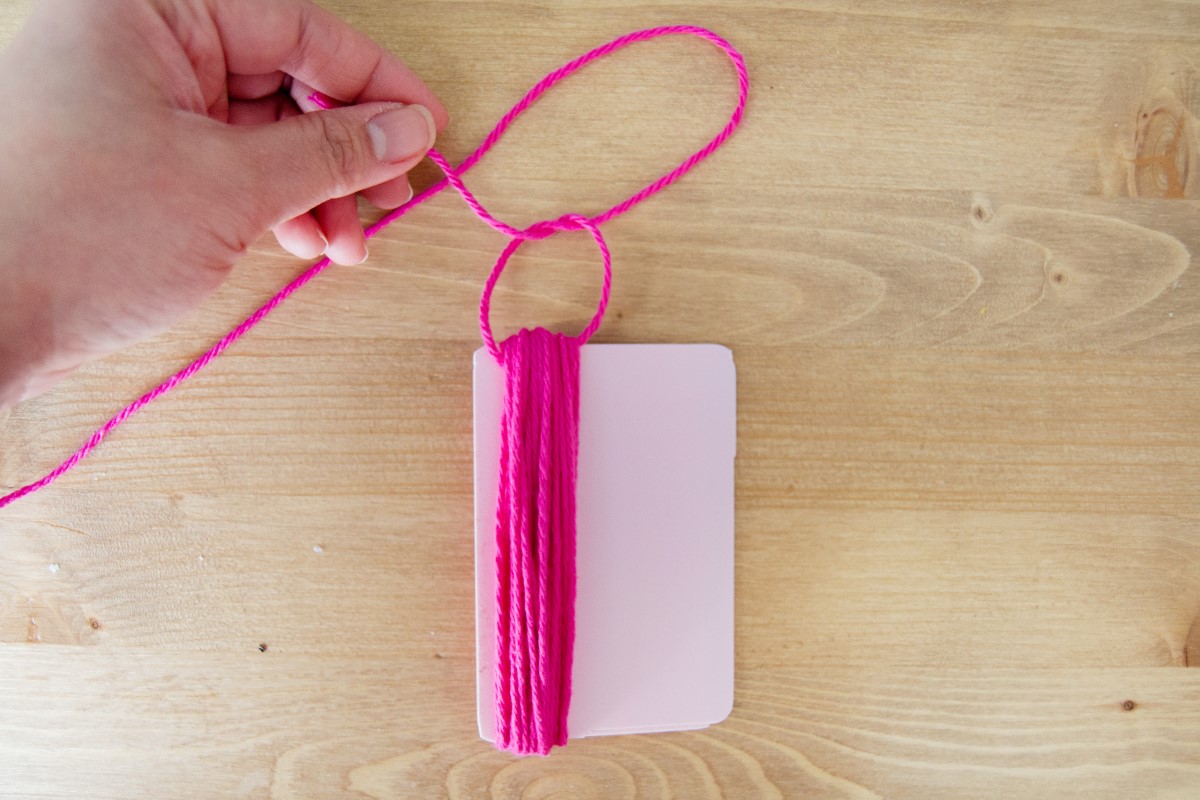
- Use a rubber band and wrap it around the top section of the tassel to create a tassel head. Cut a piece of yarn to wrap around the rubber band to cover it.
- Cut the tassel loops at the bottom.
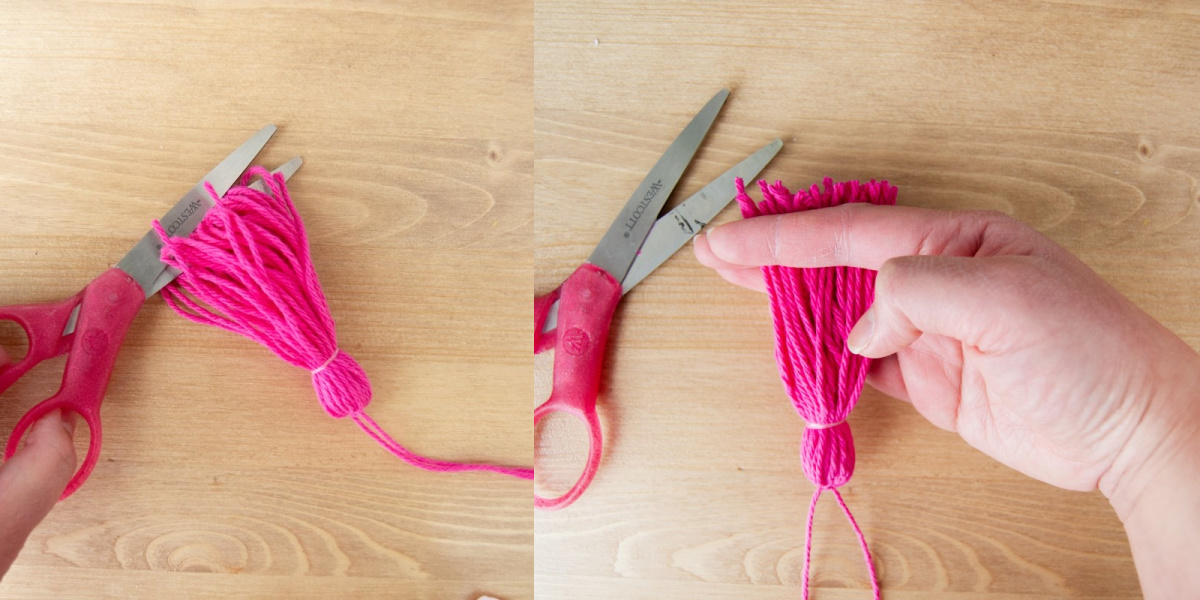
- Insert a threaded needle through the top part of the tassel and sew back and forth to ensure the thread is secure.
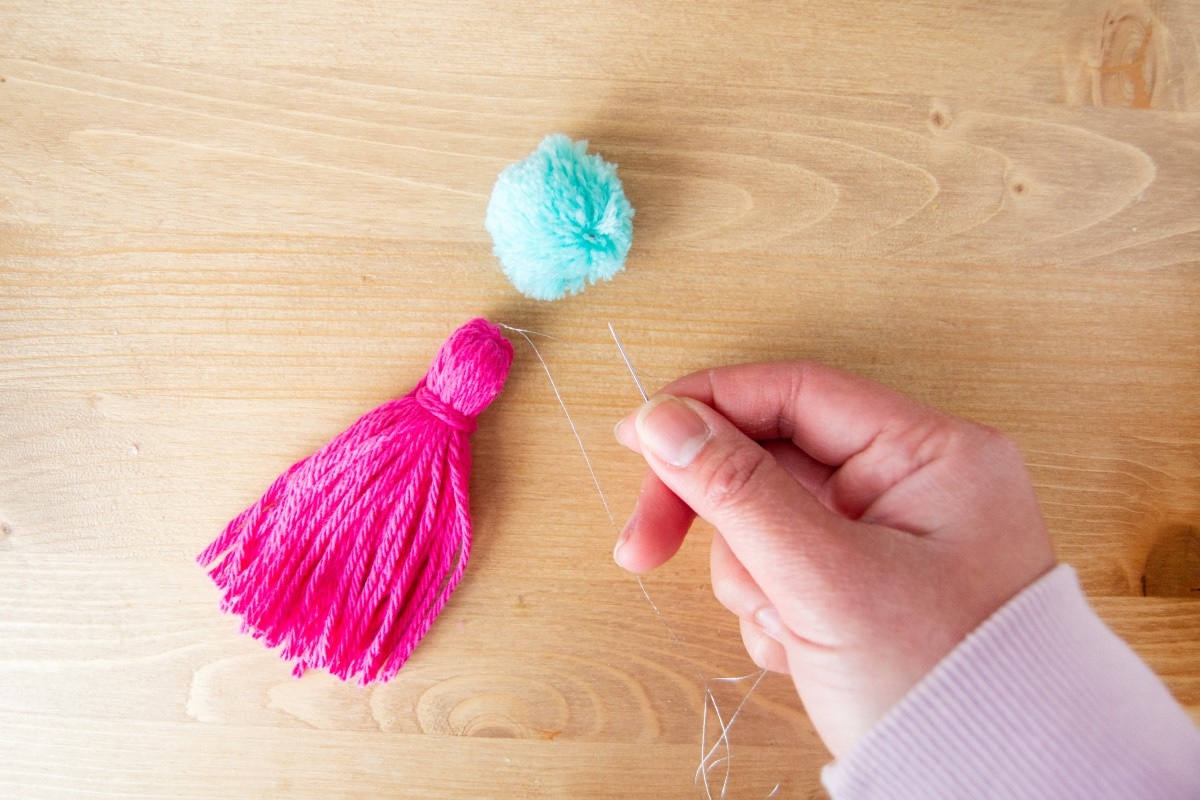
- Next, sew through the center of the pom pom, and again sew back and forth to ensure it’s attached as well.
- Attach the pompom tassel to the yarn-wrapped letterform by sewing it on the bottom of your letter, ideally at the middle point of it. Use the needle to sew back and forth to secure the pom pom tassel. Once secured, tie a knot to make sure it doesn’t unravel and cut the excess thread.
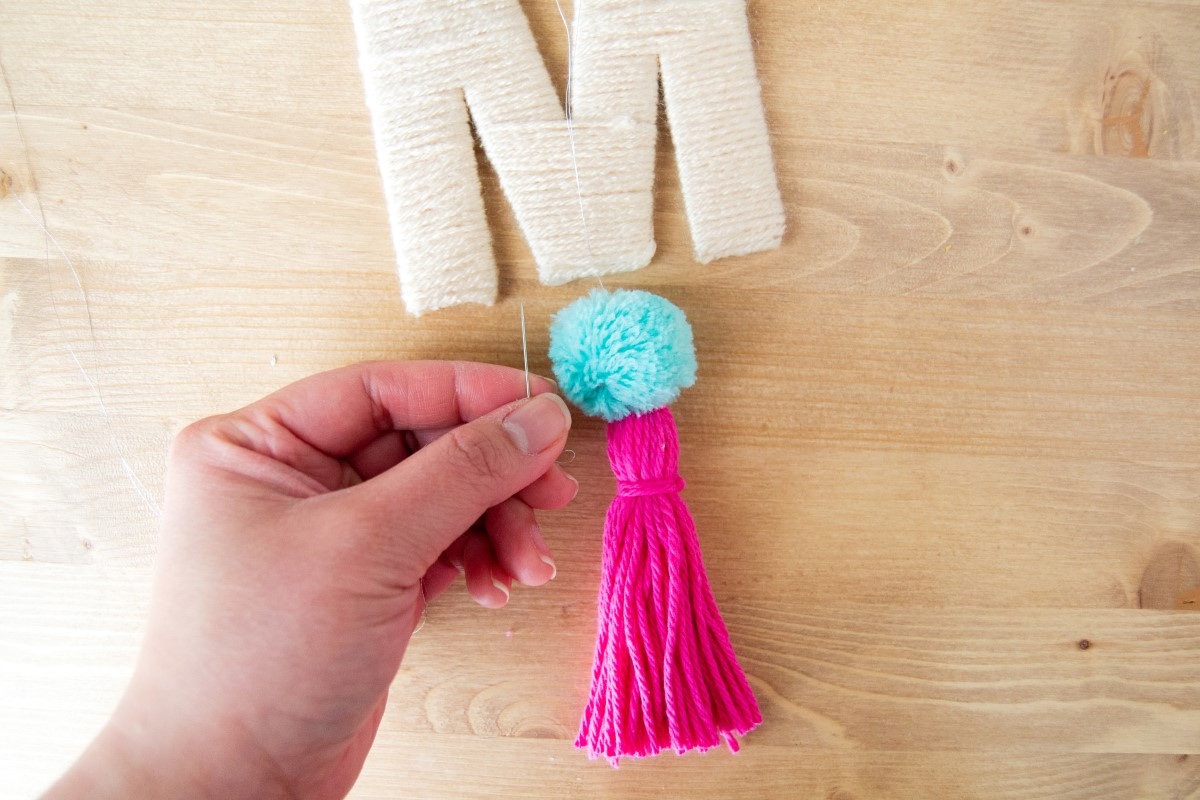
- Use a hot glue gun to attach mini pom poms to the yarn wrapped letter for added fun! I laid out where I wanted the pom poms to go before hot gluing them in place.
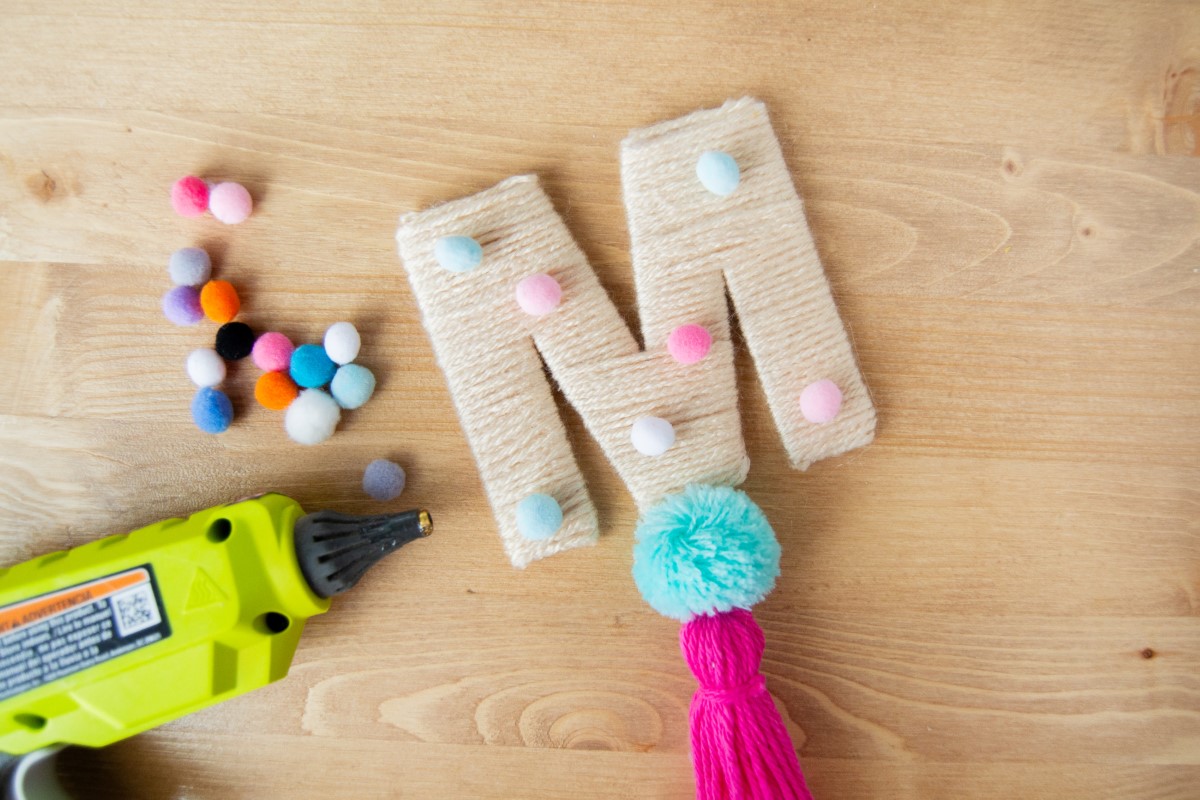
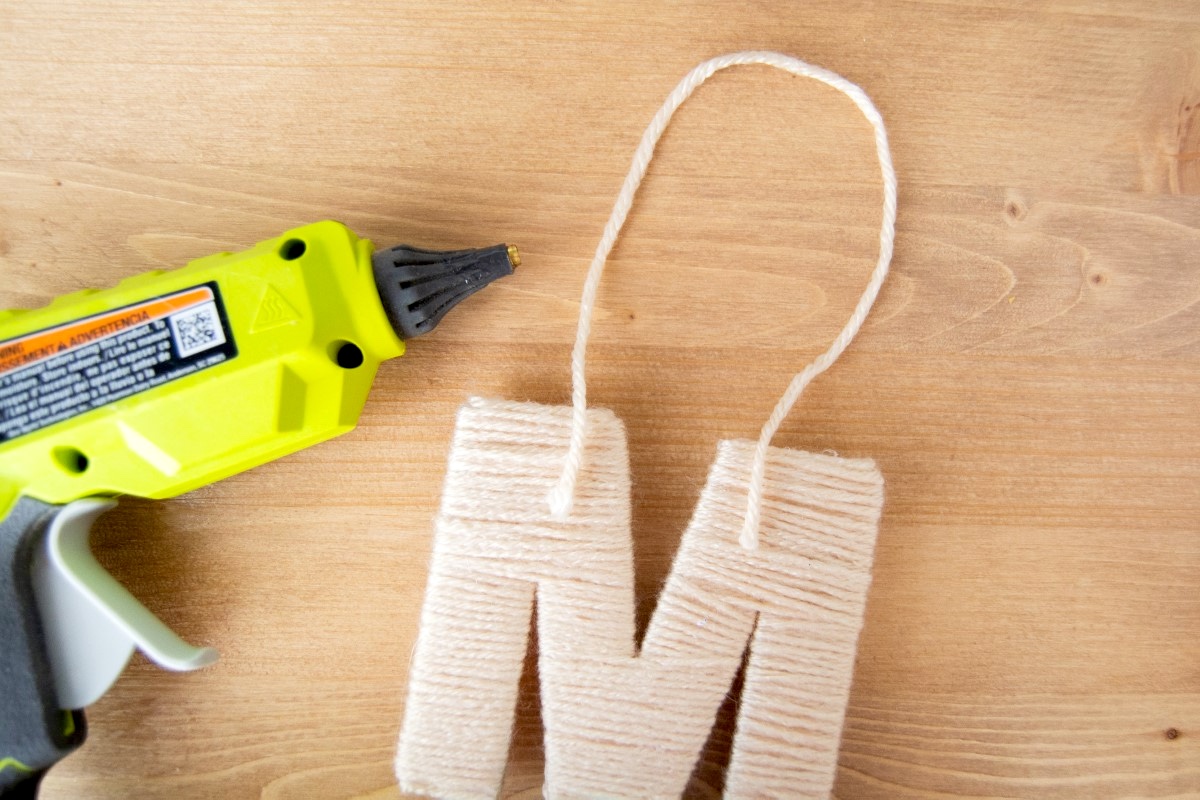
- Finally, attach a hanger to your ornament using yarn and hot glue, and you are done!
Notes
If you enjoyed this Christmas ornament let me know in the comments! I’d also love for you to check out these other handmade ornaments:
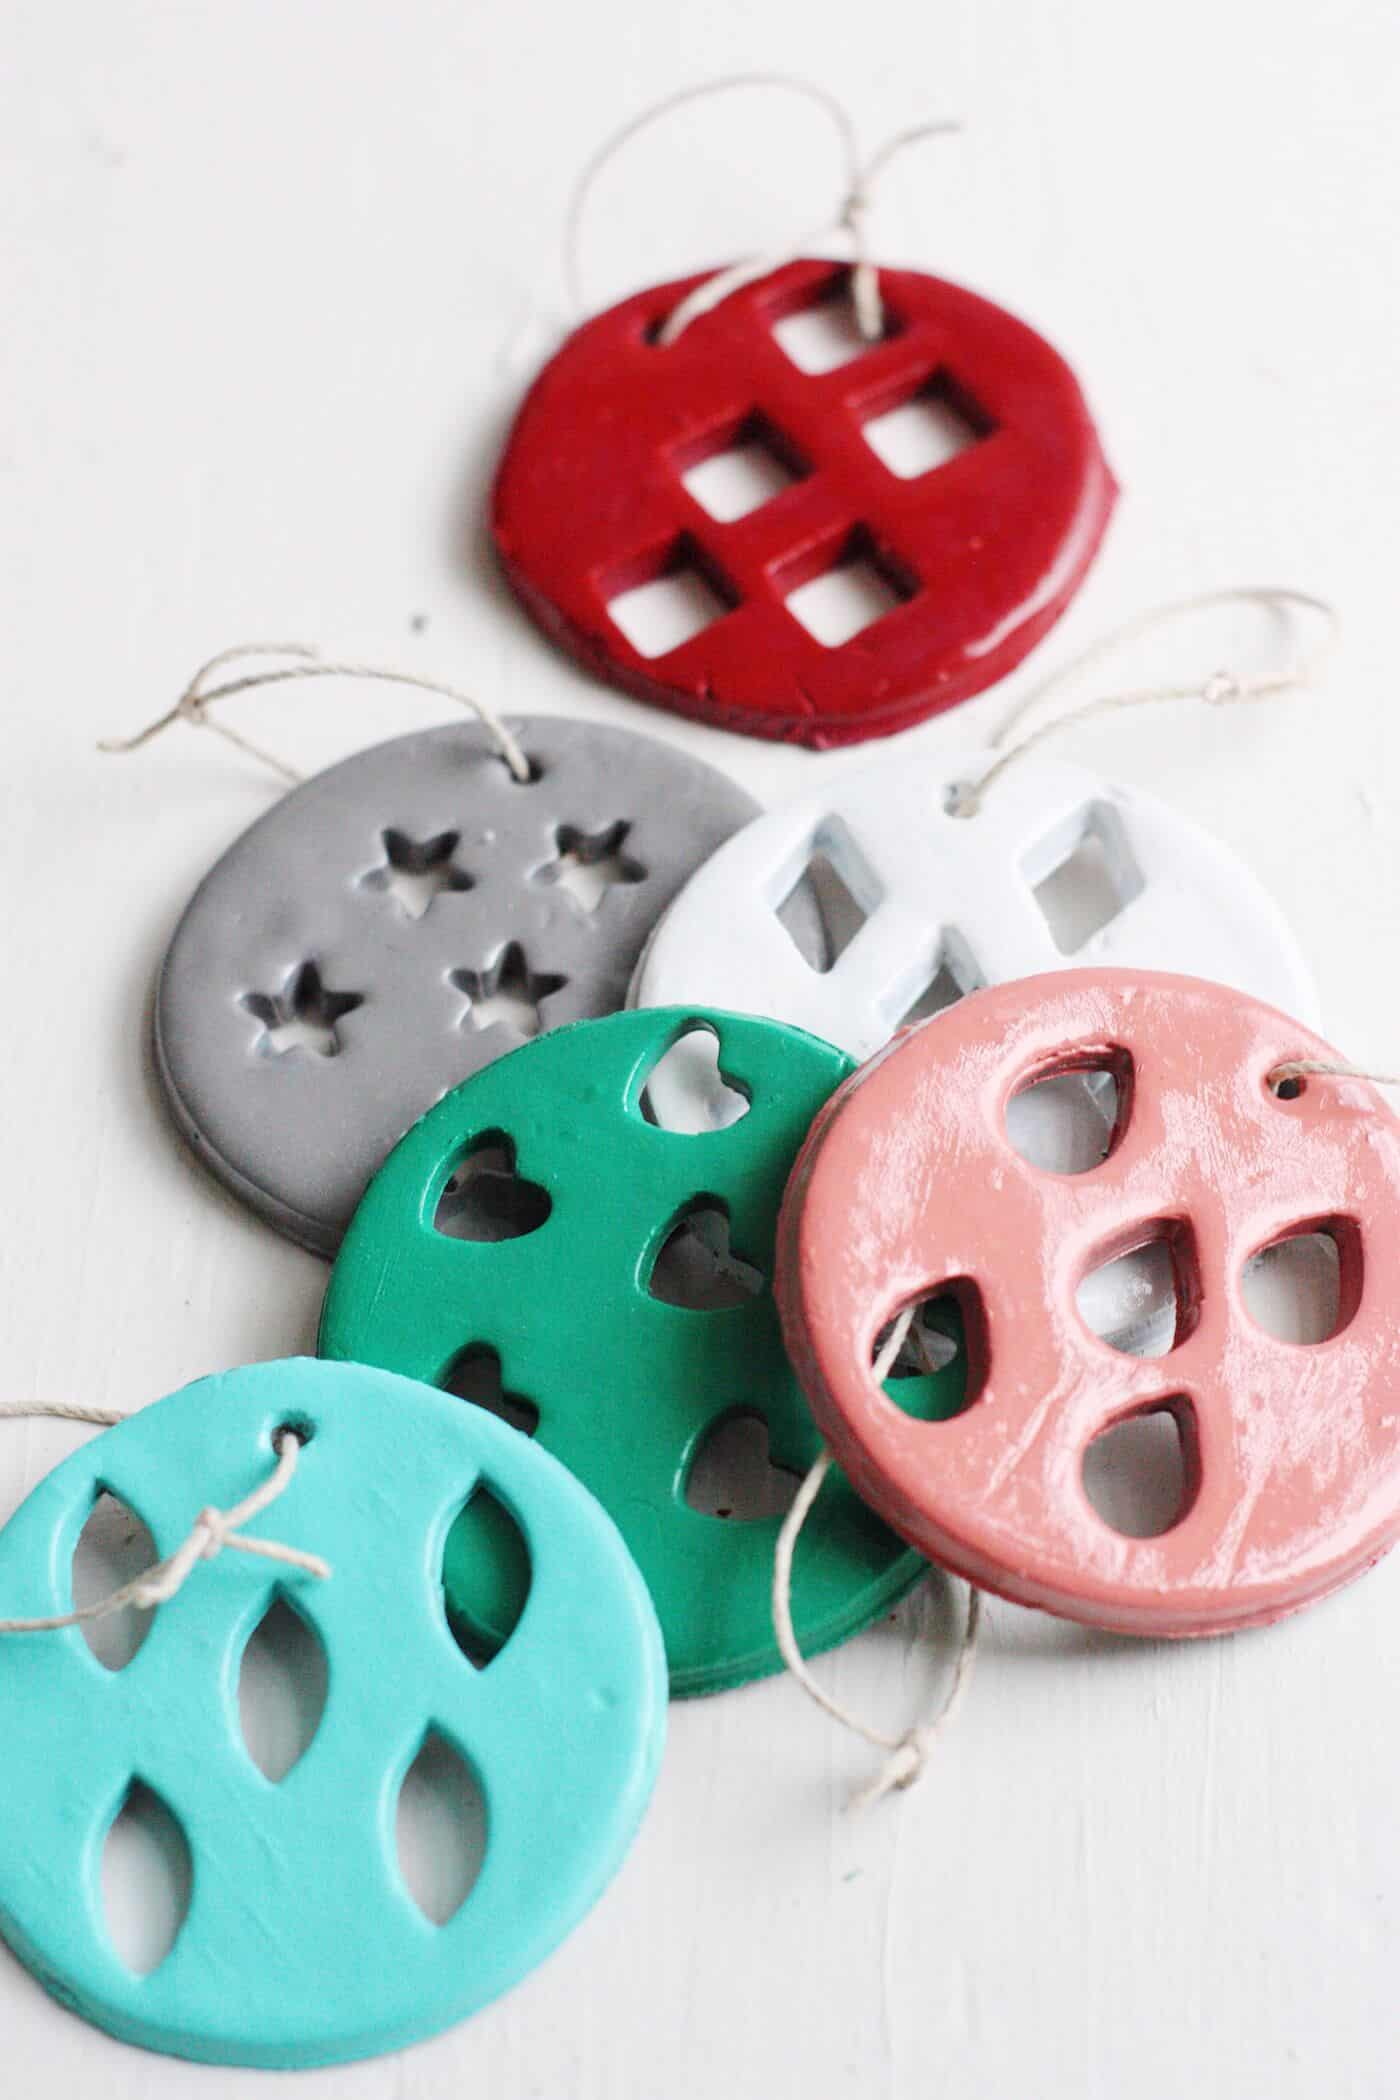
Candy Cane • Cookie Cutters • Crochet Angel • Crochet Bell • Cross Stitch • DIY Gnomes • DIY Snow Globe • Mandala • Metallic Keys • Mini Wreath • Origami • Poinsettia • Polymer Clay • Temporary Tattoos • Washer Star • Wood Bead • Wood Bead Snowman • Wood Bead Star • Wood Slice


