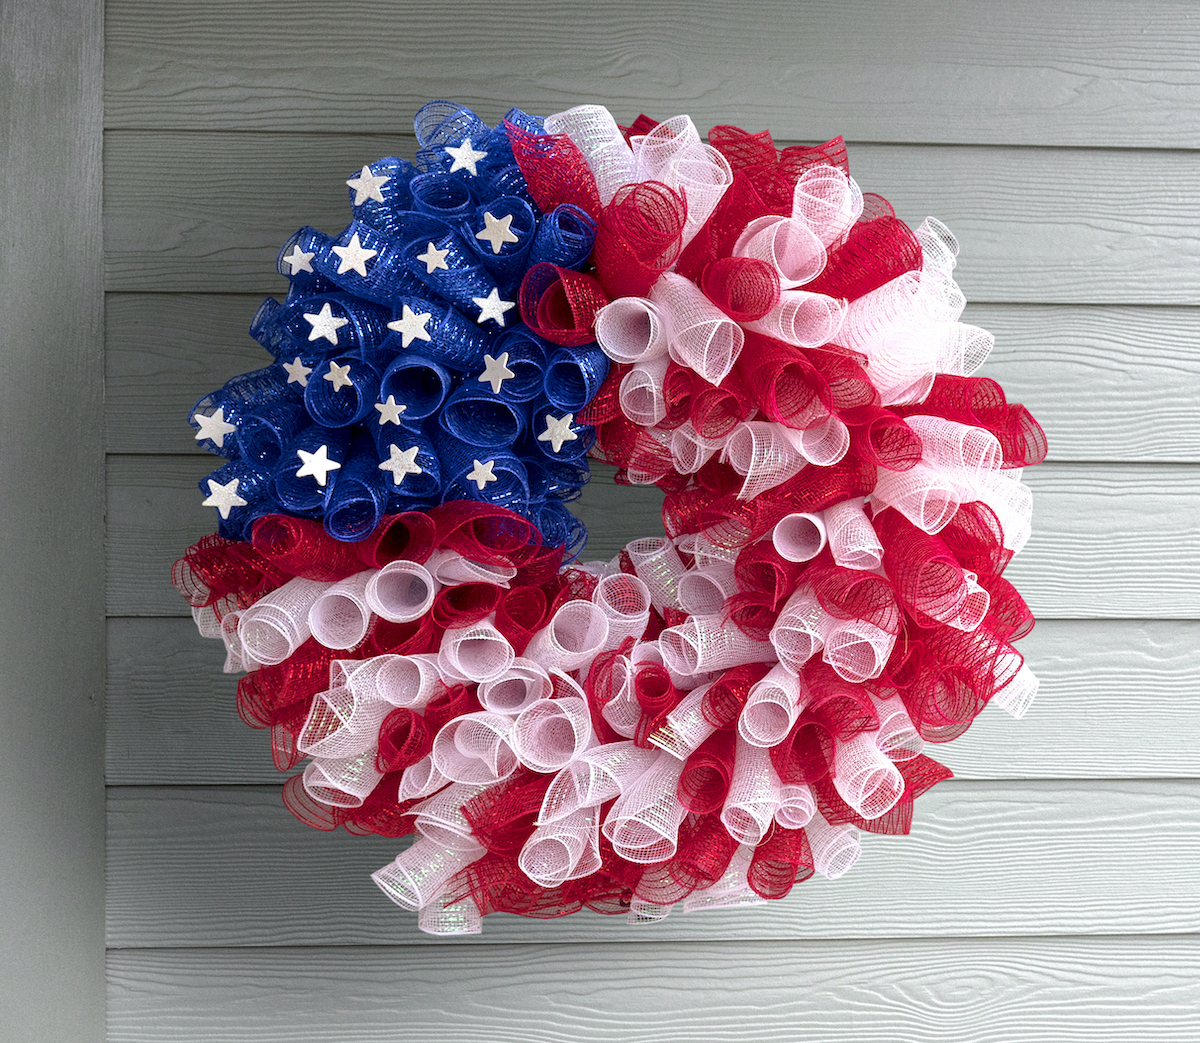
4th of July Deco Mesh Wreath with Sparkly Stars
Learn how to make a 4th of July deco mesh wreath inspired by an American flag! Perfect for beginners and a great addition to holiday decor. I love the sparkly stars!
Skills Required: Beginner. You’ll be cutting mesh, rolling it, and attaching it to a wire form. It’s easy to put this Fourth of July wreath together because it’s all about how you arrange the colors. There’s a little painting too for the stars!
Have you ever made a Fourth of July wreath? I did a firecracker wreath in 15 minutes, and then also a very simple Duck Tape wreath using solid colors and a flag pattern.
Both were fun and easy to make, and I knew it was time to kick things up a notch, so to speak . . . it was time to tackle a 4th of July deco mesh wreath.
My mom was the one who came up with this idea and then taught me how she did it. I’ll be completely honest, I love the results!
The stripes do everything for me and are so festive, and then the stars add the perfect “flag inspired” touch on a field of blue deco mesh.
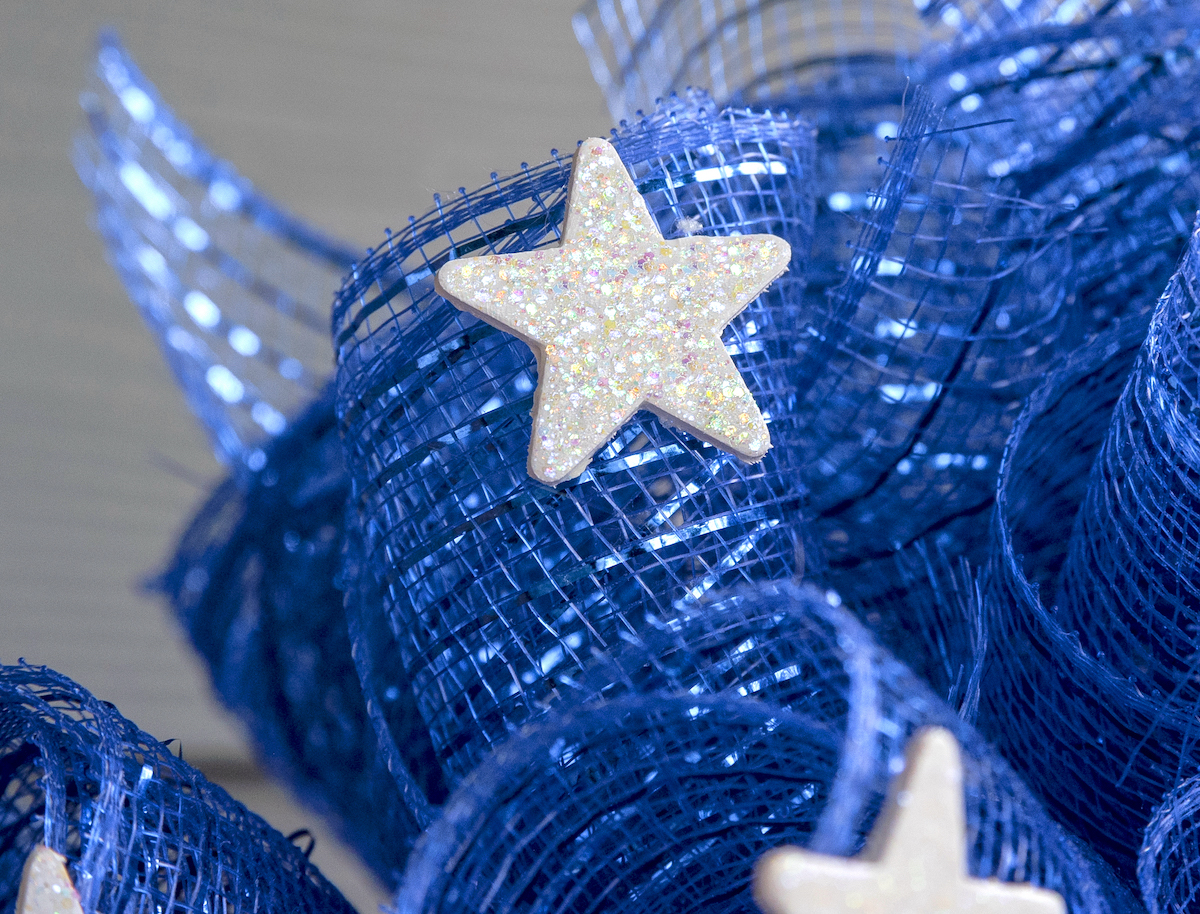
I got to use a little Mod Podge too, which was pretty fun.
If you’re ready to make a wreath, I’m going to show you how it’s done. Once you get used to the technique, you’ll want to adapt this to a variety of different holidays! Learn how to make it below.
Fourth of July Deco Mesh Wreath
Gather These Supplies
- Wire wreath form – 24″
- 10” X 30 ft rolls of decorative mesh
- Blue (navy) – 2
- Red – 2
- White – 2
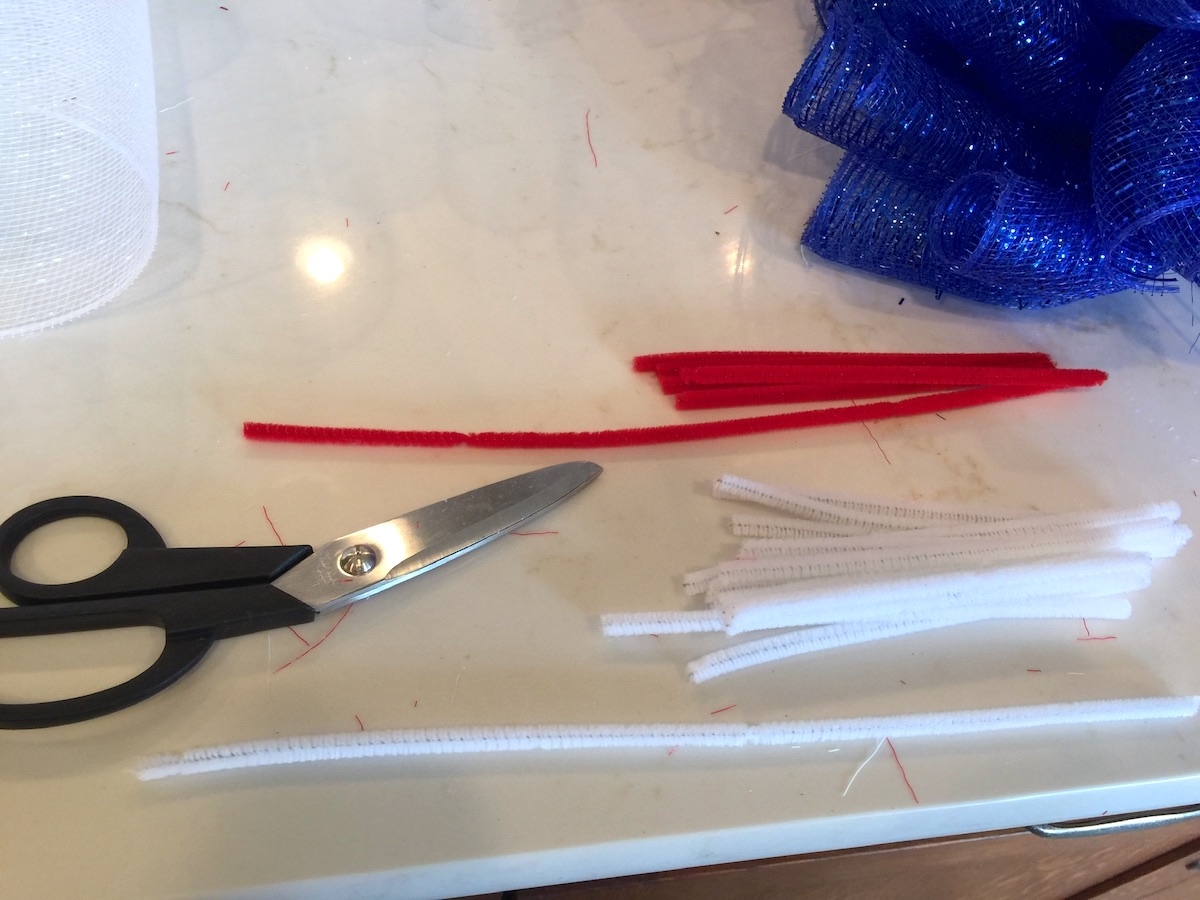
- Chenille pipe cleaners, 12″ – 100 of them (approximately) cut in half
- Heavy duty scissors or wire cutters
- Extreme Glitter Mod Podge
- Wood stars – I used 19
- Acrylic paint – white
- Paintbrush
- Spouncer brush
- Ruler
- Hot glue gun and glue sticks
Note: you may need more or less chenille stems depending on the size of your wreath form and how tightly you pack the mesh. As far as colors, you can match the mesh, but it doesn’t really matter. You shouldn’t see the stems.
Cut the Pipe Cleaners
If you haven’t, start by cutting all of the pipe cleaners in half. Or you can cut them as you go, but I like to have them ready.
Regular scissors “work,” but they can make your hand tired cutting pipe cleaners and can ruin the blades. I’d use bigger kitchen scissors or ideally wire cutters.
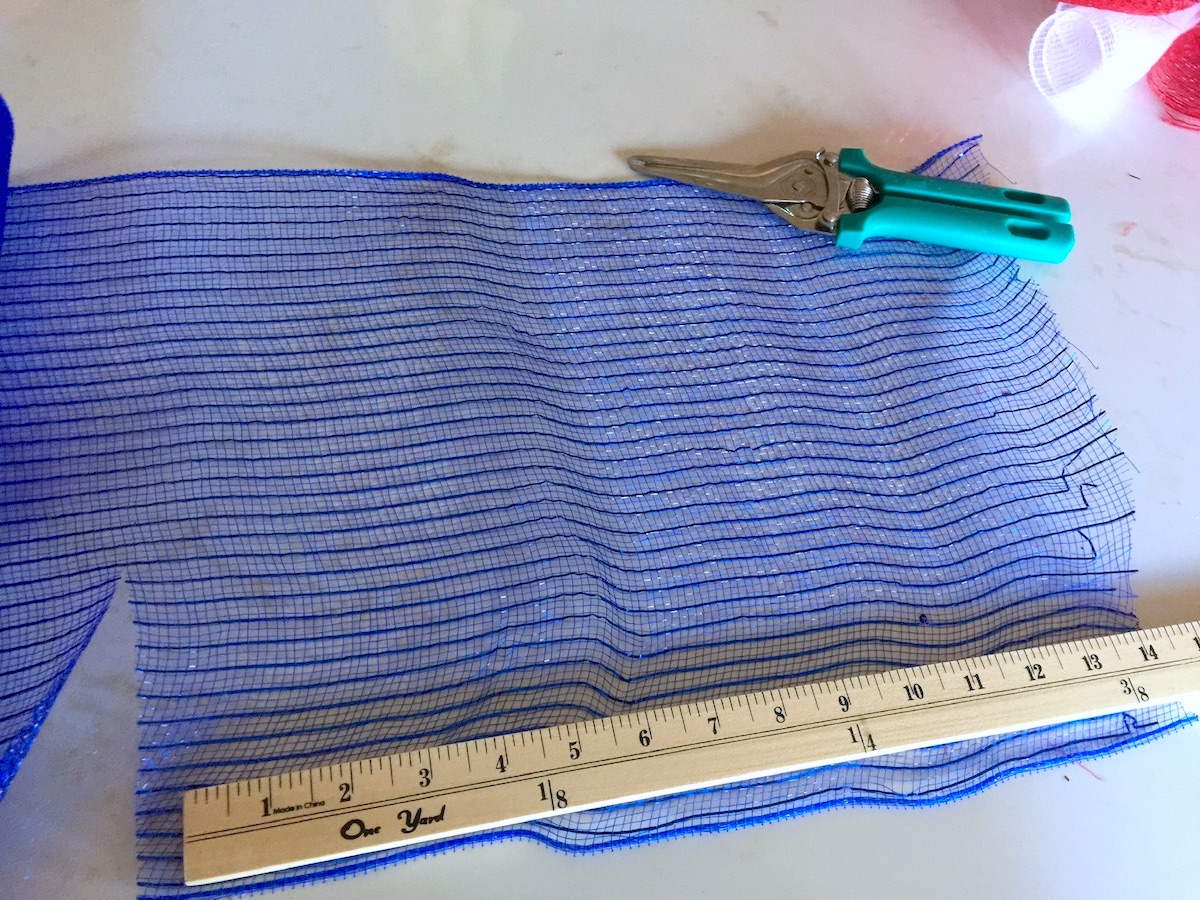
Cut the deco mesh into approximately 14-inch to 18-inch lengths. I recommend you stay as close to 14” as you can. Longer makes it more difficult to add each noodle as you get toward the end of the wreath. Don’t go below 14 inches, or your mesh wreath will not have the fullness and impact.
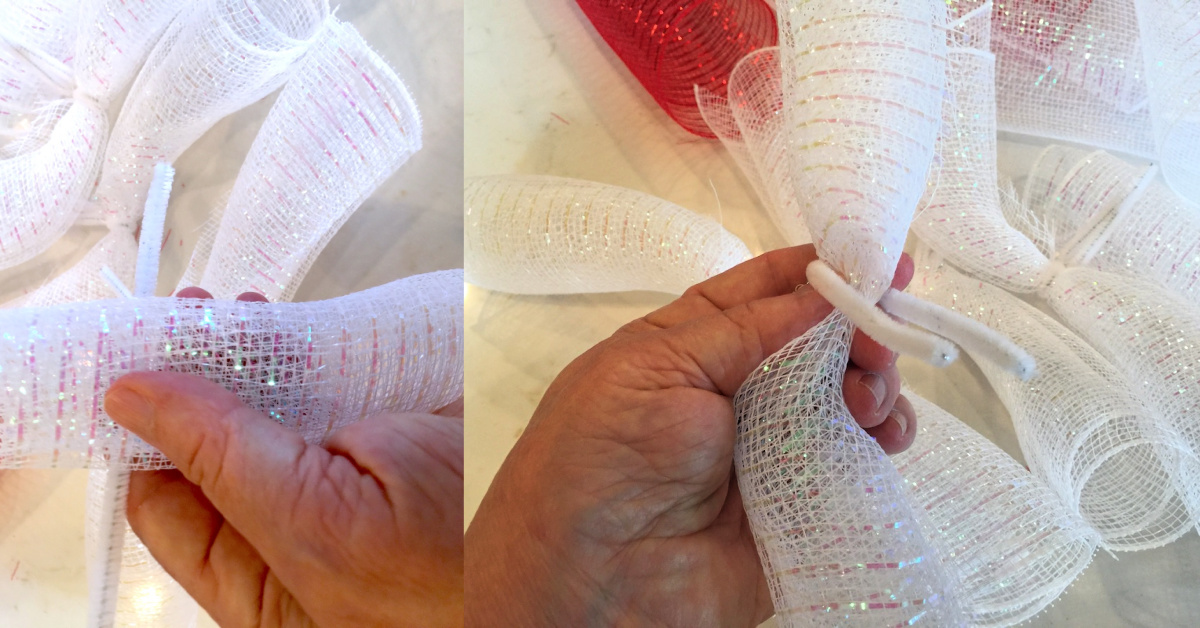
Roll the Mesh
From one cut end to the other, roll into a noodle. Pinching the center of the noodle, place a 6-inch length of pipe cleaner all the way around and twist tightly.
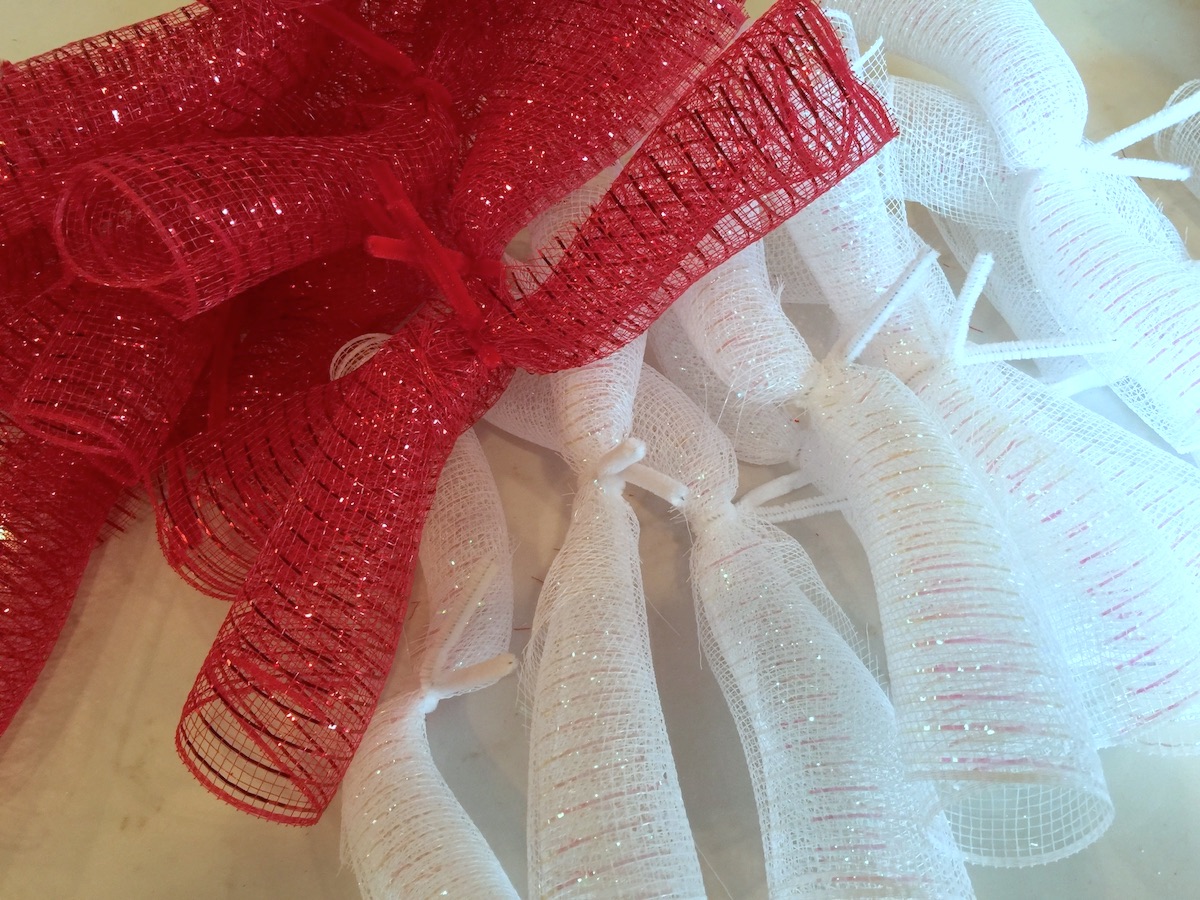
Note: I do about ten at a time so that I don’t cut too many pieces and waste product. For the rest of the tutorial, I call these tubes with the wrapped pipe cleaners “noodles” for short.
Attach the Noodles
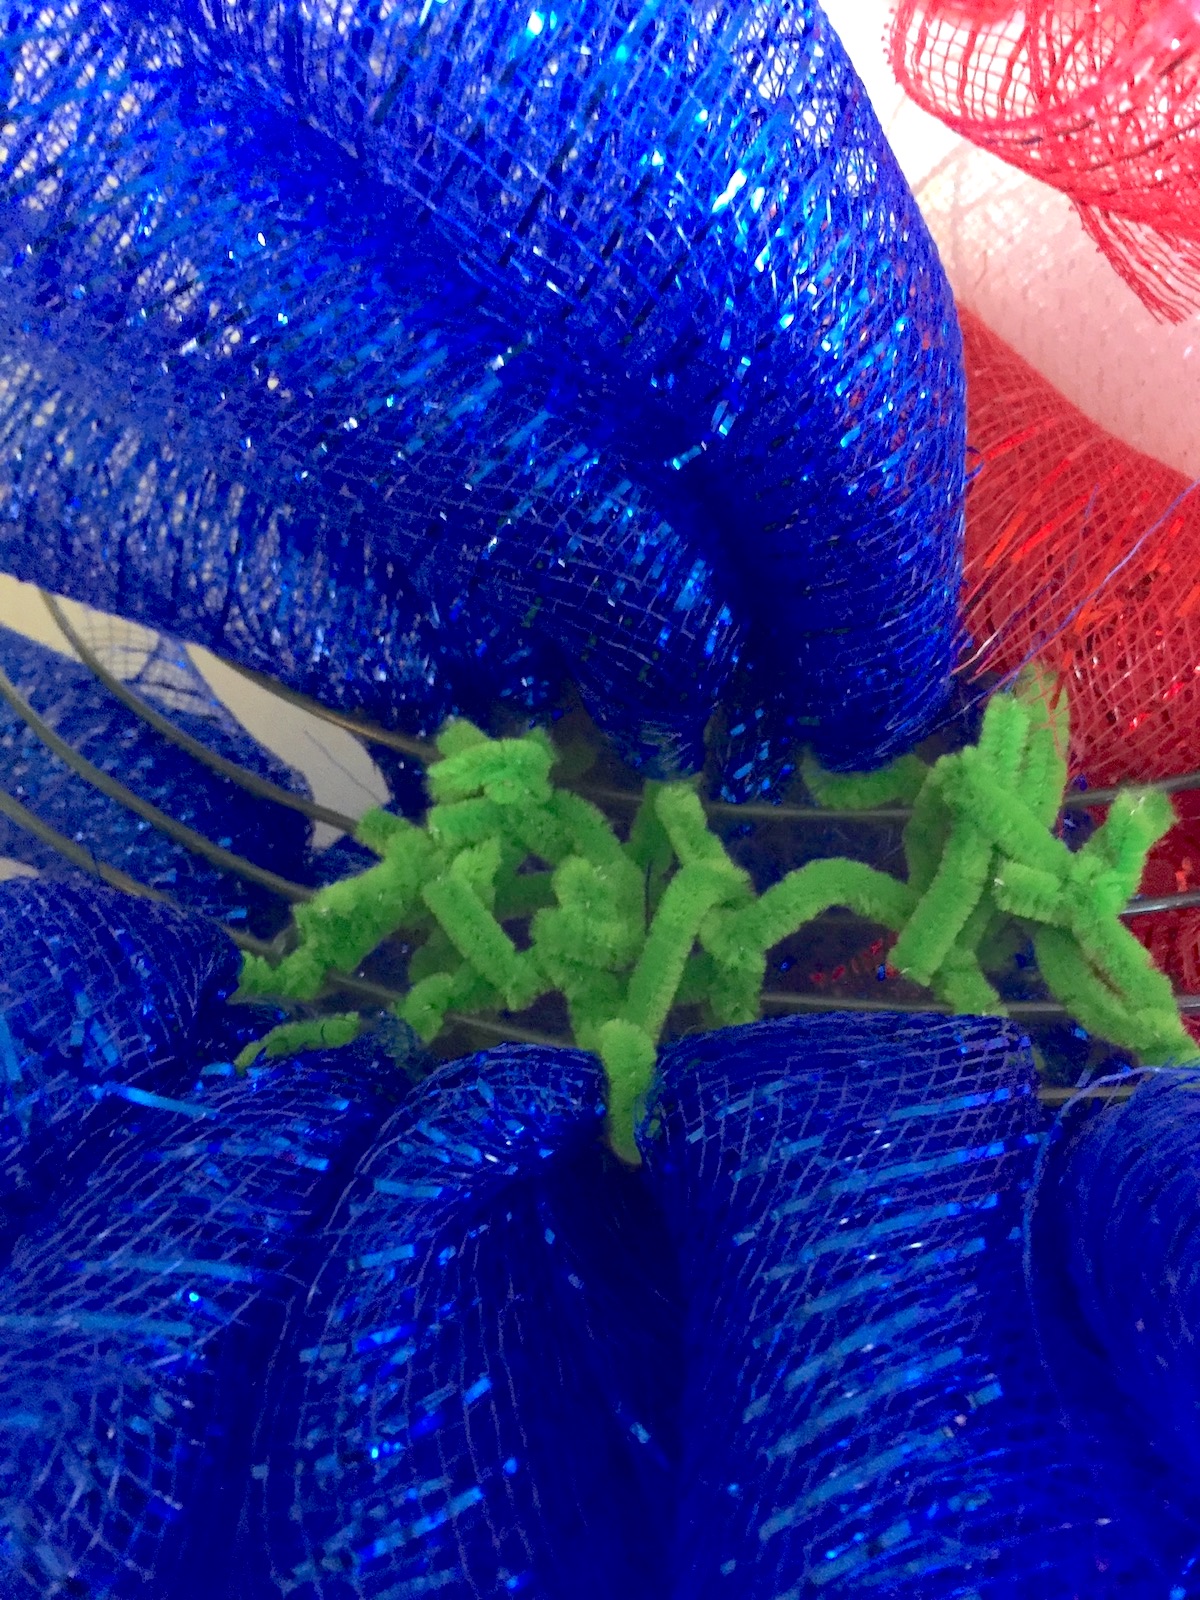
Beginning in what will be the upper left “corner” (blue field of flag), fold a blue noodle in half at the pipe cleaner, and wrap the pipe cleaner around two wire bars. Twist tightly from the back 2 to 3 times. You’re going to work in rows of three. Here’s a visual.
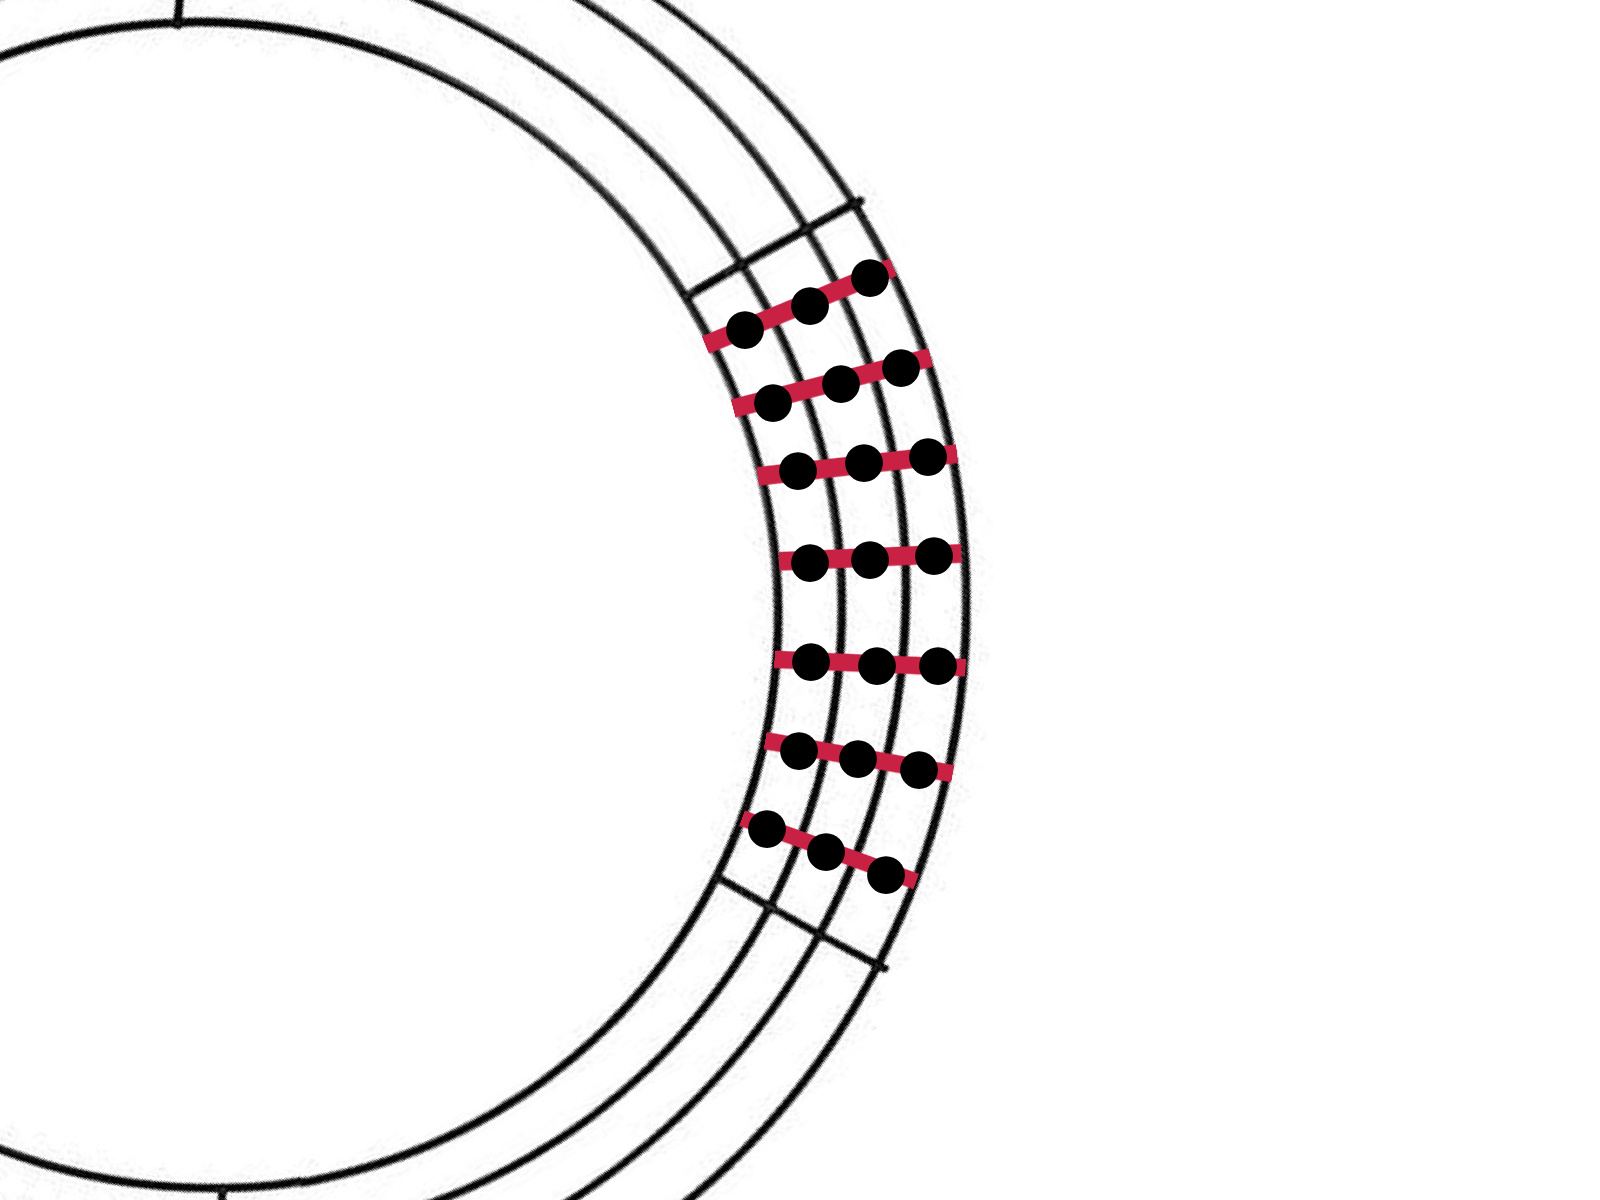
Each red line is a row of three mesh noodles of the same color, and the black dots are where you’re going to twist the pipe cleaners. So in the diagram above, that section would use 21 noodles. Let me know in the comments if you have any confusion about this step!
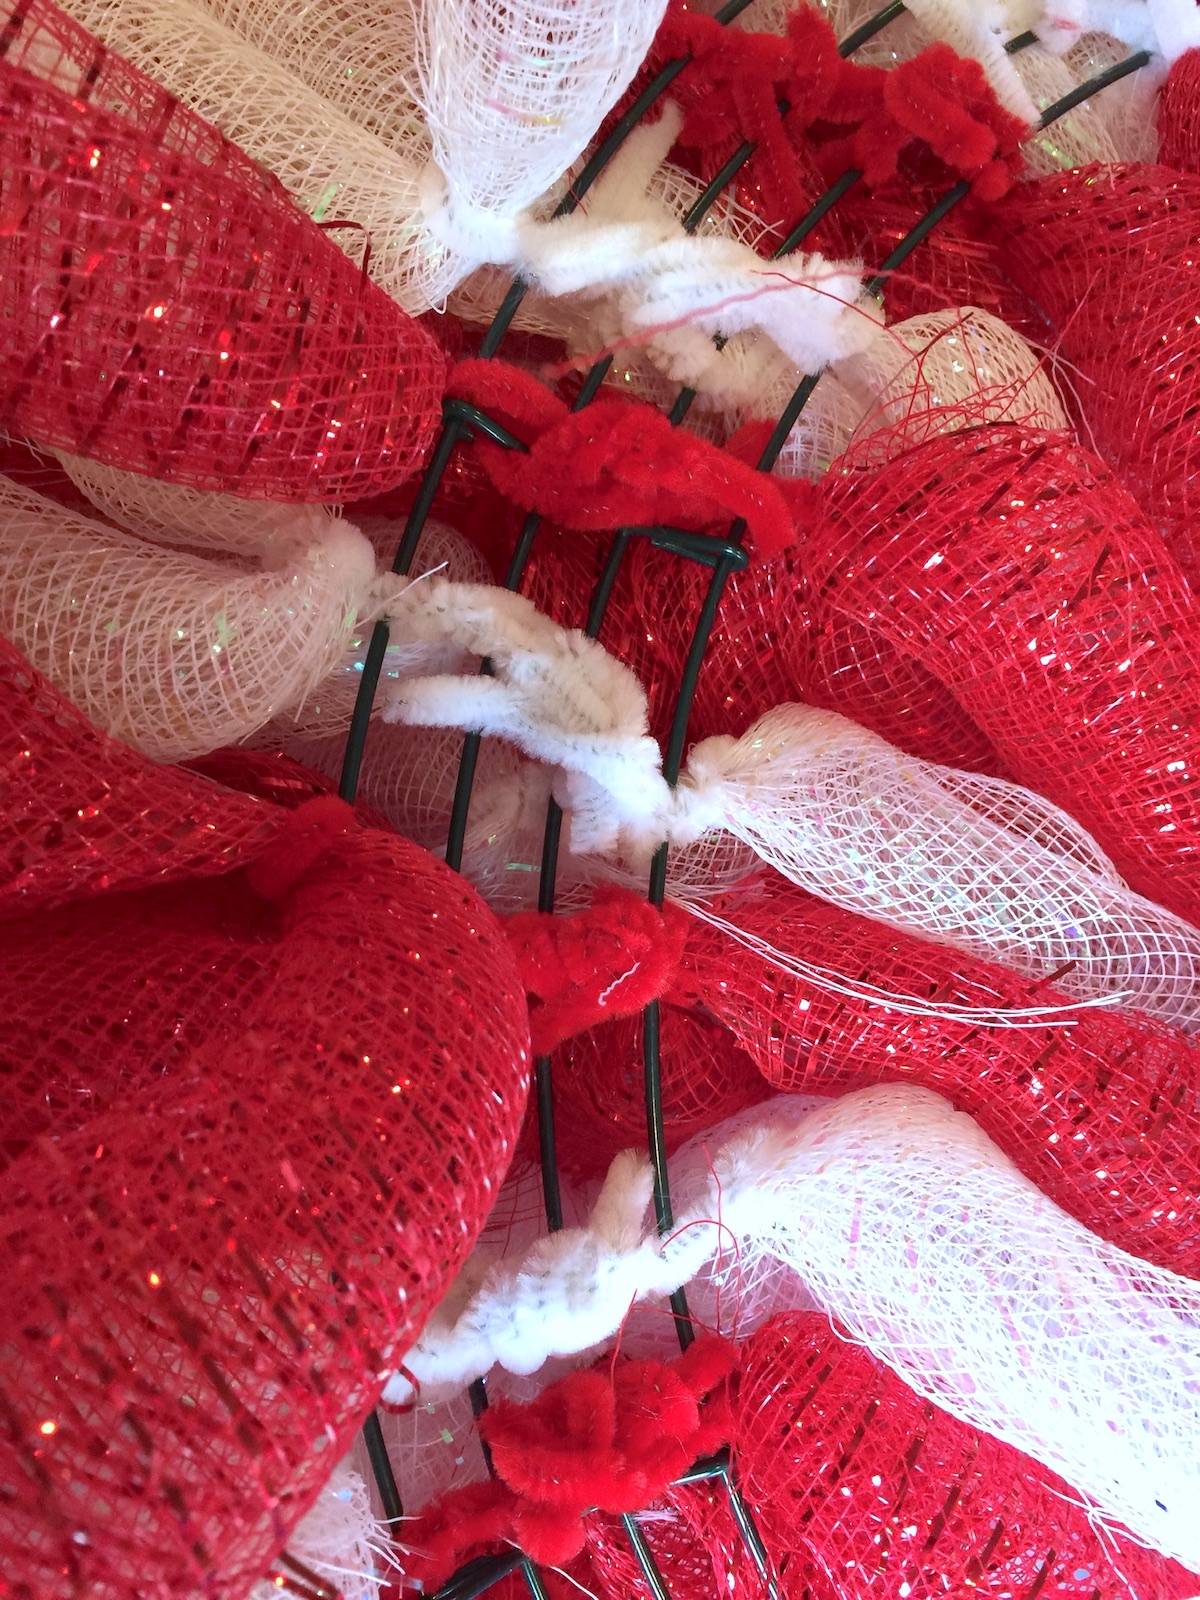
As you add noodles, you will want to flatten the ends by twisting with the ends of other pipe cleaners attaching the noodles.
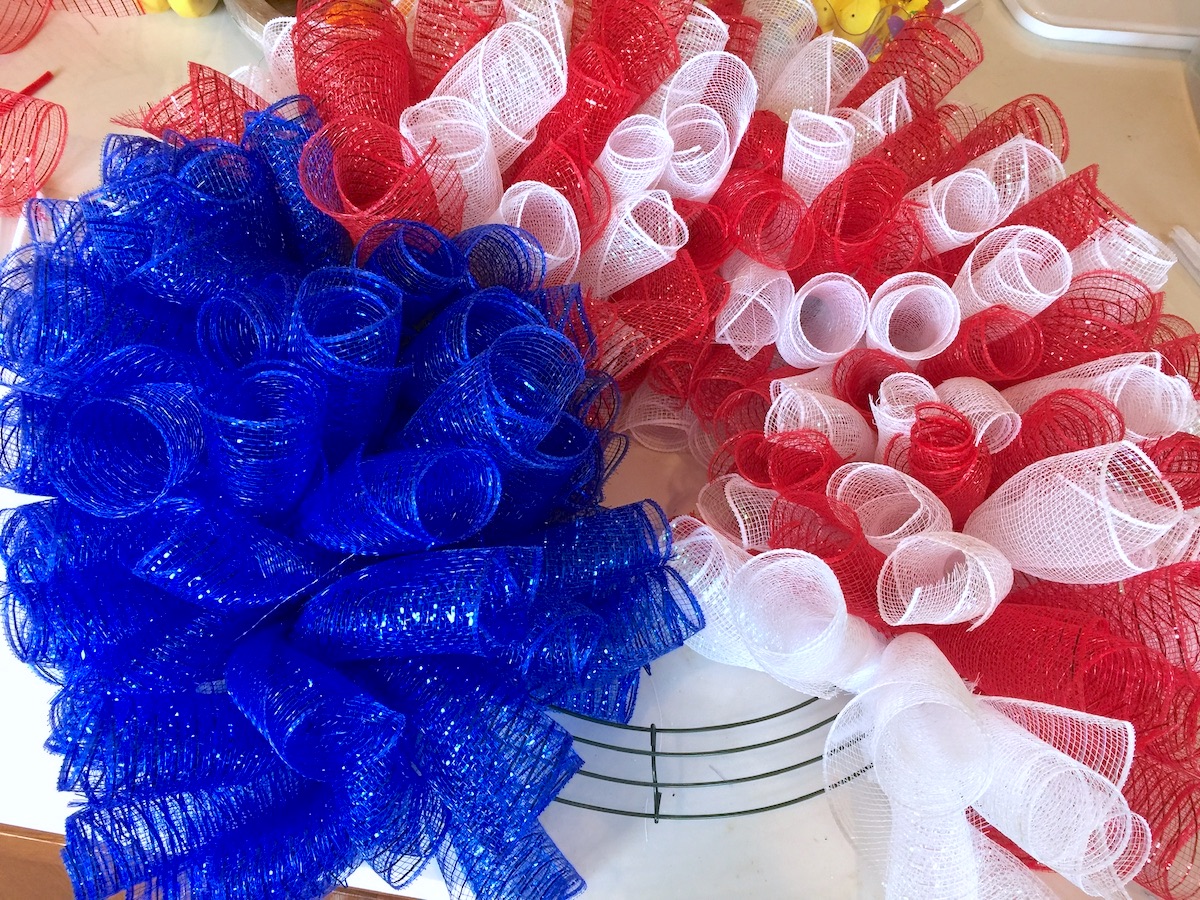
Attach enough so that there are no gaps. It helps to bring the ends of the noodles forward by folding as the area gets crowded.
Make the Stripes
When you have 20% to 25% of the wreath ring covered with the blue, begin adding red and white stripes. Continue adding rows of red and white around the wreath until you meet the blue portion again.
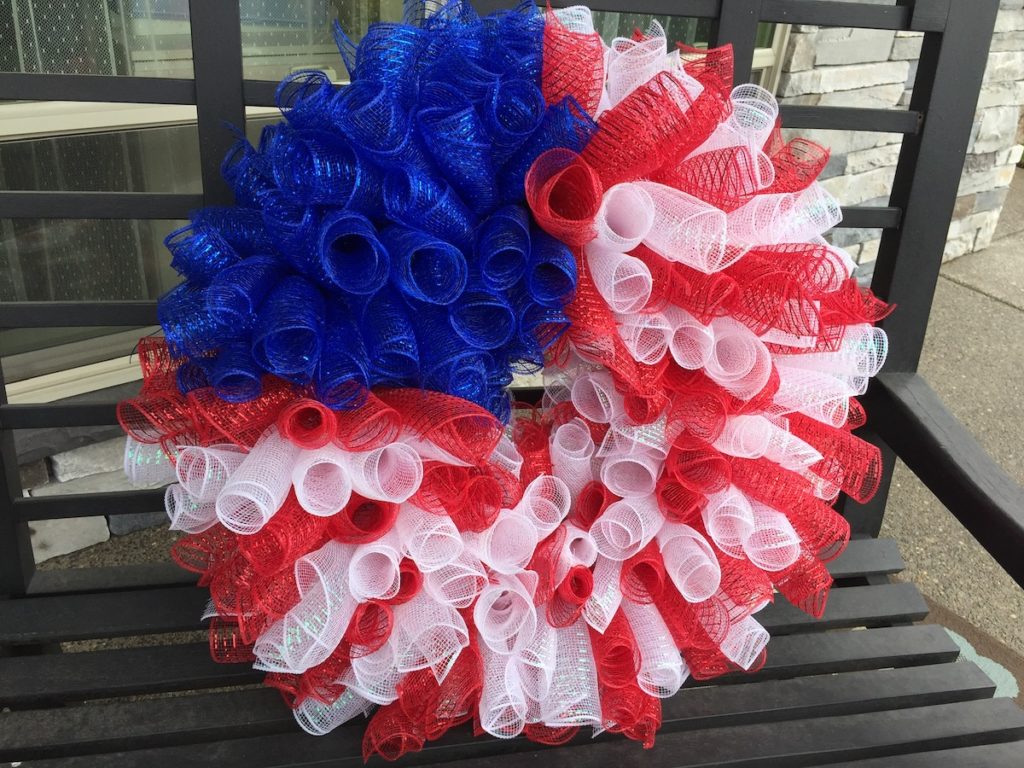
When all noodles are added, see if you have any blank spots and add more if necessary. Fluff everything toward the front, making the back (and the pipe cleaners) as flat as possible.
Finish with Stars
This is what your 4th of July deco mesh wreath will look like before the stars are attached. This next step is fun!
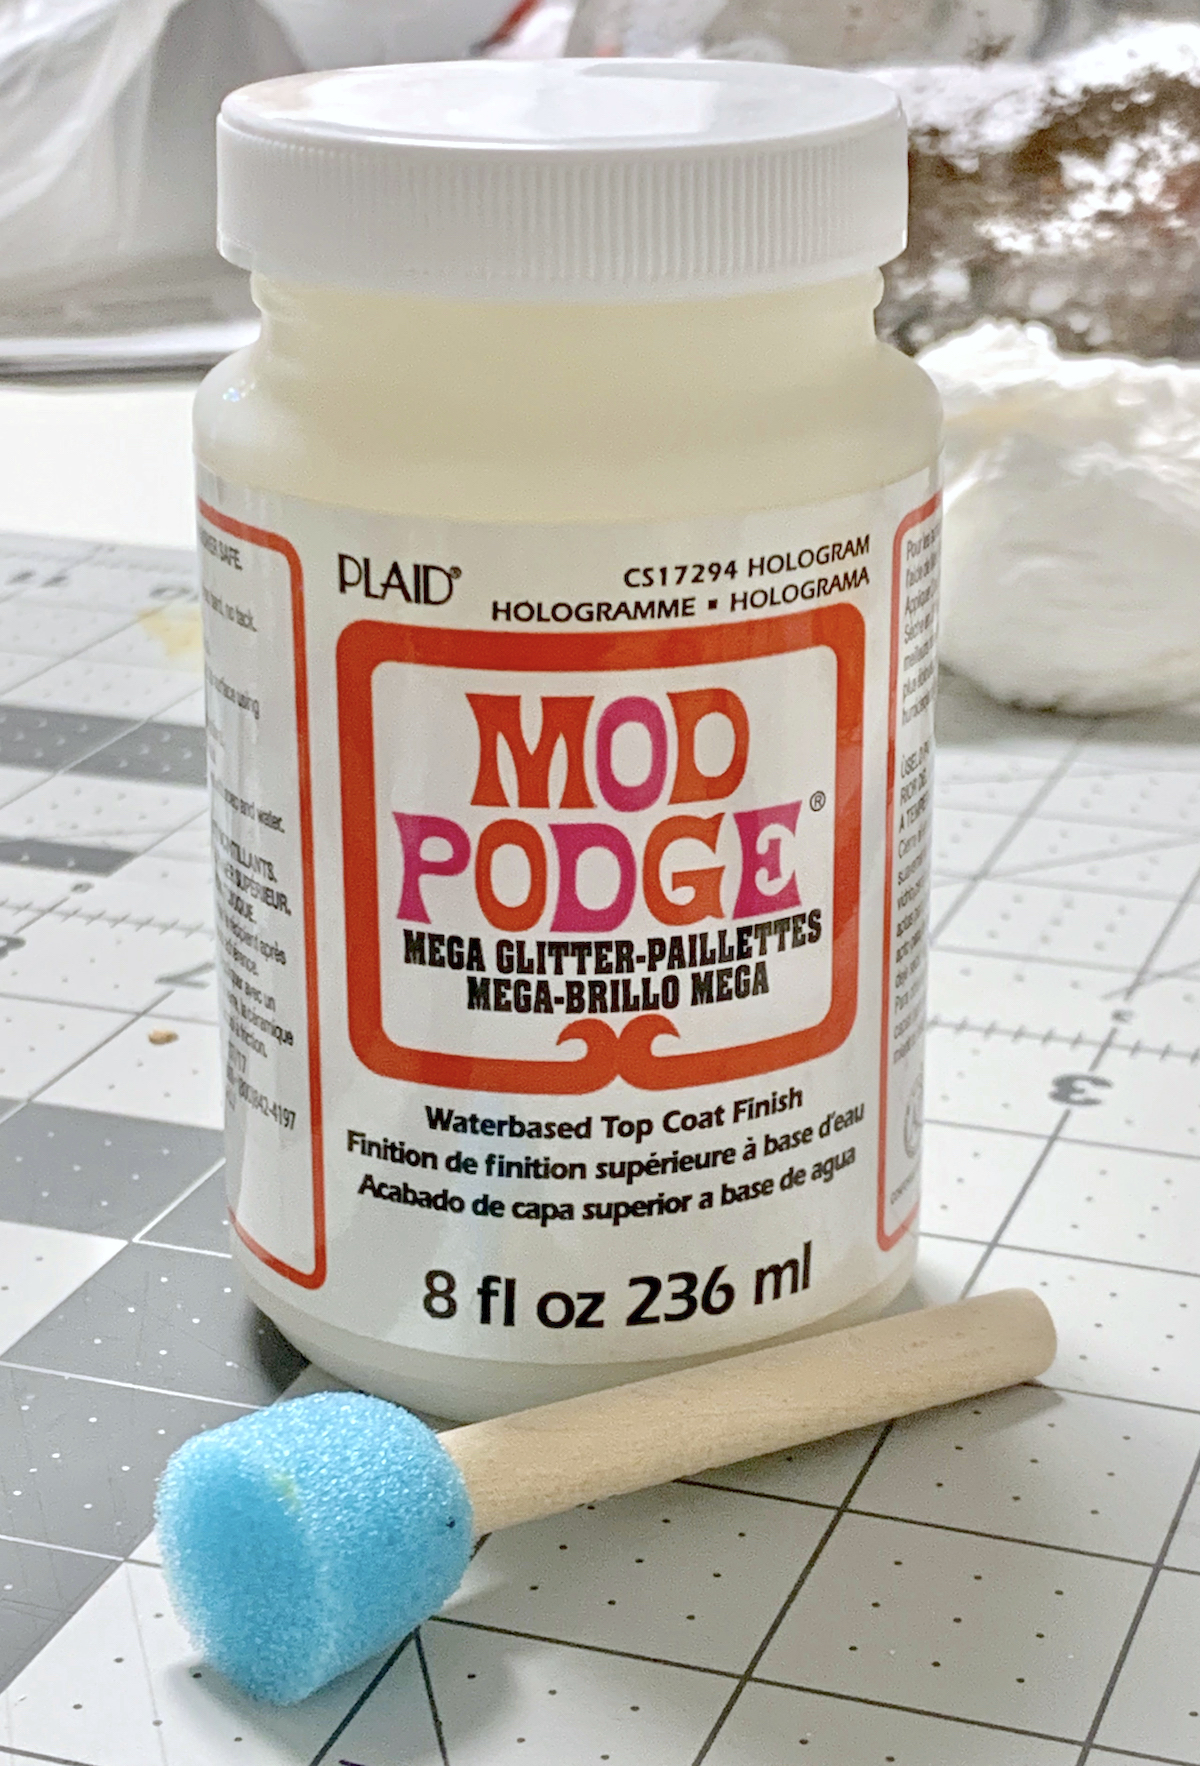
You’re going to use a little friend of mine, also known as Mod Podge Mega Glitter! I chose the Hologram color. This is for SERIOUS glitter enthusiasts only.
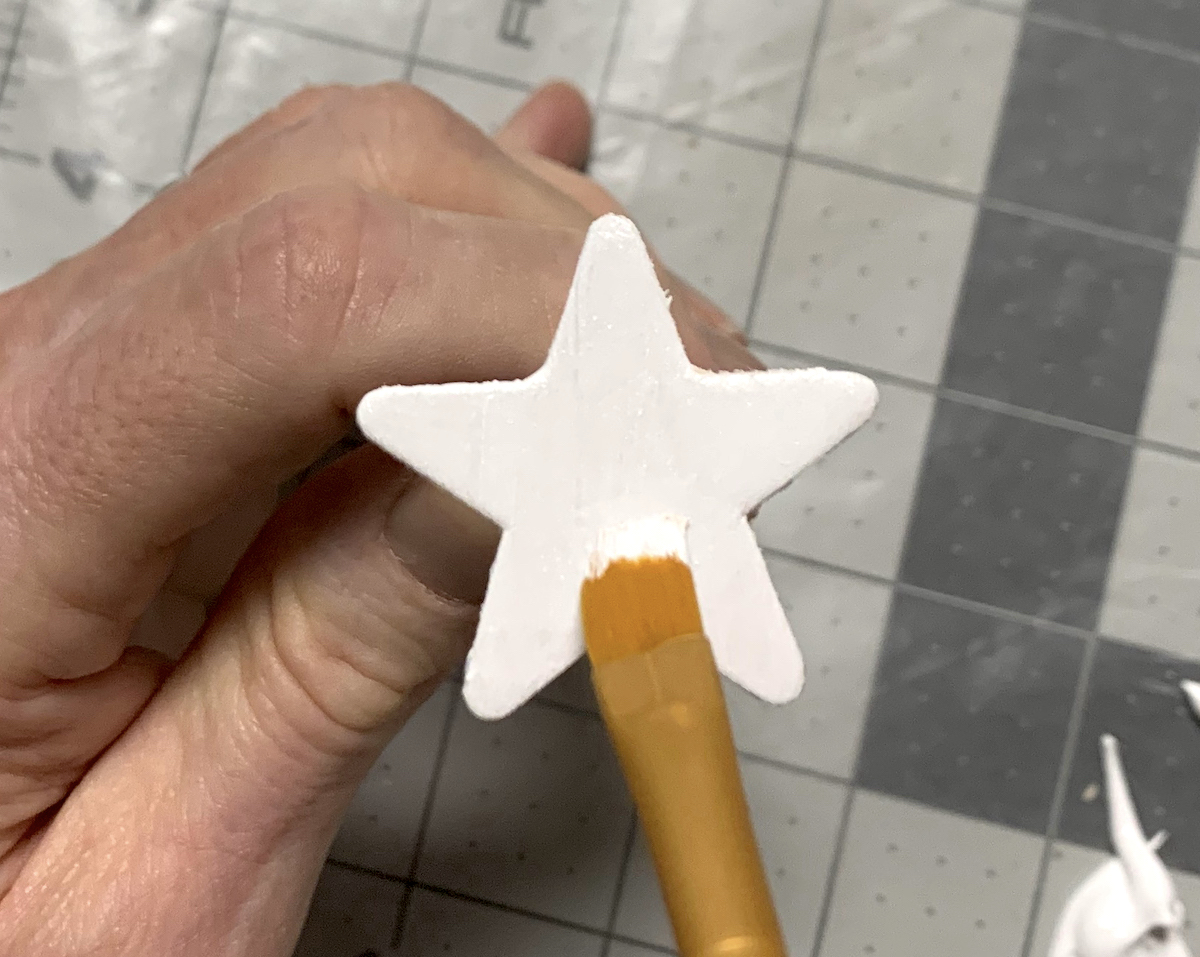
Paint the wood stars with white acrylic paint; give them a few coats (letting dry between coats) and let dry. It helps to paint small wood items by pushing a pushpin into the back and holding onto it. If you’re not going to see the back of the wood shape, it doesn’t matter if there’s a little indention!
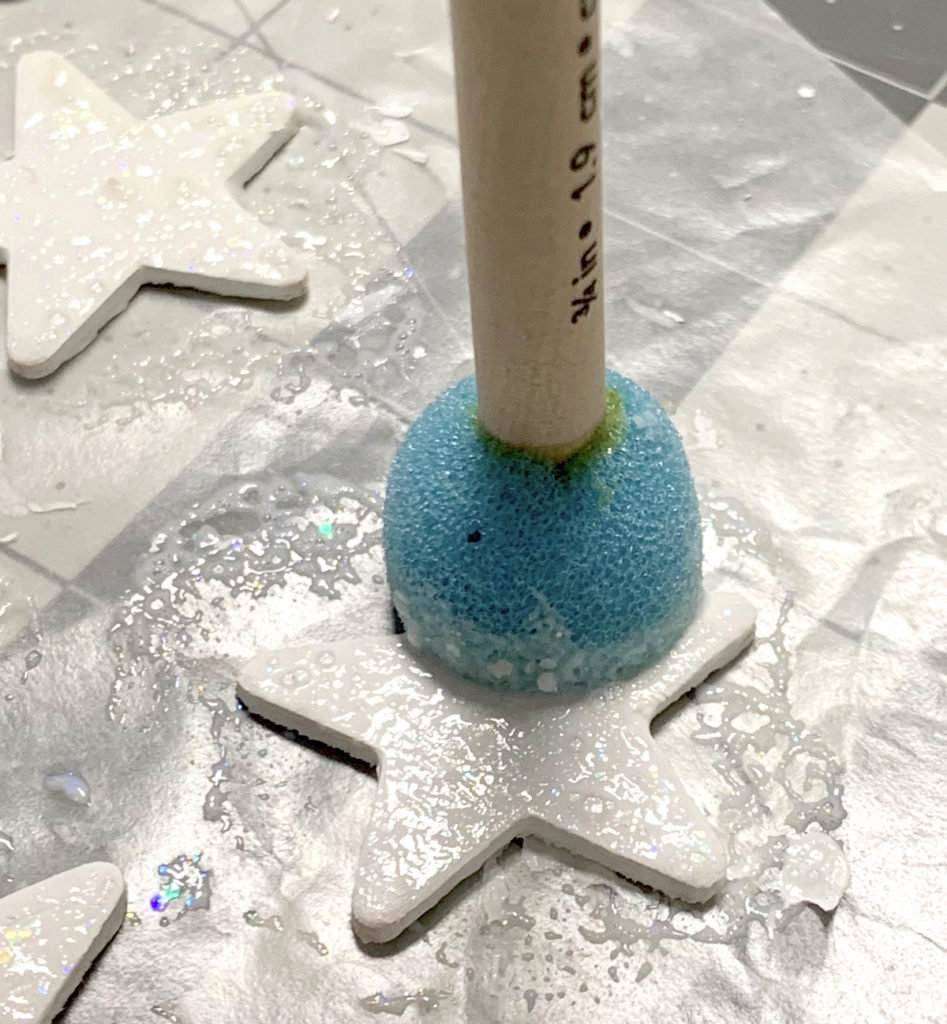
Once dry, use a spouncer to apply Mega Glitter Mod Podge. Let the first layer dry and see if you would like more. Repeat until your desired glitter level is achieved.
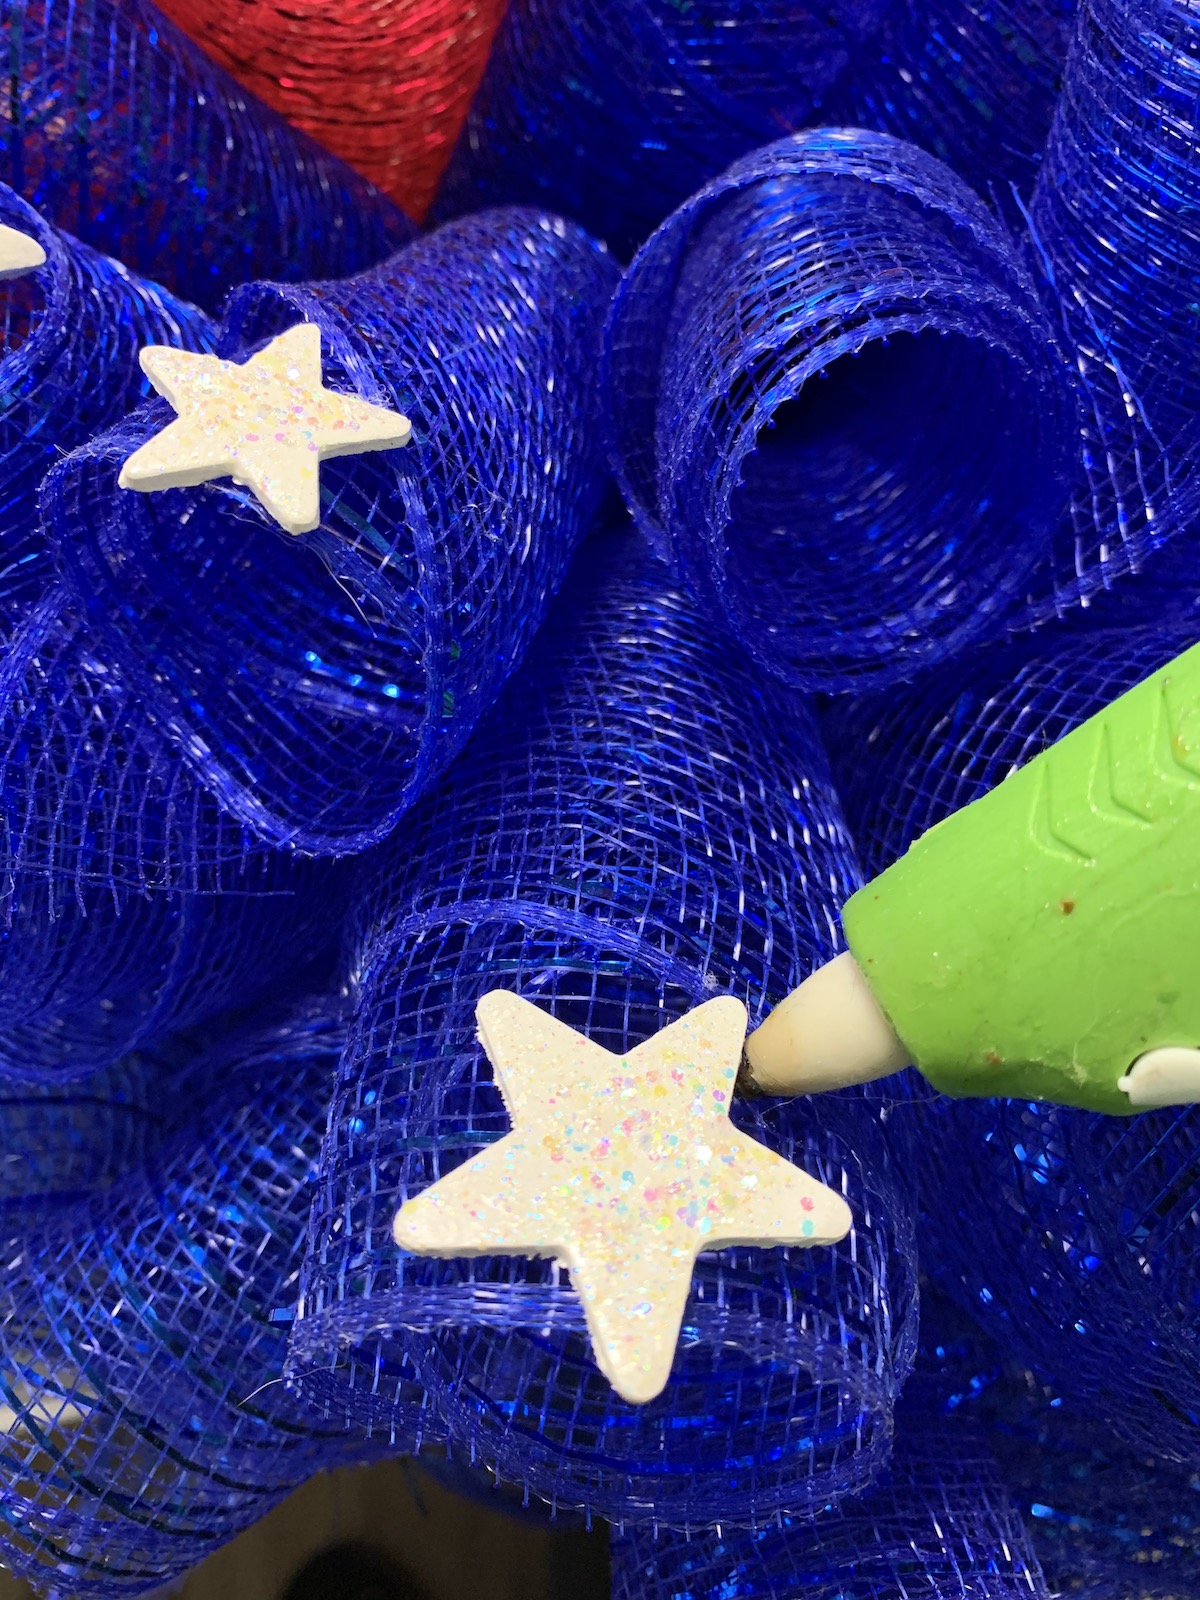
To finish your deco mesh wreath, hot glue the sparkling wood stars to the blue area.
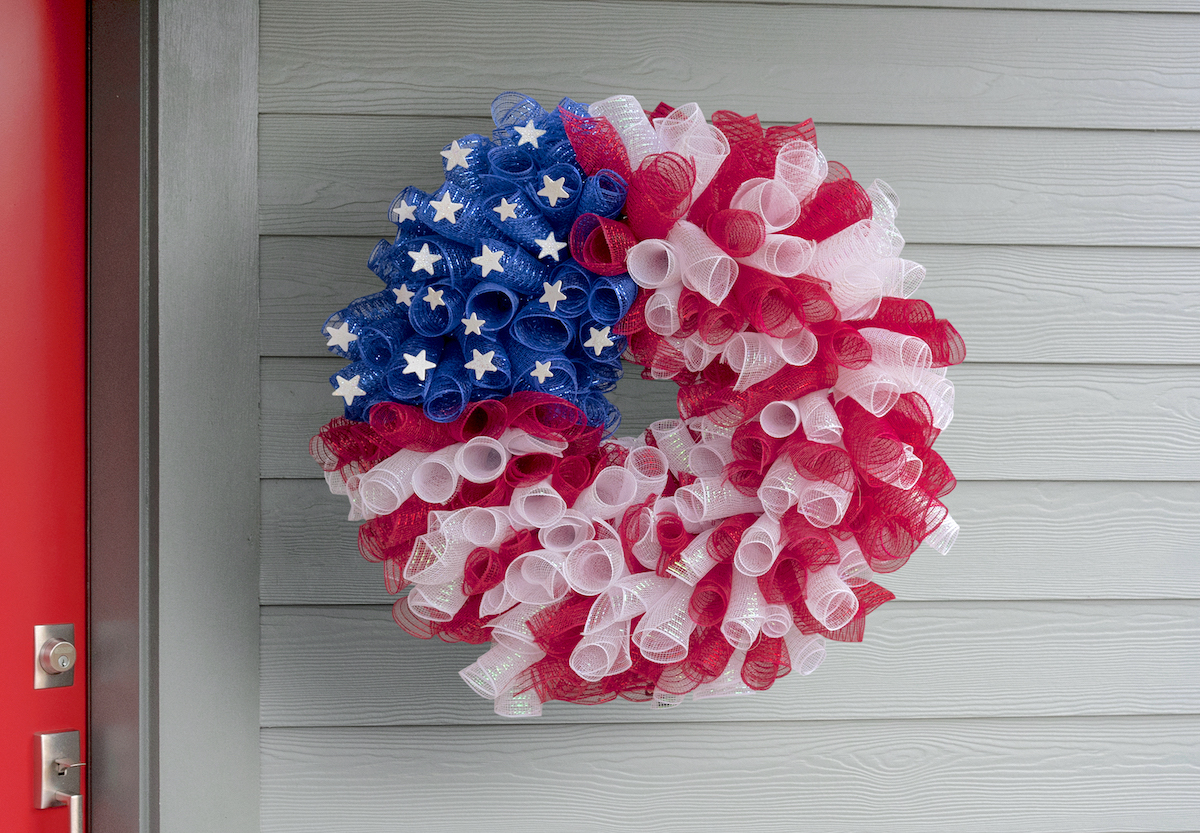
I really can’t believe how much I love this 4th of July mesh wreath. It looks great on my covered front porch!
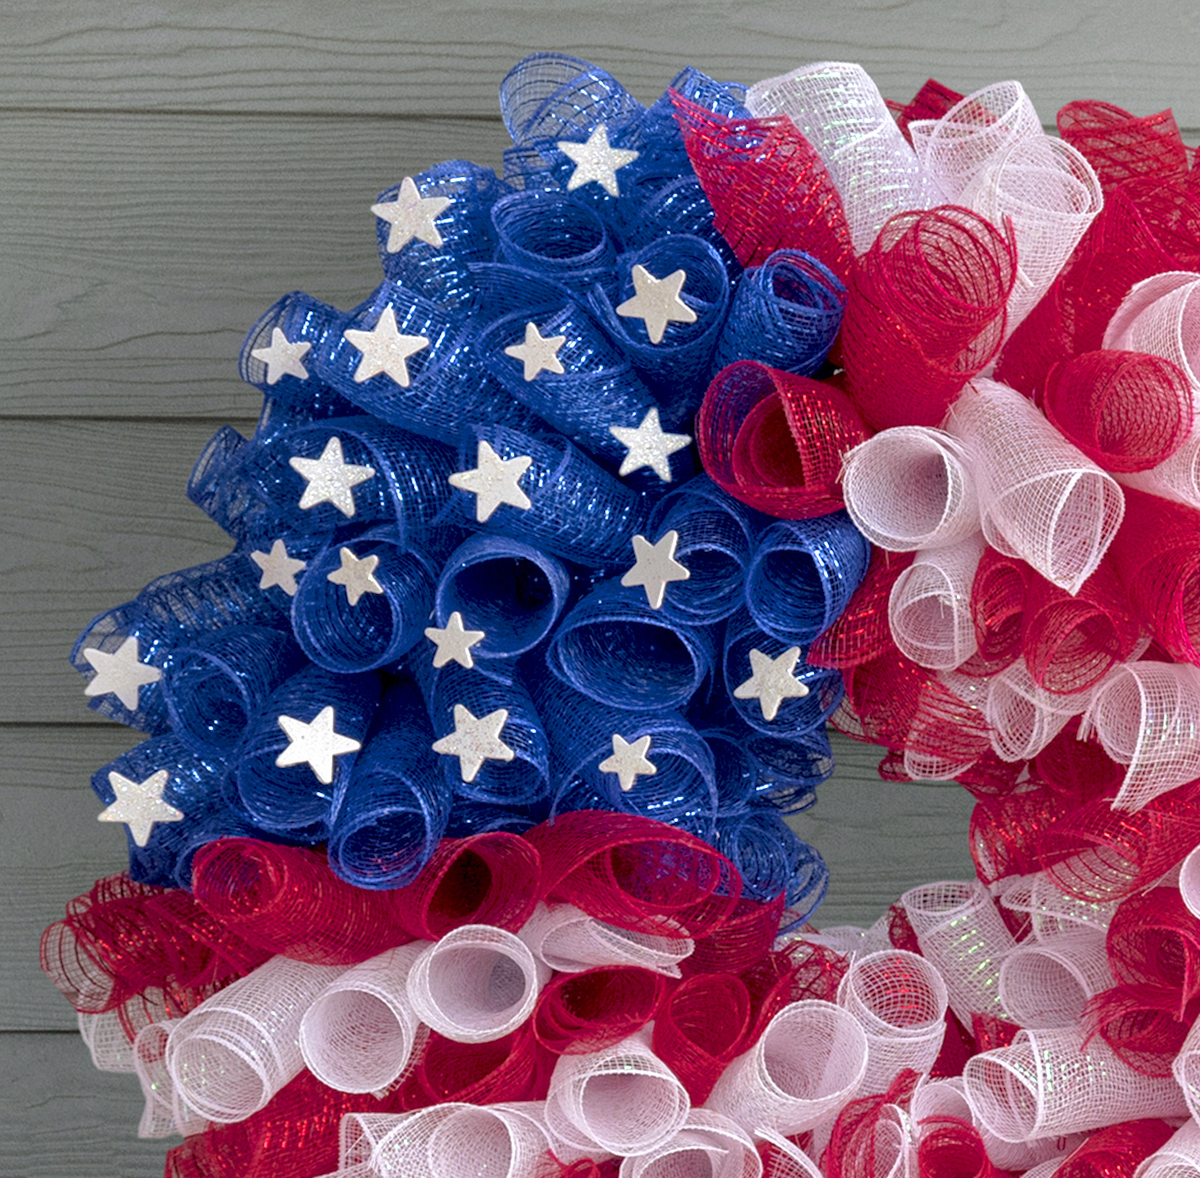
It’s the little details, my friends. Happy Independence Day, America’s birthday, Fourth of July – have a great one!
I hope you enjoyed this 4th of July deco mesh wreath tutorial and that you’ll check out these other wreaths for various themes and holidays:
Candy Cane Mesh • Christmas • Christmas Mesh • Christmas Pom Pom • Coffee Filter • Easter Mesh • Fall • Felt • Halloween Mesh • Halloween Ornament • Pinecone • Mini Pumpkins • Pool Noodle • Pool Noodle Floral • Pom Pom • Ribbon • St. Patrick’s Day Mesh • Valentine Mesh • Wine Cork • Witch Hat


